I Hiked Alone...Doing the Uncomfortable

Doing new things by myself can be a stretch sometimes. I’m not always comfortable exploring new places or doing certain things by myself. Hiking is one of those things that scare me to do by myself. Sometimes it’s not always fear but discomfort - driving to an unfamiliar location, finding parking, too many people, too little people, darkness, animals, etc.,

This month I did something that I was uncomfortable with - I hiked alone. Since Spring had entered the Okanagan I’ve been obsessed with wanting to chase Arrowleaf Balsamroot’s across the Valley. They’re these sunflower looking flowers.

I wanted to visit Knox Mountain to photograph these beautiful yellow flowers in full bloom.

What is typically a less than hour hike for most is a two-hour hike for me with all the stopping I do to photograph the flowers.

I wanted to visit at sunset in the hopes to photograph the Arrowleaf during golden hour.

At first this hike was just about photographing the Arrowleafs but about 3/4 of the way up it became something more.

I had never been able to scale the whole Knox Mountain in the past. In all the years I’ve been living here I’ve never been to the top because I’m not that physically fit and in my head I made climbing Knox Mountain like climbing Everest.

On this day I was at the 3/4 mark that I had made it to the last time. I had about 10-15 minutes left of sun before it would set behind the mountain. I debated turning around and going back down the mountain but instead I kept climbing.

I had come so far already and I knew if I could climb the mountain to the top, by myself that it would be a personal accomplishment that I needed.

When I made it to the top I felt courageous, brave, and confident. I reached a new height that I hadn’t reached before.

knox-mountain-apex-trail-5.jpg
knox-mountain-apex-trail-6.jpg
knox-mountain-apex-trail-7.jpg

One Year | My Adventure with the Olympus EM1 Mark II

I can’t believe it’s been a year! Last April I invested $2100 into buying my Olympus EM1 Mark II with the 12-40mm lens. I remember receiving that package slip and running to the post office because I had 15-minutes to pick up the box or else I would have to wait until Monday. I’ve explored a lot with my Olympus and I’m excited to share how the journey has been in this first year.

When I went to outline this video I had this central question “how has my last year been with my Olympus?” and I ended up with a series of additional questions that I’m going to answer in todays post!

Where has my Olympus taken me?

While reading David duChemin’s The Heart of the Photograph he said in one chapter that photography is not only a means of expression but exploration. So I plotted on a map all of the places that I have travelled with my Olympus! I’ve explored Fort McMurray, Kelowna, Banff and Vancouver. I’ve significantly travelled around the Kelowna area and I do believe that I have only explored as much I have because of my camera and photography.

Screen Shot 2021-04-14 at 7.47.13 AM.png

What have I explored with my Olympus?

I don’t believe exploration is refined only to physical exploration but also exploration into different photography genres and techniques. Over the past year I’ve experimented with landscape photography, wildlife, timelapses, stop motion, refraction and more!

Exploring landscape photography!

Exploring landscape photography!

Exploring wildlife/bird photography, taken at Rotary Beach in winter of a goose.

Exploring wildlife/bird photography, taken at Rotary Beach in winter of a goose.

Exploring wildlife/bird photography, taken at Rotary Beach in winter of a duck.

Exploring wildlife/bird photography, taken at Rotary Beach in winter of a duck.

Exploring refraction photography, taken inside my home using a laptop with my age, some glass and water droplets!

Exploring refraction photography, taken inside my home using a laptop with my age, some glass and water droplets!

Is there anything I want to explore next?

Reviewing the map that plotted all of the locations I’ve visited I do want to explore more of the North and South Okanagan.

I also want to explore some prism photography, playing with shutter speed (movement) and creative portraits.

Screen Shot 2021-04-14 at 7.56.33 AM.png

Do I have any regrets?

There were times throughout the year that I did regret not purchasing the Mark III when I bought my Mark II. However, at the time the Mark III was more expensive and didn’t align with where I was with my photography. Overall, I love my Mark II and I don’t regret the purchase.

Would I upgrade or do I have plans to upgrade?

At some points throughout the past year I have thought about upgrading to the Mark III or the EM1X. However, I do not have any solid plans to upgrade. I’m in the middle of a mindset shift that focuses more on creative vision/eye. Investing more money and resources into refining my eye as a photographer.

Is there anything I would buy to assist with my photography goals?

There are some items on my shopping list that I would like to one day buy.

1) Olympus MC-20 Converter: This would be for my M.Zuiko 40-150mm. I would buy it to do more wildlife photography!

2) M.Zuiko 30mm or 60mm Macro Lens: I also have an interest in buying a macro lens so I could explore more macro photography.

3) Olympus Pen: I love bringing my camera everywhere with me. However, sometimes whipping out the EM1 Mark II with the M.Zuiko 12-40mm is a bit much for the environment I am in. Which is why I have debated purchasing the Olympus Pen for situations like this.

4) Olympus Film Camera: I haven’t researched this a ton as of yet. But ever since I inherited my grandfather’s old film camera I have had this interest in film camera’s - learning more about them, learning to take film photos, etc.,

5) New Camera Bag & Tripod: I also really want to buy a new camera bag for hiking. The one I have currently does the job but it’s not perfect. As well, a new tripod that is even lighter and compacter than the one I have now.

These are all items on my shopping list but I rarely now ever impulsively buy. I used to have a really bad shopping habit when I was younger and I would buy and buy and buy. Now, I maintain a list on my phone and when there is an item I want to buy I let it sit on the list to understand if its actually a need or just a temporary want.

Would I ever consider switching (camera brands)?

No, at least not right now. I can’t tell you what I might be feeling or the direction of my photography 10 or 20 years from now. However, at the moment I love my Mark II, I love the glass on the Olympus lenses, and I love the Olympus community.

Do I have a favourite lens?

My favourite lens switches from what I am interested in photographing at the time. When I was doing a lot of bird photography I always had the M.Zuiko 40-150 on my camera body and never left the house without it. Now that I am doing more hiking I absolutely love the M.Zuiko 12-40mm because it’s so versatile for me to get landscape photos then switch to get photos of the flowers on the mountain or self-portraits of us hiking.

8.jpg
26.jpg

Has my customization changed?

If you don’t own an Olympus you should know that it’s extremely customizable! Almost every button on this camera can get mapped to serve a specific function for you. I have had the following customizations for the past year:

1) Back dial: Changes my aperture

2) Front dial: Changes my shutter speed

3) FN1 button: Focuses

4) FN2 button: Switches the view from my screen to my EVF

Every other button on my camera I haven’t really touched to change in the last year.

Is there a feature on the Olympus EM1 Mark II that I can’t live without?

There are so many wonderful features on the Mark II that I wouldn’t want to live without:

1) Image Stabilization: The Olympus camera/s have amazing image stabilization. I for the most part don’t need to bring my tripod unless I’m doing timelapse photography because you can capture stunning crisp photos without one.

2) Articulating Screen: If you read my Which Camera for Travel Photography post you’ll know the camera I purchased a year ago needed to have an articulating screen. I love the flexibility of having an articulating screen especially for ground or awkward shots.

3) Interval Shooting: I love the interval shooting feature of the Mark II when I’m doing self-portraits or taking photos of me and Max or my family. I can setup my camera, change the number of frames and how often it will take the photos and it will take a series of photos instead of just one (giving you plenty of time to get into position or change positions).

There are so many other wonderful features of the Mark II - sequential high/pro capture, manual focus assist, internal timelapse, weather sealing, etc., the list could go on!

Olympus EM1 Mark II toughing the rain.

Olympus EM1 Mark II toughing the rain.

Olympus EM1 Mark II toughing the snow and winter.

Olympus EM1 Mark II toughing the snow and winter.

Olympus EM1 Mark Ii enjoying spring.

Olympus EM1 Mark Ii enjoying spring.

Final Thoughts

I’ve really enjoyed my last year with my Olympus EM1 Mark II and I can’t wait for all the future adventures and explorations I’ll have with it!


Happy Photographing!

Beautifully Wander | Robynne Ikesaka

Why I Love Photography | Creativity and Instagram | Questions I Have for You

Earlier this week I visited Dilworth Mountain Park for some spring photography. While at home when I was editing the photos two photos specifically spoke to me - one about why I love photography and the other about creativity and Instagram.

Why I Love Photography

When I was walking along the trail I kept coming across these bushes that sometimes when the light hit it, it would make these buds glow golden and green. I stopped to take a photo of the bud and I just loved how it backlit the leaf, how you can see all of the veins and the pattern on the leaf.

This photo and moment was a beautiful reminder of why I love photography.

Photography gave me a whole new world, a whole new outlook on life and my environment. Before photography I didn’t admire the changing of the seasons, I might have noticed or loved the change but I never stood still and admired the change - how the landscape changes colour, how the weather changes, all the details that makeup the transition.

Question: You can answer over on my Instagram post or YouTube video but is there a photo (recent or not) that reminds you of why you love photography or got started?

dilworth-mountain-park-1.jpg

Instagram and Creativity

This was another favourite image from my trip to Dilworth Mountain Park. My intention was ‘Goodnight Kelowna’ - with the sun setting behind the mountain range and the Kelowna valley underneath. But when I was editing this image I had it in a horizontal format and a vertical. In the past I would have chosen the vertical to edit because, it’s vertical for Instagram. However, about a month ago I watched a video by Chris Hau on how Instagram was killing creativity and how in his Lightroom Catalogue majority of his photos were vertical.

Vertical is suppose to “do best” in Instagram and with the algorithm but I decided to edit and publish the horizontal. Why? It fits better. It conveys and aligns with more of what I am trying to express and capture.

Yes, making these decisions could potentially hinder my growth or favor me less in the algorithm. But for the sake of my creativity and my photography I am choosing differently.

dilworth-mountain-park-6.jpg

Final Thoughts

Feel free to respond to these questions over on my Instagram post or YouTube video but:

Question: Why do you love photography?

My Answer: I love photography for its world of possibility. For its creativity. For its gift to me that showed me a new perspective of life and my

environment. I love photography for its power to explore and express.

Question: Is there something specific that drives or inspires you?

My Answer: To explore the world. To capture a feeling, moment in time, or idea.

Question: Do you prefer working in a series or collection?

My Answer: I prefer working in a series or collection. For example, Chasing Fall, Characteristics of Kelowna, Hello Spring…I find working in a series gives

my photography focus.

Question: Do you feel social media influences your creative flow?

My Answer: Yes! Instagram, YouTube, social media does influence my creative flow. Sometimes for the better because it fuels me with ideas, inspiration,

value. Sometimes its for the worst because I compare, I get overwhelmed, I lose myself in the algorithm.


Happy Photographing!

Beautifully Wander | Robynne Ikesaka

Water Droplet Refraction Photography | Fun, Creative, At Home Photography Idea | Create with Me

Welcome back to another Create with Me! Last week I was live with Olympus and three other amazing photographers chatting about what we like to photograph and how we got certain photos and I was inspired by Emilie Talpin to try doing some refraction photography!

Refraction Photography

I have no idea how to define refraction photography. All I have for you is refraction is the “bending of light”… if that even makes sense. The best I have for you is images as an example.

refraction photography with water droplets 1
refraction photography with water droplets 2
refraction photography with water droplets 3

The Concept

The concept I was going for was refracting an image on my laptop screen onto some water droplets that I have made on a sheet of glass. However, after setting up for the shot I ran into two issues:

  1. When I sprayed my glass with some water it didn’t actually form water droplets

  2. I couldn’t manually focus on a water droplet, hold my camera, and hold the glass at the same time to take the shot

I was tempted to give up…I continued to spray my glass, dot the glass with water, even tried it on my patio door…nothing. I couldn’t create water droplets on my glass.

These are how they were turning out:

refraction photography attempt 1
refraction photography attempt 2
refraction photography attempt 3

I Almost Gave Up…Adjustments I Made

After almost admitting defeat I found an article that suggested I cover my glass with plastic wrap…and…BINGO! After covering my glass with some plastic wrap it actually created water droplets that stayed!

This was the first shot I got!

refraction-photography-8.jpg

Final Thoughts

  • If you’re having issues using glass and creating water droplets on the glass try placing plastic wrap on the glass and then spraying the water (it will actually form better droplets). The only issue here is getting a nice clean placement of the plastic wrap (without any lines or bubbles).

  • Try shooting top-down. Use a larger piece of glass and prop it up, place your photo underneath, spray the glass and shoot top down. This will help your water droplets stay uniformed. I didn’t have a large enough sheet of glass to do this with so I worked with what I had.

Try to place your plastic wrap on your glass as cleanly and tightly as you can.

Try to place your plastic wrap on your glass as cleanly and tightly as you can.

By spraying water on the plastic vs. straight on the glass it will form better droplets (based on my experience)

By spraying water on the plastic vs. straight on the glass it will form better droplets (based on my experience)

If you shoot top-down rather than my vertical shot your droplets will have a better chance of staying uniformed and clean.

If you shoot top-down rather than my vertical shot your droplets will have a better chance of staying uniformed and clean.

  • Use manual focus to get clear focus on a water droplet (if you enable Manual Focus Assist (MF Assist) it will help magnify your screen to 3x while adjusting your focus so you can clearly see if you are in focus)

    • To set this up go into your Olympus Menu -> Scroll down to the gear icon -> Head down to A3 -> Scroll over to MF Assist and make sure “Magnify” is on (when Magnify is ON it will automatically magnify the image when the focus rig is rotated in MF mode)

When you turn ‘Manual Focus Assist’ on and you are manually focusing the screen will go to 3x so you can see better if you’re in focus.

When you turn ‘Manual Focus Assist’ on and you are manually focusing the screen will go to 3x so you can see better if you’re in focus.

  • Play around:

    • Play with the size of your glass. I used a 4x6 frame glass but you could play with smaller and larger pieces.

    • Play with your subject (you could try using real photos or different kinds of photos on your screen)

    • Play with your settings (at first I had my aperture setting at F2.8 so the actual photo was pretty blurred out in the background, but when I pushed it to F16 the background photo popped more.

    • Play with colour (I found darker images popped more than bright, light and airy photos).

  • Be careful handling the glass. I ended up cutting myself at some point during the experiment. So after it was over I taped some cardboard to the side so I can hold it better without cutting my hand.


I really hoped you enjoyed todays Create with Me and you try it out at home. Huge thank you to Emilie Talpin for the inspiration!

Timelapse Photography and Editing Workflow using the Olympus EM1 Mark II | Create with Me

I started the ‘Create with Me’ series over on my YouTube channel because I wanted to experiment with other kinds of photography. Instead of just posting the result to Instagram I decided to document the journey, the process, and share it on my YouTube.

Today, I get back to the reason I started this series and bring you along with me as I create another cloud timelapse.

What is a Timelapse?

You can create a photo or video timelapse but essentially your footage/photos are taken over a long period of time but are shown quite quickly. Thus, something that takes a long time like the clouds moving in the sky, the sun setting, etc., are shown as a short clip.

Setting Up for My Timelapse

To setup for my timelapse I have my Olympus EM1 Mark II with the M.Zuiko 12-40mm F2.8 PRO lens setup on my tripod. I set my in-camera settings to an ISO 200, 1/50 and an aperture of F22

To enable the timelapse setting on my camera:

  • Select MENU

  • Go to CAMERA 1

  • Go all the way down to the bottom

  • Turn the timelapse setting ON

Screen+Shot+2021-03-26+at+9.48.32+AM.jpg
Screen+Shot+2021-03-26+at+9.48.46+AM.jpg
Screen+Shot+2021-03-26+at+9.48.59+AM.jpg

To change my timelapse setting I went further into the timelapse menu and adjusted my frame count and interval length. I ended up with a frame count of 540 frames, a start waiting time of 2 seconds and an interval length of 5 seconds.

Screen+Shot+2021-03-26+at+9.49.12+AM.jpg

I forgot to mention that I heard if you turn your TIMELAPSE MOVIE to ON instead of OFF your camera will capture both still photos and .AVI. However, I haven’t fully experimented with this or creating a timelapse in camera.

You’ll know your timelapse is ON because on your camera screen a number with your frame count will appear in white at the top of the screen. Once it is going the frame count will go green and start counting down.

Of course, this entire process might differ if you are using a different camera.

Screen+Shot+2021-03-26+at+9.56.51+AM.jpg

What’s Interesting About Timelapses

Up until a few weeks ago I wasn’t interested in doing timelapses, however, I’ve enjoyed the pursuit of creating and experimenting with timelapses. I love the essence of capturing something slow and seeing the magic when it comes together. I think it offers something different to the eye and the mind.

Editing Workflow

To edit my timelapses I have been manually editing them. I pull the photos into Lightroom and do some light post-processing. To make this process easier I edit the first photo to how I like and sync the edits to the rest by selecting them all and hitting sync. The pastings of the edit takes a while but after it is done I go in and check to make sure the edits are how I like.

Screen Shot 2021-03-26 at 10.02.17 AM.png

After the photos are all edited and exported I pull the images into iMovie to do some manual control of stringing the photos together. Similar to how I edit my stop motions in iMovie I shorten each clip to its shortest length - .10 seconds. .This clip length is still too slow for my liking of a cloud timelapse so to get around this limitation I further export the whole thing and re-import it into the timeline. Once it’s re-imported I can adjust the speed of the timelapse. Depending on the timelapse I have played around with a custom speed of 250-400%.

For this timelapse I settled with a custom speed of 400%.

The last step was to add music! I find all my music for my YouTube videos, stop motion and timelapse clips on Epidemic Sound. For this timelapse I selected the song Sun Comes Out.

After the music is added it’s finished!

Screen Shot 2021-03-26 at 10.05.08 AM.png

Manual vs. In-Camera Timelapses

I personally haven’t experimented with in-camera timelapses yet. I’ve manually created the timelapses so far by capturing still photos, editing in Lightroom and stringing together in iMovie. I love the manual control to change the speed of my subject.

Final Thoughts

I love the result of a timelapse! Cloud timelapses have been my favourite with sunset timelapses being a close second. However, sitting around for 45-minutes and waiting for the timelapse to finish is kind of boring. The post-processing of the timelapse manually does take a long time but I have yet to try creating a timelapse in camera.

I hope you enjoyed todays Create with Me! If you have any tips on creating timelapses leave a comment on the video!

Organizing and Planning with Milanote | How I Use Milanote to Plan My YouTube and Projects

Welcome back to Beautifully Wander! I’ve used all kinds of note taking softwares - OneNote, Evernote, Notion, Trello and right now I use Milanote every single day to plan my YouTube content and various projects. In today’s video let me tell you why Milanote is great for photographers and creatives!

This video was not sponsored I just personally love and have used Milanote since last September and I genuinely hope you find this post useful!

Enjoy the videos and music you love, upload original content, and share it all with friends, family, and the world on YouTube.

What is Milanote?

Milanote is an online tool that you can use to organize your tasks, projects, business, travel, life.

Using Milanote to Plan a Vacation Trip

The best part of Milanote and why I think it’s great for photographers and creatives is it’s flexibility. I can lay out my content how I want it. I’m not confined to particular boundaries or formatting like I am with other note-taking apps.

I can structure it so it’s text blocks only, I can create a mindmap mood board for a photography shoot, or use it to plan my next adventure.

Using Milanote to Plan a Video

In my mind Milanote is like a mashup of the other softwares and Pinterest.

Here are a couple of examples of how I use Milanote.

How I Use Milanote

Example #1 - Planning my YouTube Content

I use Milanote every week to plan my YouTube content for the month and coming months. I create a series of columns and label them according to the month. Under each month I have blank template boards that I use as placeholders that correlate to a Saturday of the month. If I have a video idea I’ll change the name of the board but if I don’t I’ll leave it as Template.

Beneath my monthly columns I have more columns, text blocks and boards with video ideas and inspiration.

Within a board I can create note blocks, add links, create to-do lists, create a board within a board, create columns, add images and files.

I can also bold text, italicize text, change text color, highlight text, and change the card color.

As well, I can continue to work vertically or move horizontally if I need more space.

Using Milanote to Plan a YouTube video

Example #2 - Planning my Gallery Wall

Another example I wanted to show you was how I use Milanote to plan a project. A personal project I have for my home is a huge gallery wall. With Milanote I can add a bunch of images to a board and organize them how I want. For this project board I have inspirational photos for how I want to layout my gallery wall, I have a column with photos that I want to purchase, a to-do list of items that I need to complete the gallery wall, photos that I have taken of what I currently have for the gallery wall and photos of my own that I want to print and add.

You can do a variety with Milanote and depending on the type of project the layout varies - this project board was picture heavy with lots of visuals.

Using Milanote to Plan a Gallery Wall Project

Milanote Save Function

Another great feature of Milanote that I love having is the save button function that you can install and enable on your internet browser. If I find an article, quote, video that I want to save for future reference I can save it to a board on Milanote by selecting the icon on my browser.

Using the Milanote Save Function on Google Chrome

It will come up as ‘Unsorted’ on my board and then I can drag it to where I would like.

How to Use the Milanote Save Function

Cost

At first when I started using Milanote I used the free version but with how heavily I was using it to plan and organize my YouTube content and my photography projects I opted to upgrade to the next version which was $9.99/month billed annually. With how much I use it the cost was worth it for me.

Milanote pricing

Final Thoughts

I love Milanote because I can layout in a more organized fashion the chaos that is in my head. I’m a very visual person so Milanote is perfect for me! If you need more inspiration on how others use Milanote check out their website and select ‘How People Use Milanote.’

How People Use Milanote on their Website

Let me know over on the channel if you use any online tools to help you plan.

Thank you for reading and I hope you found this post useful!

Unboxing & First Impression: Olympus M.Zuiko 7-14mm F2.8 PRO

Welcome back! In todays episode I take you through one of my favourite kinds of videos to watch an unboxing of a new lens, as well my first impressions of the lens and what I hope to get out of it.

Full disclaimer, this post/video is not sponsored, this is not a paid promotion, I was not asked to make this video but I did receive this lens as part of collaborations with Olympus.

Basic Details

This is the M.Zuiko 7-14mm F2.8 PRO lens which in full-frame terms is a 14-28mm. This lens’s maximum aperture is F2.8 and its minimum is F22. It sits at 4.17 inches long and 3.11 inches wide and weighs in at 1.18 pounds.

If you want more technical aspects of the lens check out Olympus’s website!

First Impressions

Size

The Olympus M.Zuiko 7-14mm lens is a very familiar size to the M.Zuiko 12-40mm in length and width. The lens might fit a little longer but but it’s a nice compact size.

Weight

When I first held this lens I was surprised at its weight, in that it felt heavier than what I was expecting. However, given the quality of the lens - it’s made of sturdy material that doesn’t feel “plasticy” which indicates to me that its going to age well and whether the elements well.

Zoom Feature

The M.Zuiko 7-14mm is similar to the 40-150mm in that the length of the lens doesn’t get longer when you go from it’s one focal length to the other. For example, if you zoom from 12mm to 40mm on the M.Zuiko 12-40mm F2.8 PRO lens the mid-section gets longer. On the 40-150mm F2.8 PRO it doesn’t get any longer. However, with the 7-14mm the length doesn’t get longer but the lens part does move up and down.

Lens Cap

I really love the lens cap on the 7-14mm. The lens cap goes over and snuggly fits on the lens which in my opinion makes attaching and detaching the cap much easier.

Tight Zoom

At first I was concerned about the surface area of the 7-14mm and that it was a tight zoom when holding. However, once you get it on the body it was completely fine.

Protecting the Lens

I am also concerned on how I am going to protect this lens. On my other lenses I have a screw-on UV filter, however, with the 7-14mm and the dome-shape to the lens it cannot fit a screw-on filter.

Test Photos

Of course, you have to take it for a spin and test the new lens. My first trip out with it was to Cedar Creek Park in Kelowna, BC.

Cedar-Creek-Park-3.jpg
Cedar-Creek-Park-6.jpg
Cedar-Creek-Park-8.jpg

The second spot I took the new lens out for a spin was Bluebird Beach along Okanagan Lake on a particularly cloudy and stormy day.

Bluebird-Beach-1.jpg
Bluebird-Beach-2.jpg

I also wanted to test it out around Downtown Kelowna. While we were walking around downtown we came across this little pig and his owner going for a walk!

Downtown-Kelowna-1.jpg
Downtown-Kelowna-2.jpg
Downtown-Kelowna-3.jpg

What I Hope to Get out of this Lens

There is a few things I want to get out of this lens.

Creative Distortion

The first thing I hope to play and experiment with is creative distortion. It’s not new that a wide angle lens can create a sense of distortion in your images but I have been particularly drawn to the distortion it creates so I want to create and experiment with this in my outdoor nature images.

Indoor Locations

The second thing I hope to to play with is photographing indoor places. I love taking my camera to new restaurants with me but I find the 12mm on my 12-40mm F2.8 PRO isn’t enough to really get a sense of a place or environment.

Self-portraits and Filming

The last thing I hope to experiment with is taking self-portraits with a wide angle lens and filming videos with it.


I’ve only had this lens for about two weeks so I haven’t used it enough to give a full-depth review, but I wanted to give my first impressions of this lens and what I hope to get out of this lens!

Happy photographing!

Develop Your Skills Now | Filming on the Olympus EM1 Mark II | Mill Creek Regional Park

Welcome back! A few months ago I read this article on National Geographic about mastering travel skills now for smarter trips later.

In the coming months and year I have big plans for travel - I want to visit the Yamnuska Wolf Dog Sanctuary in Calgary, Alberta. I want to visit the Bloedel Conservatory in Vancouver, British Columbia. I want to do a winery trip down to Osoyoos and if travel really opens up - visit Japan! In the meantime I am developing my skills now so when we can travel I’m ready!

Wander with Me - Mill Creek Regional Park

Todays video features Mill Creek Regional Park. This wonderful park is located in the Ellison area of Kelowna, just east of the airport. It’s a light and easy hiking trail that is fairly flat and only has one staircase.

Mill-Creek-Regional-Park-3.jpg
Mill-Creek-Regional-Park-4.jpg

If you continue on the hiking trail, following the creek you’ll come across a fork in the path where you can either visit the top of the waterfall or the bottom.

Mill-Creek-Regional-Park-5.jpg
v-day staycation-8.jpg

Skills I’m Developing Now

This weeks episode, this mini-trip out was a test, an experiment to practice a couple skills that I’m trying to get better at. One of them is filming and making better videos. I tried in this video to play around with using the Olympus EM1 Mark II, as well including a different intro, b-roll, music and sounds.

The second skill I was practicing on this trip was taking self-portraits. I want to capture us, as much as I want to capture the places so I practice self-portraits now so I can better create them when we’re travelling.

Mill-Creek-Regional-Park-1.jpg
Mill-Creek-Regional-Park-2.jpg

I’m also trying to be a lot more comfortable in front of the camera (specifically filming/taking photos with other people around).

Blog Graphic.png

Let me know over on the YouTube channel if you are working on anything right now!

I Attempted to Clone Myself! | Create with Me

Welcome back! I was so intrigued with creating this clone-yourself self-portrait that I attempted one this past week to pair with my re-introduction post on Instagram. In this episode I take your through how I created it!

The Setup

For this clone self-portrait I used my Olympus EM1 Mark II with the M.Zuiko 12-40mm F2.8 PRO lens. I also for this self-portrait used the Olympus OI.Share app to remote control the camera.

To do this on your Olympus camera hit the WiFi button on your camera screen, after pull up the Olympus OI.Share app on your phone and hit ‘Remote Control’.

Taking the Photos & Light Post-Processing

To take the photos I positioned myself using my phone to see and then set the camera to timer so when I clicked the shutter I had 12 seconds to put the phone down and re-compose myself.

I originally wanted to do 5 photos but I did not have enough room in my living room for the 5 so I ended up with 3.

The final photos I got was after my third attempt - I did two wardrobe changes because I wasn’t 100% happy with what I was wearing and how it was turning out.

After I got the photos I lightly post-processed in Lightroom Classic.

clone-yourself-1.jpg
clone-yourself-2.jpg
clone-yourself-3.jpg

Cloning Myself

To actually clone myself I used Snapseed. I created double exposures and changed the opacity to achieve the three clones of myself.

Open up your first image in Snapseed.

Open up your first image in Snapseed.

Under ‘Tools’ select ‘Double Exposure’

Under ‘Tools’ select ‘Double Exposure’

After click the add image button and add your second image.

After click the add image button and add your second image.

Select the second last icon from the right and increase the opacity all the way to the right.

Select the second last icon from the right and increase the opacity all the way to the right.

Select the icon on the top right of the screen and select ‘View Edits’.

Select the icon on the top right of the screen and select ‘View Edits’.

Click on your ‘Double Exposure’.

Click on your ‘Double Exposure’.

Select the middle icon with the paint brush.

Select the middle icon with the paint brush.

Brush over where you are on the second image (be careful not to go over where you are in the first image).

Brush over where you are on the second image (be careful not to go over where you are in the first image).

Keep repeating the steps above for every clone you want to make.

You can also use Photoshop for this or other apps/softwares but Snapseed was free and easy to use.

I would be interested in learning how to do this in Photoshop for more editing freedom.

Final Thoughts

Tip #1: Try to have an idea of how you want to pose yourself and the props you might need to make the process easier and faster for you!

Tip #2: Depending on your vision for your clone self-portrait try utilizing a larger space or get outdoors.

Tip #3: If you want more creative control over your poses and editing process you might want to consider using Photoshop instead of Snapseed.

Tip #4: Get totally creative with this! If you are a baker you could clone yourself putting the dry ingredients together, preparing the pie crust, filling the inside with your fruit, cutting the finished pie, eating the pie!


If you try cloning yourself be sure to share on Instagram and tag @beautifullywander so I can see your creation! Happy cloning!

How I Edited this Photo in Lightroom Classic | Edit with Me

Welcome back! In todays episode we do something a little different. I’ve never taken you through my editing workflow before so today I thought I would show you how I edited a recent photo you might have seen on my Instagram of a Canadian Goose on Okanagan Lake fluttering its wings.

The photo on the left you see below is an unedited version of the photo we’re going to edit and the photo on the right is the final version.

Unedited version of the Canadian Goose on the partially frozen Okanagan Lake in Kelowna, BC.

Unedited version of the Canadian Goose on the partially frozen Okanagan Lake in Kelowna, BC.

Final edited version of the Goose with some basic and refined edits done in Lightroom Classic to make the details and Goose pop.

Final edited version of the Goose with some basic and refined edits done in Lightroom Classic to make the details and Goose pop.

Basic Edits

I always start with some basic edits - exposure, contrast, highlights, shadows, tone curve, detail, etc.,

Rotary Beach Goose after Basic Edits

Refined Edits - Adjustment Brush

After I’ve finished with my basic edits I go into any refined edits I need to make. Because of the nature of this photo and that it’s a wildlife photo of a Canadian Goose I wanted to make the bird pop by using the adjustment brush.

I brushed over the goose and made some additional edits to exposure, contrast, highlights, shadows, whites, blacks, etc.,

Rotary Beach Goose after Adjustment Brush

Refined Edits - Spot Removal

Depending on the photo I might also go in with the spot removal tool to get rid of any distractions. In this particular photo the goose was standing on the partially frozen Okanagan Lake with some buoys in the back. To me, it added an element of distraction so I removed it using the spot removal tool.

Rotary Beach Goose after Spot Removal

Refined Edits - Crop

After I am happy with my edits I’ll go in and crop my image. For this particular photo I wanted to place my Goose more on the thirds of the photo (I try to nail this in-camera, however, this proved difficult when trying to catch one of the Geese fluttering its wings).

Rotary Beach Goose after Crop

Export

The last step is exporting the photo. I haven’t found the perfect exporting settings. I’ve watched many videos about exporting in Lightroom and experimented with a few but the one that seems to work the best for me is when the Width and Height is 1080 x 1350 pixels.

Rotary Beach Goose after Export

Final Thoughts

On certain photos I will use the Graduated Filter function in Lightroom but in this particular photo I opted not to.

For the most part I edit in Lightroom Classic but there is the occasion that I take the photo into Photoshop when I need to remove an element of the photo to clean it up (see below for some examples).

Paramount in Kelowna
Davison Orchards

Editing like photography is also very personal - some photographers like to edit on the light and airy side, some photographers prefer dark and moody. I like to keep my edits fairly natural but slightly amplified.

Now you know how I edited my Goose photo! I hope you found a part of this post helpful and happy editing!

Which Camera for Travel Photography? Why I Chose Olympus | UPDATED

In this episode we chat about the hunt for the perfect camera for travel photography and why I personally chose Olympus (OM Digital Solutions). But before we get into it, I was not sponsored by Olympus to make this video I personally love the brand.

Considerations for a Travel Camera

I think it’s important to recognize that investing in a camera is a personal choice and what I find important in a travel camera might not be important to you and vice versa.

Here are some items I found important in a travel camera when I was searching:

1) Compactness and Weight

I prefer when I travel to travel carry-on only because I don’t like lugging around a lot of stuff (both when I’m travelling to a destination and when I’m travelling around that destination).

Thus, the size and weight of the camera was a HUGE factor that I considered in my decision. Which is why I knew I was in the market for a mirrorless camera system because they tend to be on the lighter and more compact side than a DSLR.

2) Lens Selection

I wasn’t just buying a camera and a lens, I was buying into my future so I also knew that whatever camera system I was buying it had to have a good variety of lenses.

I knew beforehand that I didn’t want to be a photographer that accumulates and accumulates gear that uses once and never again so it wasn’t about having this endless quantity of lenses but amazing, versatile, lightweight, lenses.

3) Budget

How much can you afford, what is your budget for your camera and its lenses? For me personally I had a budget of $2000 to buy a body and lens to start with and any subsequent lenses had to be affordable to me.

Something I did consider into my decision making was the capability of buying an older model of body, investing in the lenses and upgrading the body when I need to.

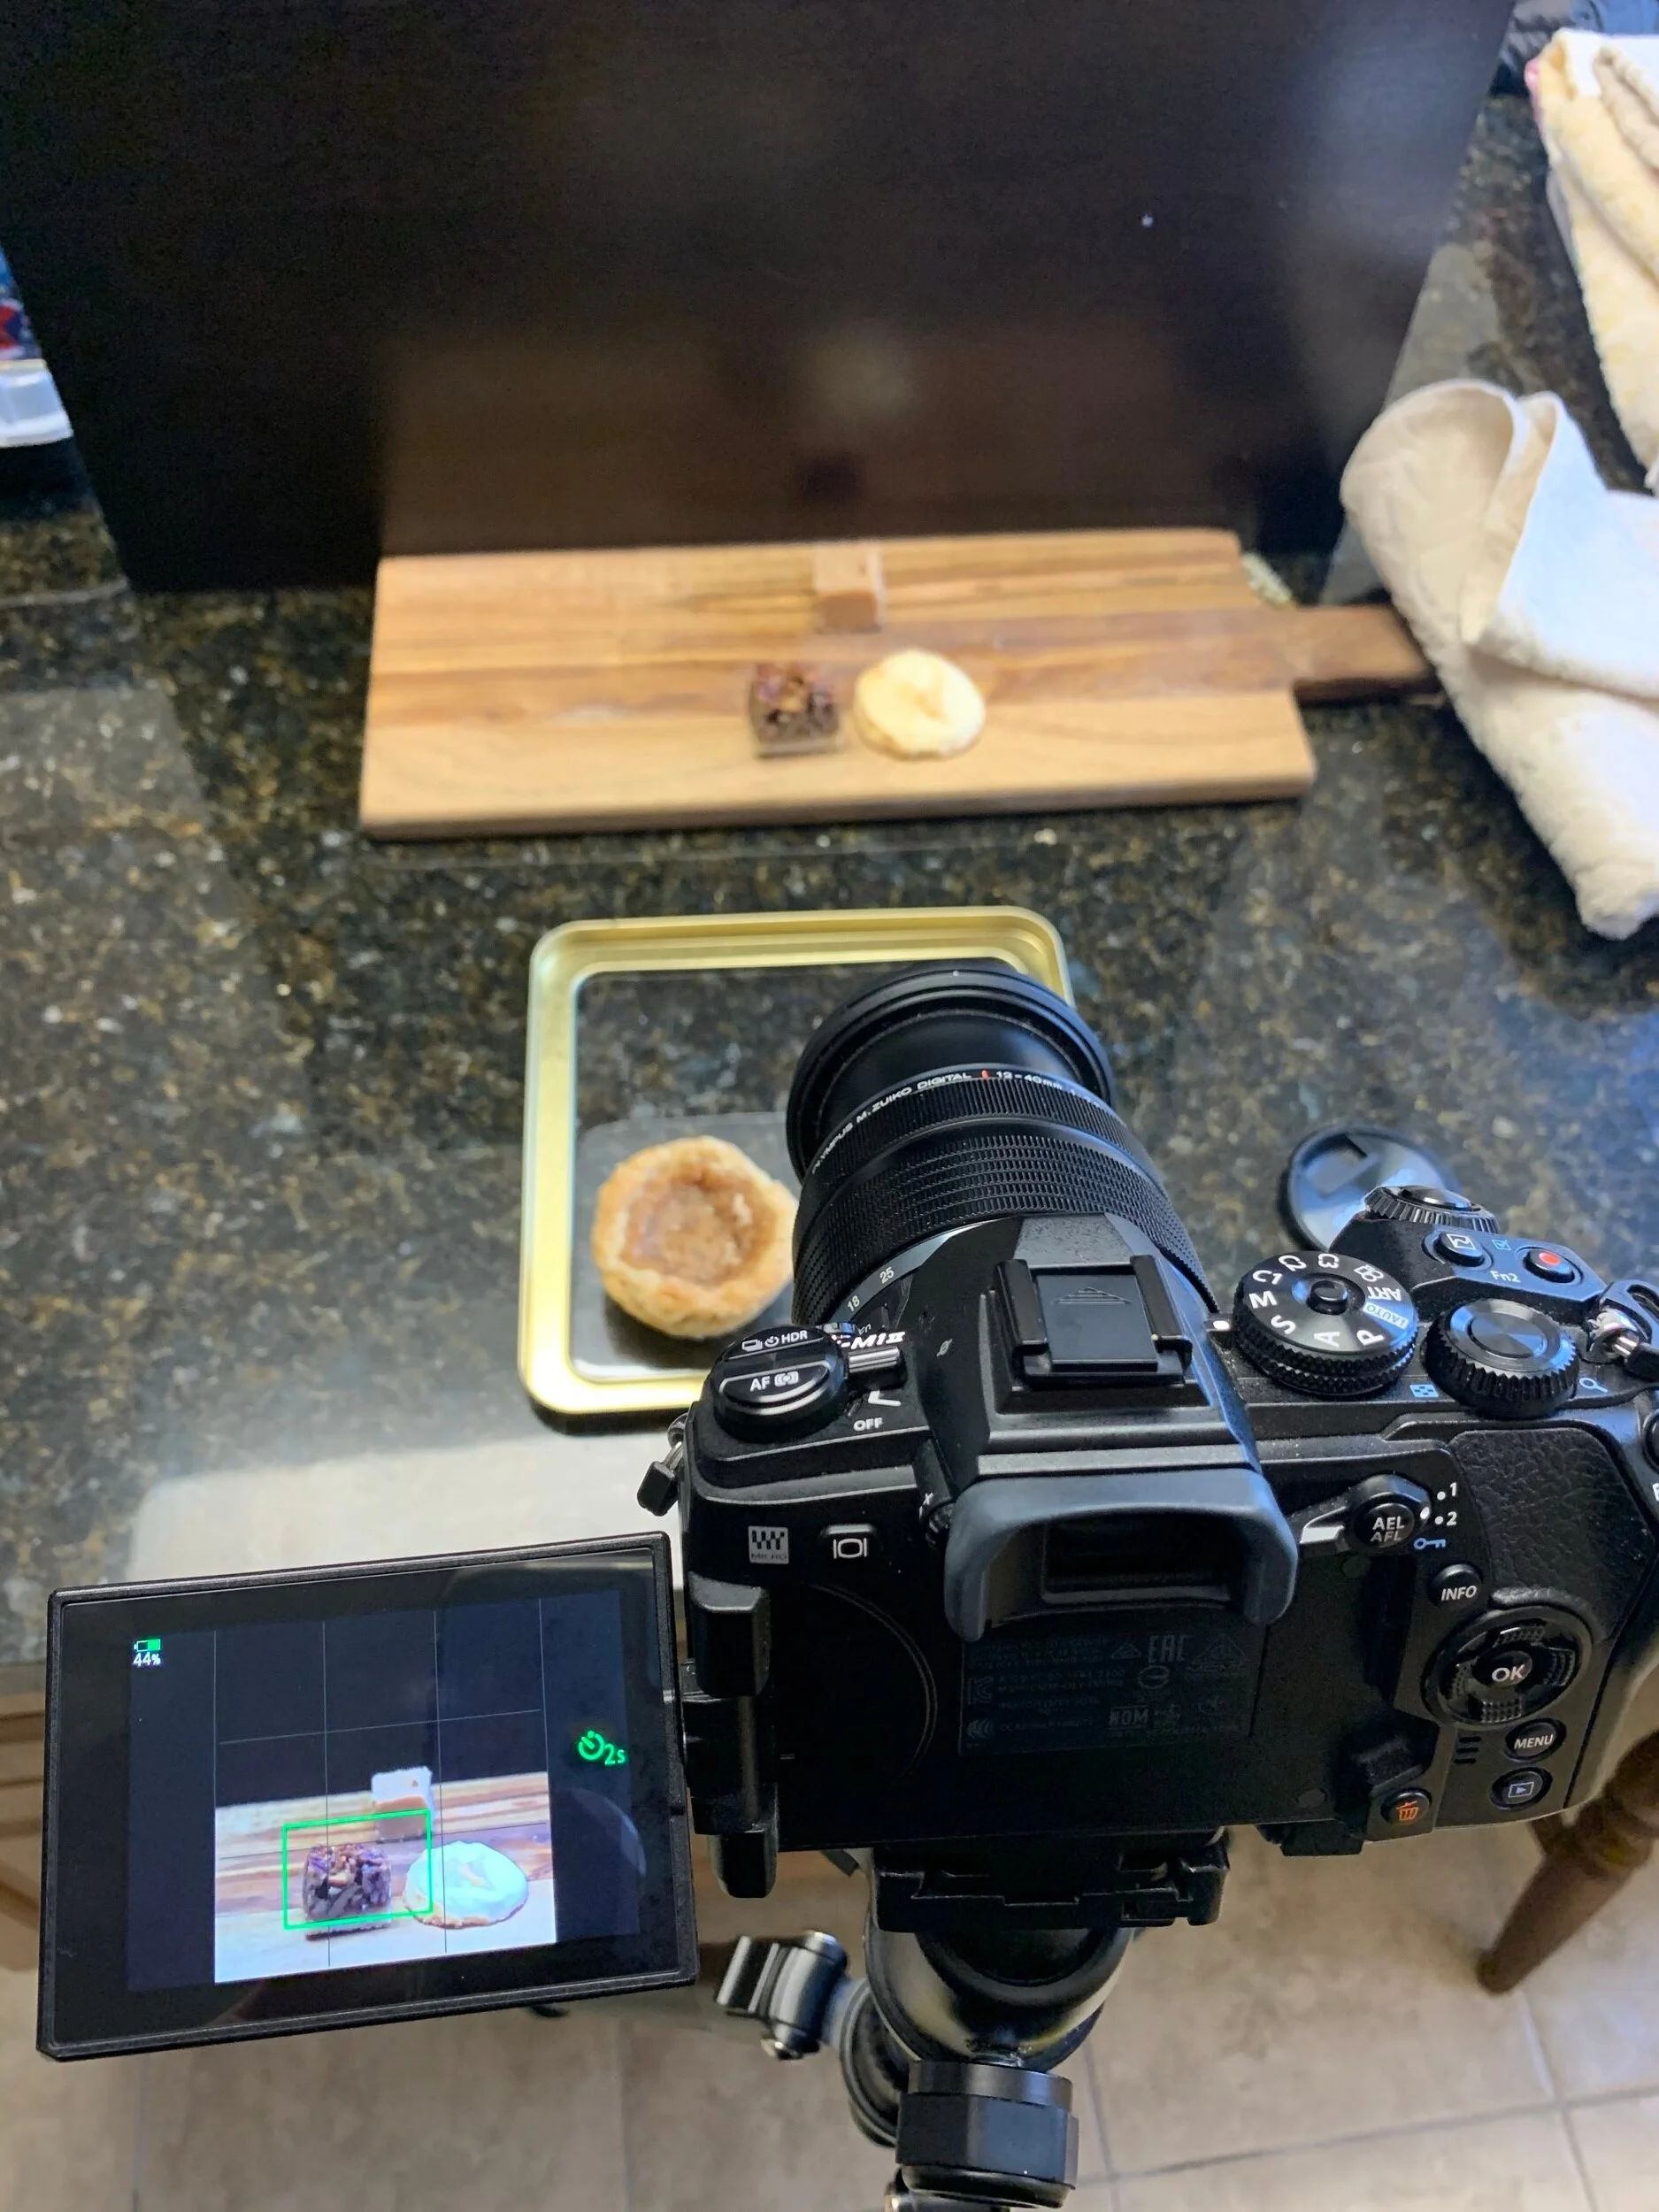
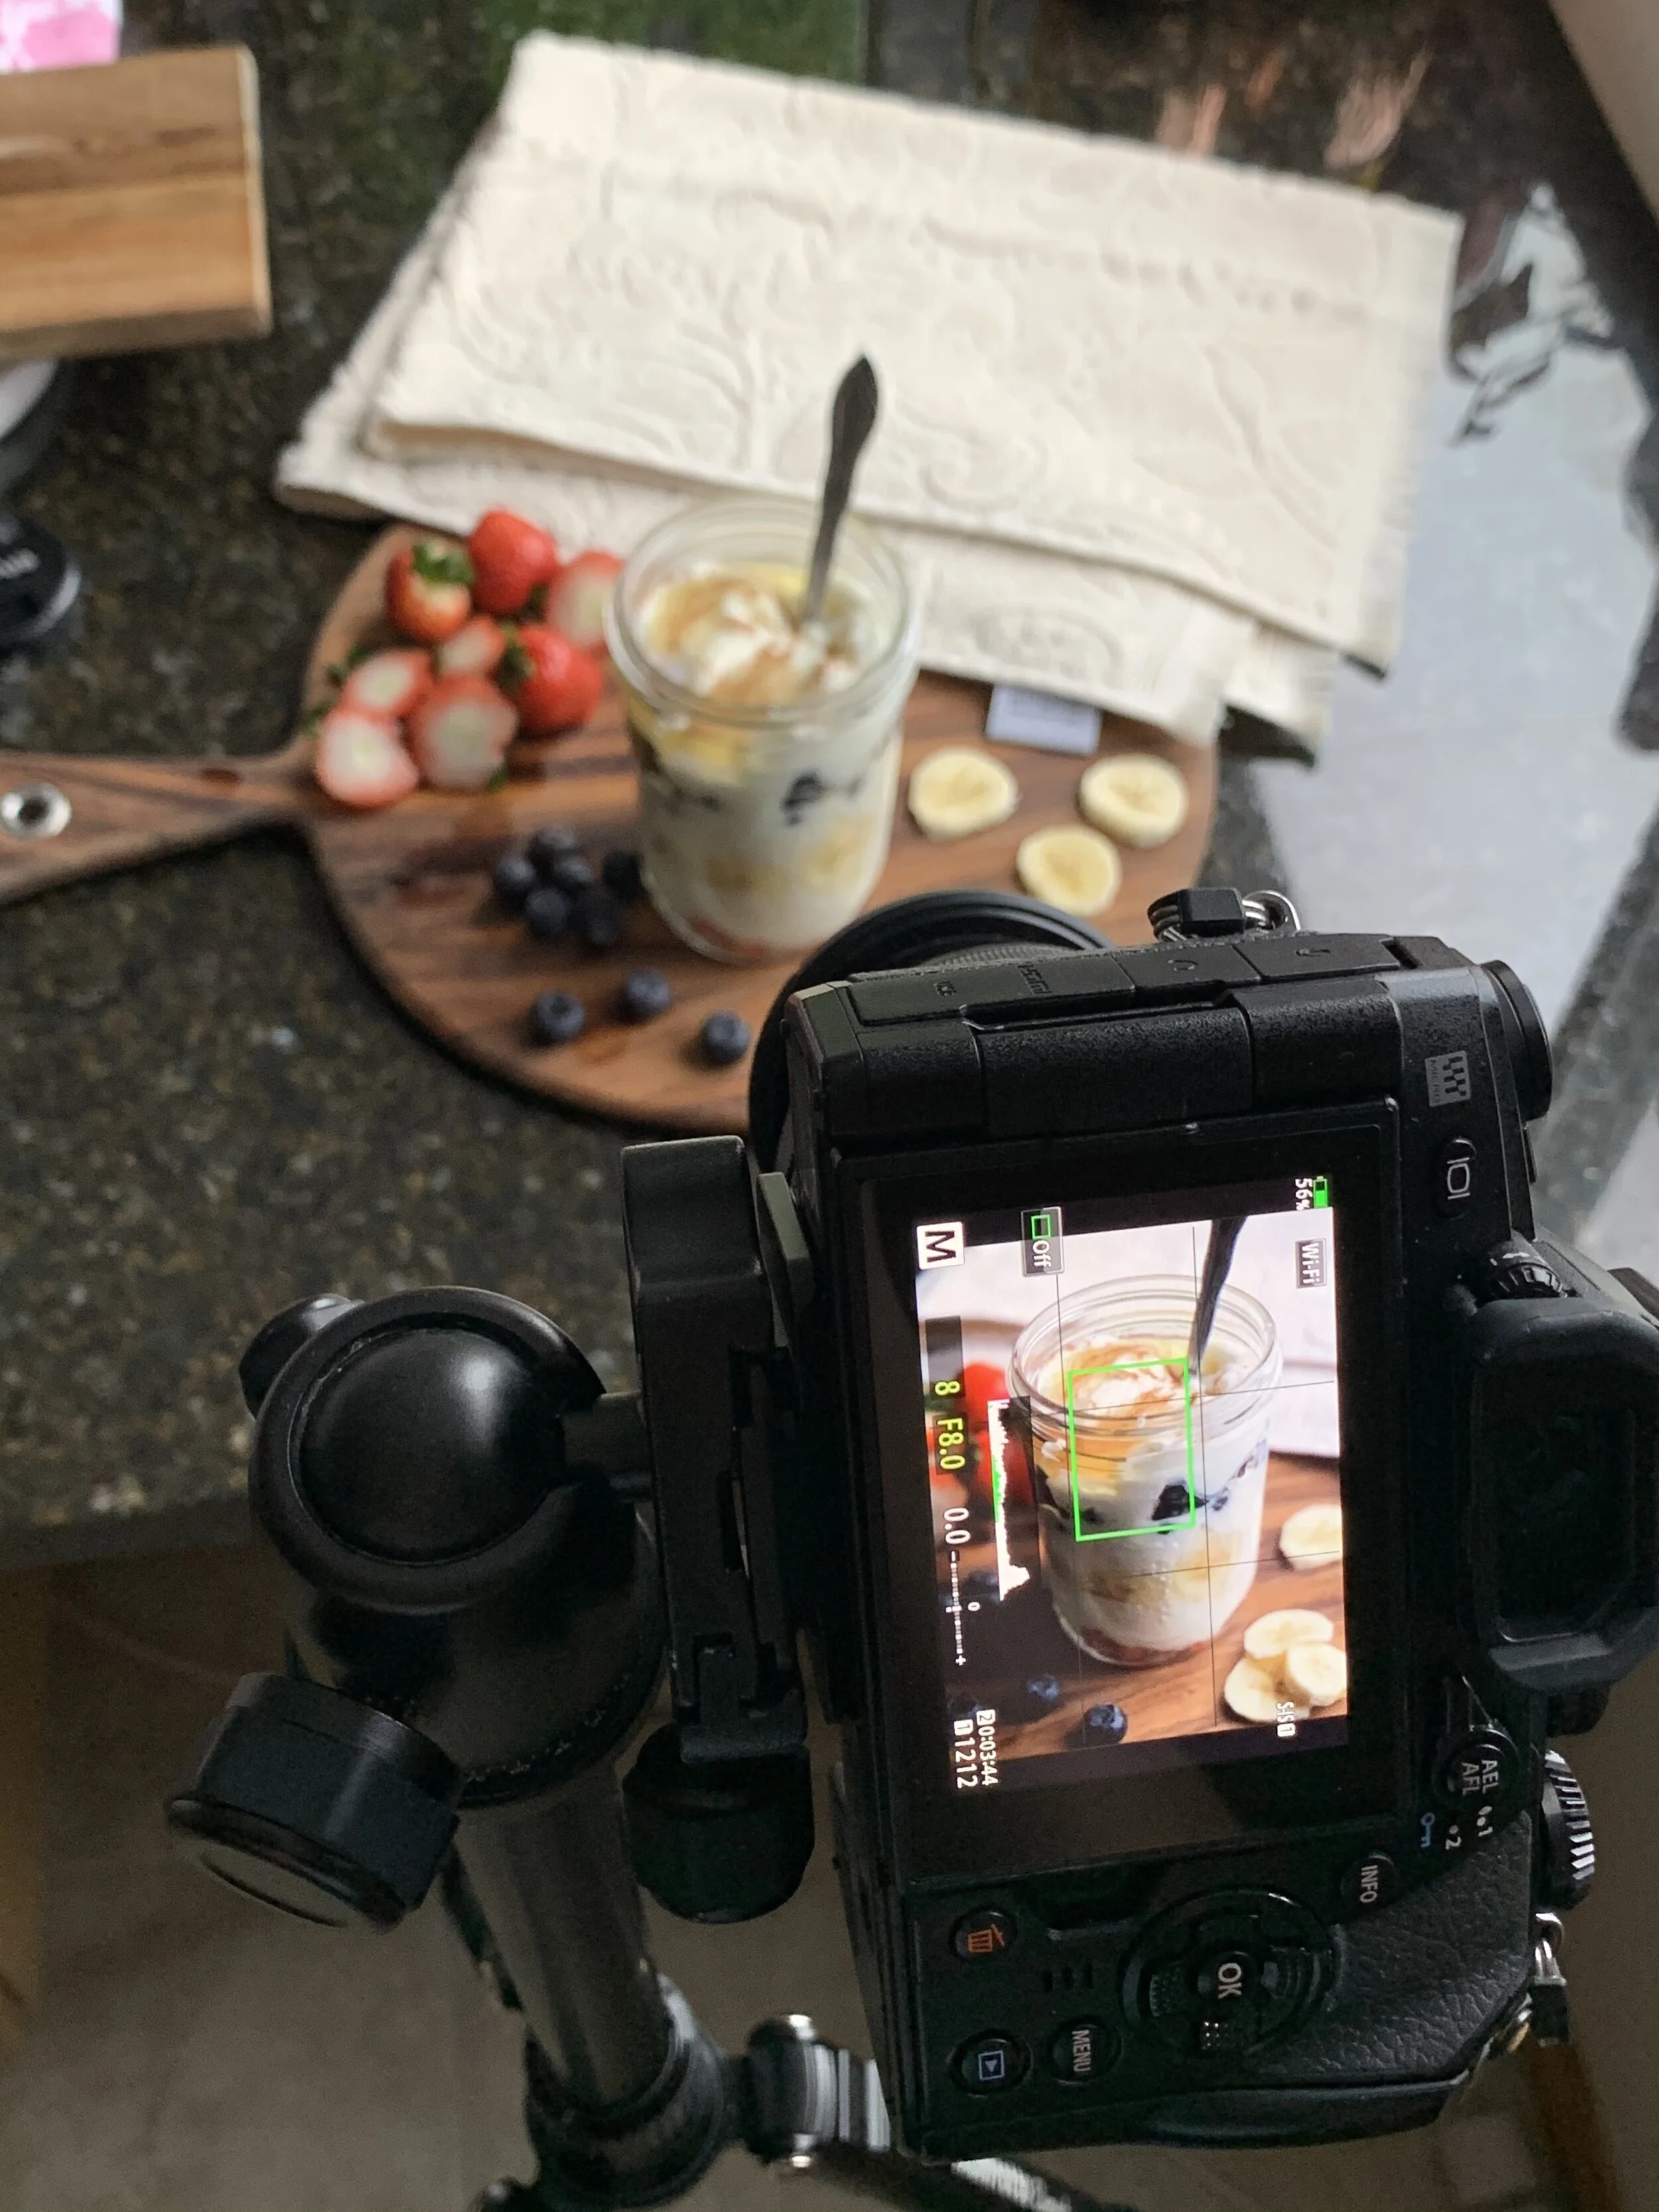
4) Articulating Screen

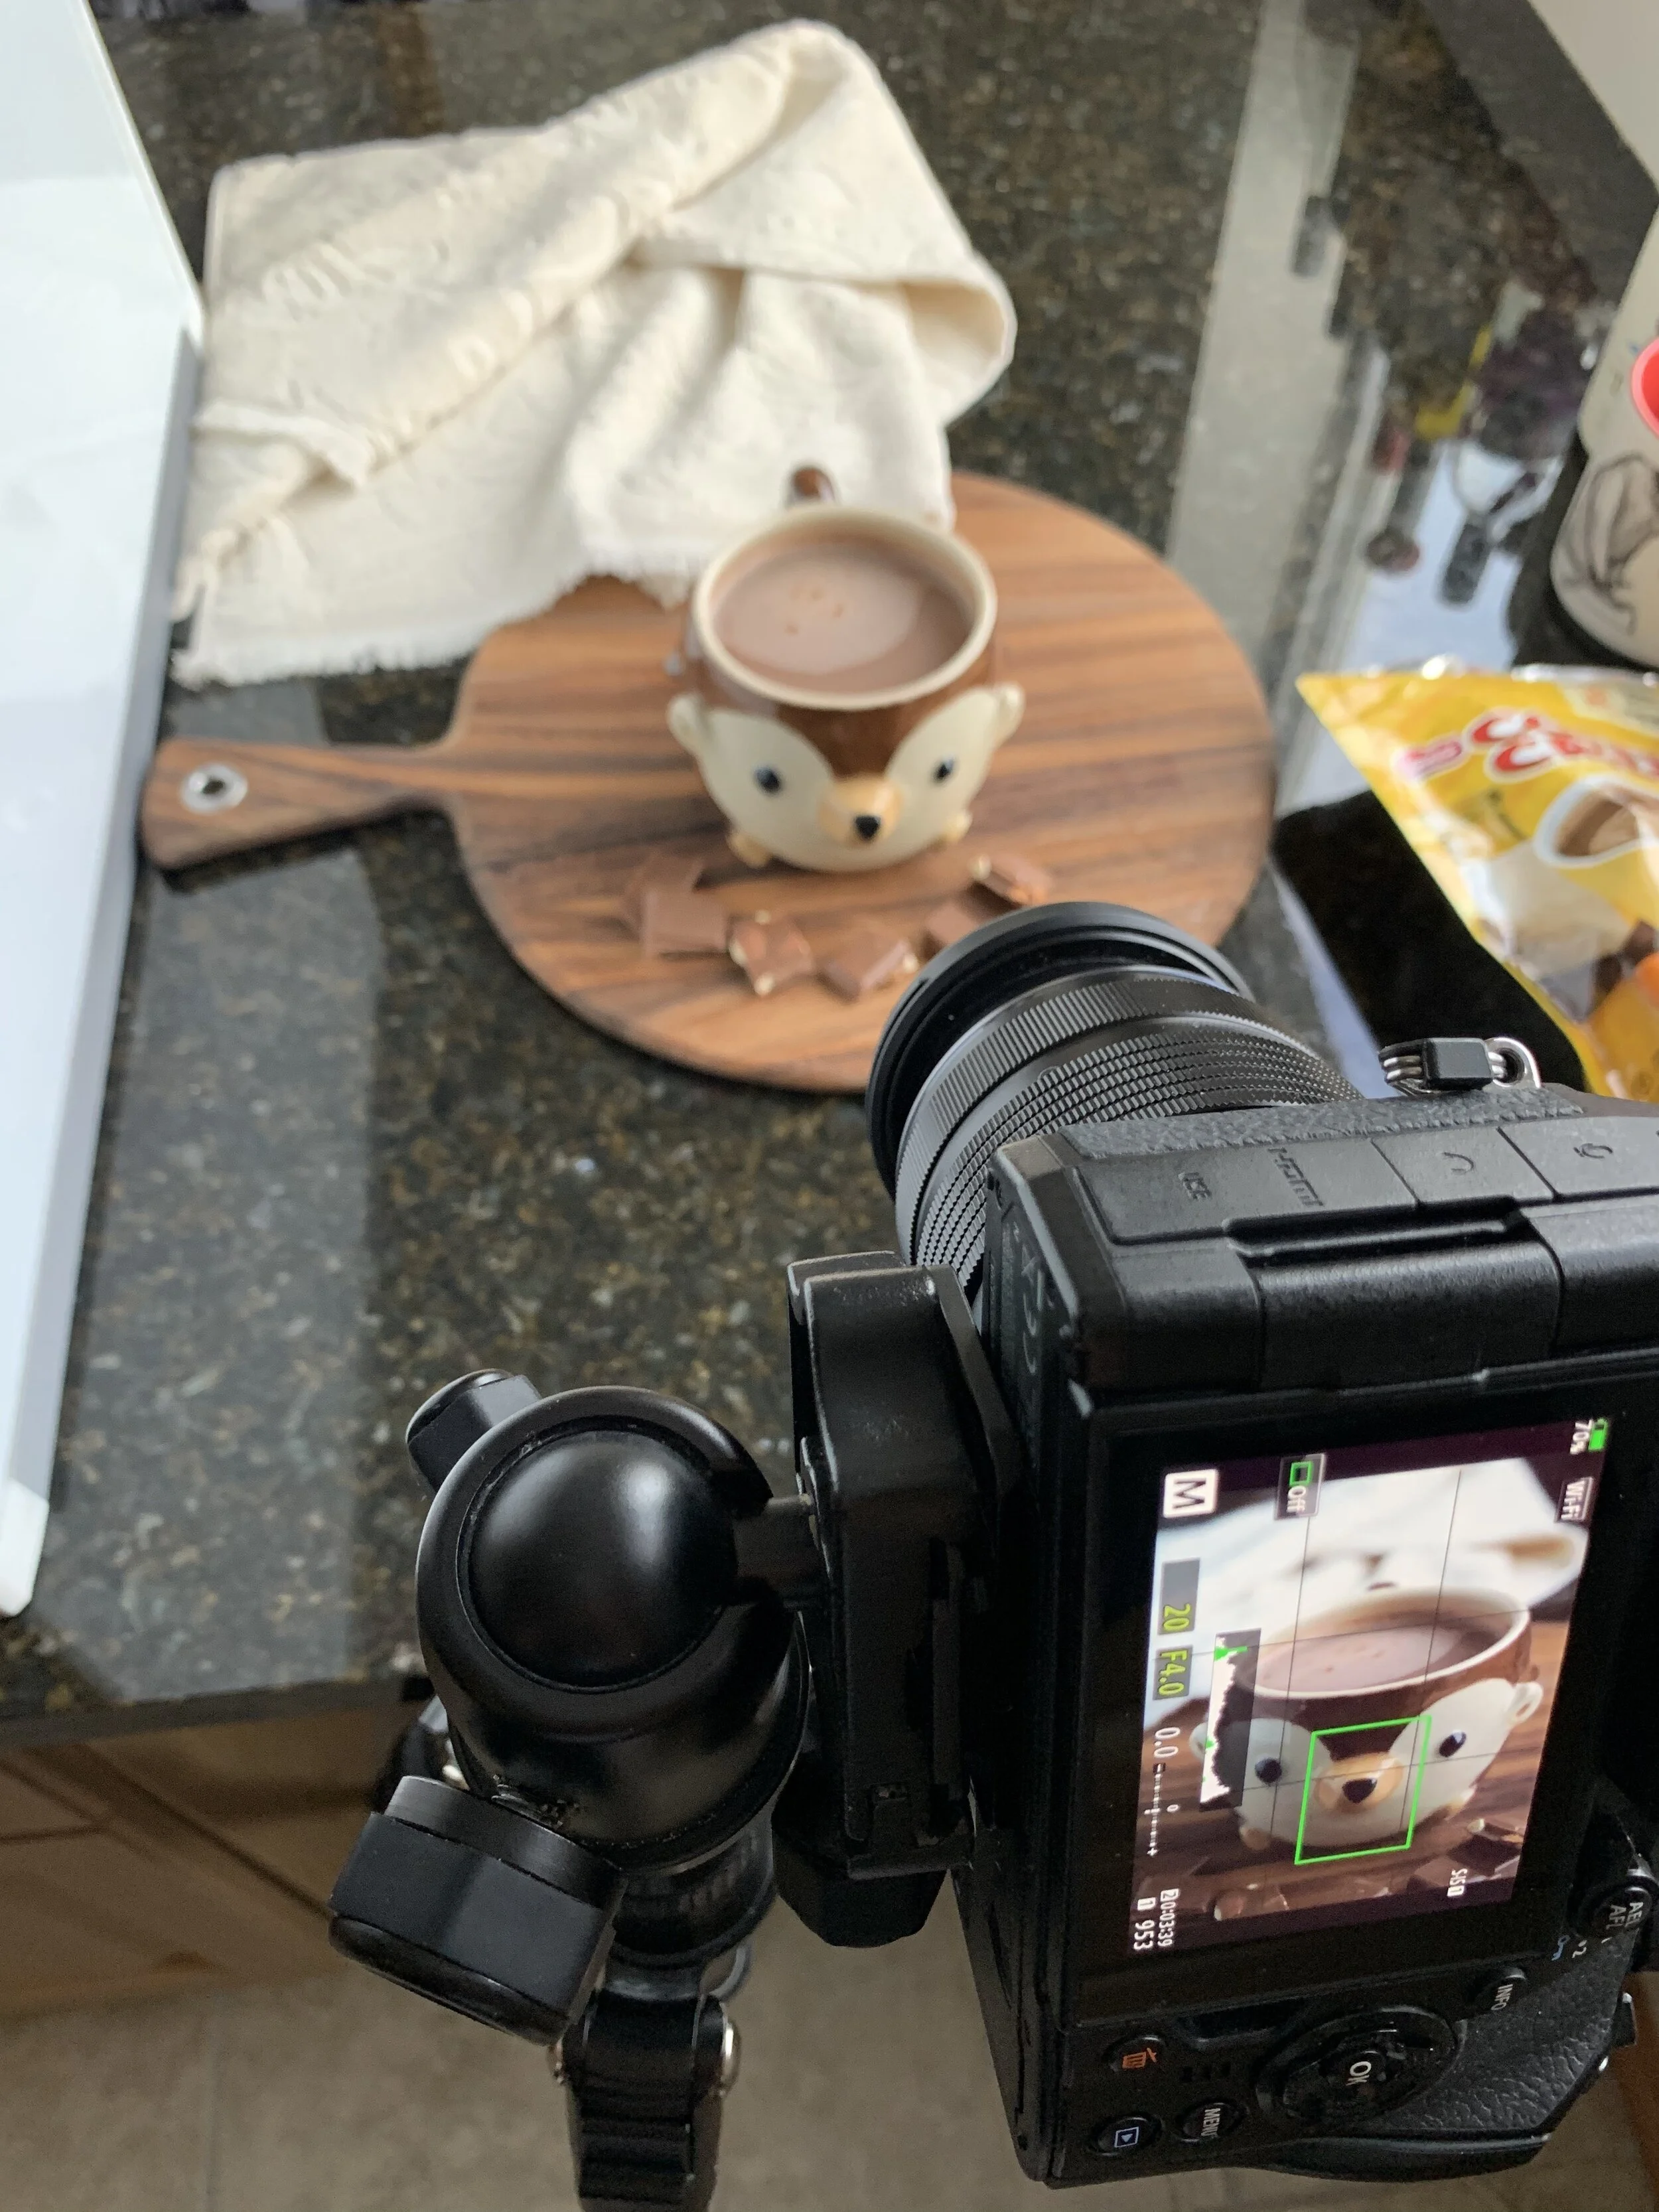
An important feature the camera needed to have was an articulating screen. It was a deal breaker if the camera system did not have an articulating screen because I knew I would want to use it for making travel videos, taking travel self-portraits, etc.,

It’s also proven to be extremely useful for photography in instances when I need to get close to the ground or position the camera in odd angles to get the shot.

5) WiFi Connection

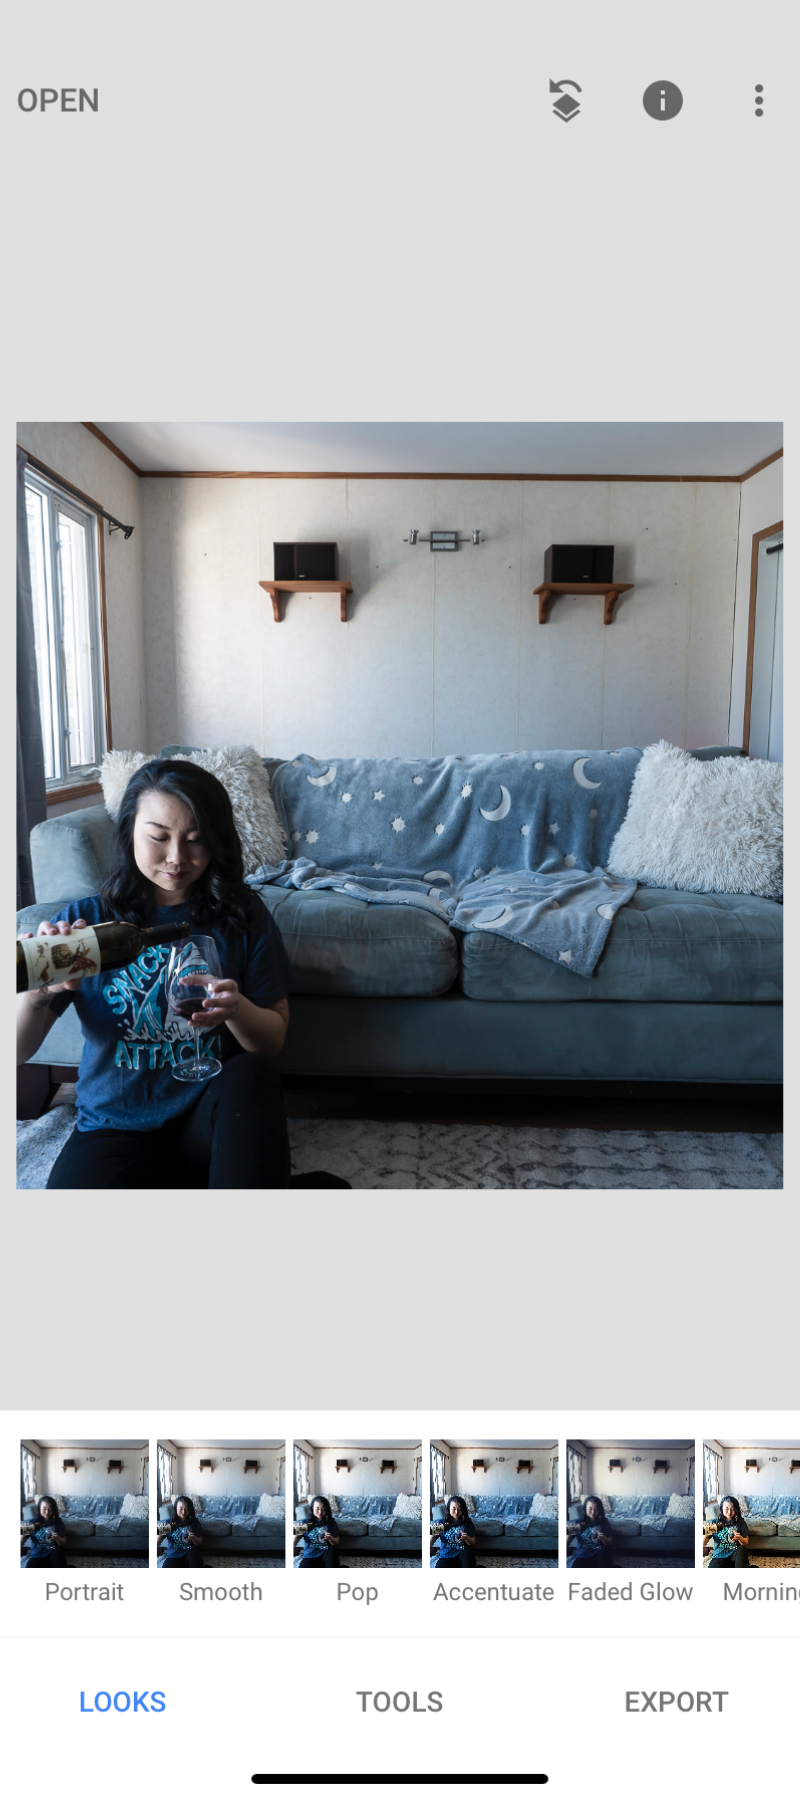
Lastly, I wanted the ability to control the camera with my phone if I wanted to for those travel self-portraits or wirelessly send photos to my phone without having to connect to my laptop for on-the-go editing and publishing.

With local and domestic travel I typically travel with my laptop. However, for international trips (depending on the length) I don’t always and so the capability of editing and publishing off my phone is important.

Other Items

There are numerous other times you may want to consider - battery life, dual slot memory cards, mirrorless vs. DSLR, Full-Frame vs. Micro-Four-Thirds, etc.,

Therefore, my biggest suggestion on what camera to buy for travel is to make a list of all the things you find important and the camera NEEDS to have to help narrow your search.

Why I Chose Olympus

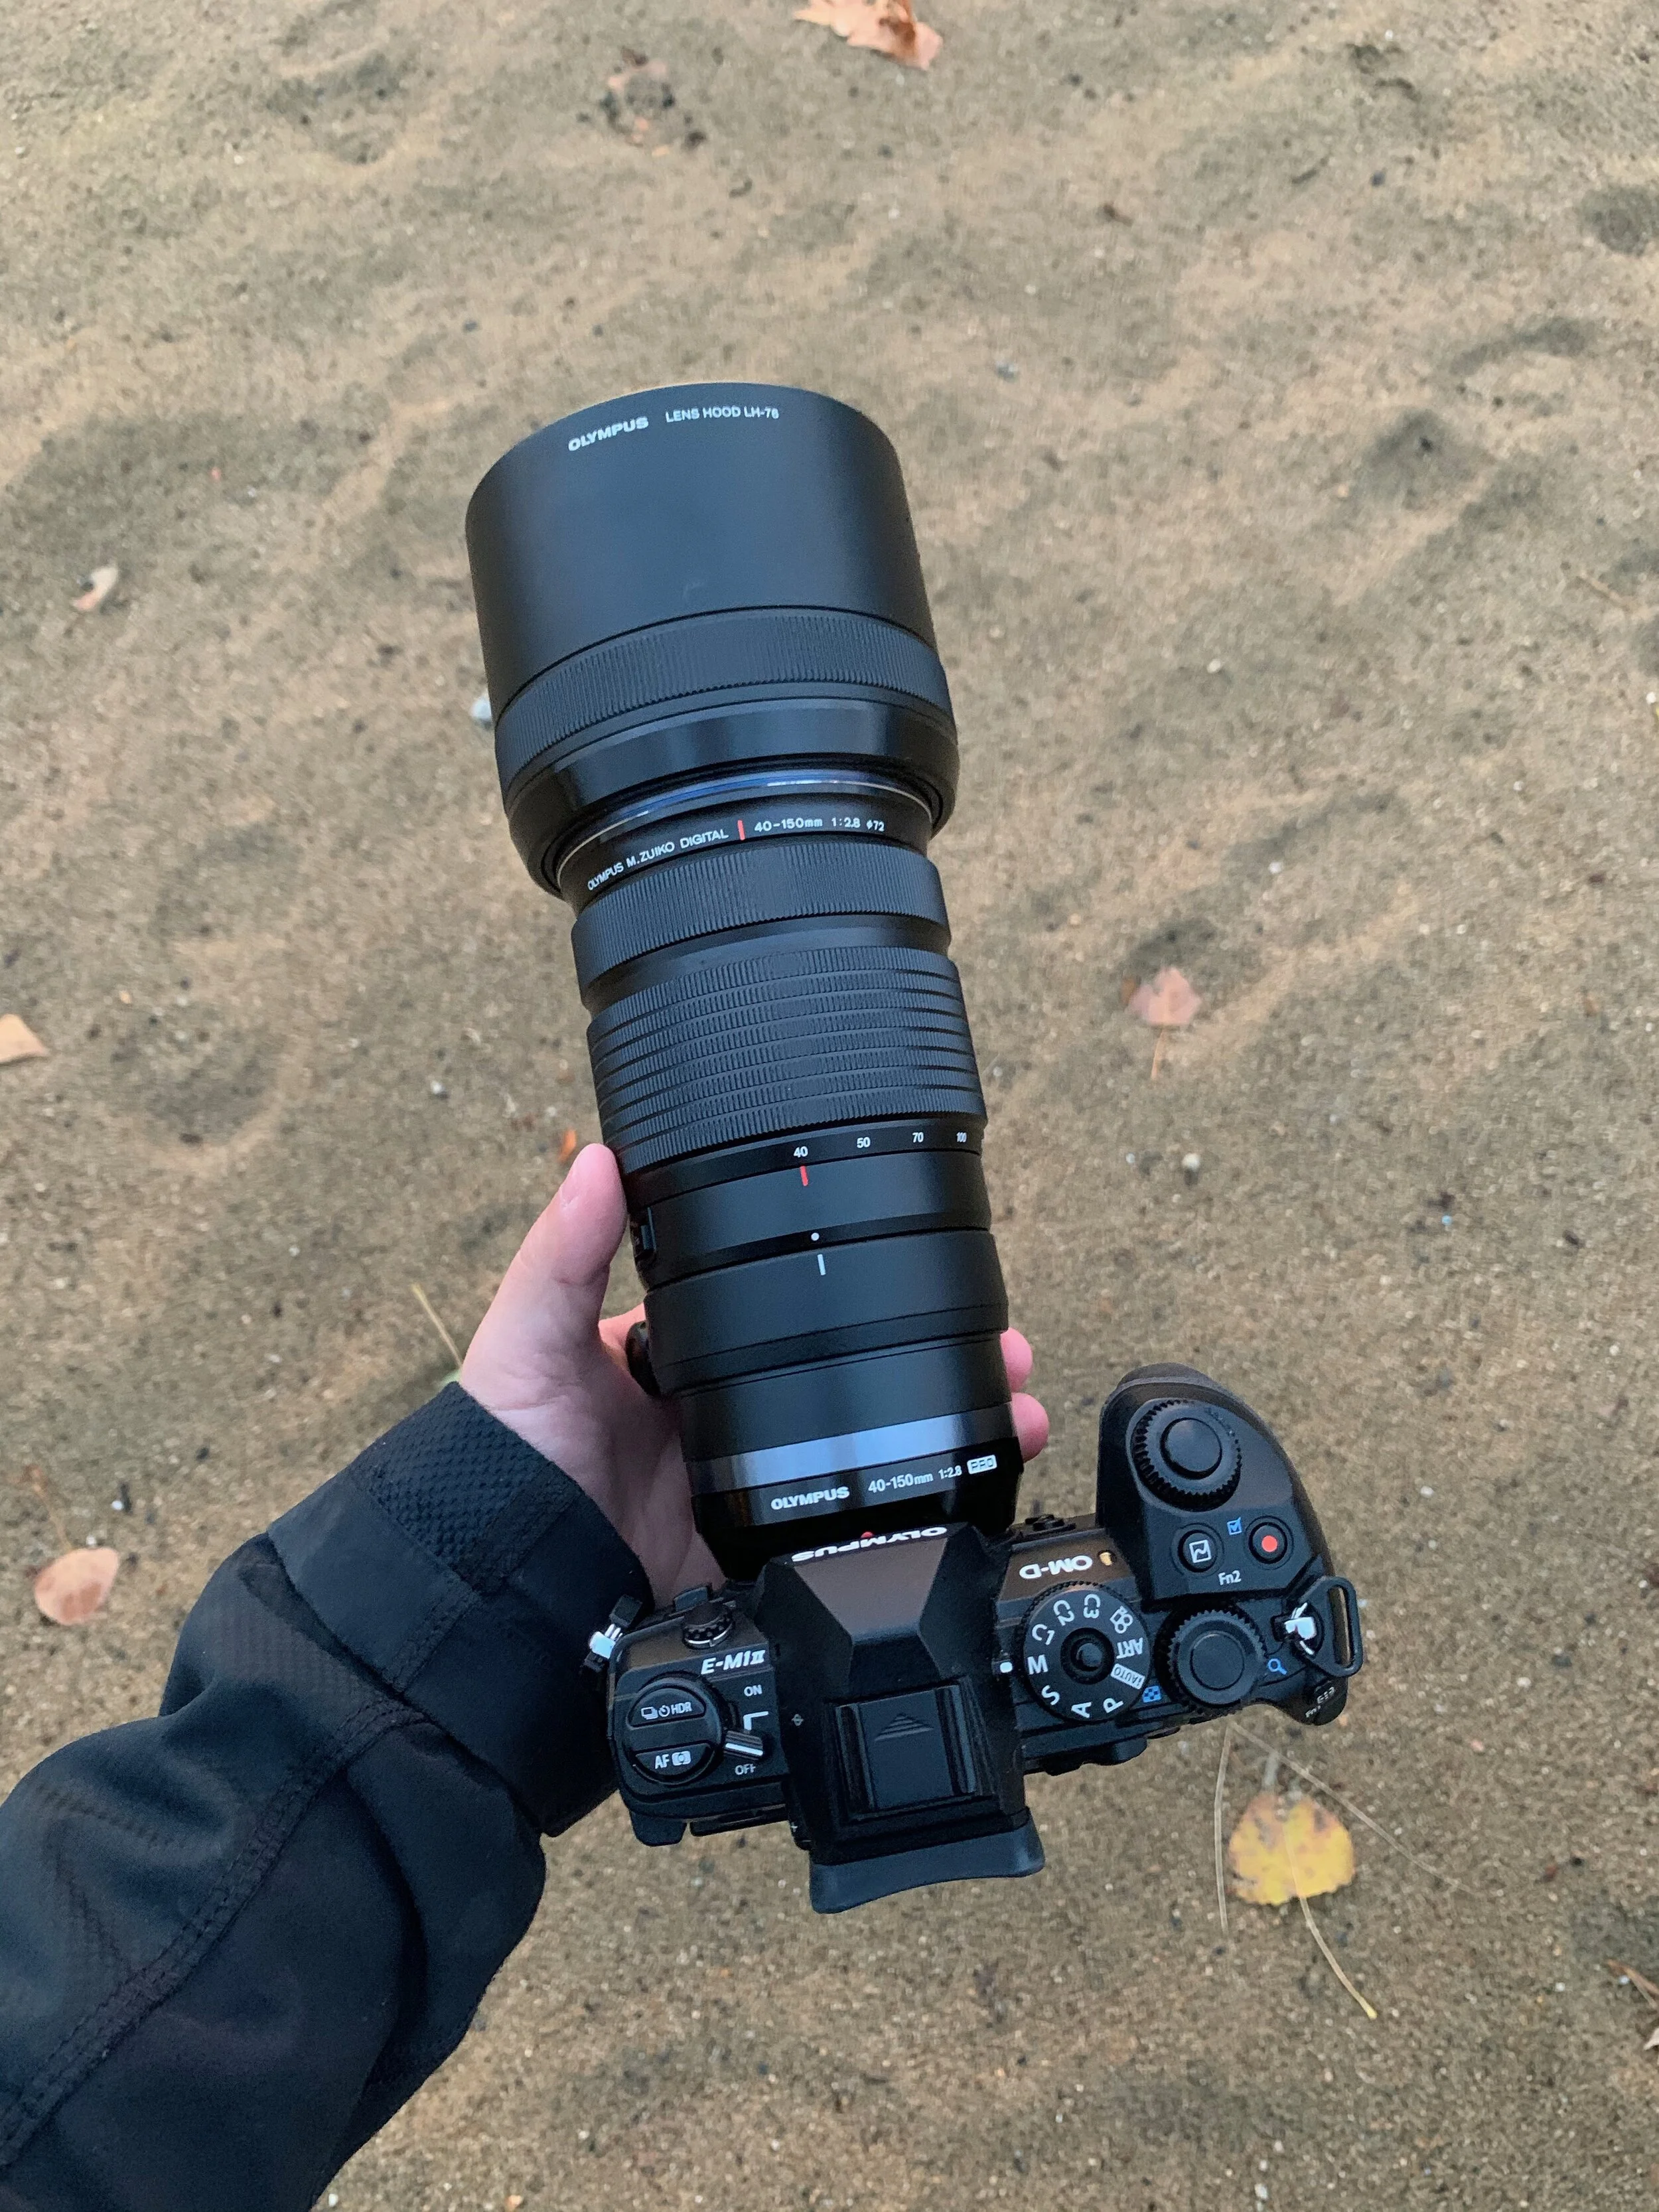
After quite a bit of time and research I decided to purchase into Olympus (OM Digital Solutions).

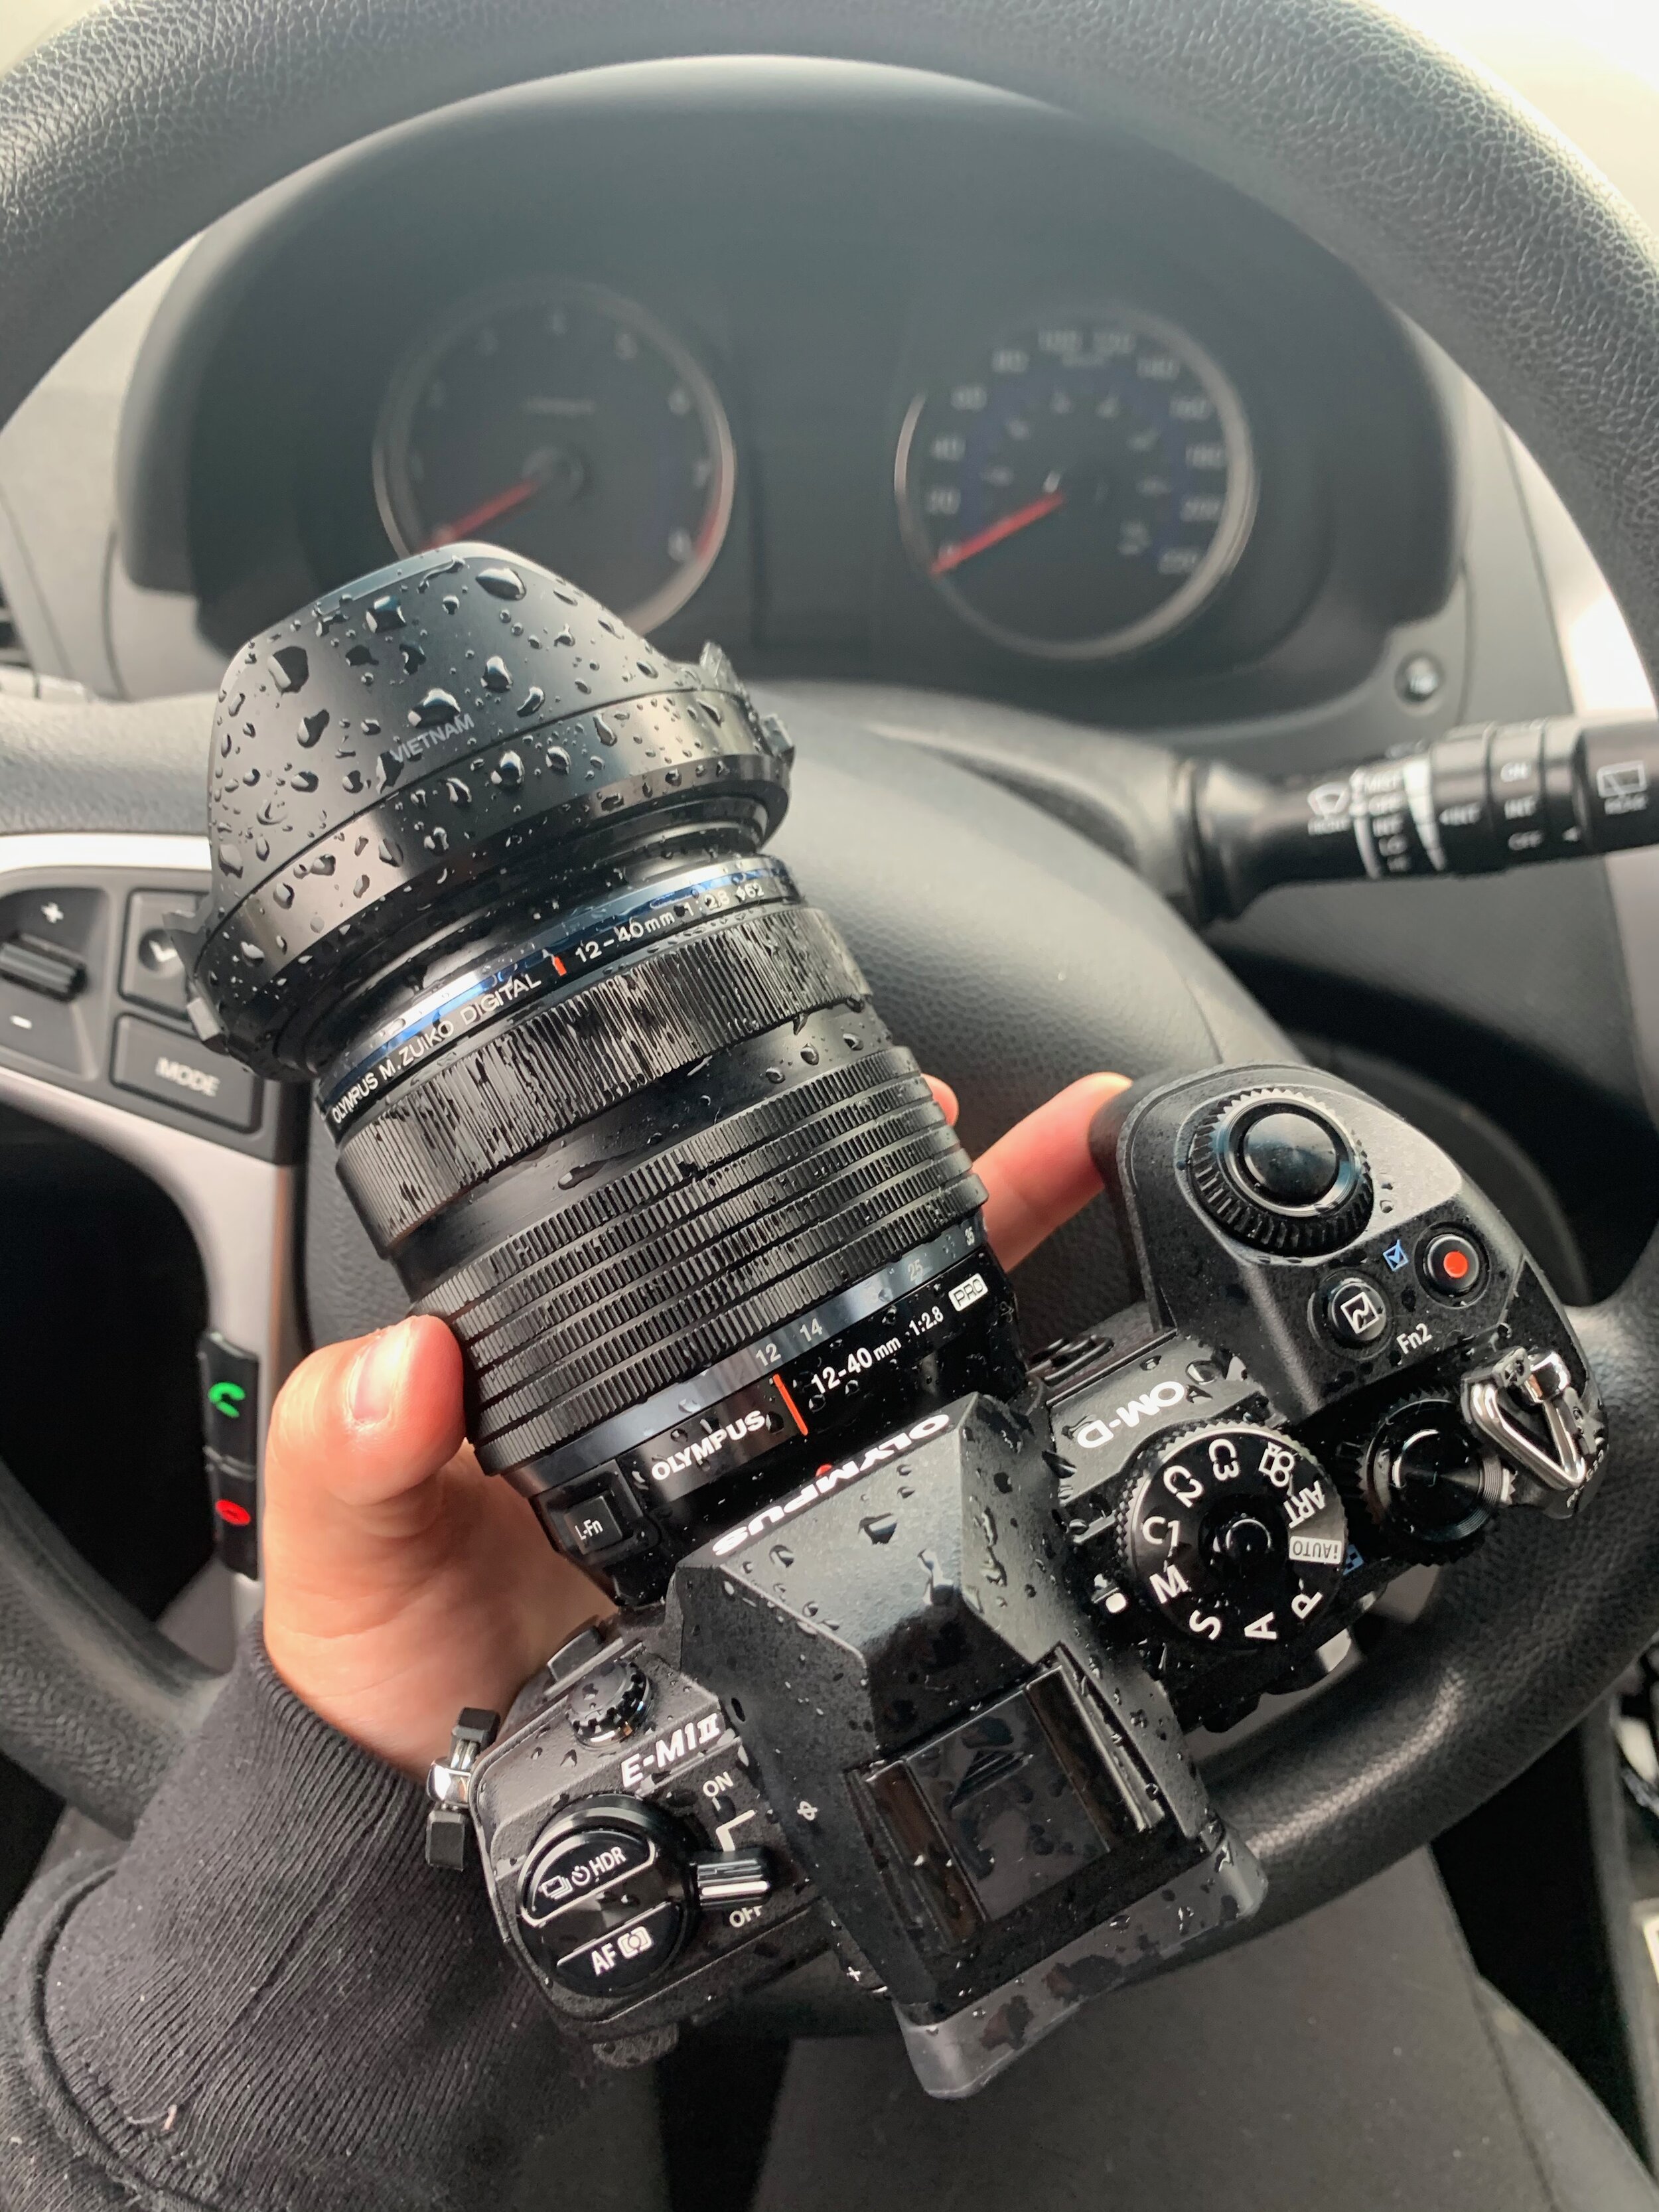
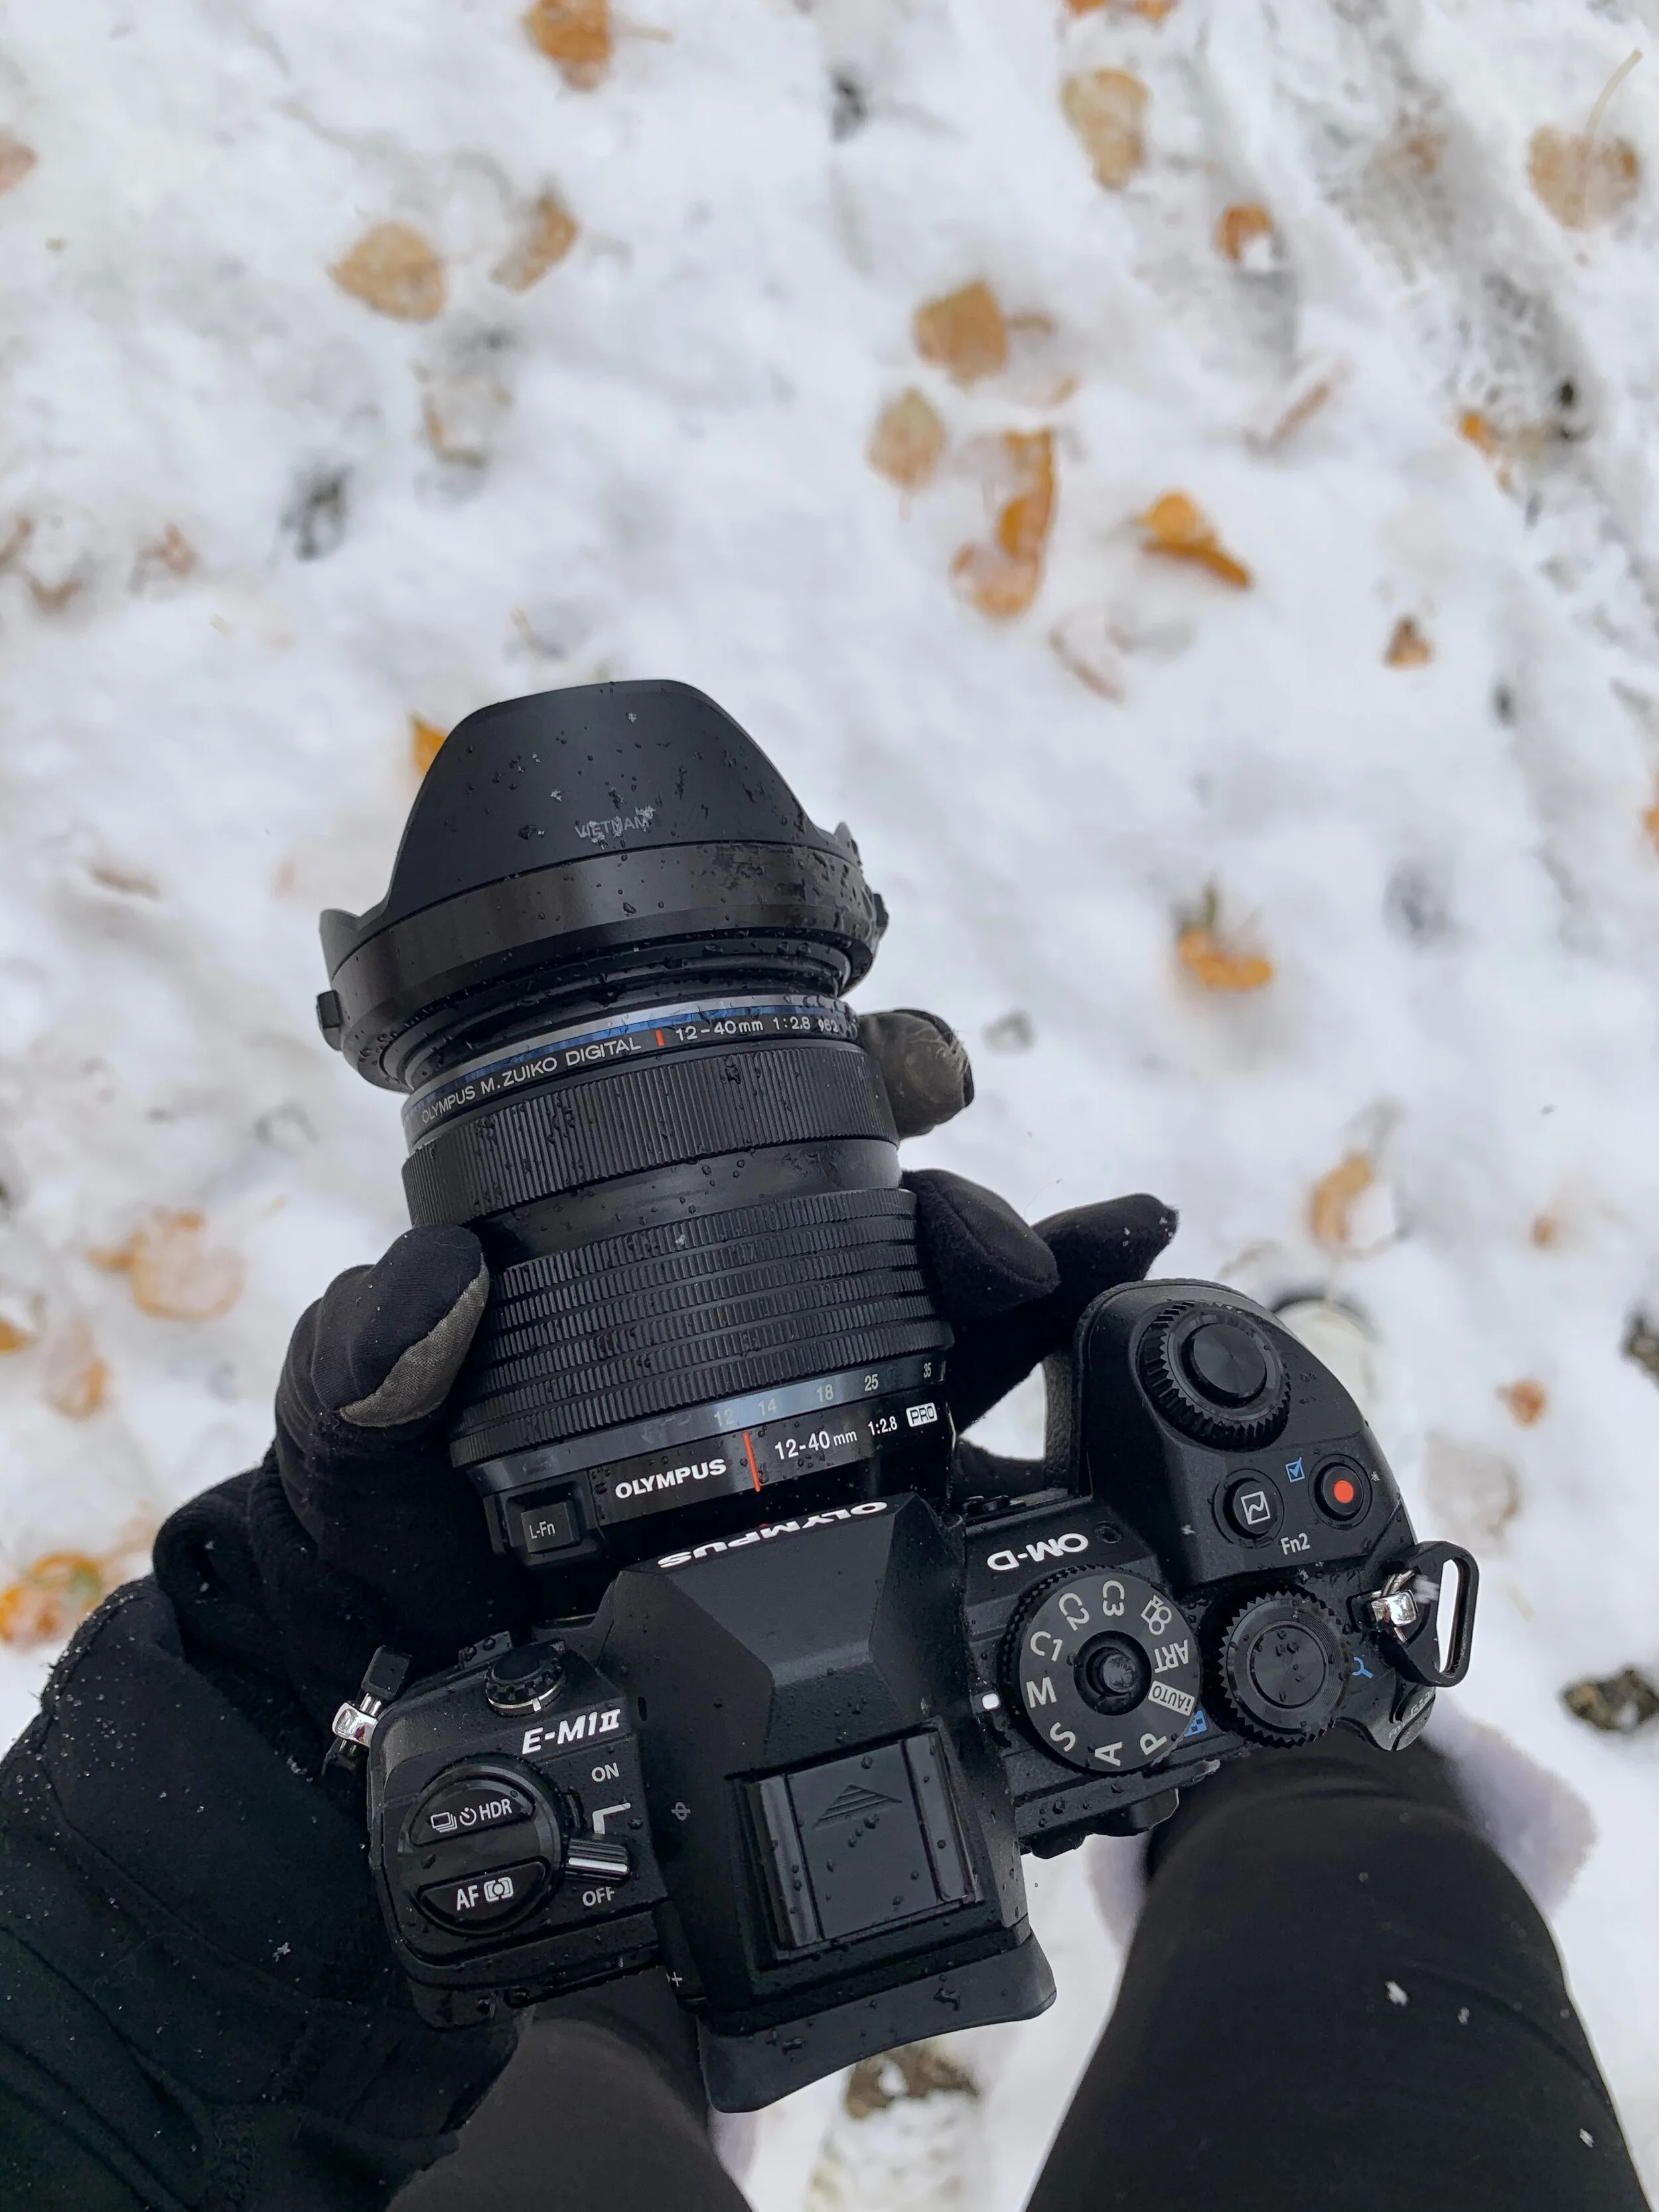
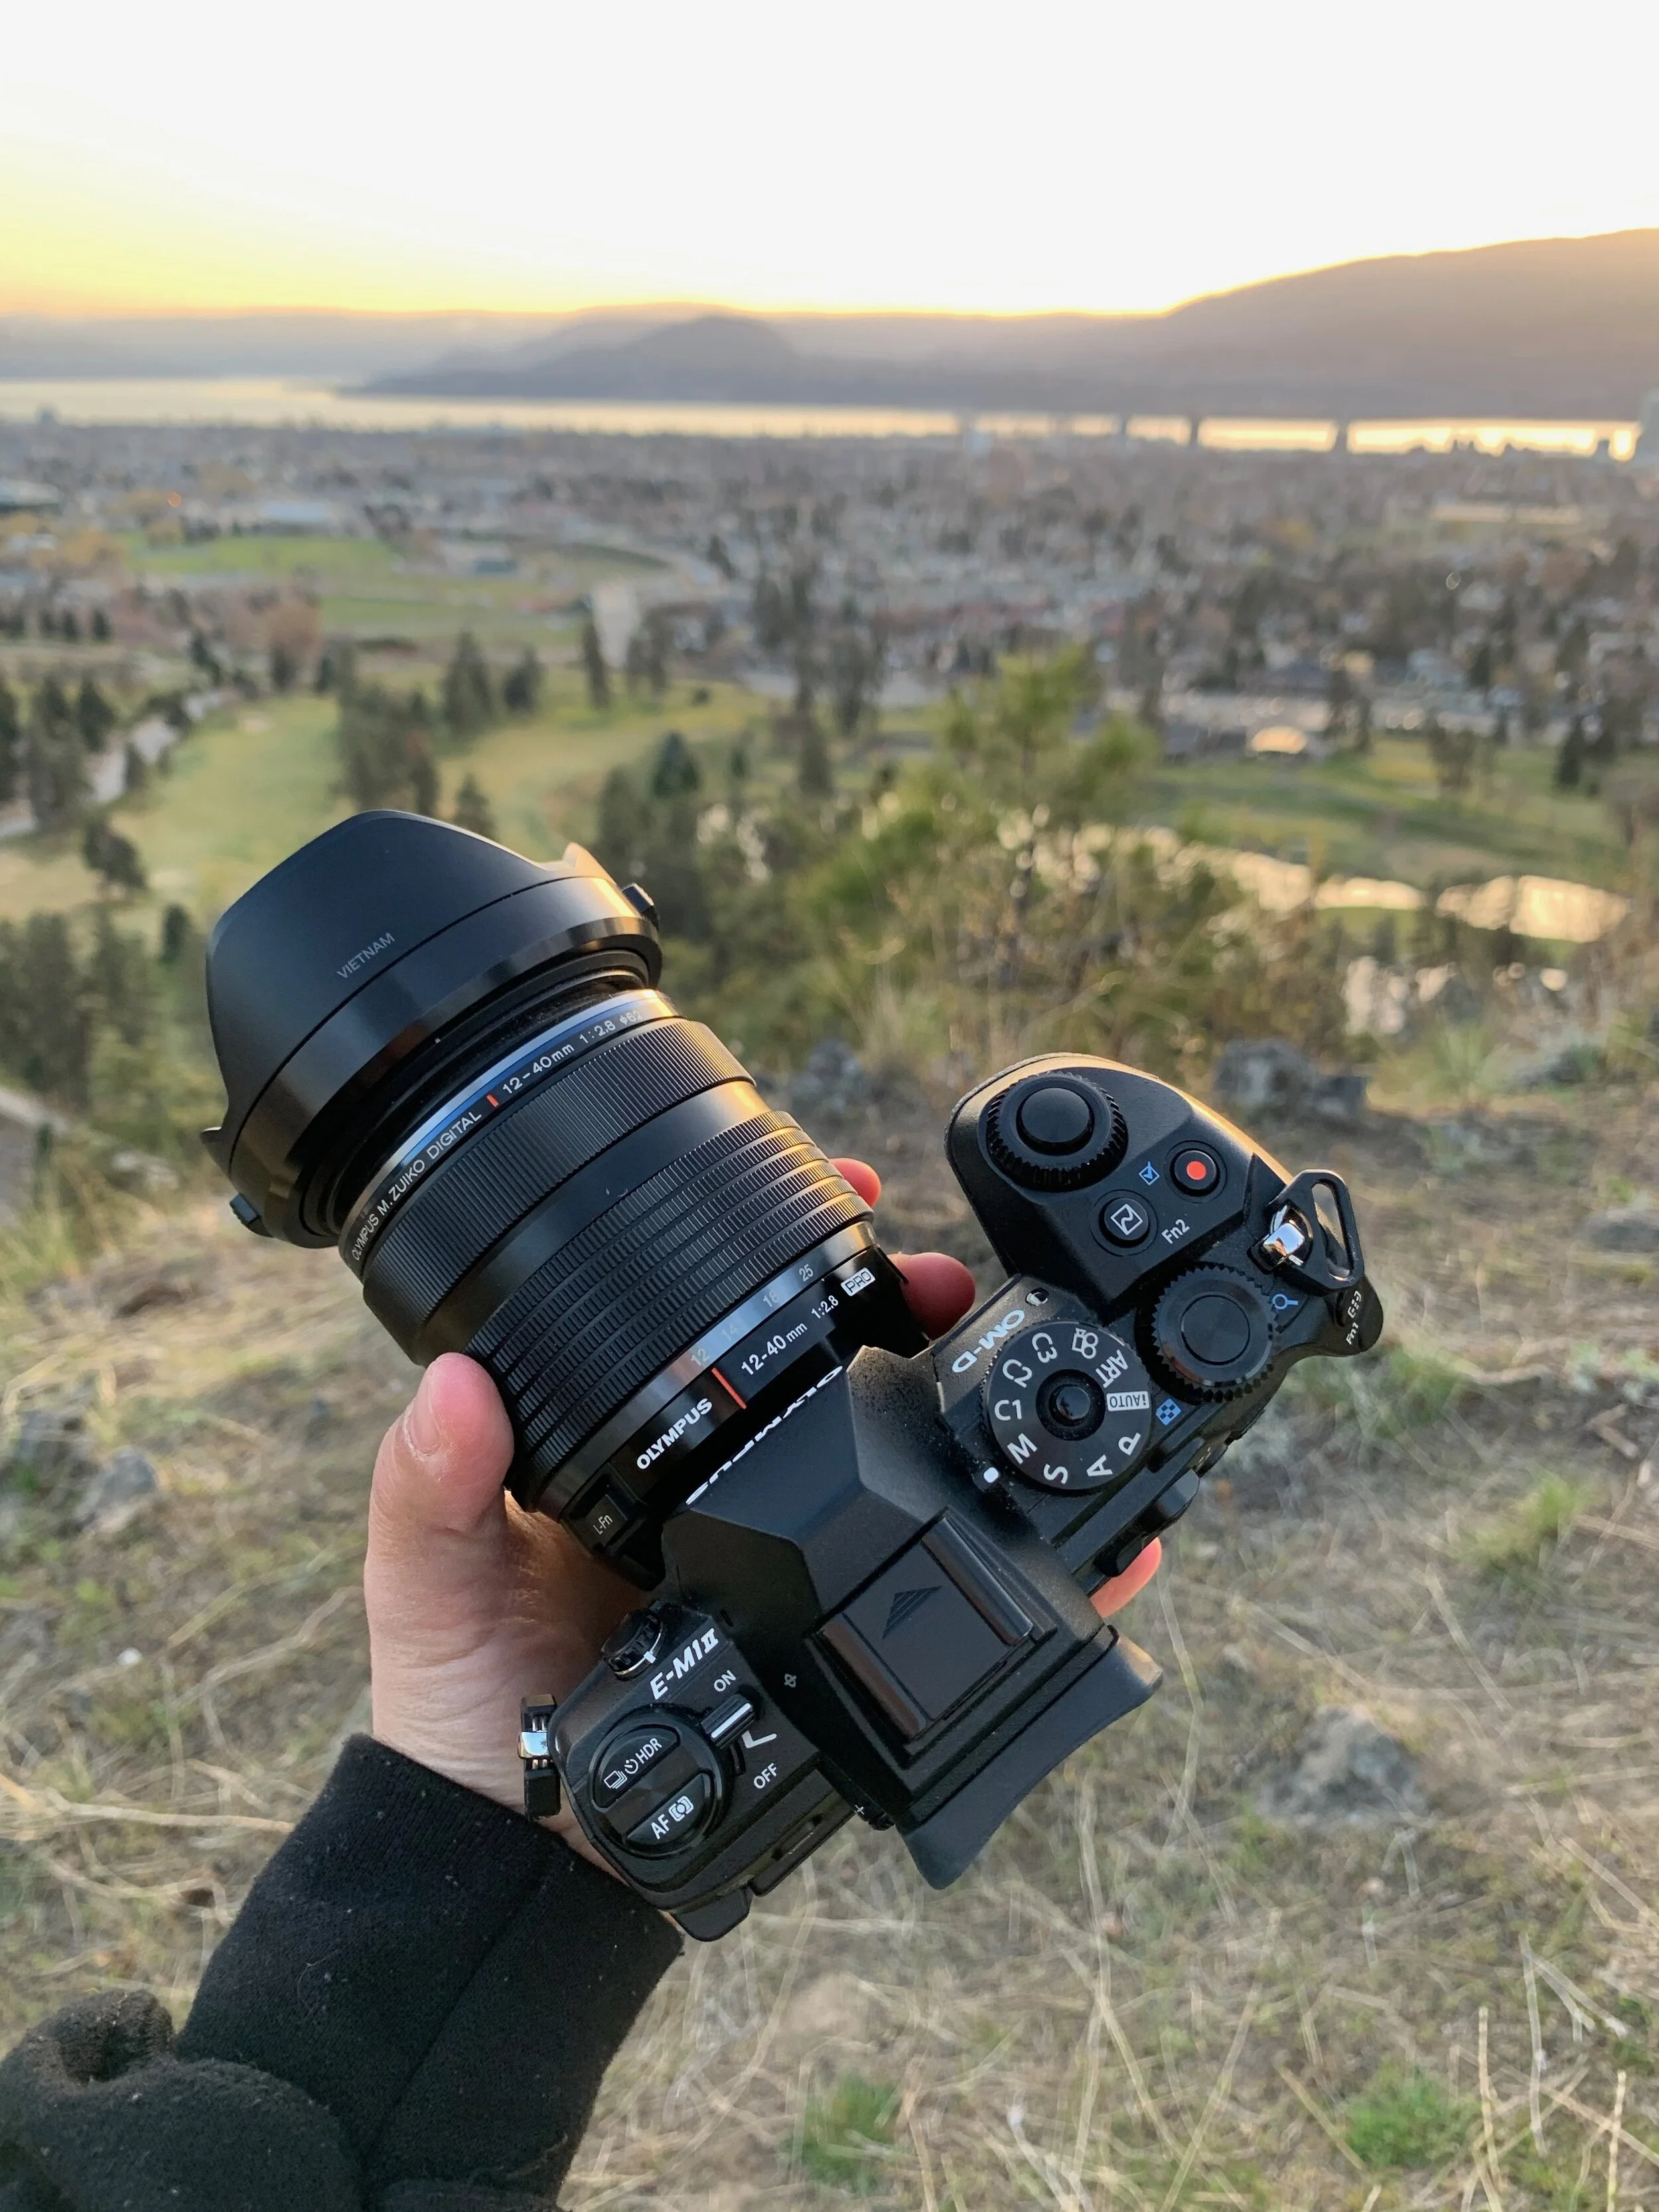
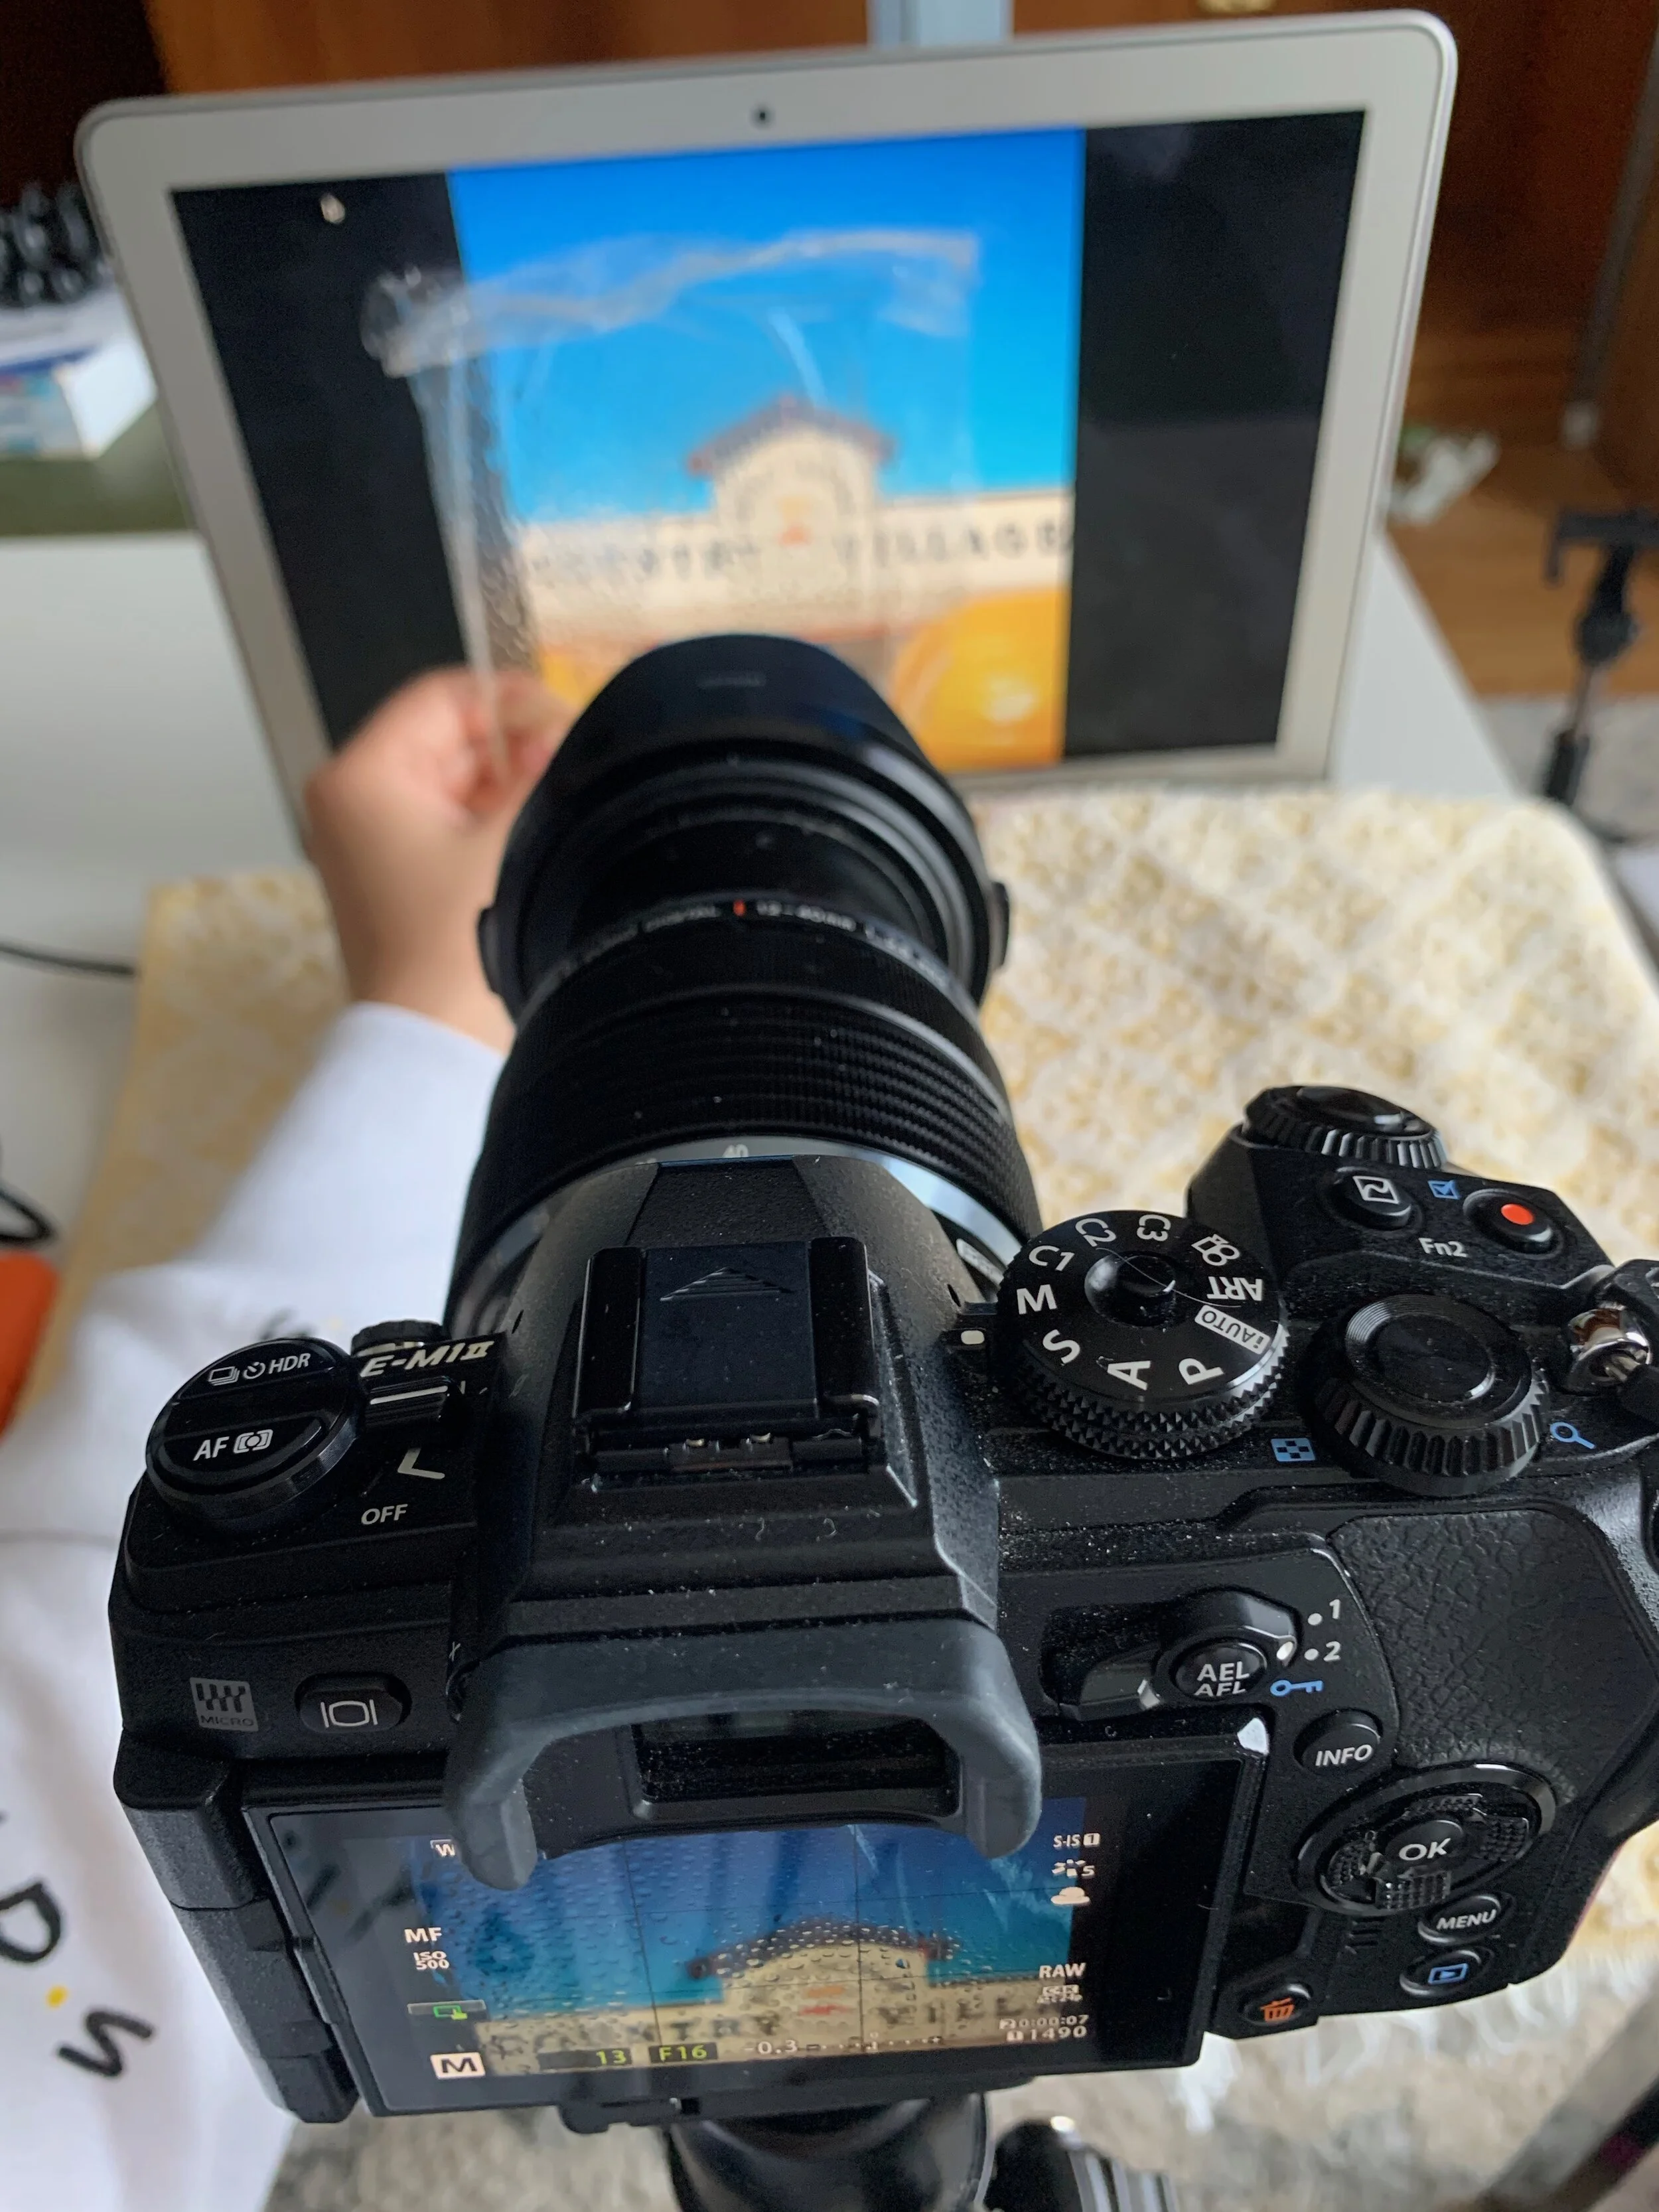
More specifically I purchased the Olympus OM-D E-M1 Mark II and the M.Zuiko 12-40mm F2.8 PRO lens.

Why? It had everything that I was looking for in a camera system:

  • Compact and lightweight

  • Solid lens selection

  • Capability to buy into an older model and upgrade later when I was ready

  • Within my budget

  • Had an articulating screen

  • Had WiFi capability

From my experience its had great battery life when travelling, it contains dual slot memory cards, and it’s very customizable.

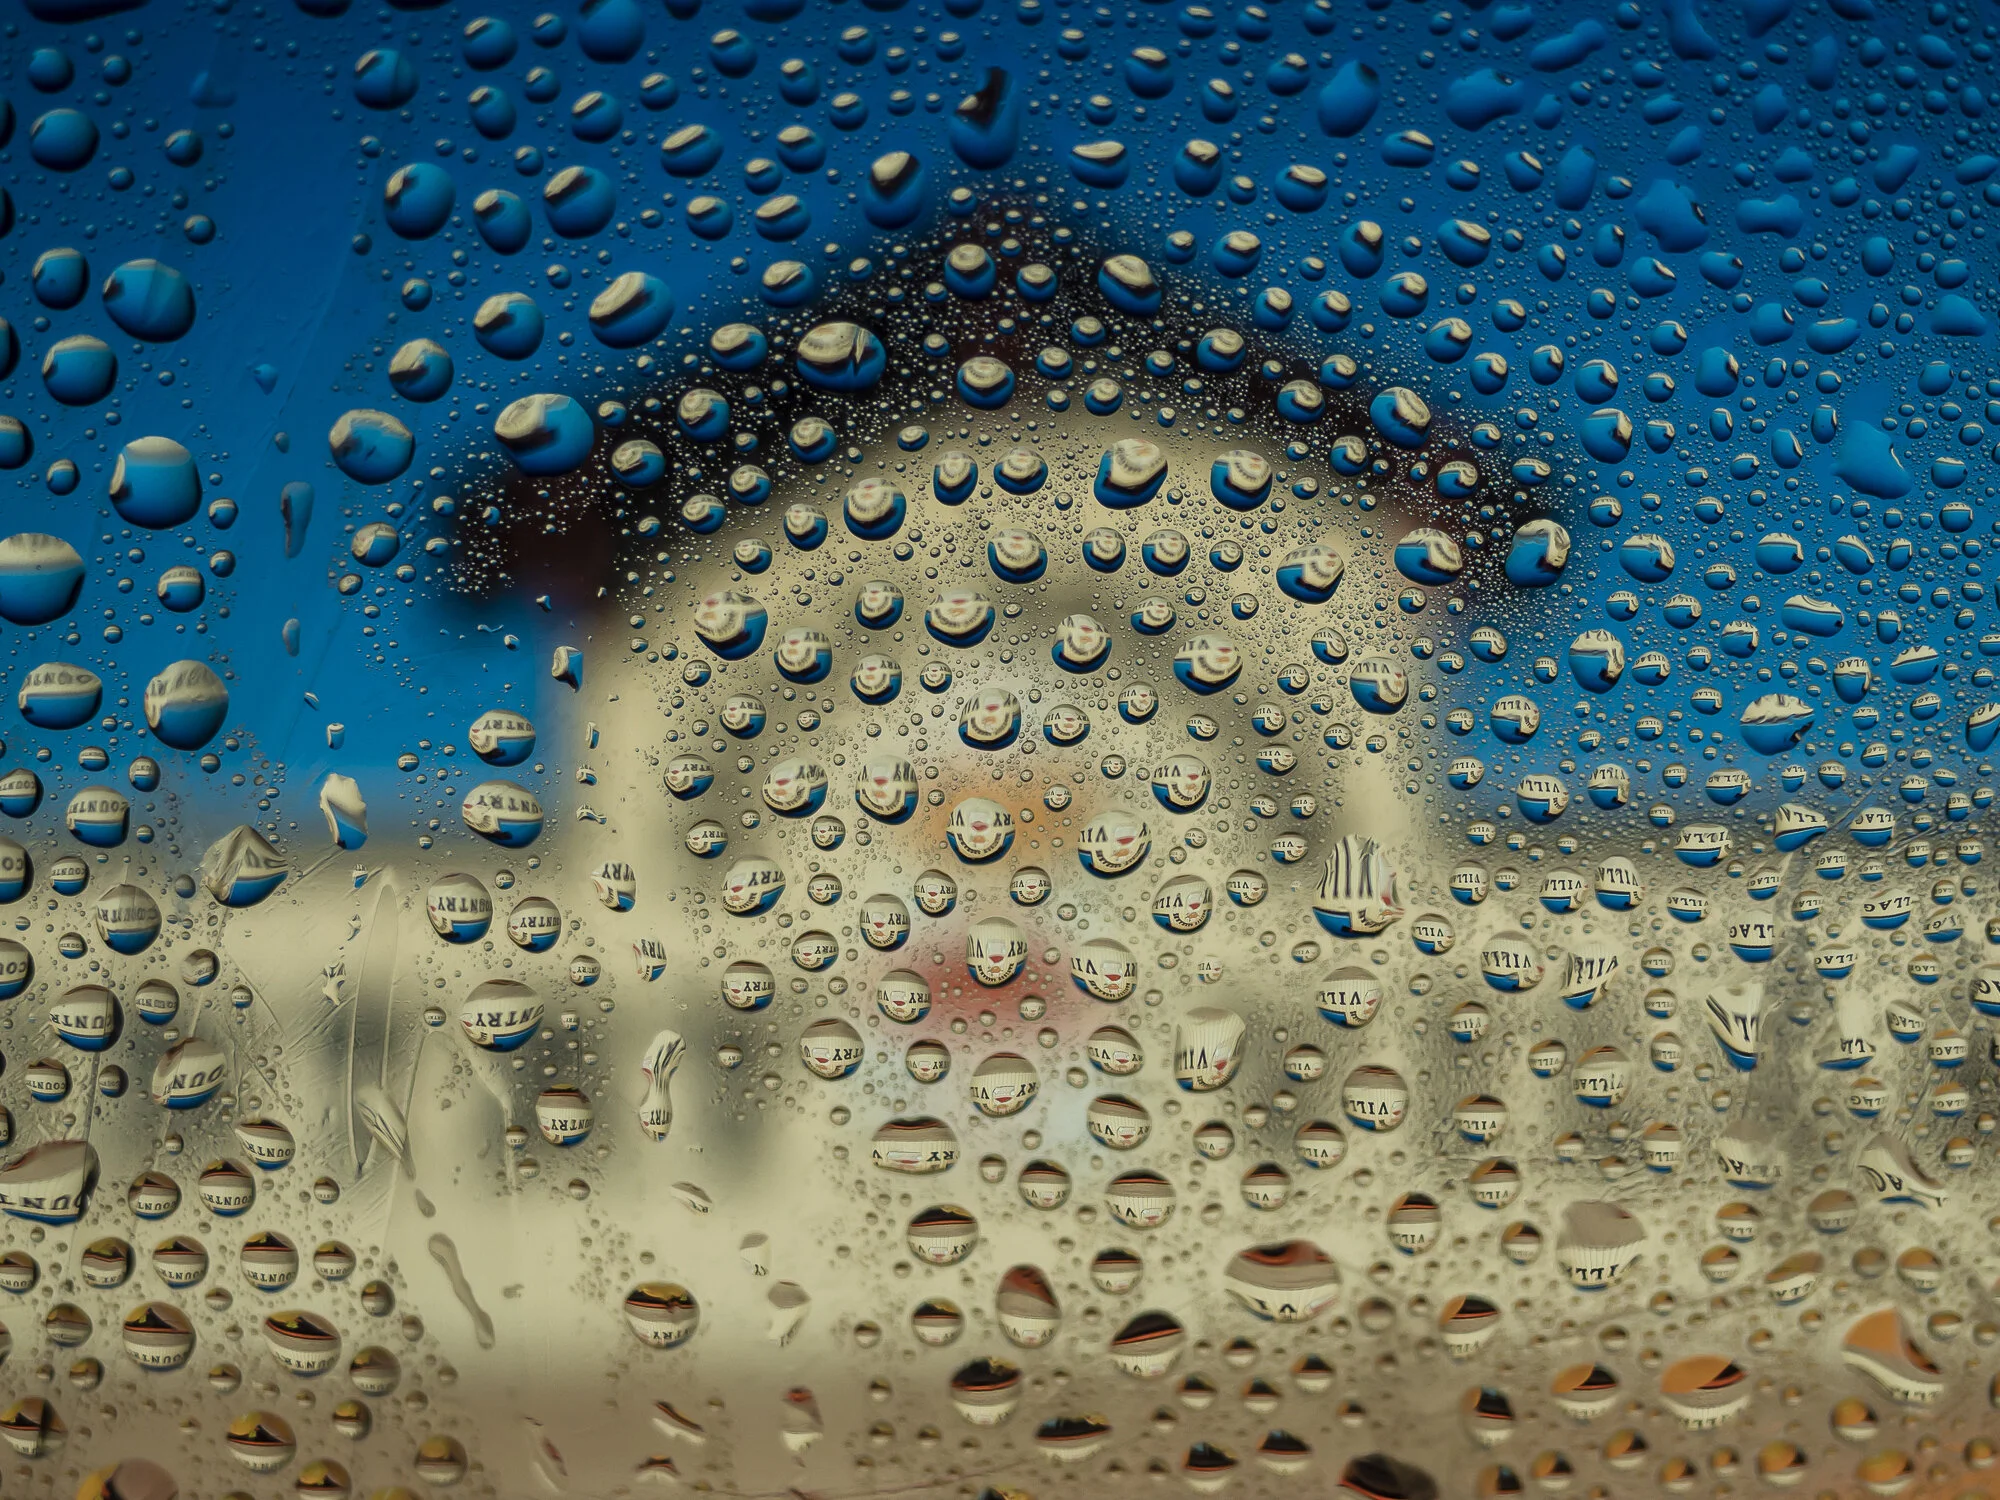
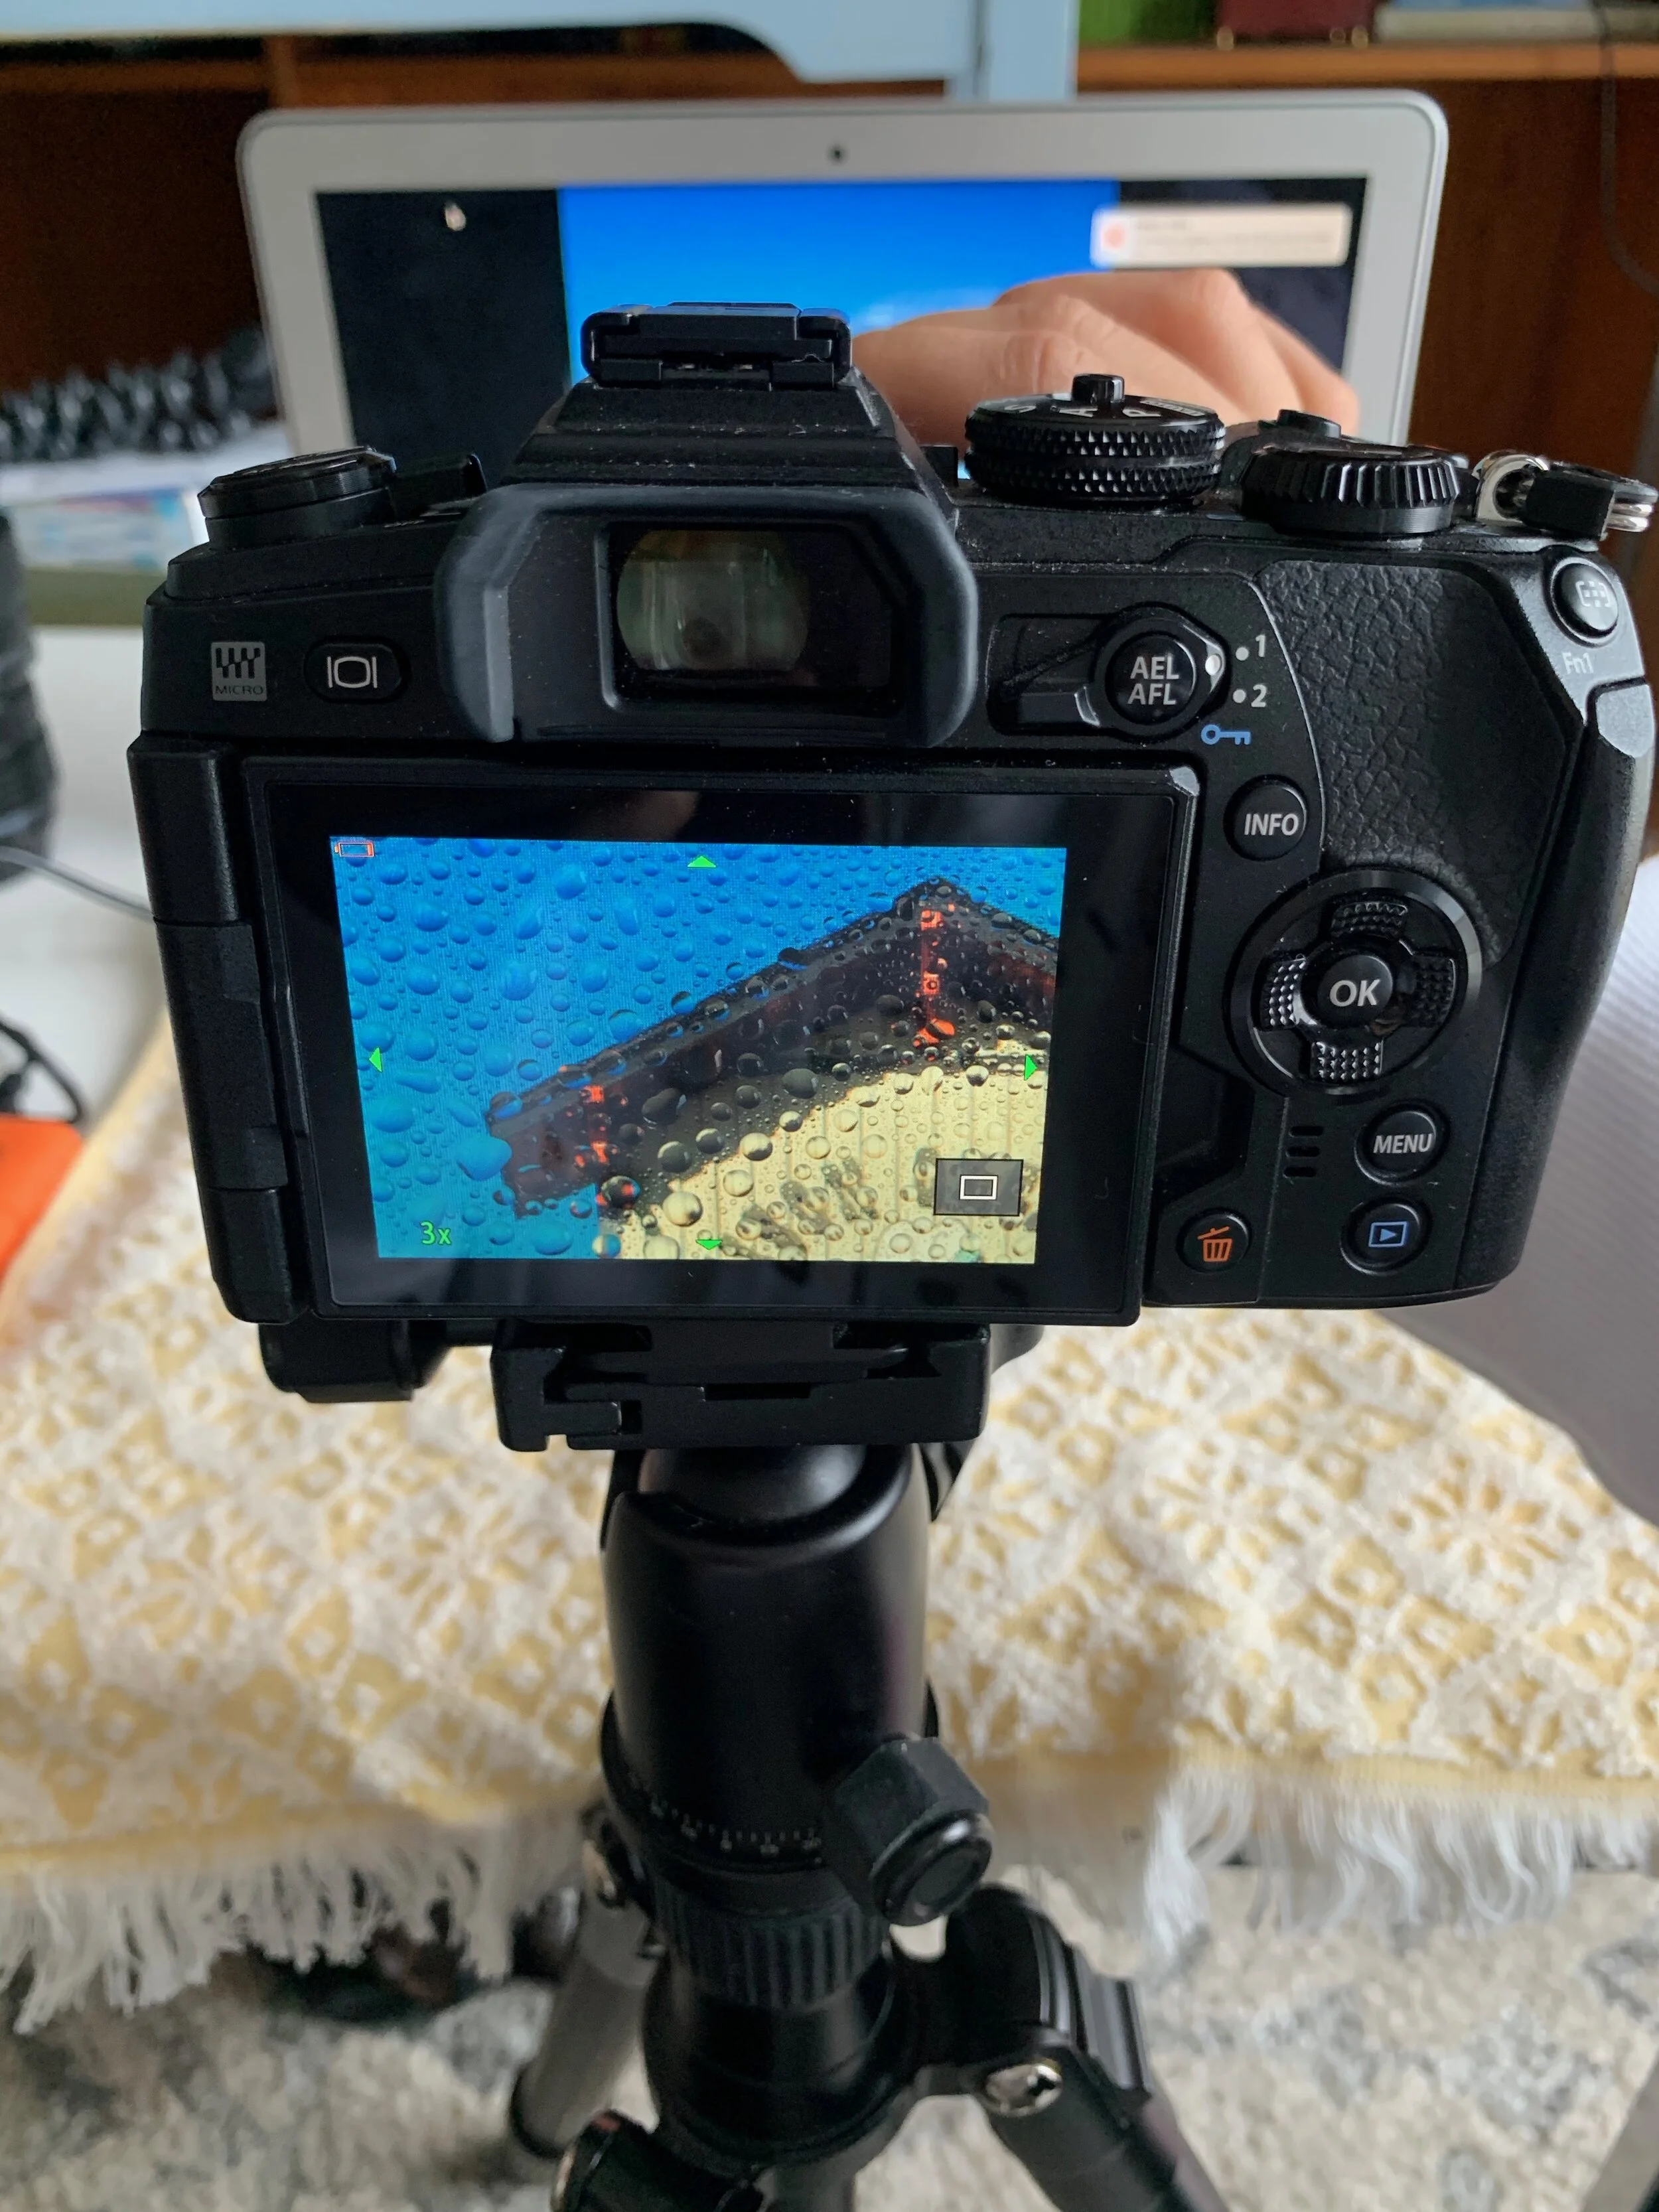
An added bonus is that it’s got amazing weather proofing - it’s freeze-proof, dust-proof and splash-proof. Which means that I can take the camera out in any weather condition that travel and seasons throw at me.

If I was to boil down the three main reasons why I chose Olympus it’s because of:

1) Their camera design (it’s one of the best adventure/outdoor camera’s out there)

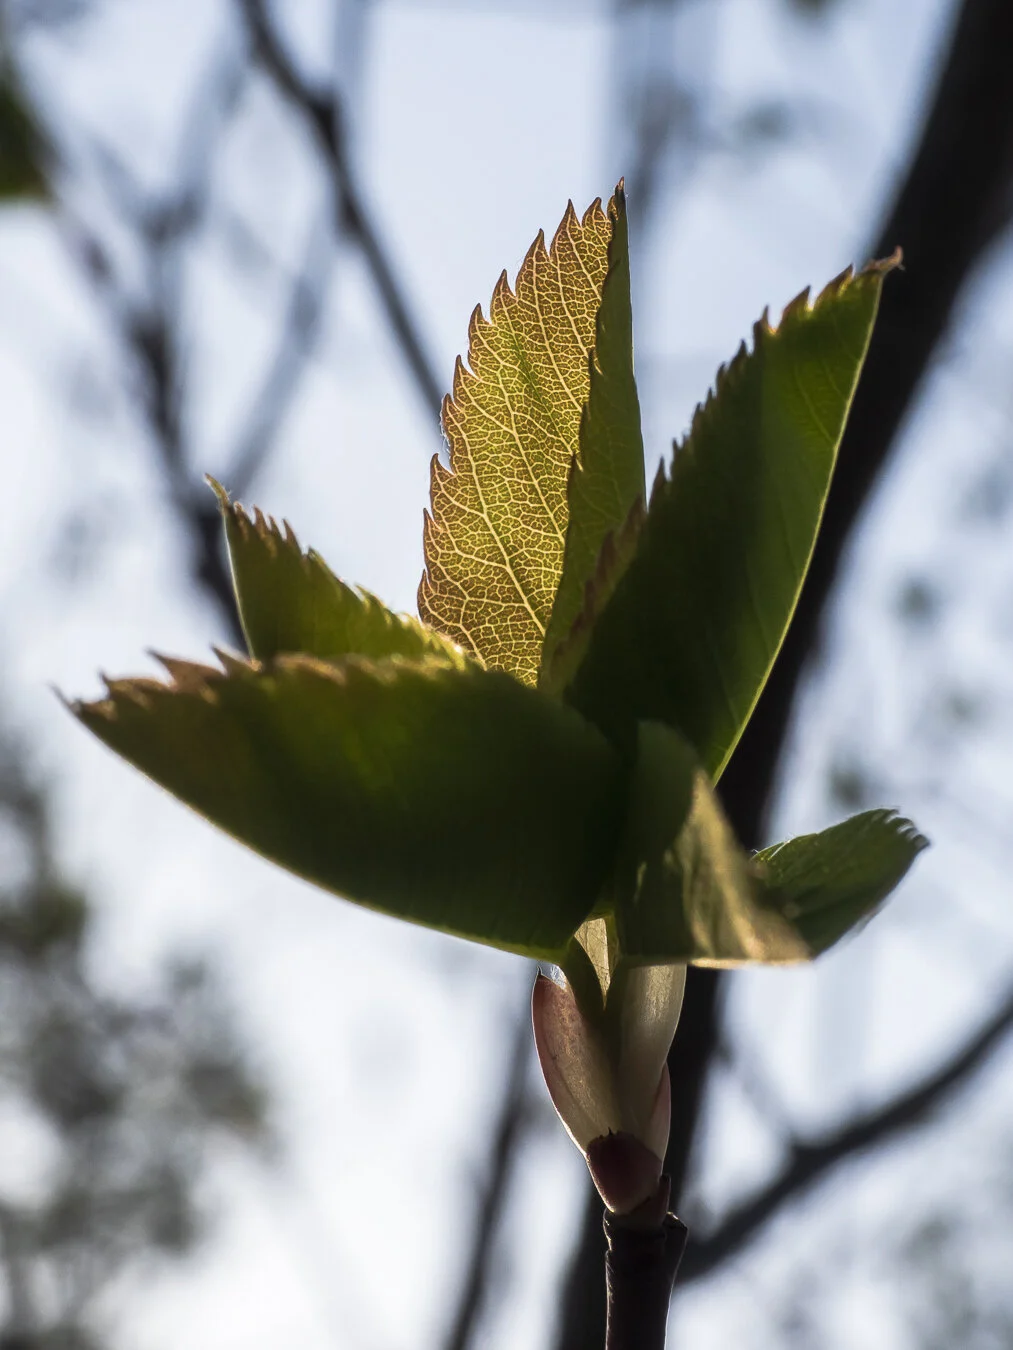
2) Their amazing lens quality and selection

3) Their supportive and encouraging community of photographers

It’s worth mentioning that at the time I purchased my OM-D E-M1 Mark II the Mark III was available, however, my budget for a camera and lens was $2000 and the Mark III with a lens would have pushed me far past that and where I was with my photography so I opted to invest in the Mark II then and upgrade when I was ready.

Final Thoughts

It ultimately comes down to personal choice.

What matters to you, what you need, and what you want. Olympus checks the boxes for me, however, a different camera brand such as Sony, Canon, Fujifilm, etc., might suit you better because like I said earlier what I find important to me might be different than what you find important.

I hope you found this post helpful in your search for your perfect travel camera!


Winter Clothing for Photography & Trying Bird Photography | Getting Back Outdoors

In todays episode we chat quite a bit about my absence from nature photography and some items that have helped me get back outdoors all while I do some bird photography at Gyro Beach and Rotary Beach in Kelowna, BC!

December 16th, 2020

The last time I intentionally went out for outdoor photography was December 16, 2020. On that day I went out to do my festive bokeh but it slushy-rained. By the time I was finished my camera, my clothes, my bag were all soaked. It took me over 3 hours to warm up at home (even after a hot shower and 5 blankets). I remembered telling my fiance that I didn’t like winter photography.

However, six weeks later from that day I finally got back out. The weather in Kelowna, BC can be very dull and grey but I had this itch to photograph at Gyro Beach so I packed up my camera and took a walk.

I ended up falling in love with the details of the landscape again.

Due to the recent snowfall bird tracks could be found all over the beach.

Due to the recent snowfall bird tracks could be found all over the beach.

Okanagan lake was very calm so it reflected all the details surrounding the lake.

Okanagan lake was very calm so it reflected all the details surrounding the lake.

Every now and then you can hear geese in the distance.

Every now and then you can hear geese in the distance.

Winter Clothing for Photography

Over the past week I’ve gotten out three times which feels great and there are a few items that have made coming out to do winter photography slightly more okay and enjoyable.

Winter Boots

Prior to the end of December I was wearing a pair of old pink sneakers I had when I would go out to do outdoor photography. In the summer they’re fine shoes to wear but come the Fall and Winter when puddles form, the air is colder and there’s snow on the ground they are not the best.

At Christmas I was personally gifted a pair of TOM boots that were water-proof, had a high-traction outsole and a comfortable insole. The best part is they keep my feet warm, comfortable and dry when I’m outside.

The brand of boot doesn’t matter just make sure you get yourself a pair of boots that will serve your feet well to whether the elements outdoors.

Winter Jacket

Also prior to December I was wearing a thin sports jacket for photography. It’s not the most appropriate piece for winter photography so at Christmas I was also personally gifted a Patagonia Down Sweater Jacket that keeps me warm outside.

Just like the shoes it doesn’t matter what brand you buy just make sure you have something that will keep you warm and dry outside.

Gloves

It seems silly but I didn’t like wearing gloves when out doing photography because I have a hard time using my phone with them on and I have limited mobility over my camera. I would usually withstand having cold hands which added to my discomfort outside.

However, recently I’ve decided even if its a little above 0 right now I will wear gloves for the experience. If my experience outdoors is uncomfortable then the likeliness of wanting to get back out is less.

So I should do whatever small thing to make the experience the best for me.

Getting Back Outdoors

Back in December I didn’t cater to curating a good experience when I went out and I should have. I’m excited to get back outdoors to do photograph and birds like Donald (left photo) have helped me get back outdoors!

Duck at Gyro Beach
Ducks at Gyro Beach

Food Dye in Water Photography + Photography Challenge | Create with Me

Come create with me! In this episode we play around with food dye in water photography and we add the extra challenge of photographing one subject 10 different ways.

Storytime

Earlier in the week I was feeling a creative itch to create something so I played around with water and oil photography when I had this moment to add food dye drops and it created such a cool effect that I quickly became obsessed to see what kind of pattern I create.

The Photography Challenge

This time I decided to take it a step further and add the creative challenge of one subject 10 different ways.

I started struggling after the fifth image to figure out other compositions and what to do with the food dye in water.

This is a classic challenge/exercise to develop your eye and stretch your creativity. It’s fair to say it did the job for me.

food-dye-in-water-1.jpg
food-dye-in-water-2.jpg
food-dye-in-water-3.jpg
food-dye-in-water-4.jpg
food-dye-in-water-5.jpg
food-dye-in-water-6.jpg
food-dye-in-water-7.jpg
food-dye-in-water-8.jpg
food-dye-in-water-9.jpg
food-dye-in-water-10.jpg

Final Thoughts

Here are some of my final thoughts from this create with me session:

1) Give your glasses a nice wipe before you photograph them to make sure theres no finger prints on them

2) Experiment with the tools you have! I just used the food dye out of the bottle but if you had a syringe like tool available to inject the food dye at a greater speed and precision into the water it would create a cooler and cleaner aesthetic

3) Use a surface that cleans up nicely. This doesn’t create as much of a mess than the splash photography but the dye can get everywhere so make sure you are using a surface that wipes clean or you’re okay with throwing away after if it gets all messy

4) Don’t be afraid to experiment, use different pain, glasses, tools, and colours!

My Photography Setup | Food Photography & Stop Motion

In this episode I take you behind-the-scenes on my photography setup for food photography and stop motion!

Old Setup

Before I purchased surfaces and lighting for my food photography and stop motion kit I used natural light from my kitchen window, some kitchen boards to act as surfaces, and an old desk part to create a backdrop.

I’m a huge believer in using what you have to start and build what you need slowly.

My+Photography+Setup+1.jpg
My Photography Setup 2.jpg
My Photography Setup 3.jpg

New Setup

Surfaces

After a month of using this setup and loving stop motions I decided to spend a little money to level up my game. The first item I bought was some surfaces and clamps.

Previously when I was taking photos I was taking notes on what I could have done better or if anything hindered my process and the surface of my kitchen counter was a problem for me - it was really reflective so it reflected my kitchen window, the overhead light in my kitchen, the door when my camera sat at a certain angle.

Thus, I decided to purchase some surfaces from Amazon. I originally wanted to buy some Ink & Elm surfaces but I had issues at checkout shipping to Canada so I bought these affordable surfaces that came in a pack of 4 for $50.

I also bought these clamps from Amazon so I could firmly attach the surfaces to either my kitchen table or other surfaces.

2.jpg

Lighting

After I did my Highlights from Athens stop motion I decided to purchase some lighting for my food photography, stop motion and my YouTube videos. It’s really important for stop motion you use even lighting because you’re taking several photos over a course of a long time (maybe hours!).

Buying some lighting has been on the list for me for quite some time - all of my YouTube videos up to this point has been with natural light but with being in winter the day is much shorter. Because of the shorter days I was having a hard time creating when I wanted to create so it was time to buy some lights.

I did look into purchasing a Godox off-camera flash or a continuous light from Godox but I ultimately decided to purchase a more affordable softbox set by Neewer on Amazon for $150.

My Photography Setup 4.jpg
1 (2).jpg

Images Taken Using the New Surfaces & Neewer Softboxes

oreo-2.jpg
oreo-9.jpg
oreo-5.jpg

Final Thoughts

The only larger item that is on the horizon for me to buy is a new tripod that is better suited for food photography and stop motion. The current tripod I have is great for travel and landscape photography but it poses its challenges when doing food photography and stop motion in that I can’t position the camera to do a flat lay.

Thank you for joining me today in a behind-the-scenes of my photography setup for food photography and stop motion!

Personal Photography Projects | Benefits, Planning & Sharing

In this episode we discuss personal photography projects what are they, their benefits, how I find inspiration and plan the project and what I do with the product afterward!

Whether you are a hobby photographer, professional or aspiring professional…whether you do landscape, travel, food, portrait…personal photography projects hold benefit and value for you!

What are Personal Photography Projects?

Personal photography projects are any kind of photography projects you do for yourself and for your own reasons! These projects can vary in length and complexity - they could be short and sweet that takes an afternoon to complete or they could be long and extensive taking months to months to finish.

These projects can also stand alone as a single photography project or they could be strung together as part of a series or collection.

When I was doing a lot of landscape photography in the summer some of my photography projects were visiting and documenting new locations around the Okanagan - this was a long and extensive photography project that strung together to create a collection.

Currently, I’ve been doing a lot of food-related photography projects involving stop motion. These have been short and sweet photography projects that stand alone.

grapefruit-1.jpg
grapefruit-2.jpg

Benefits

Create Your Own Opportunities

There are two main benefits to personal photography projects - the first is it creates your own opportunities. I am a huge believer in creating your own opportunities and through personal photography projects it could lead to being featured, a job offer, a future or bigger idea or project.

You never know who is watching you, following your work, etc.,

Practice, Learn and Grow

The second benefit is it allows you to practice your skill, learn and grow!

A few weeks ago I made my first ever stop motion animation with marshmallows forming the word 2021…it wasn’t the greatest. In-between then and now I have done a few more stop motions to practice and I created another one this week featuring a yogurt parfait.

Personally, when it comes to working on a personal photography project I want to make sure its fun for me, it interests me and if possible it can benefit another person.

grapefruit-4.jpg
grapefruit-5.jpg

Planning

Finding Inspiration

To find inspiration for a personal photography project I like to peruse on Instagram and Pinterest. If I’m on Instagram and I see something that interests me and want to refer back to later I’ll bookmark it. If I’m on Pinterest I’ll pin it to my photography board.

Inspiration is one of those things that sometimes I’ll look for directly and other times it will come to be in another way from another idea.

Tracking Ideas

I also like to keep a physical copy of my ideas and check them off as I complete them. If I’m on the go when an idea comes to me I’ll jot it down in my notes app and transfer it to my physical notebooks later.

Planning the Project

Once I have an idea for a personal project I like to flesh out the idea in my notebook - the supplies I’ll need, the concept for the shoot, composition ideas and tasks.

grapefruit-6.jpg
grapefruit-7.jpg

Sharing Afterward

After I’ve executed on the project I like to share behind-the-scenes on my Instagram stories and with the final product I’ll either create a post on Instagram, create a blog post or make a YouTube video on it (or a combination of the 3).

Back in December when I was reviewing my plans for 2021 I decided I wanted to not only create but document and share what I create (good or bad). On Instagram you see so often these perfectly curated feeds of branded colours, perfect images and I love seeing them but I also knew that it wasn’t me. So I decided to take a different direction. Posting my creations is a way for me to document my journey and my development as a photographer.

grapefruit-8.jpg
grapefruit-3.jpg

Final Thoughts

Personal photography projects are so important and valuable to me. It keeps my creativity alive and whenever possible it provides value to others.

Let me know on the YouTube video or Instagram if you’re working on any personal photography projects and what!

Volcanic Hills Estate Winery | West Kelowna Winery

Volcanic Hills Estate Winery is a local winery in the Okanagan situated in West Kelowna on 2845 Boucherie Road. It sits on the southeast slope of an old dormant volcano - Mount Boucherie which inspired their name for the winery.

I travelled to this local winery in the fall to celebrate my 25th birthday and did a wine tasting with my family. When we visited the atmosphere was cozy, the service was great, they had a good wine selection and we walked away with this wonderful bottle of rose!

At my local Starbucks they were selling these heart-shaped sugar cookies so I picked up a few of those to further style and set the tone for a sweet and romantic session.

volcanic-hills-1.jpg
volcanic-hills-3.jpg
volcanic-hills-6.jpg
volcanic-hills-2.jpg
volcanic-hills-4.jpg
volcanic-hills-7.jpg
volcanic-hills-8.jpg
volcanic-hills-5.jpg

Drink Photography Info:

Wine: Volcanic Hills Estate Winery 2018 Rose // @volcanichillswi

Sugar Cookies: Starbucks (Seasonal) // @starbuckscanada

Wood Charcuterie Board: Home Sense Canada // @homesensecanada

Pink Marble Board: Home Sense Canada // @homesensecanada

Pink Heart Fabric: Home Sense Canada // @homesensecanada

Splash Photography on the Olympus EM1 Mark II | Create with Me

I tried splash photography for the first time!

Before Christmas I was perusing the aisles of Home Sense when I came across these clear glass mugs and I knew they were perfect for some splash photography!

In this episode we discuss what is splash photography, how to setup Pro Capture on your Olympus camera, and what I learned from this experiment!

Splash Photography

Splash Photography is in the name - you create splashes involving a secondary object and capture them.

You can do splash photography like I did with some liquid in a mug or glass or you can involve a product - let your imagination go wild.

For my first time I wanted to keep the concept simple so I used a clear glass mug, some coffee and some ice cubes/carrots to drop and create the splashes.

splash-photography-FINAL-1.jpg
splash-photography-FINAL-2.jpg
splash-photography-FINAL-3.jpg

Pro Capture & Sequential High

On the Olympus you can capture movement like this via Pro Capture or Sequential High.

Pro Capture is a feature on some of the Olympus cameras that capture moments that last really briefly - by enabling Pro Capture your camera starts recording images when you half-press the shutter but doesn’t write until you fully click the shutter.

To enable Pro Capture go to your Super Control Menu (for me I click the center “OK” button on my camera) and where it usually shows a single frame you can scroll and change it to Pro Capture - High or Low.

If you want to adjust the settings within Pro Capture you can by going into your Menu -> Settings -> C1.

Here you can adjust your Maximum FPS, your Pre-Shutter Count, and your Total Frame Count.

An alternative to using Pro Capture is enabling Sequential High on your camera. You can get to Sequential High by going back into the Super Control Menu and selecting Sequential High.

Learnings from this Experiment

1. Play with your liquid level: I wanted a real messy splash of liquid spilling from the glass when I did my splashes so I found by filling the glass almost completely to the top I ensured I would get that super messy splash. If you have a glass with less liquid then you won’t get as much spillage unless you play with your drop height, object, and post-processing.

2. Play with your drop height: I found that if I dropped by object from a greater height then it allowed for greater height and volume of the splash. The issue with going higher with your drop height becomes…aim.

3. Play with the object you drop: At the beginning I used ice cubes as my object to drop because it would disappear into the glass, however, I did want to experiment with the object (shape and size) that would get dropped so I started dropping baby carrots into my glass. I found that the shape of the object did contribute to different looking splashes! See below, for the image on the left I used a carrot and dropped it pretty horizontally and you can tell by the splash that is created. For the image on the right I used two ice cubes stacked.

splash-photography-FINAL-2.jpg

4. Play around with Pro Capture & Sequential High: I played around with my settings within Pro Capture and I found it tricky to time myself - when to half-press the shutter, drop the object, fully-press the shutter. I found by switching to sequential high I had an easier time catching my shot because of the feedback I received from the camera.

5. Splash photography is really messy so have towels/paper towel handy: Splash photography can be really messy (especially if you want real messy splashes like I did) so make sure you have lots of towel or paper towel handy to clean up the mess and you’re using a surface that is forgiving (cleans up nicely vs. leaving a stain or mark).

Stop Motion with the Olympus EM1 Mark II | Create with Me

To start 2021 off I thought I would try a really fun photography project - stop motion!

I was introduced to the idea of stop motion by Joanie Simon at The Bite Shot and I thought it was so cool that I had to give it a try and that’s what we do in todays episode!

After watching a lot of tutorials and reading blog articles these are some tips that I heard and were recommended:

IMG_0633 copy.jpg

Tip #1 - Create a Story Board

A story board lays out what you envision for your stop motion - it doesn’t have to be fancy just sketch out your idea.

When I sketched out my story board for this stop motion I originally wanted the objects to start scattered and form the word “2021” but then after I shot and edited the frames together I liked the other way around.

The more complicated your stop motion the longer and more complex your story board will be!

IMG_0347.JPG

Tip #2 - Create Even Lighting

You’ll want to create even lighting so every frame is the same. I don’t own any studio lighting so I had to make do with what I had so I used my phone to cast a light source.

Yes, the light was too harsh. I tried diffusing it with some parchment paper but I didn’t like the effect.

If you have studio lights, great! If not, use what you have or try it with natural light to see what happens (I’ll be experimenting with that in the future).

IMG_0351.JPG

Tip #3 - Use a Tripod

You’ll also want to use a tripod or find a way to keep your camera super steady and still.

You don’t want your frame moving every time you take a picture and the only movement should be the intentional movement you are making in the animation.

IMG_0338.JPG

Tip #4 - Start with the Final

A tip that I heard was to start with your final product and work backwards - I’m not sure if this works for every stop motion animation but in many ways it makes sense.

I wanted the final product to be the word “2021” formed so I started with that.

IMG_0355.JPG

Tip #5 - Make Small Changes

With stop motion animation you want to make very small changes to your movement, you don’t want a drastic shift.

This does however make the whole process very long and tedious.

Editing in Lightroom and iMovie

After I took all the photos I imported them all into Lightroom and did some light editing - playing with exposure, shadows, highlights, contrast, etc.,

I then took all the photos into iMovie and strung them together. You can do this with any video editing software or an online tool but I use iMovie to edit all my videos with so that’s what I tried.

At first I made each clip as short as possible (.10 seconds), I then ordered the photos how I wanted the clip to play out. After, I exported it as one clip and re-imported. I then played with the speed of the entire clip started at 120 speed and ended with 130 speed.

In each software you use this process will be different so experiment with what works for you!

Final Thoughts - What I Would do Differently Next Time

1. I would shoot in my kitchen the next time. The flooring in my living room is unstable and it can shift when you walk on it so every time I approached the tripod it did shift underneath slightly - slightly enough that it moved the frame every time.

2. I would use the Olympus Share app on my phone to remote control the camera. The above problem with my floors could have been mitigated if I had controlled my camera with my phone but I was using it to create a light source.

3. I would get better lighting or experiment with natural light. Using my phone light casted a sharp light and created harsh shadows so investing in a different light set up or experimenting with natural light is on my list.

4. I would test out a more complex idea. I was originally going to use an assortment of fruit to create the 2021 effect but the morning I was going to pick up the fruit, film and shoot the stop motion my car battery died so I couldn’t make it to the grocery story. So I made due with what I had! I would love to experiment with cupcakes and stop motion!

I hope you enjoyed todays episode making a stop motion animation! If you create a stop motion animation be sure to share your creation on Instagram and tag @beautifullywander in it so I can see what you create!

Happy Creating!

Making Shaped Bokeh | Holiday Edition with the Olympus EM1 Mark II

Have you ever seen photos with the beautiful bokeh in the background in shapes like hearts?

That’s what we make in todays episode, however, holiday edition!

How to Make

To make these DIY lens filters you need some paper or cardboard, and either a pair of scissors or exacto knife (depending on what you are cutting).

Step 1: Take your lens cap and trace a circle that you will eventually tape onto the outside of your lens

Step 2: Outline the shape that you’re going to cut

Step 3: Cut (if you’re using cardboard you might want to use an exacto knife instead)

I’ve seen other variations where people create sleeves to go on the outside of the lens then attach their shape cut-out, I’ve also seen people create legs that get taped to the outside of the lens. I went super simple and just taped the DIY filter to the outside of the lens.

Putting your Filter in Action

Before I went out to the Tree of Hope I did do some test shots at home in front of my Christmas tree. I discovered that it took a number of attempts before I got the right SIZE of shape for my lens.

cool-bokeh-shapes-22.jpg
cool-bokeh-shapes-24.jpg
cool-bokeh-shapes-23.jpg

Once I fiddled around with the filters/stencils I finally found the size that worked for the M.Zuiko 40-150 F2.8 PRO.

I did a mix of shots - manually focus and putting a subject in focus.

The following are manual focus shots where I didn’t put a subject in focus:

cool-bokeh-shapes-15.jpg
cool-bokeh-shapes-1.jpg
cool-bokeh-shapes-13.jpg
cool-bokeh-shapes-5.jpg
cool-bokeh-shapes-3.jpg
cool-bokeh-shapes-4.jpg

I then brought this toy Christmas decor with me to get some sample photos of putting an object in focus!

cool-bokeh-shapes-6.jpg
cool-bokeh-shapes-19.jpg
cool-bokeh-shapes-20.jpg

I then wanted to try finding a location where I can elevate the subject and get an unobstructed view of the tree but there was fencing everywhere so the best I could find was this post:

cool-bokeh-shapes-9.jpg
cool-bokeh-shapes-11.jpg
cool-bokeh-shapes-10.jpg

It was pouring at the Tree of Hope so I decided to come back home and do some more test shoots in front of the Christmas tree:

cool-bokeh-shapes-2.jpg
cool-bokeh-shapes-12.jpg
cool-bokeh-shapes-14.jpg

Today we went from regular bokeh to shaped!

cool-bokeh-shapes-16.jpg
cool-bokeh-shapes-1.jpg

Final Thoughts

The concept of making these DIY filters is quite simple, however, the tricky part is getting the SIZE of the shape right for the focal length and lens you are using.

You can definitely get creative and try some different shapes - letters, numbers, icons, etc.,

Have fun with this and if you do your own creation and share on Instagram tag @beautifulywander so I can see your creation - I would love to see them!

Christmas Food Photography with the Olympus EM1 Mark II and the iPhone | Photography Experiment

Lets experiment with some festive food photography and Christmas baking!

Right now over on Instagram Olympus has been releasing a series called the 12 Days of Christmas and one of the days was a video with Gavin Hoey featuring festive food photography and I was so inspired to try it out!

So in todays episode we made Christmas Bark and experimented with 5 tips in food photography on both my Olympus EM1 Mark II and the 12-40 F2.8 PRO lens and my iPhone XR!

After I photographed the Christmas Bark I edited all images in Lightroom (both EM1 Mark II and the iPhone).

Tip #1 : Lighting

In the video they discuss the concept of lighting (flat light vs. adding intentional shadow). Thus, I decided to do this photoshoot by my kitchen window primarily using natural light.

With the placement of my tray and the window it created a natural shadow to the left, adding more dimension and interest to the photo.

Olympus EM1 Mark II // M.Zuiko 12-40 F2.8 PRO// ISO 500 f/8 1/15Edited: Lightroom

Olympus EM1 Mark II // M.Zuiko 12-40 F2.8 PRO// ISO 500 f/8 1/15

Edited: Lightroom

Taken on the iPhone XREdited: Lightroom

Taken on the iPhone XR

Edited: Lightroom

Tip #2 : Styling

They also discuss in the video the concept of styling your food with festive props that add interest to the overall image. In my photo I used what I had in my home and styled the bark with some leftover red and green M&M and crushed candy canes.

Olympus EM1 Mark II // 12-40 F2.8 PRO // ISO 500 F2.8 1/100Edited: Lightroom

Olympus EM1 Mark II // 12-40 F2.8 PRO // ISO 500 F2.8 1/100

Edited: Lightroom

Taken on iPhone XREdited: Lightroom

Taken on iPhone XR

Edited: Lightroom

Tip #3 : Continuity in Shape but Different Sizes

My intention was to create star shapes with the Christmas Bark but due to their thickness and fragility I wasn’t able to, so I selected like-shapes with different toppings.

This would have been better had I worked with cookies in different sizes with different patterns and colour (but when I made cookies last year they were hard to make and turned out really ugly!)

Olympus EM1 Mark II // 12-40 F2.8 PRO // ISO 500 F8 1/20Edited: Lightroom

Olympus EM1 Mark II // 12-40 F2.8 PRO // ISO 500 F8 1/20

Edited: Lightroom

Taken on iPhone XREdited: Lightroom

Taken on iPhone XR

Edited: Lightroom

Tip #4 : Use a Container

Another tip that I found about photographing baked treats was putting them into a container (while also creating layers). I had this old gingerbread house Christmas tin from last year and I put all my Christmas Bark inside and styled the lid to the side.

Olympus EM1 Mark II // 12-40 F2.8 PRO // iSO 800 F8 1/20Edited: Lightroom

Olympus EM1 Mark II // 12-40 F2.8 PRO // iSO 800 F8 1/20

Edited: Lightroom

Taken on iPhone XR Edited: Lightroom

Taken on iPhone XR
Edited: Lightroom

Tip #5 : Incorporate a Person

For this I set my Olympus EM1 Mark II on a tripod and set it to continuous shooting at 5 frames with 5 seconds in between. I picked up the tray and held it in front of the camera and chose my favourite.

festive-food-photography-final-5.jpg

***Unfortunately, I did not have a way to capture this version of the photo with my iPhone XR. This does require you either have a tripod for your phone or another person to take the photo for you.

Final Thoughts

In todays experiment we tried 5 different techniques when photographing food. Out of the 5 I would say my favourite was just styling the food, incorporating a person takes it a step farther and the runner up would be putting your items in a container.

I’ll be carrying out this conversation about which was your favourite over on my Instagram!

If you try out some festive food photography tag @beautifullywander! I would love to see your creations!