Lets experiment with some festive food photography and Christmas baking!
Right now over on Instagram Olympus has been releasing a series called the 12 Days of Christmas and one of the days was a video with Gavin Hoey featuring festive food photography and I was so inspired to try it out!
So in todays episode we made Christmas Bark and experimented with 5 tips in food photography on both my Olympus EM1 Mark II and the 12-40 F2.8 PRO lens and my iPhone XR!
After I photographed the Christmas Bark I edited all images in Lightroom (both EM1 Mark II and the iPhone).
Tip #1 : Lighting
In the video they discuss the concept of lighting (flat light vs. adding intentional shadow). Thus, I decided to do this photoshoot by my kitchen window primarily using natural light.
With the placement of my tray and the window it created a natural shadow to the left, adding more dimension and interest to the photo.
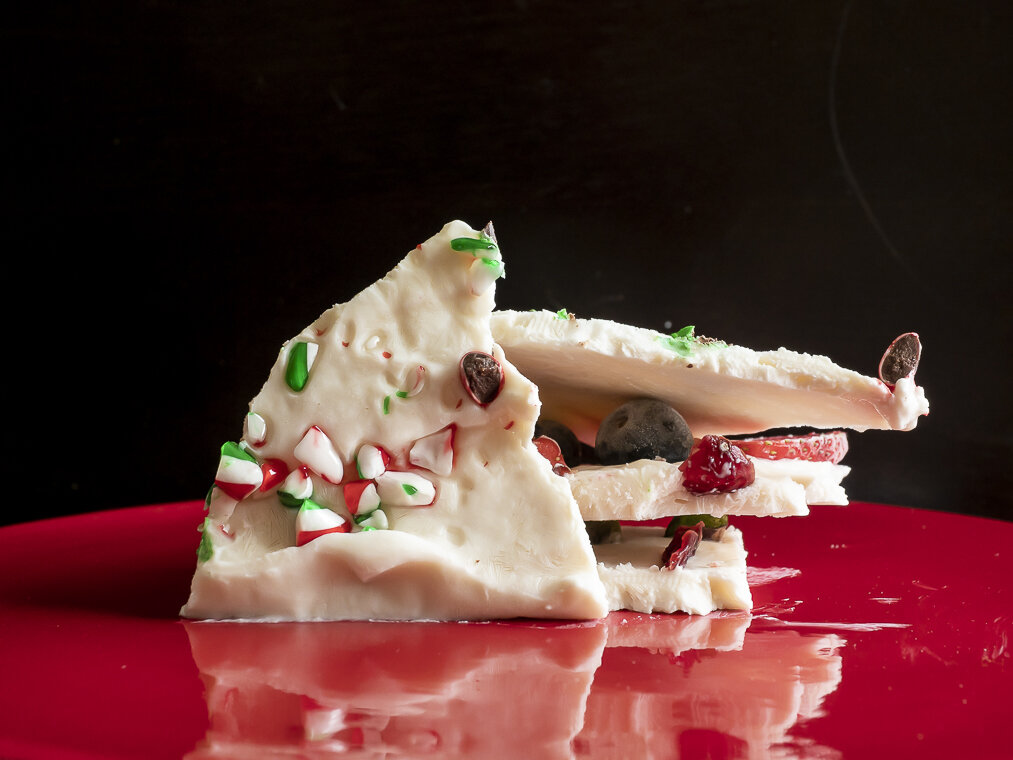
Olympus EM1 Mark II // M.Zuiko 12-40 F2.8 PRO// ISO 500 f/8 1/15
Edited: Lightroom
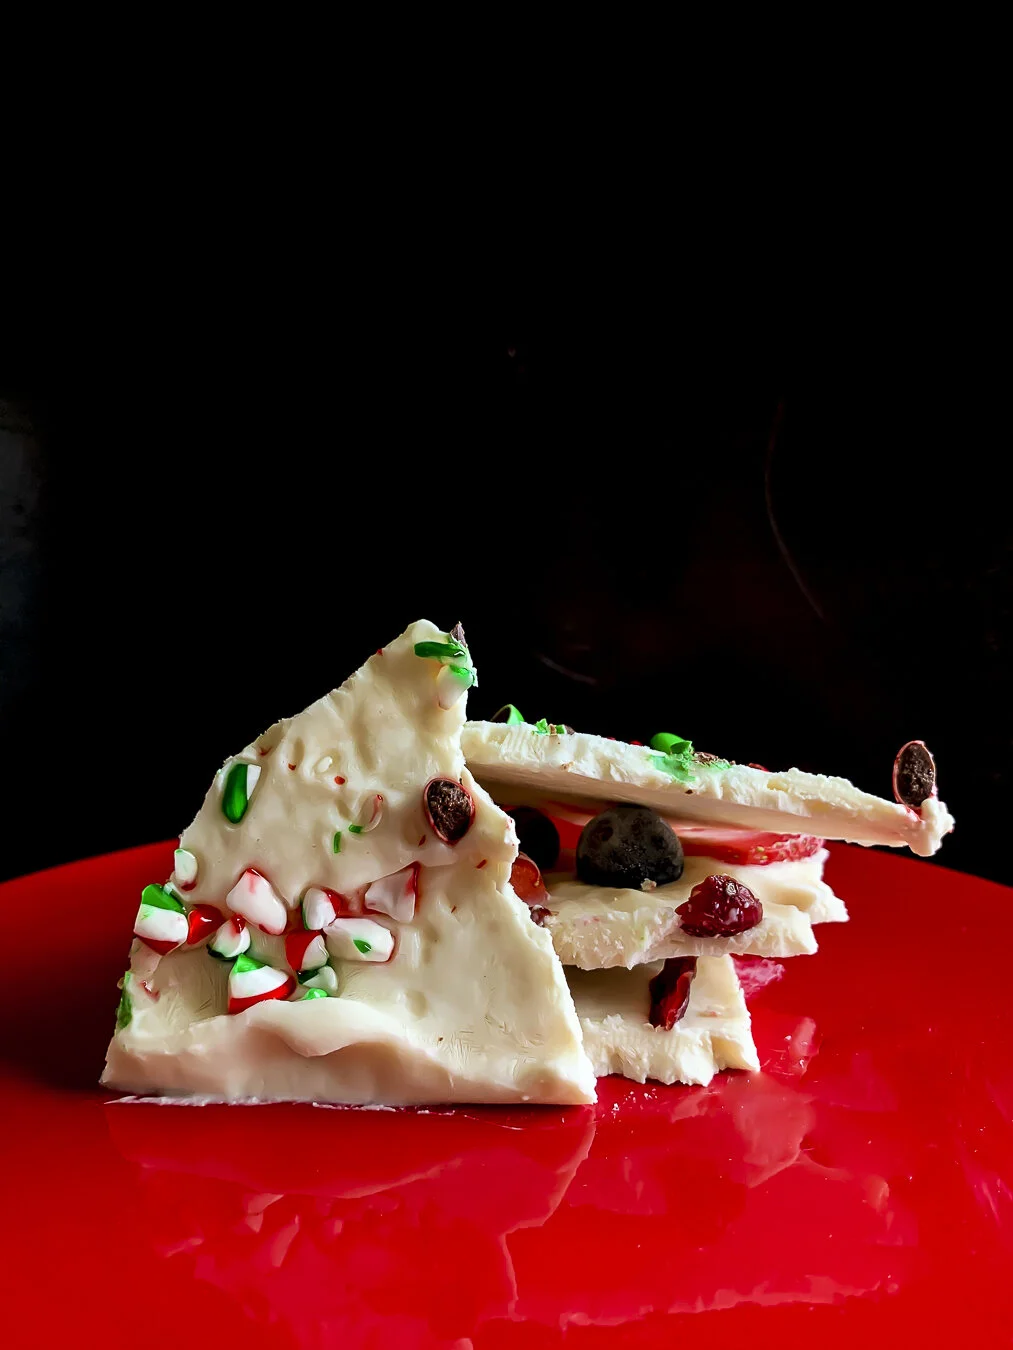
Taken on the iPhone XR
Edited: Lightroom
Tip #2 : Styling
They also discuss in the video the concept of styling your food with festive props that add interest to the overall image. In my photo I used what I had in my home and styled the bark with some leftover red and green M&M and crushed candy canes.
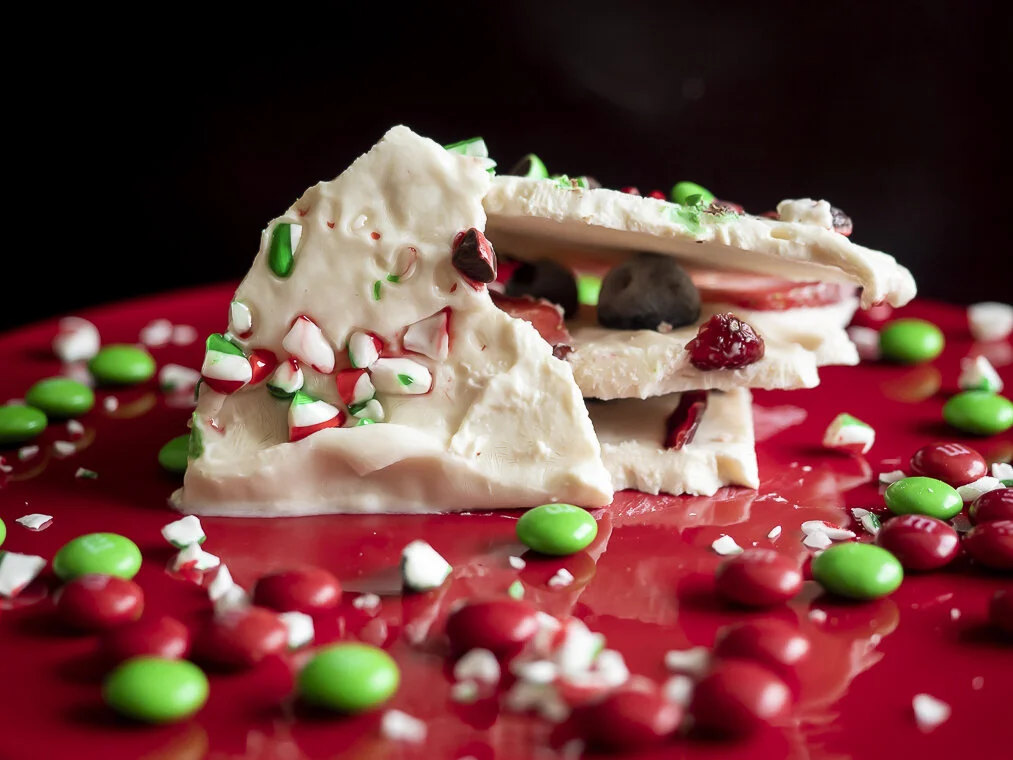
Olympus EM1 Mark II // 12-40 F2.8 PRO // ISO 500 F2.8 1/100
Edited: Lightroom
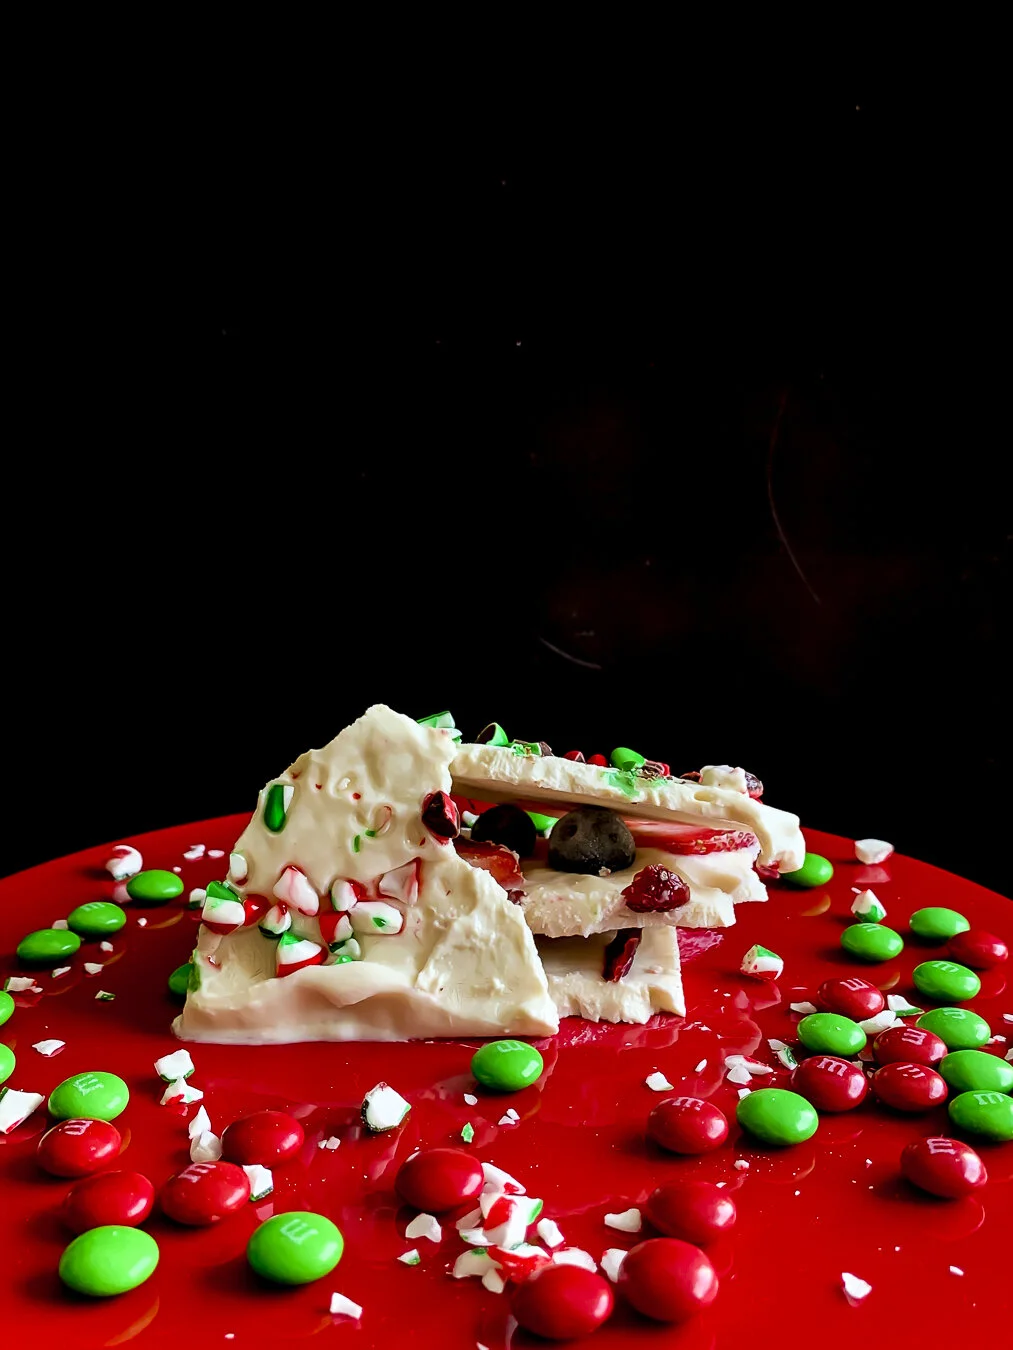
Taken on iPhone XR
Edited: Lightroom
Tip #3 : Continuity in Shape but Different Sizes
My intention was to create star shapes with the Christmas Bark but due to their thickness and fragility I wasn’t able to, so I selected like-shapes with different toppings.
This would have been better had I worked with cookies in different sizes with different patterns and colour (but when I made cookies last year they were hard to make and turned out really ugly!)
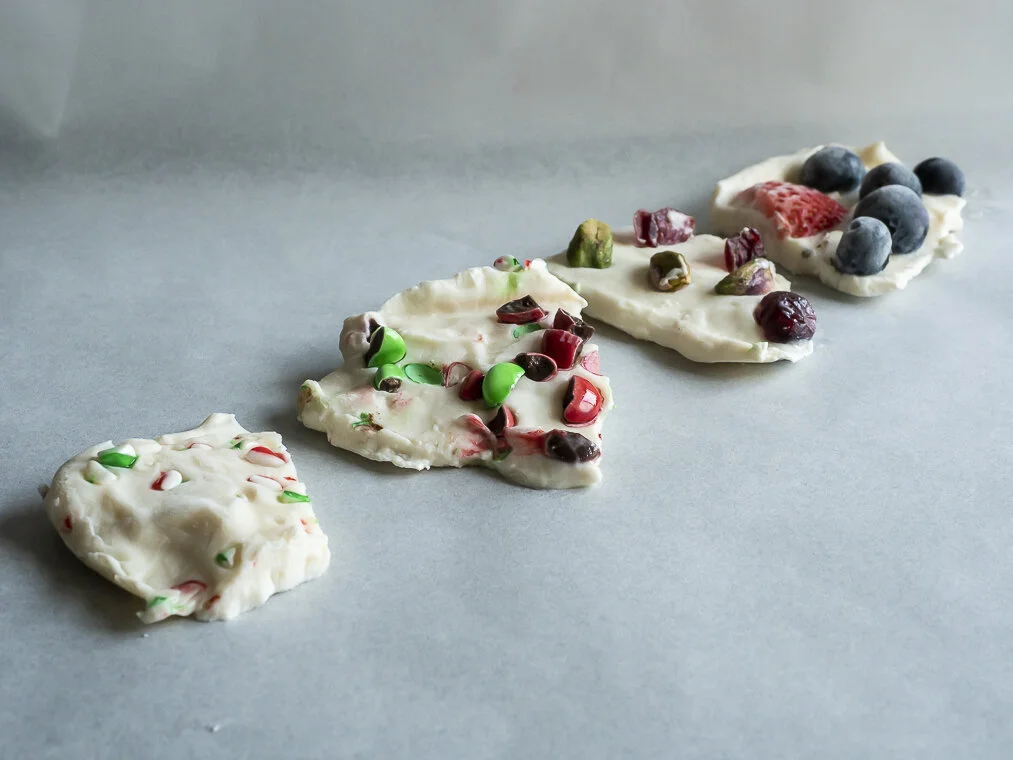
Olympus EM1 Mark II // 12-40 F2.8 PRO // ISO 500 F8 1/20
Edited: Lightroom
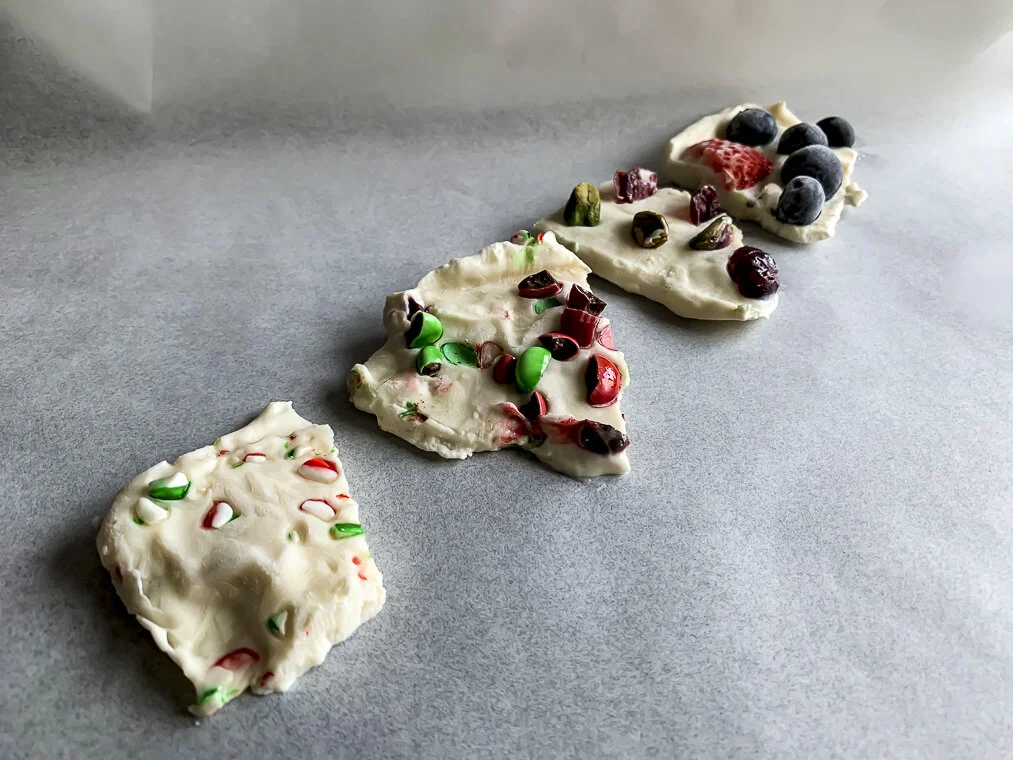
Taken on iPhone XR
Edited: Lightroom
Tip #4 : Use a Container
Another tip that I found about photographing baked treats was putting them into a container (while also creating layers). I had this old gingerbread house Christmas tin from last year and I put all my Christmas Bark inside and styled the lid to the side.
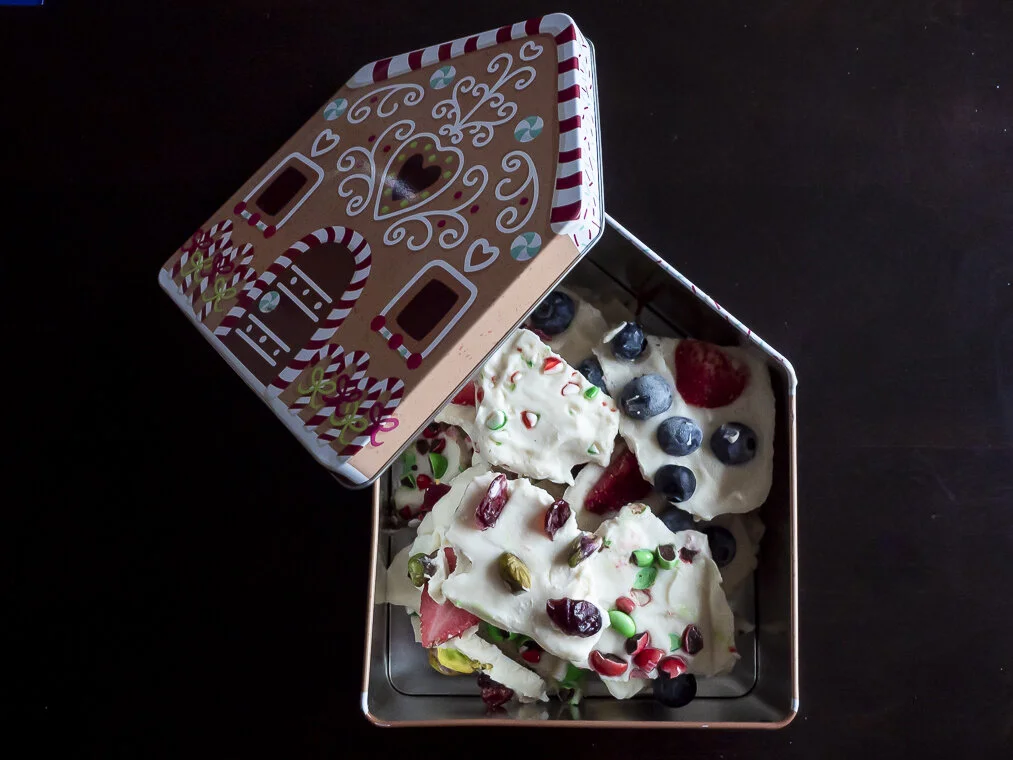
Olympus EM1 Mark II // 12-40 F2.8 PRO // iSO 800 F8 1/20
Edited: Lightroom
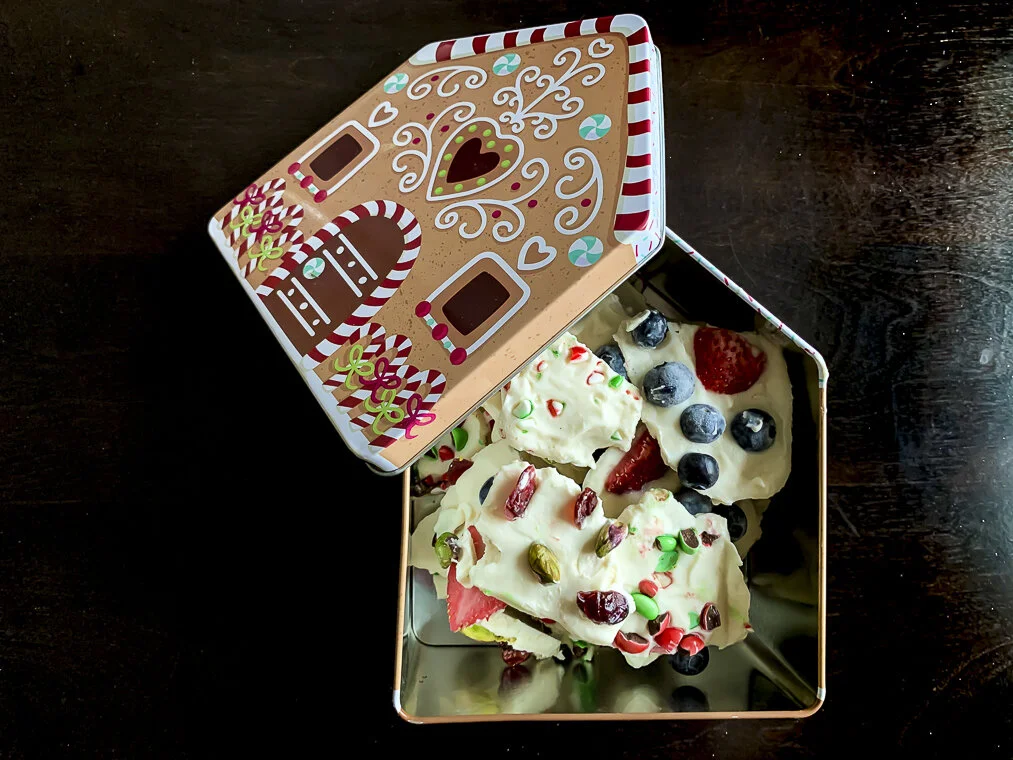
Taken on iPhone XR
Edited: Lightroom
Tip #5 : Incorporate a Person
For this I set my Olympus EM1 Mark II on a tripod and set it to continuous shooting at 5 frames with 5 seconds in between. I picked up the tray and held it in front of the camera and chose my favourite.
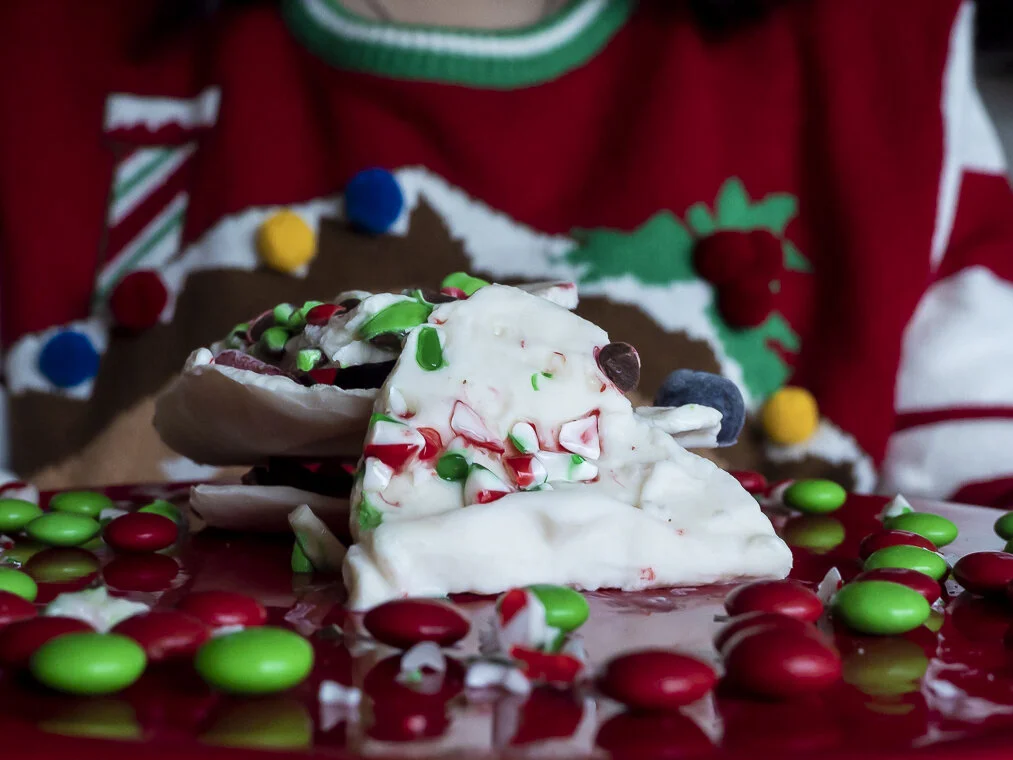
***Unfortunately, I did not have a way to capture this version of the photo with my iPhone XR. This does require you either have a tripod for your phone or another person to take the photo for you.
Final Thoughts
In todays experiment we tried 5 different techniques when photographing food. Out of the 5 I would say my favourite was just styling the food, incorporating a person takes it a step farther and the runner up would be putting your items in a container.
I’ll be carrying out this conversation about which was your favourite over on my Instagram!
If you try out some festive food photography tag @beautifullywander! I would love to see your creations!