I tried splash photography for the first time!
Before Christmas I was perusing the aisles of Home Sense when I came across these clear glass mugs and I knew they were perfect for some splash photography!
In this episode we discuss what is splash photography, how to setup Pro Capture on your Olympus camera, and what I learned from this experiment!
Splash Photography
Splash Photography is in the name - you create splashes involving a secondary object and capture them.
You can do splash photography like I did with some liquid in a mug or glass or you can involve a product - let your imagination go wild.
For my first time I wanted to keep the concept simple so I used a clear glass mug, some coffee and some ice cubes/carrots to drop and create the splashes.

Pro Capture & Sequential High
On the Olympus you can capture movement like this via Pro Capture or Sequential High.
Pro Capture is a feature on some of the Olympus cameras that capture moments that last really briefly - by enabling Pro Capture your camera starts recording images when you half-press the shutter but doesn’t write until you fully click the shutter.
To enable Pro Capture go to your Super Control Menu (for me I click the center “OK” button on my camera) and where it usually shows a single frame you can scroll and change it to Pro Capture - High or Low.
If you want to adjust the settings within Pro Capture you can by going into your Menu -> Settings -> C1.
Here you can adjust your Maximum FPS, your Pre-Shutter Count, and your Total Frame Count.
An alternative to using Pro Capture is enabling Sequential High on your camera. You can get to Sequential High by going back into the Super Control Menu and selecting Sequential High.
Learnings from this Experiment
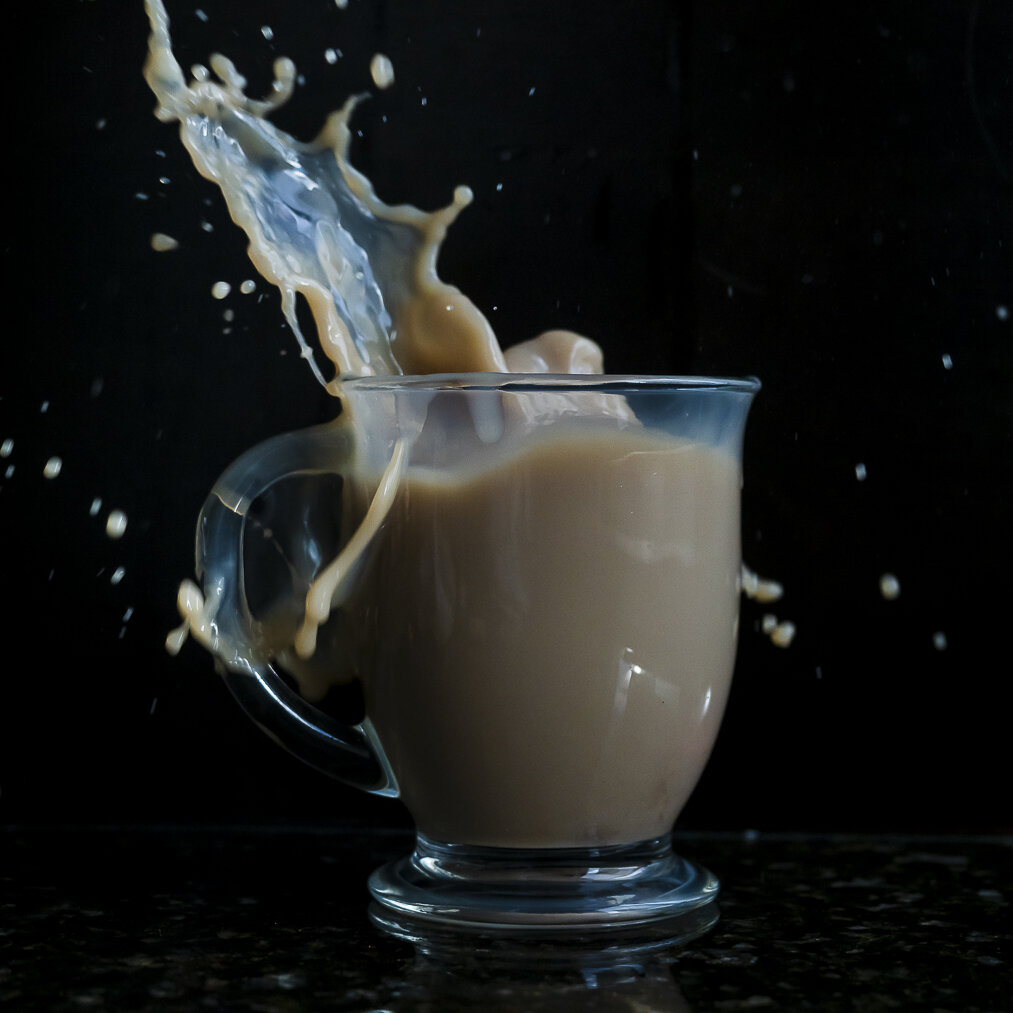
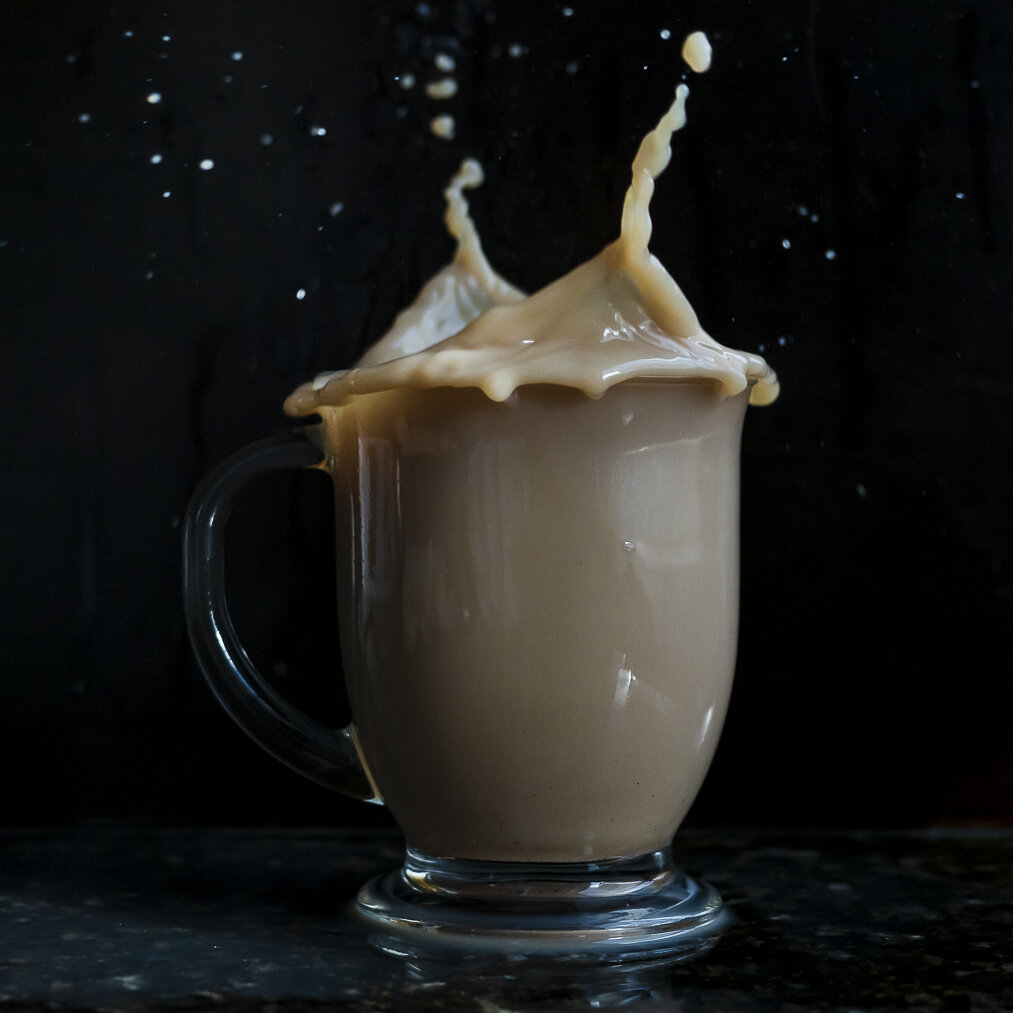
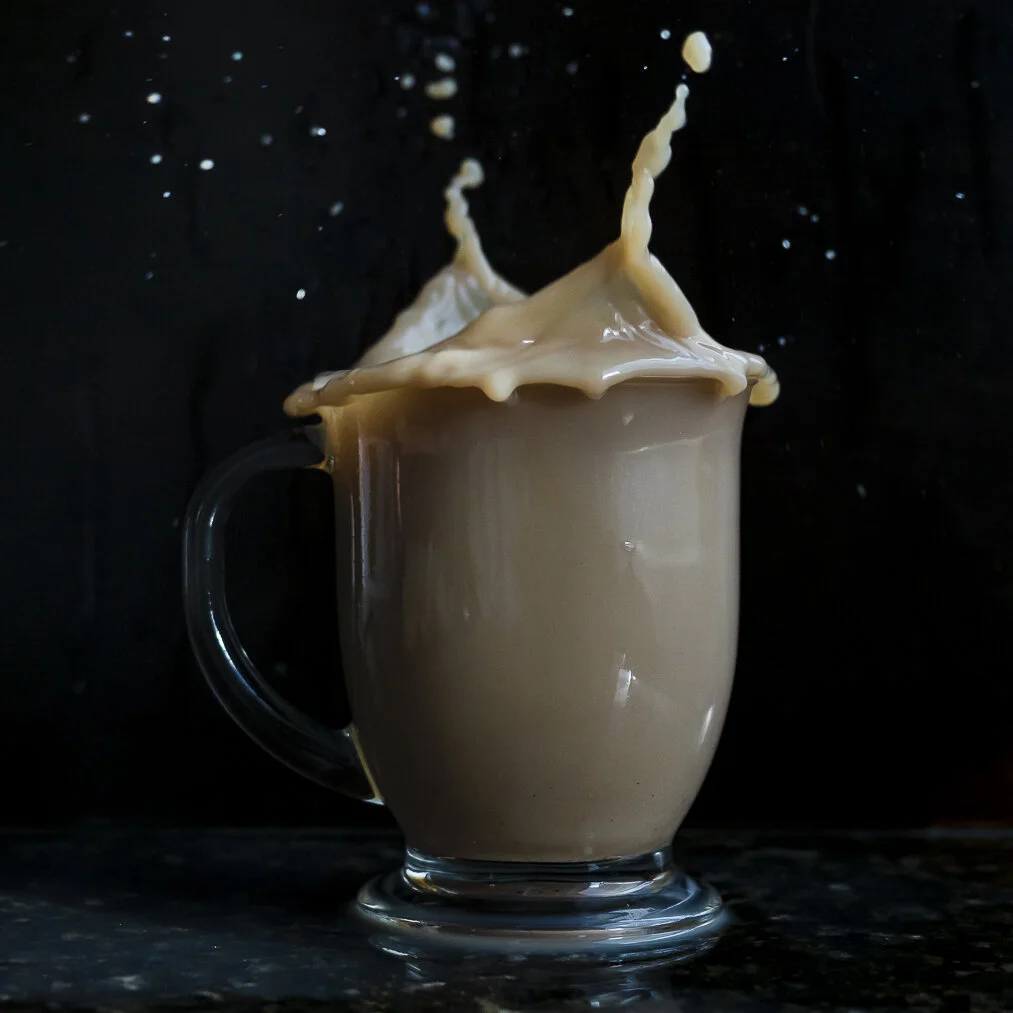
1. Play with your liquid level: I wanted a real messy splash of liquid spilling from the glass when I did my splashes so I found by filling the glass almost completely to the top I ensured I would get that super messy splash. If you have a glass with less liquid then you won’t get as much spillage unless you play with your drop height, object, and post-processing.
2. Play with your drop height: I found that if I dropped by object from a greater height then it allowed for greater height and volume of the splash. The issue with going higher with your drop height becomes…aim.
3. Play with the object you drop: At the beginning I used ice cubes as my object to drop because it would disappear into the glass, however, I did want to experiment with the object (shape and size) that would get dropped so I started dropping baby carrots into my glass. I found that the shape of the object did contribute to different looking splashes! See below, for the image on the left I used a carrot and dropped it pretty horizontally and you can tell by the splash that is created. For the image on the right I used two ice cubes stacked.

4. Play around with Pro Capture & Sequential High: I played around with my settings within Pro Capture and I found it tricky to time myself - when to half-press the shutter, drop the object, fully-press the shutter. I found by switching to sequential high I had an easier time catching my shot because of the feedback I received from the camera.
5. Splash photography is really messy so have towels/paper towel handy: Splash photography can be really messy (especially if you want real messy splashes like I did) so make sure you have lots of towel or paper towel handy to clean up the mess and you’re using a surface that is forgiving (cleans up nicely vs. leaving a stain or mark).