I love to travel, I love travel photography and documenting our travel adventures! With Spring upon us I have been doing a lot of reminiscing over past trips and strategizing for the future because Spring and Summer is when I tend to travel the most.
With all this reminiscing and strategizing I’ve been discovering a lot of things and in todays article I wanted to boil down five lessons that I’ve learned from documenting past trips so hopefully you can learn from my mistakes.
Lesson #1 : Learning to be Flexible
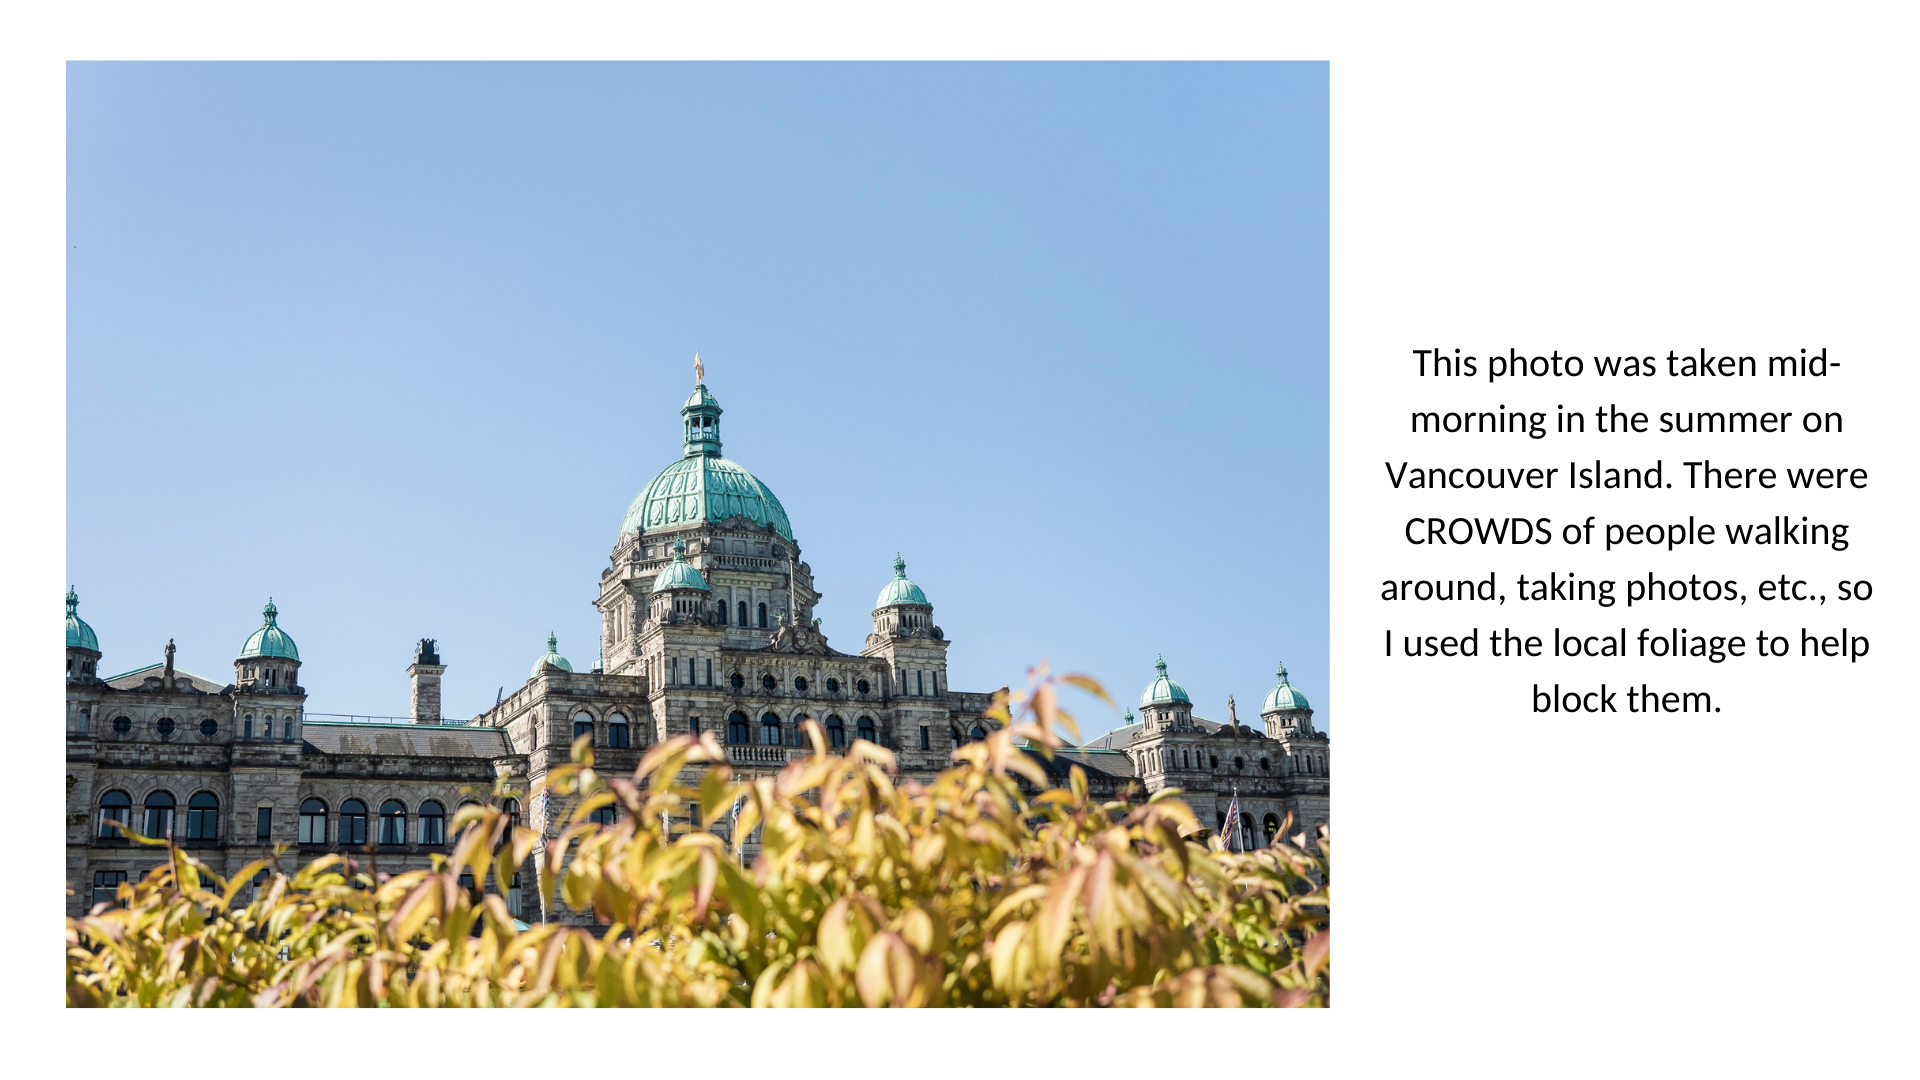
When I’m on vacation I don’t have 2+ hours to be at a location. I’m also not always there at the right time for lighting or without crowds. Thus, learning to be flexible is vital.
I like to have a few tips and tricks in my back pocket to help me work with the current conditions and make the best of the situation.
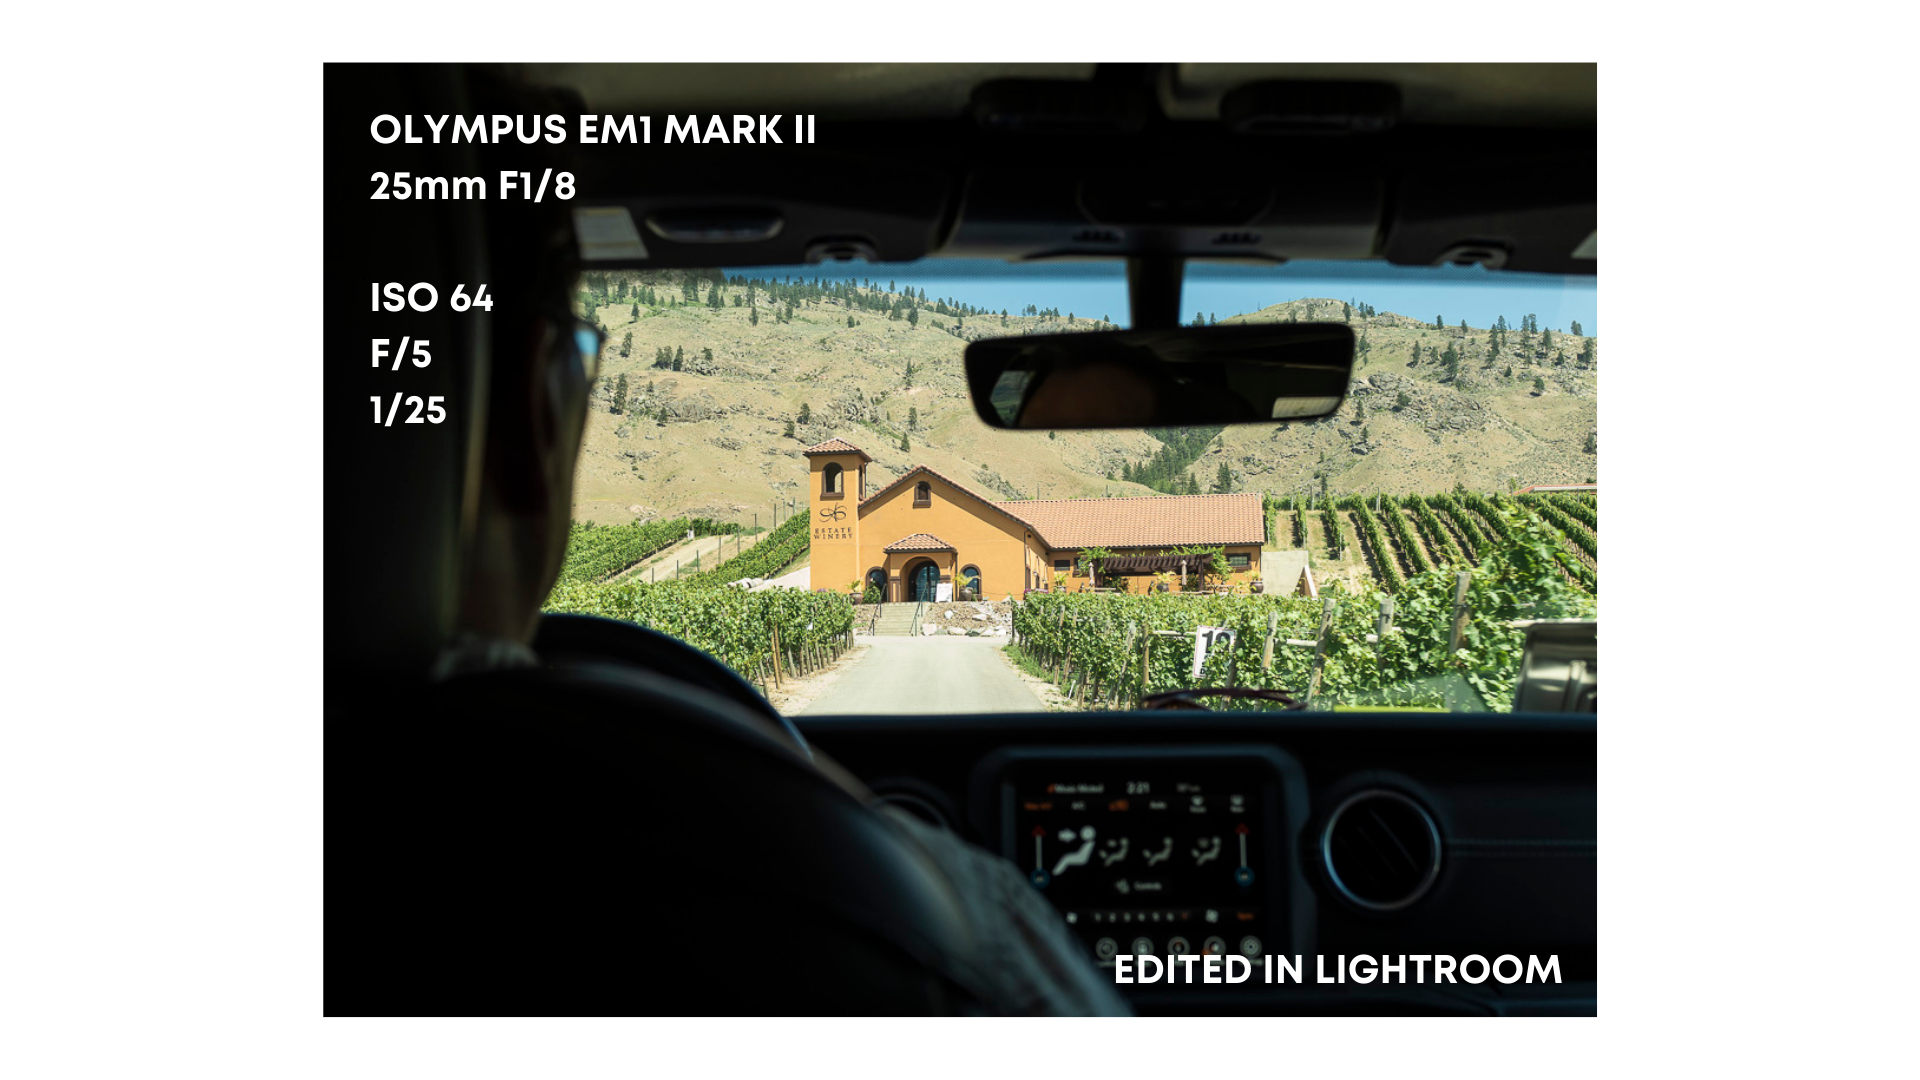
For example, if I’m at a landmark that has tons of crowds around. Learning to be flexible means maybe using some foreground interest to block out the crowds, slowing down the shutter speed to showcase the movement of people, or leaving the crowds as documenting what the scene truly looks like.
Lesson #2 : Understanding What is Important, Why You’re Photographing the Trip and Your Mindset Before the Trip
I have definitely found that understanding what is important, why I’m photographing the trip, and my mindset before the trip influences how I photograph the trip.
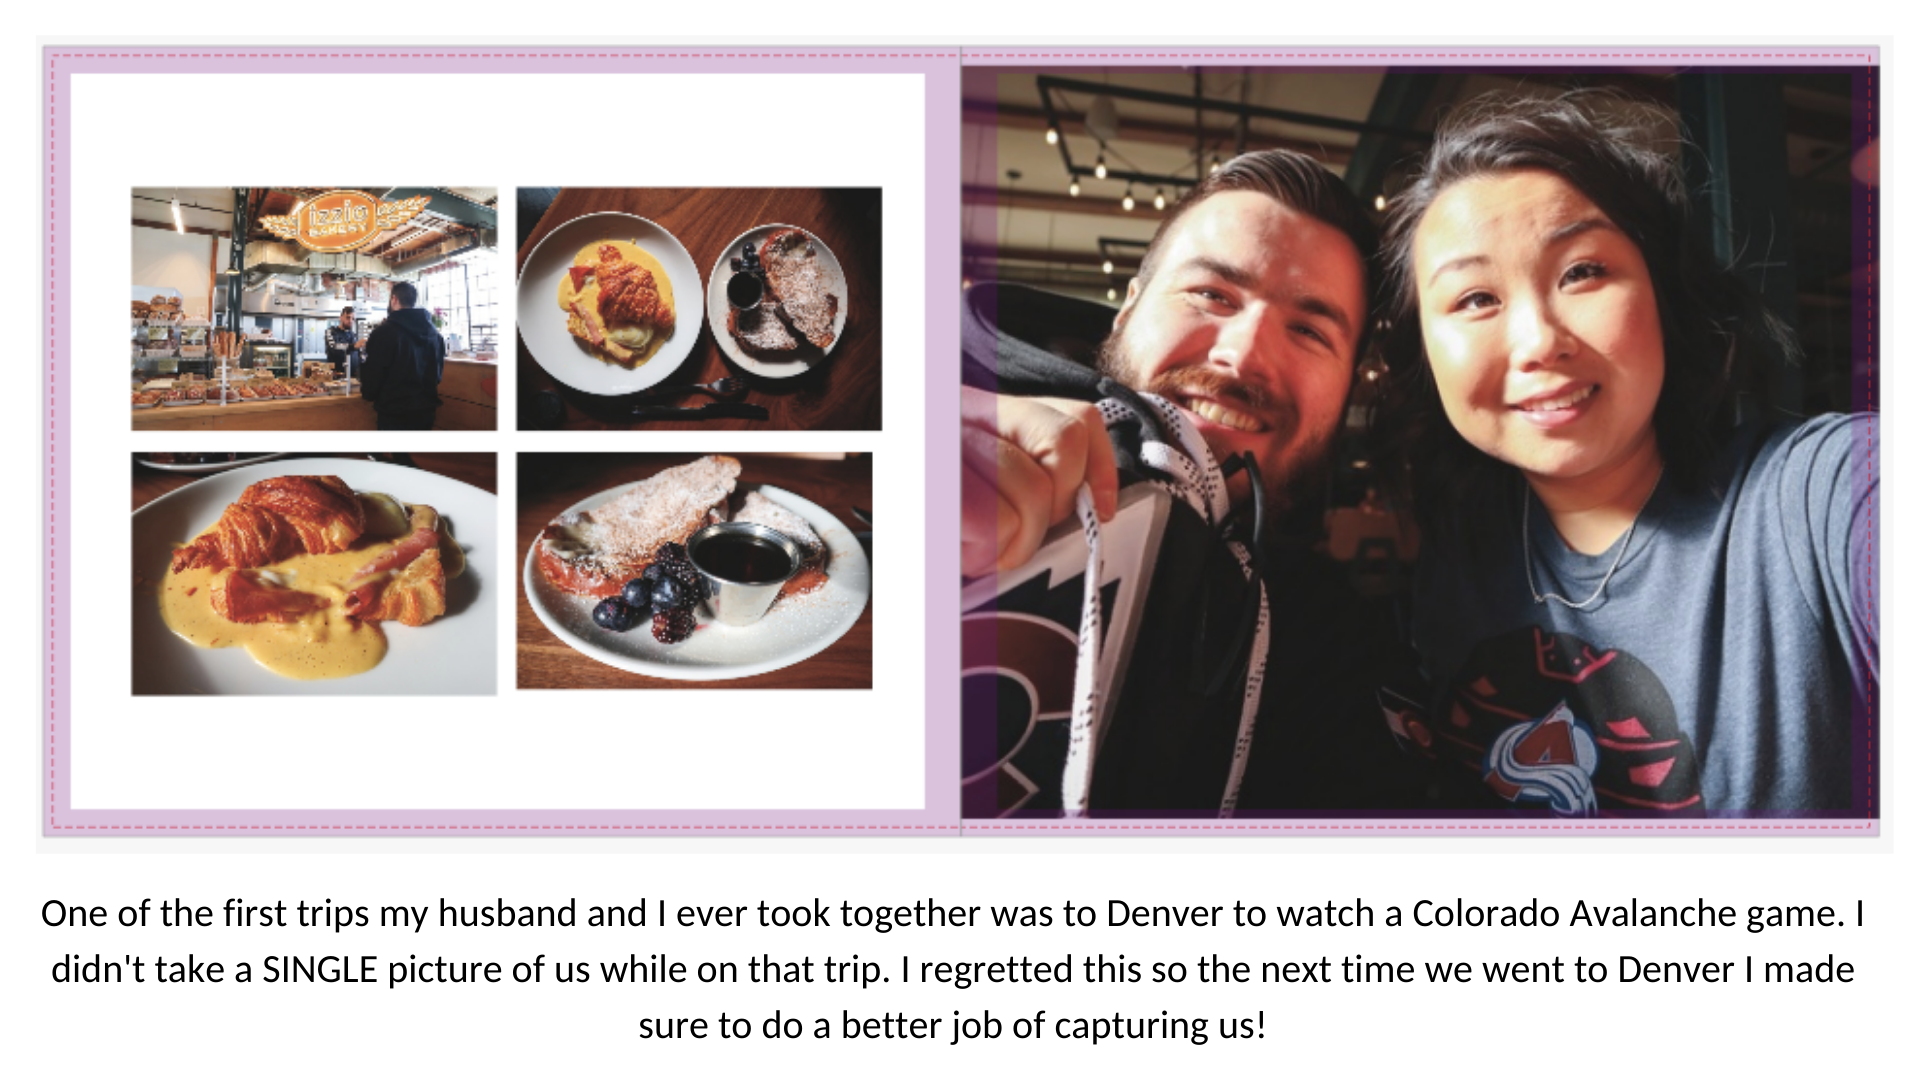
Back when I visited Greece in 2019 and Denver in 2020 I wasn’t super into photography. I of course loved photographing my travels but I didn’t pay close attention to things like composition and settings. So, why I photographed those trips were to have memories, keepsakes for afterwards.
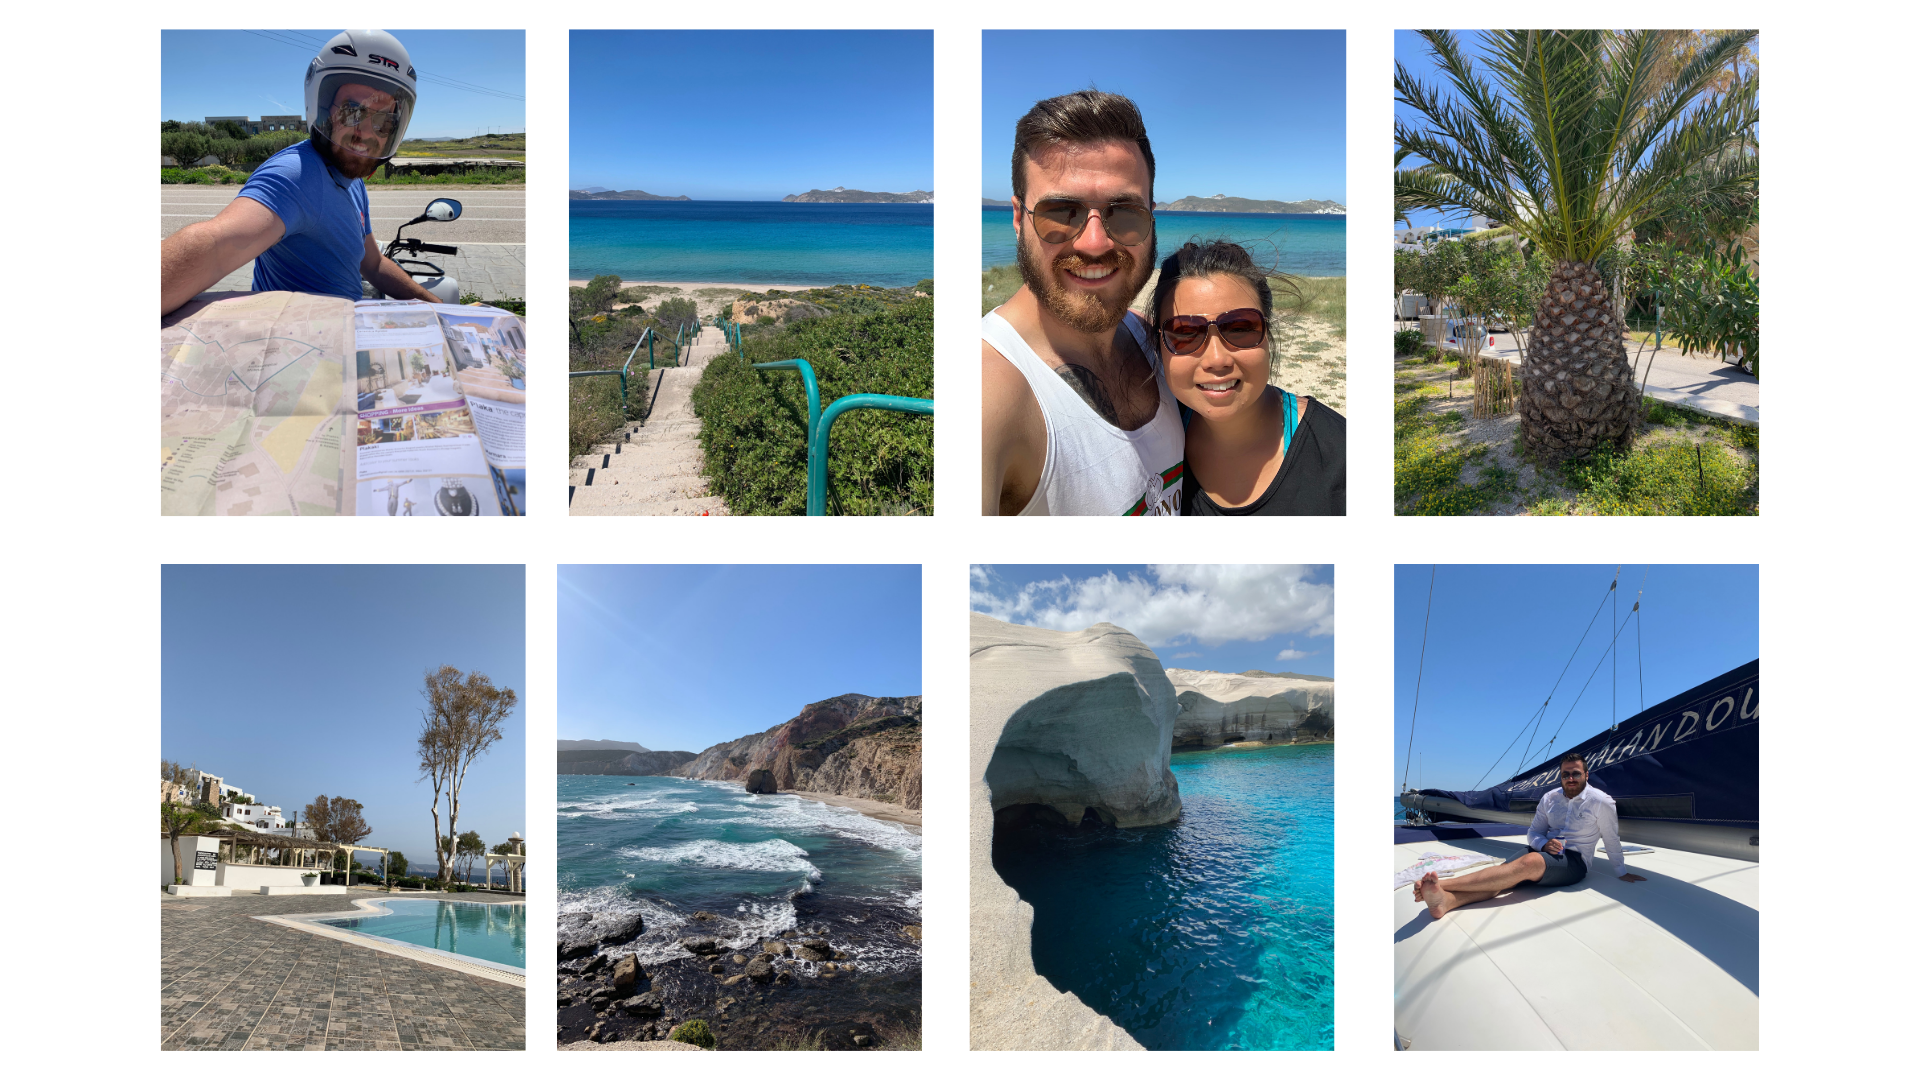
Greece 2019
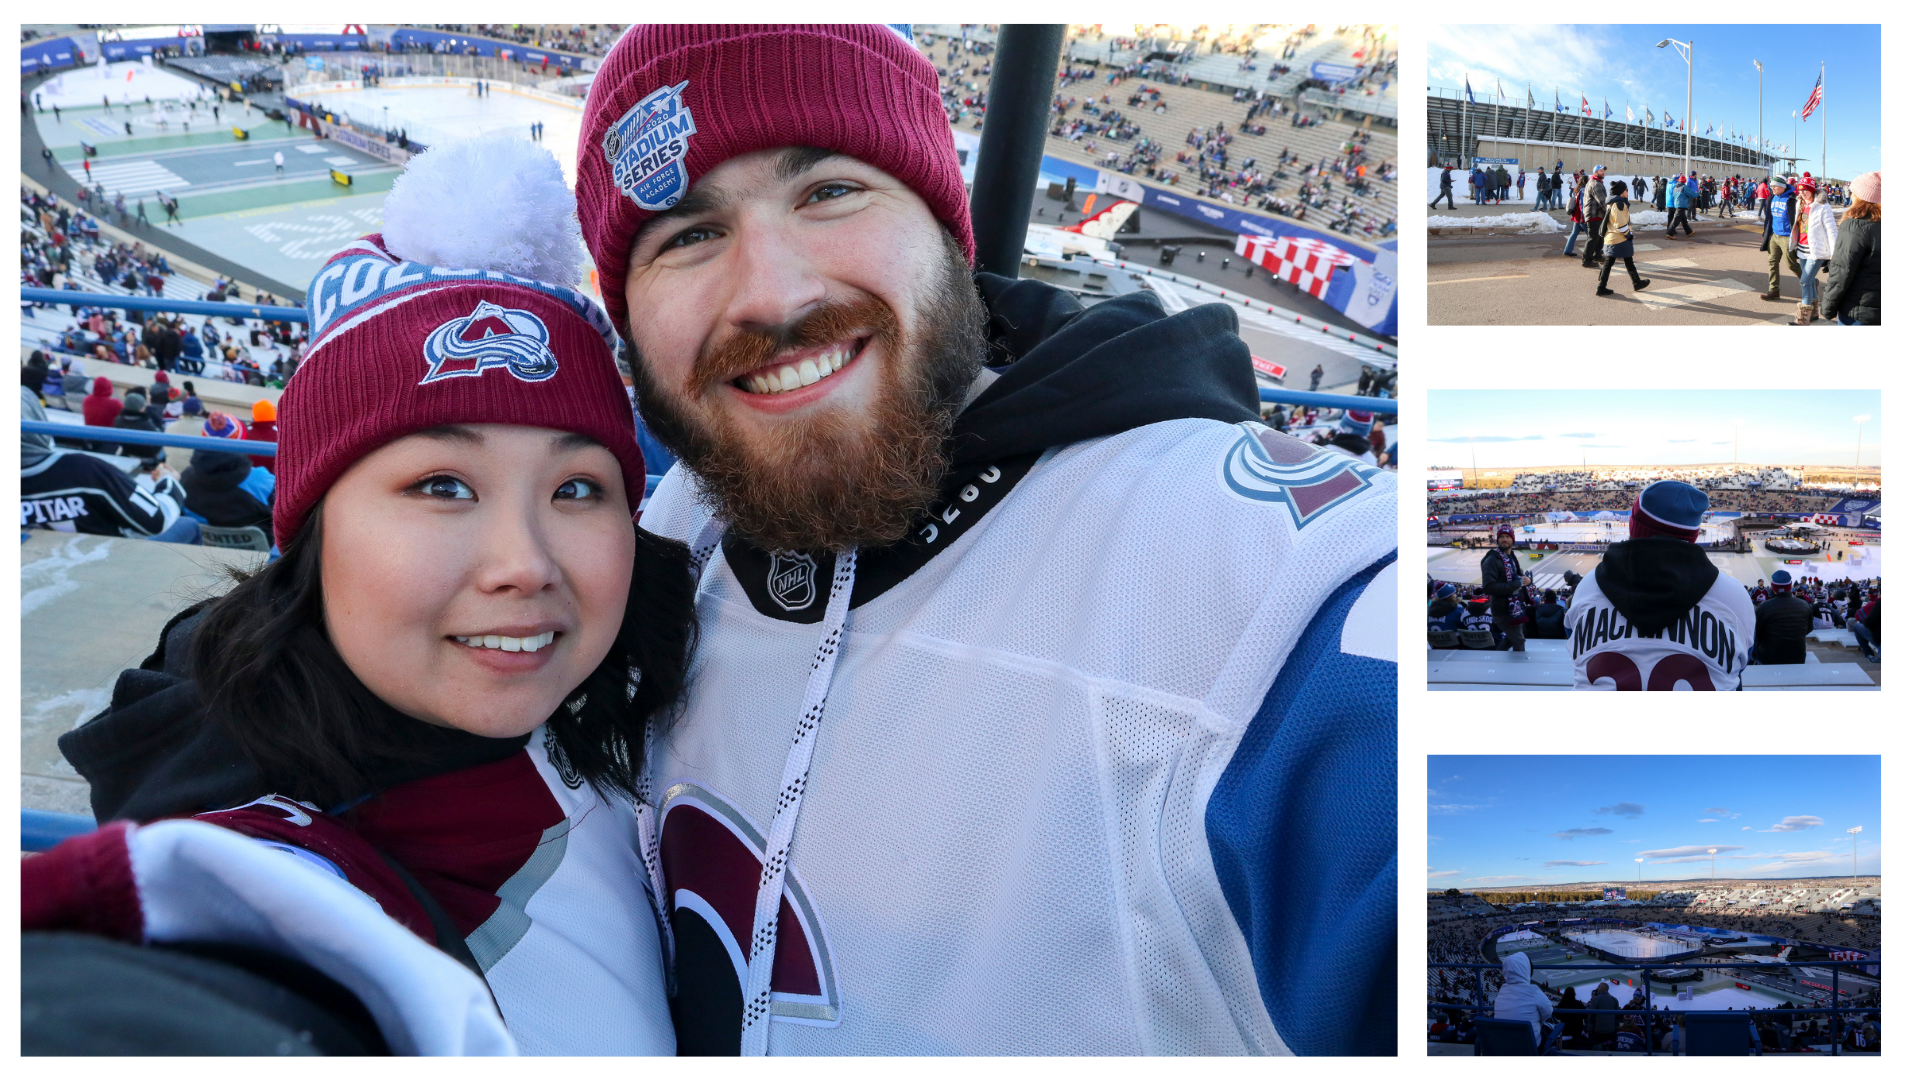
Denver 2020
As I got more into photography my “why” for photographing trips did change so my “how” changed too.
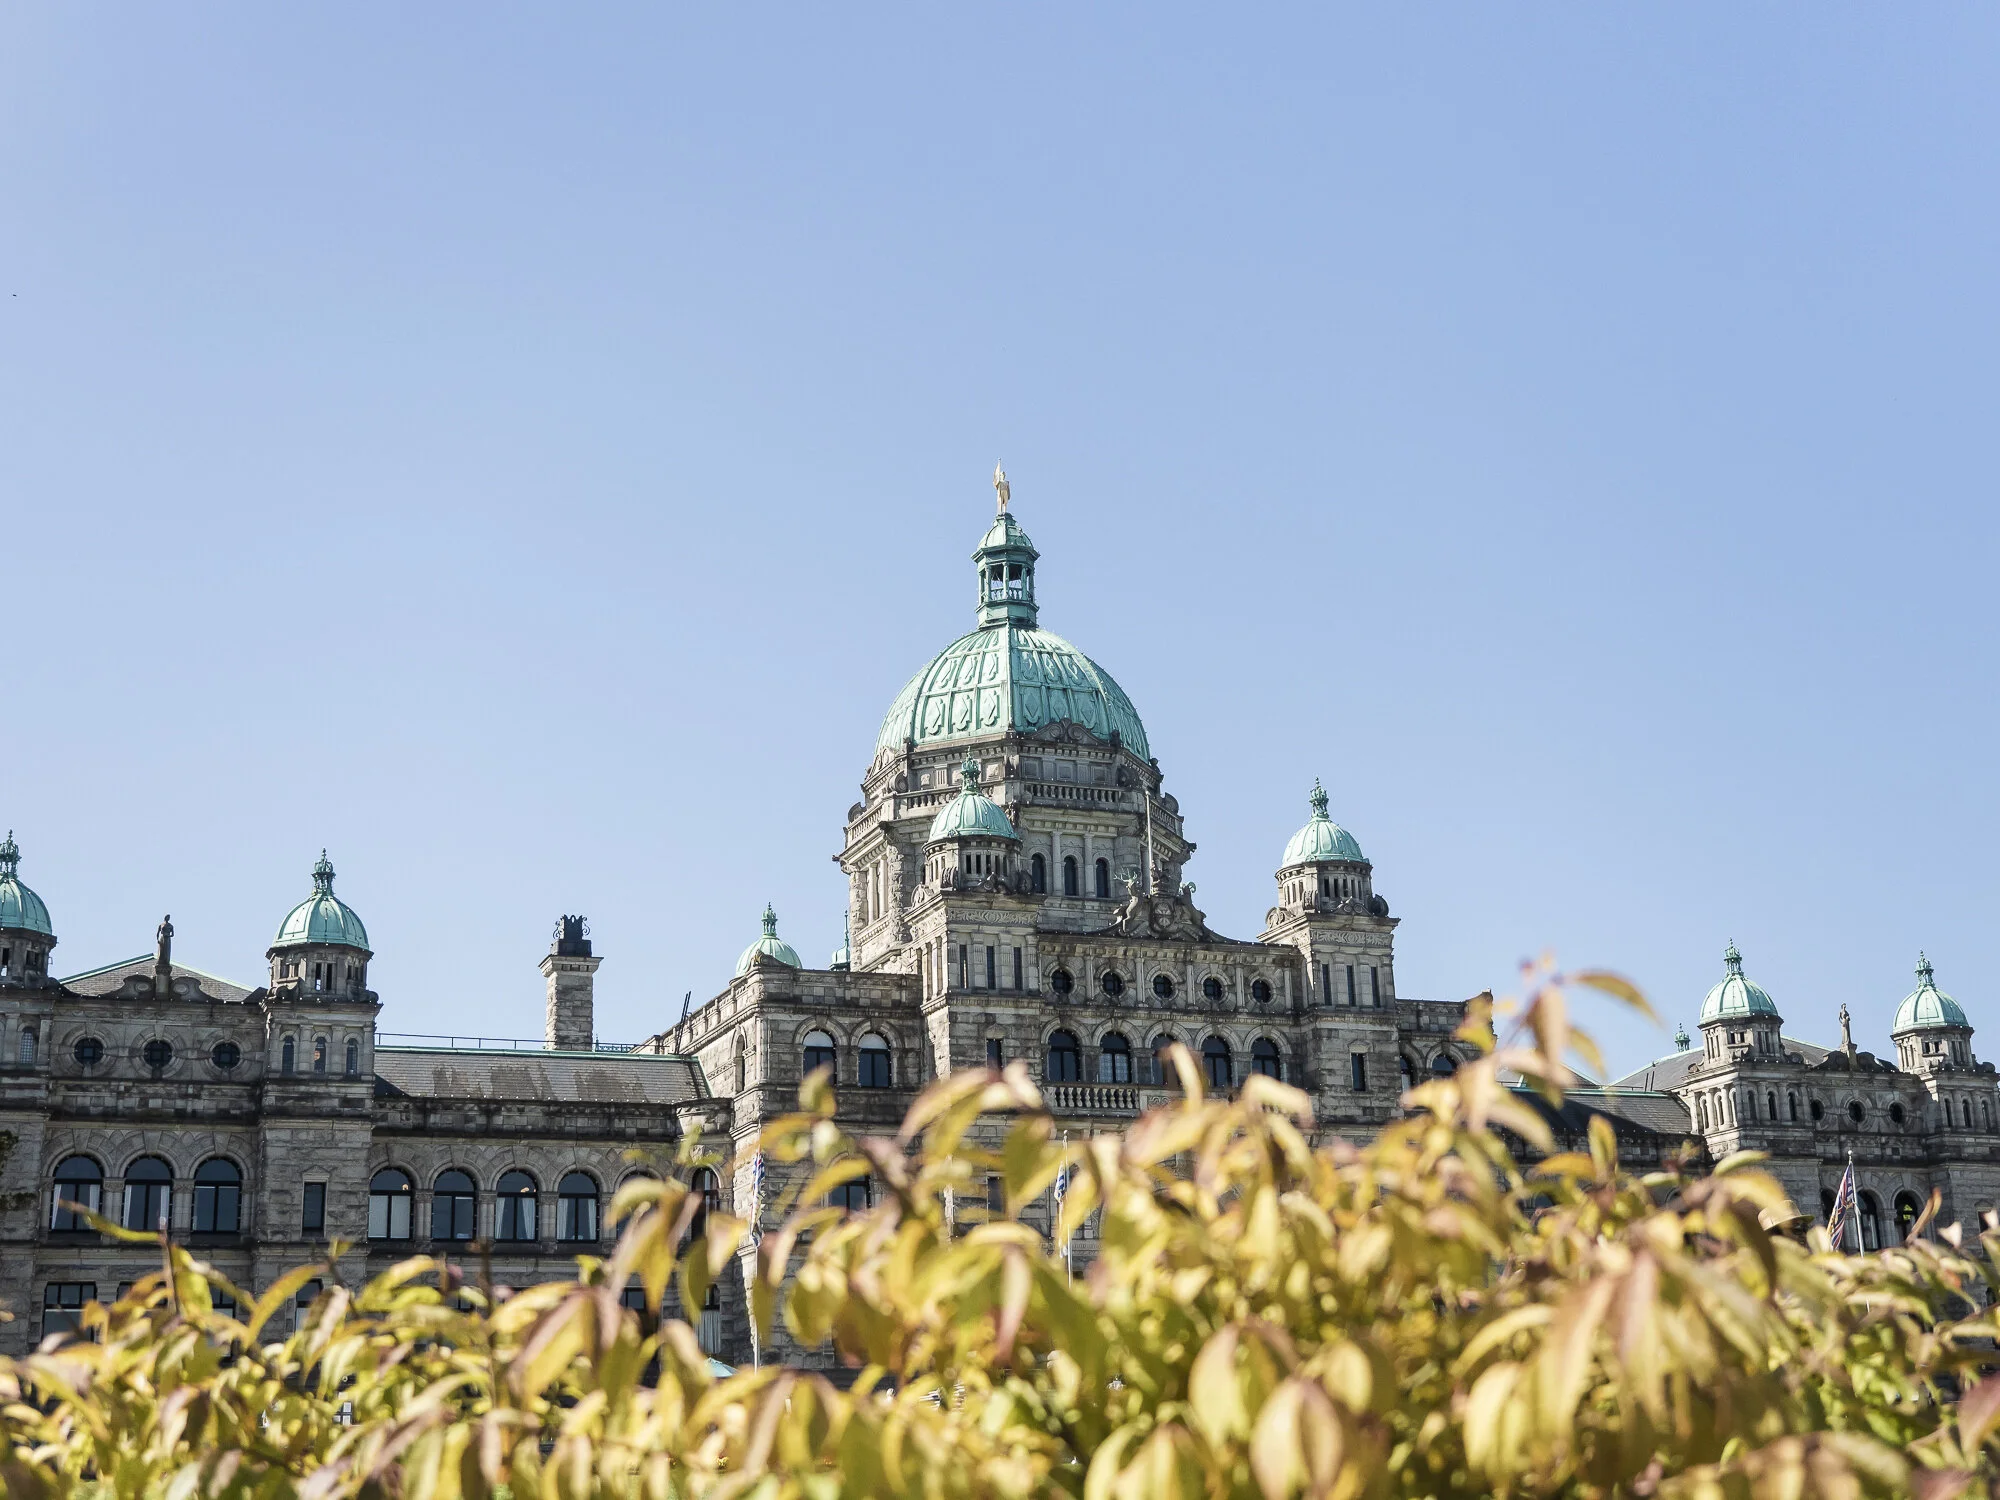
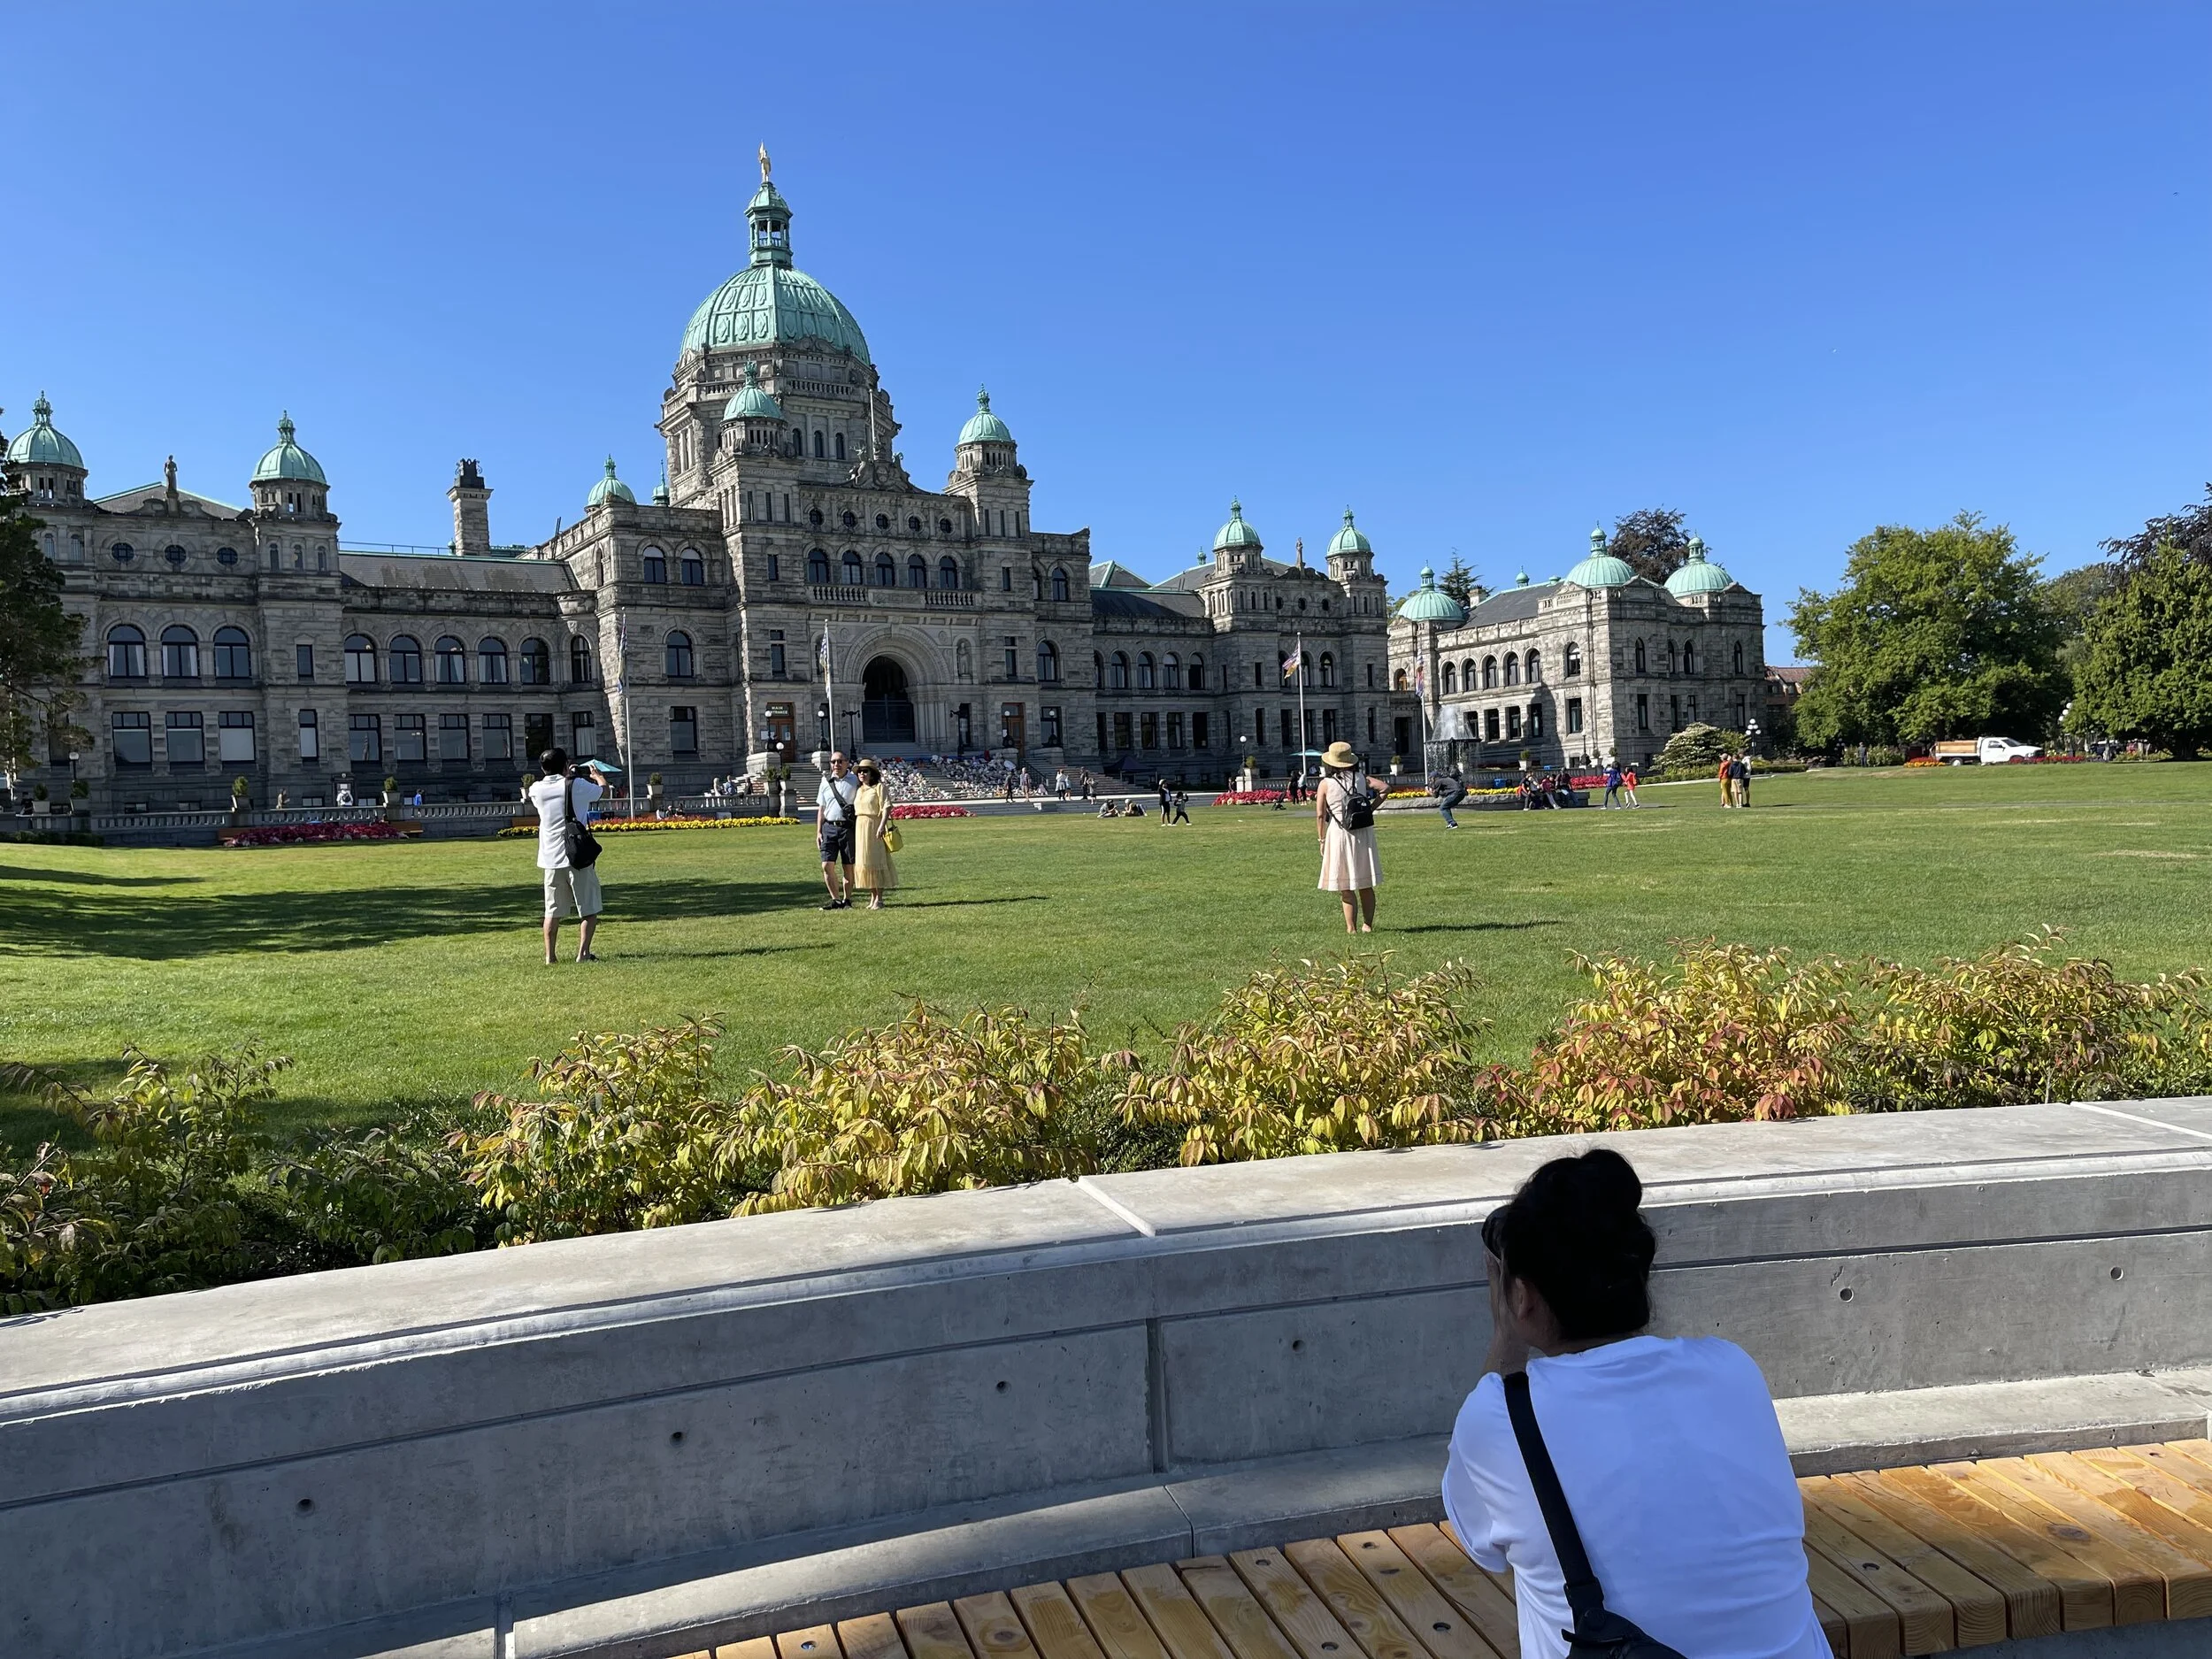
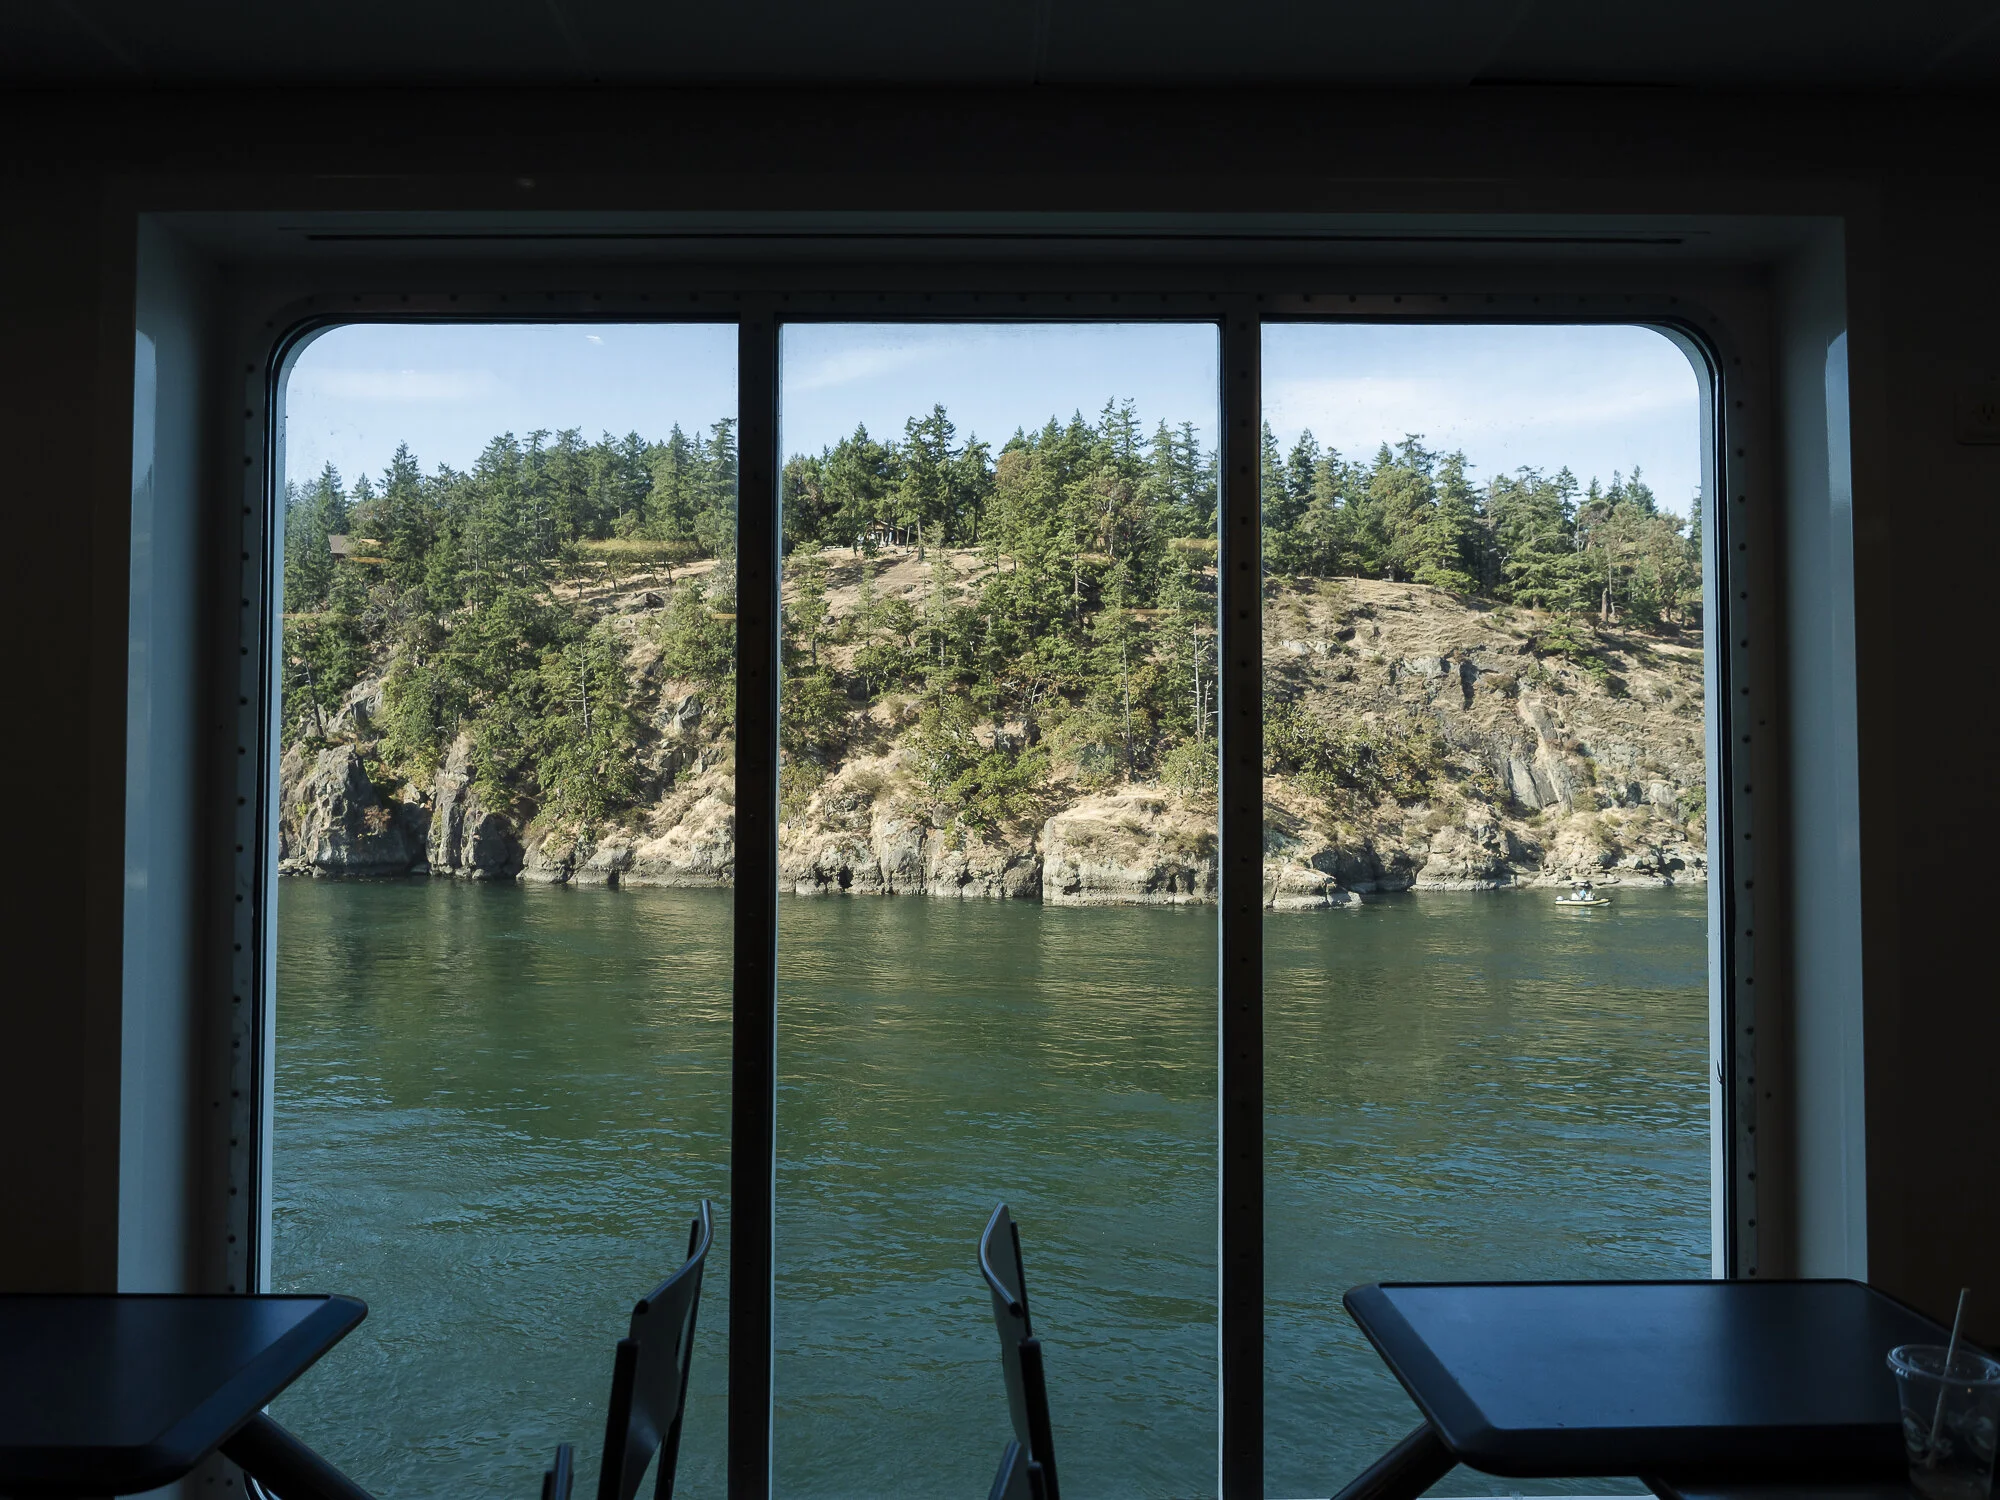
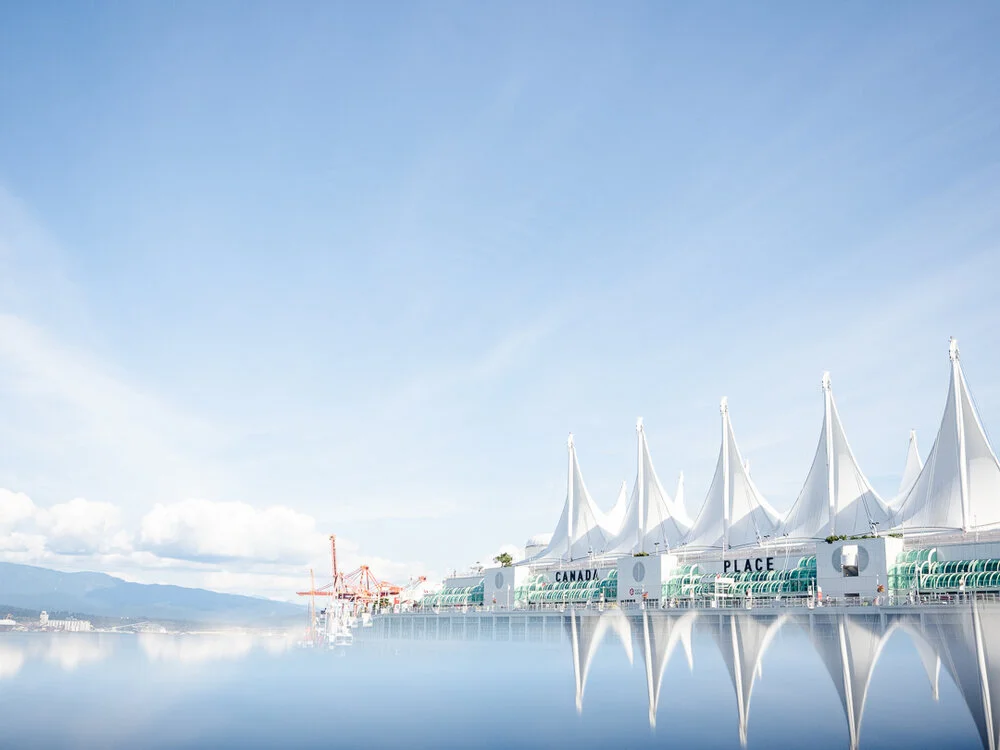
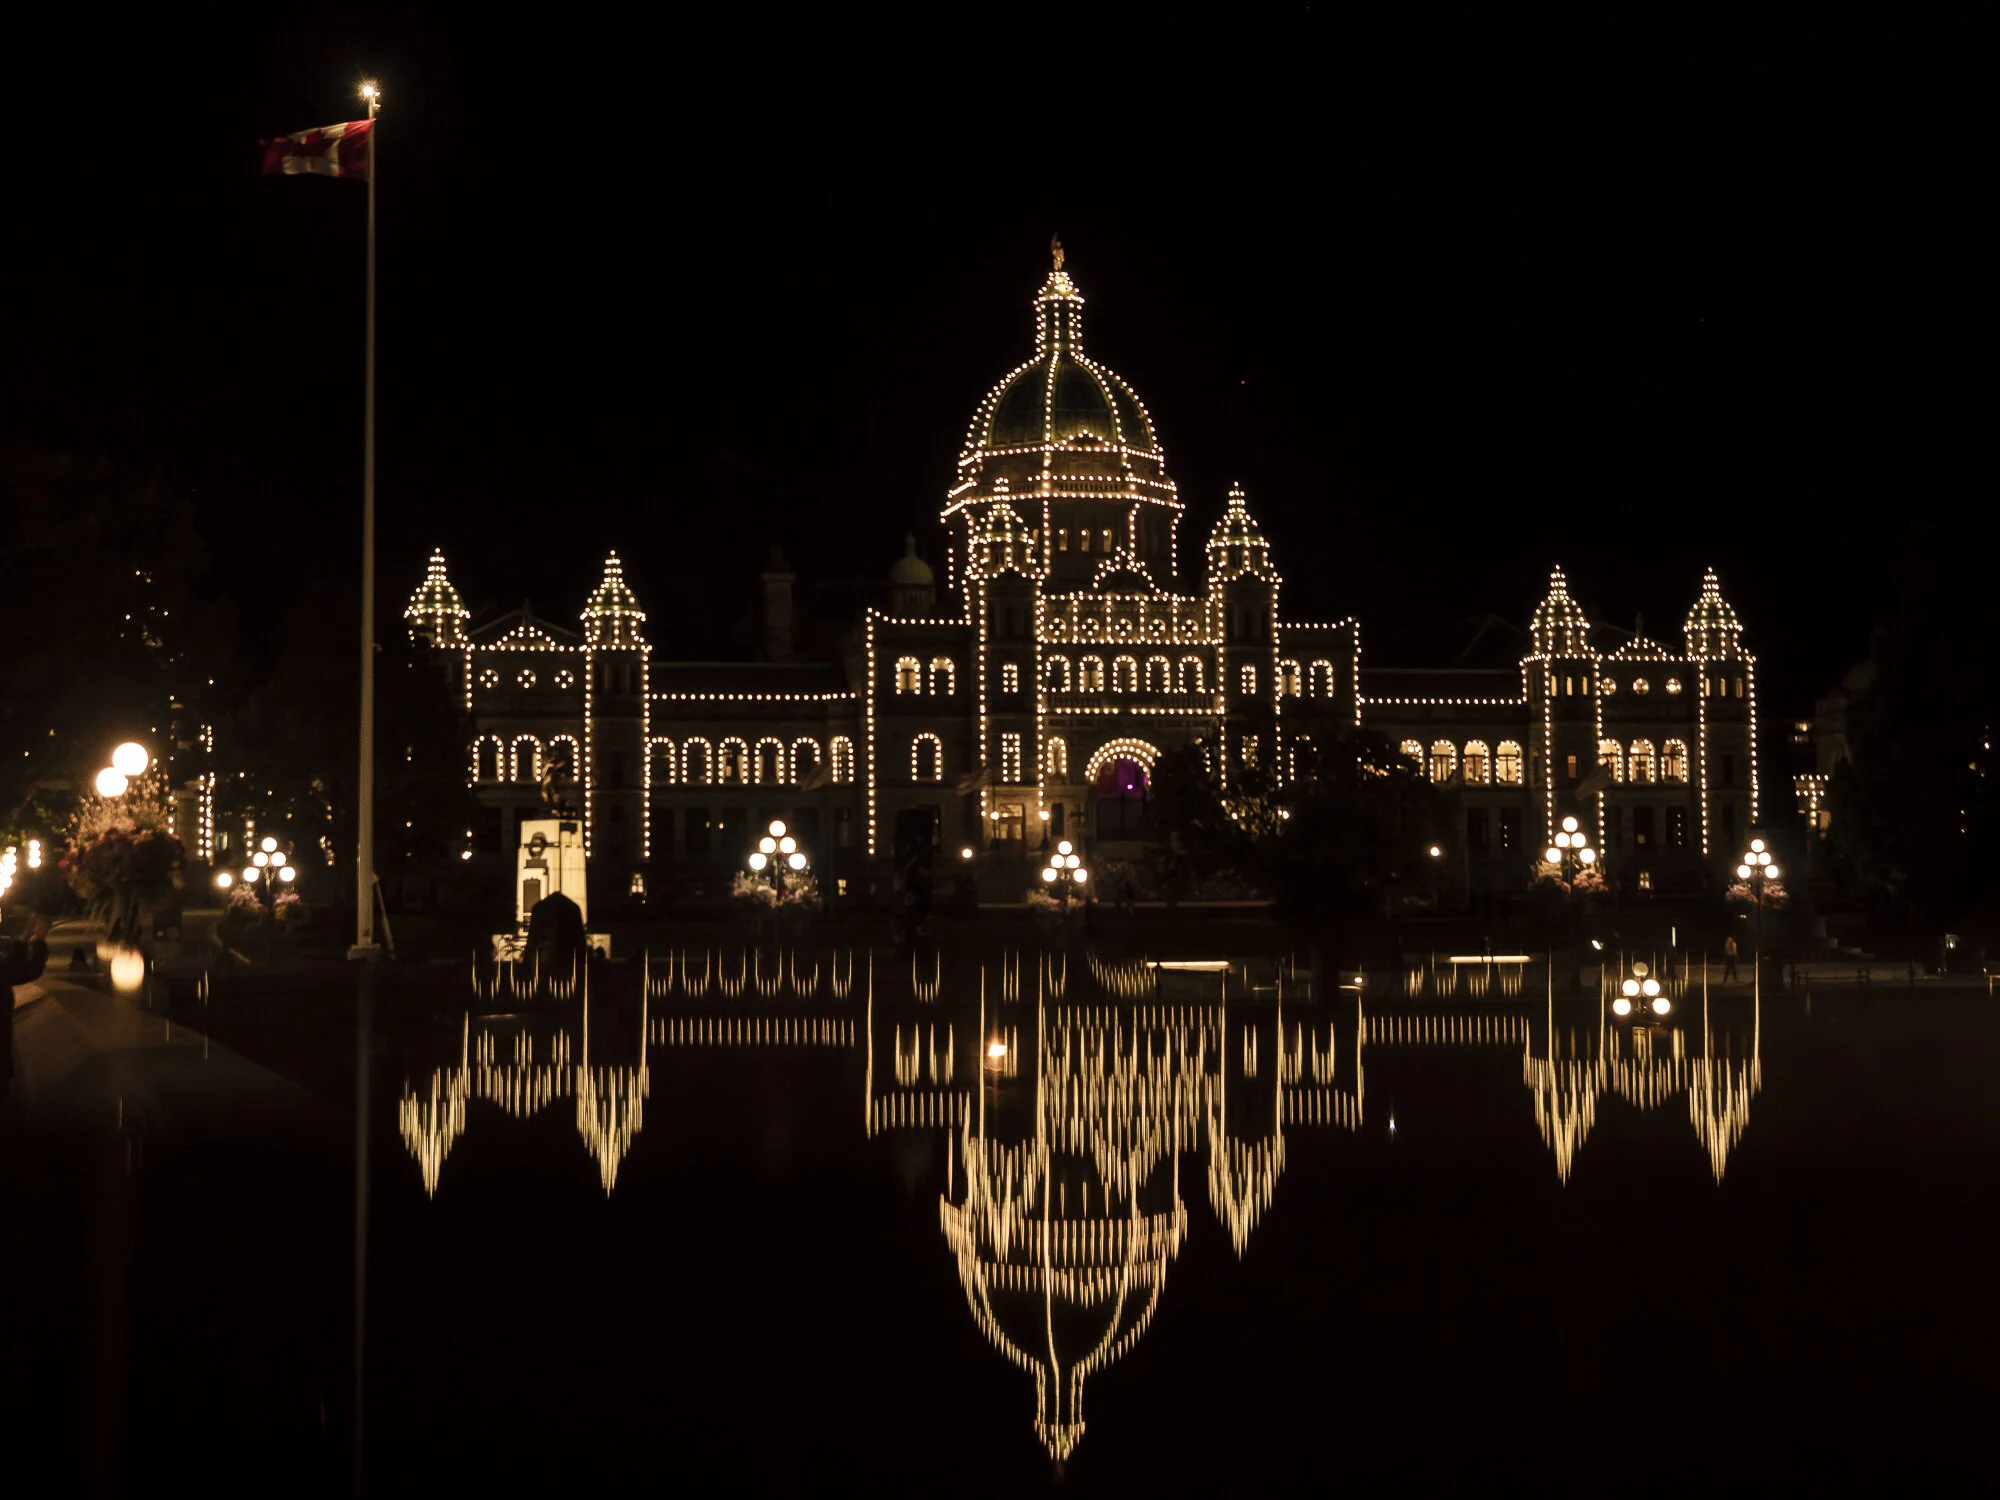
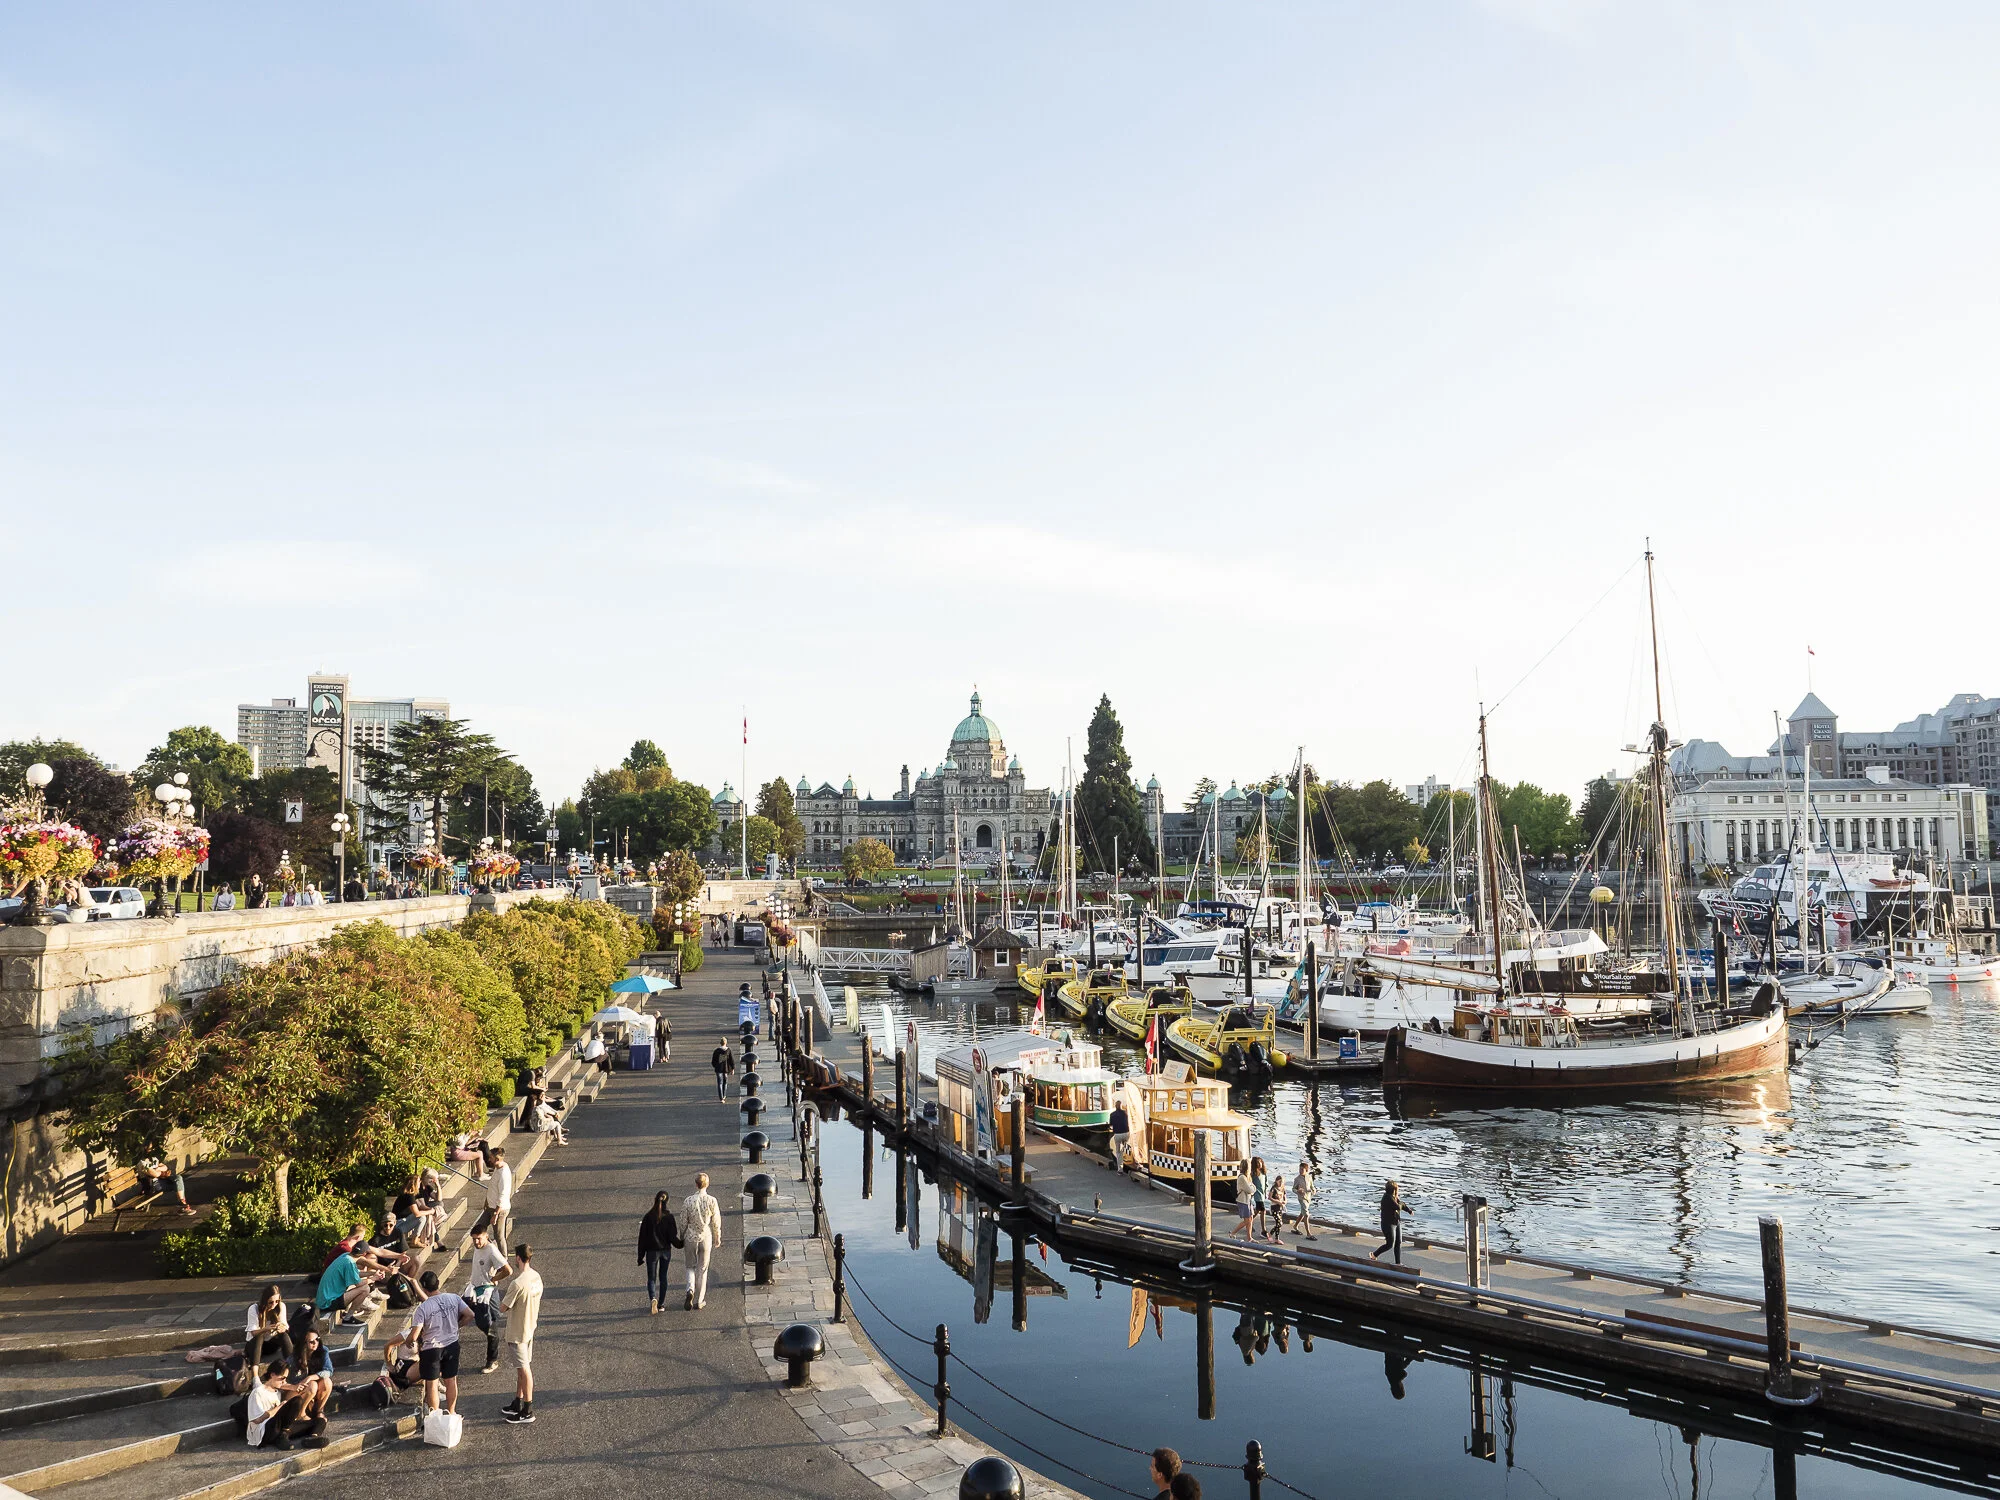
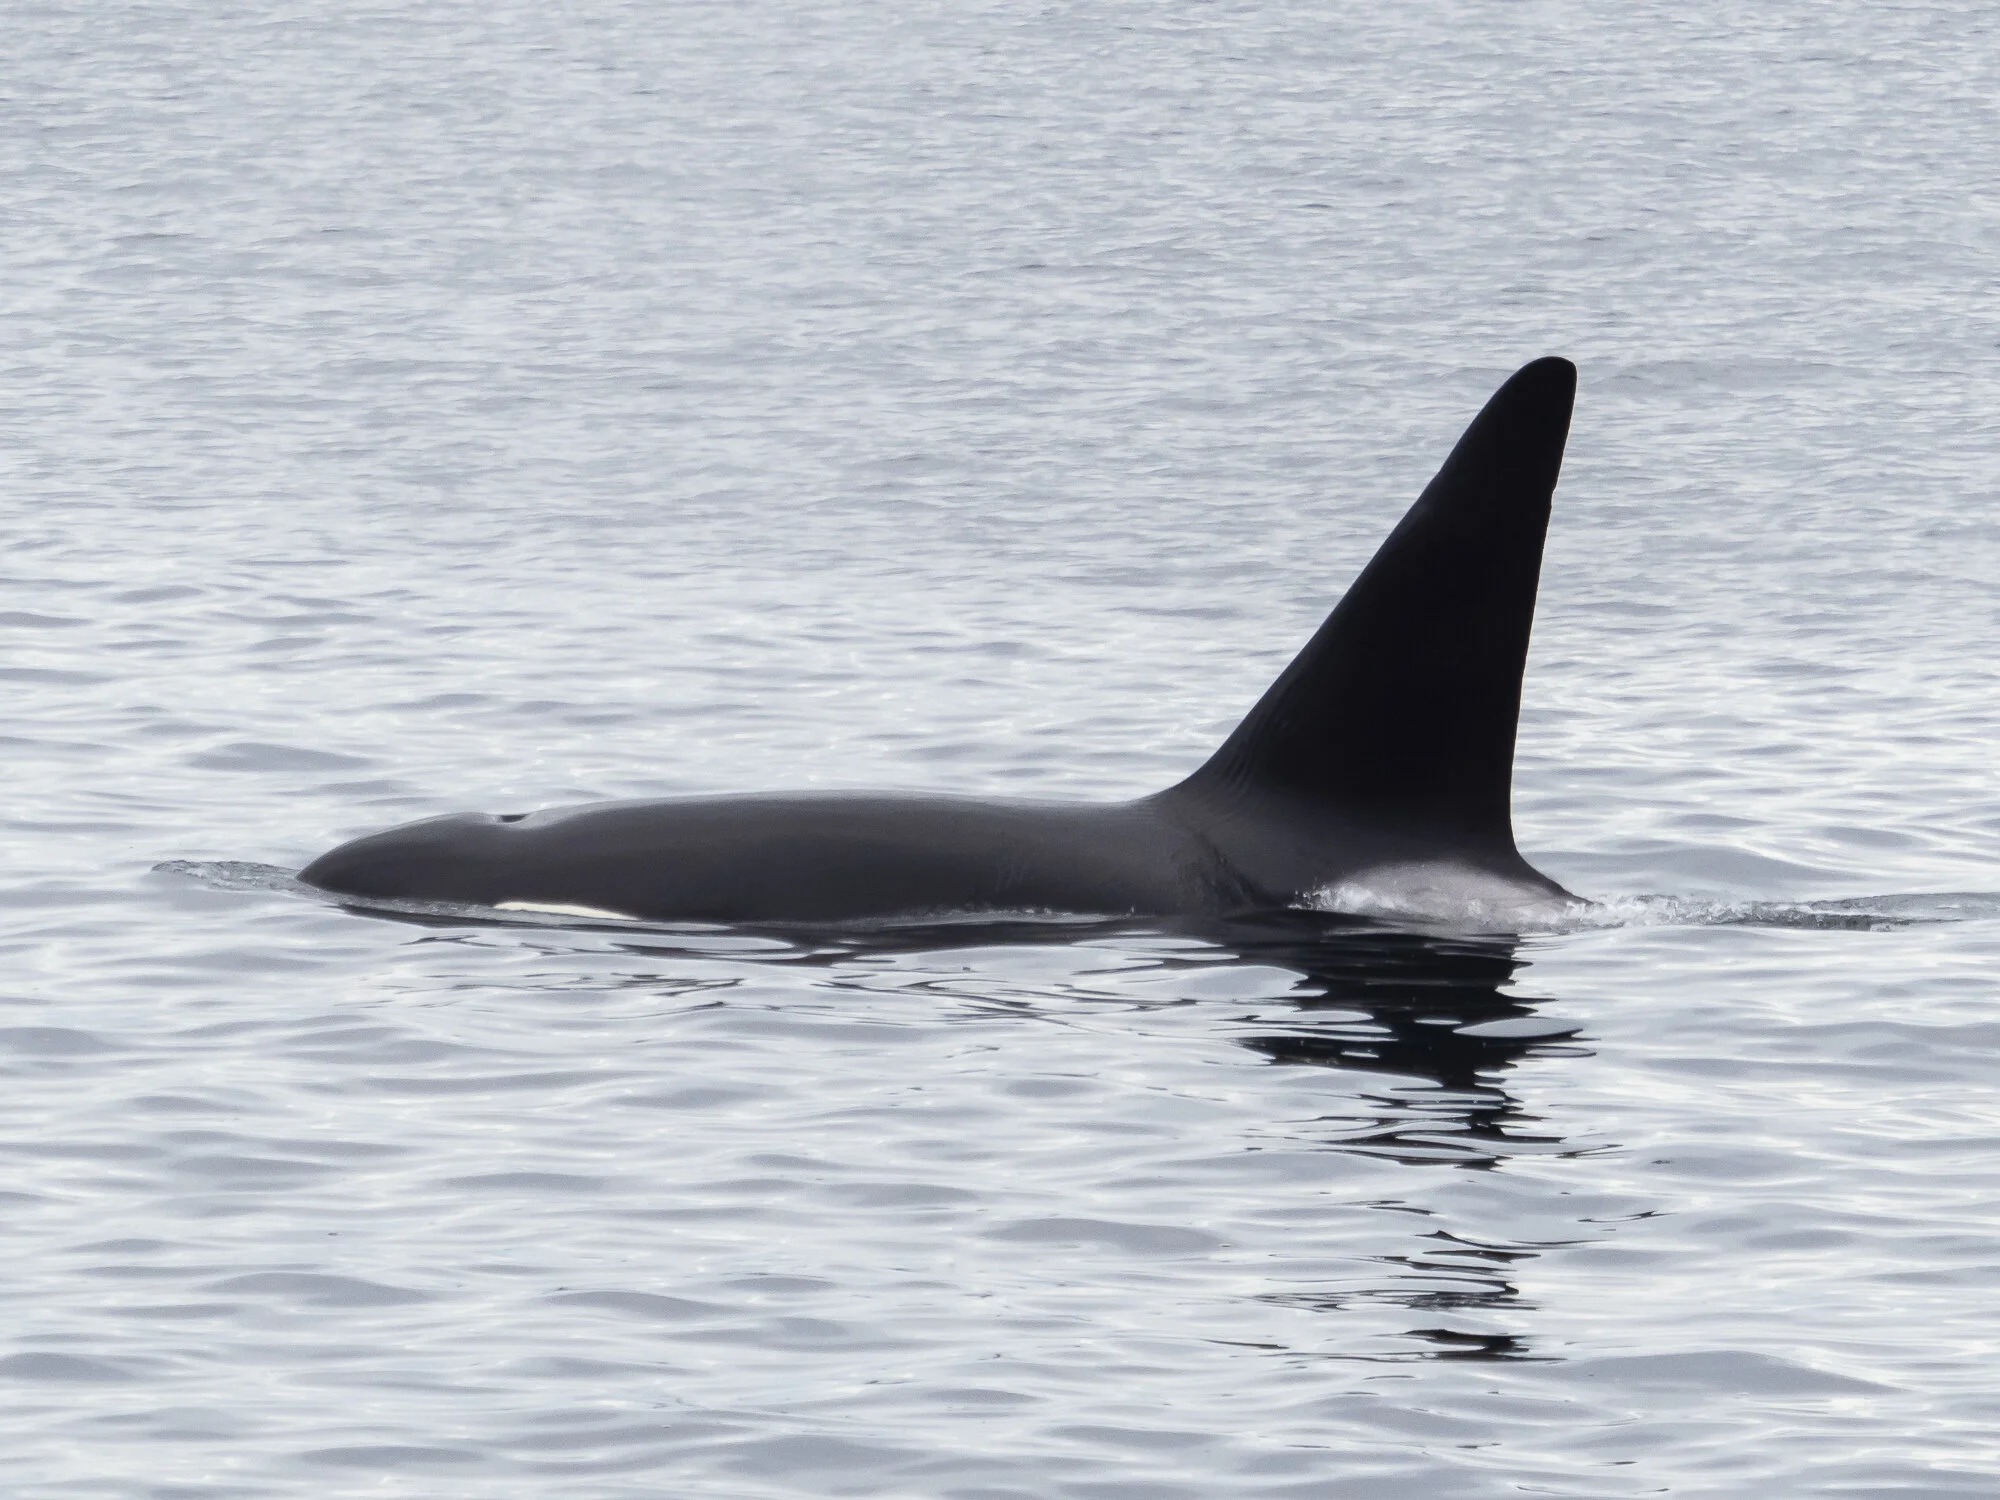
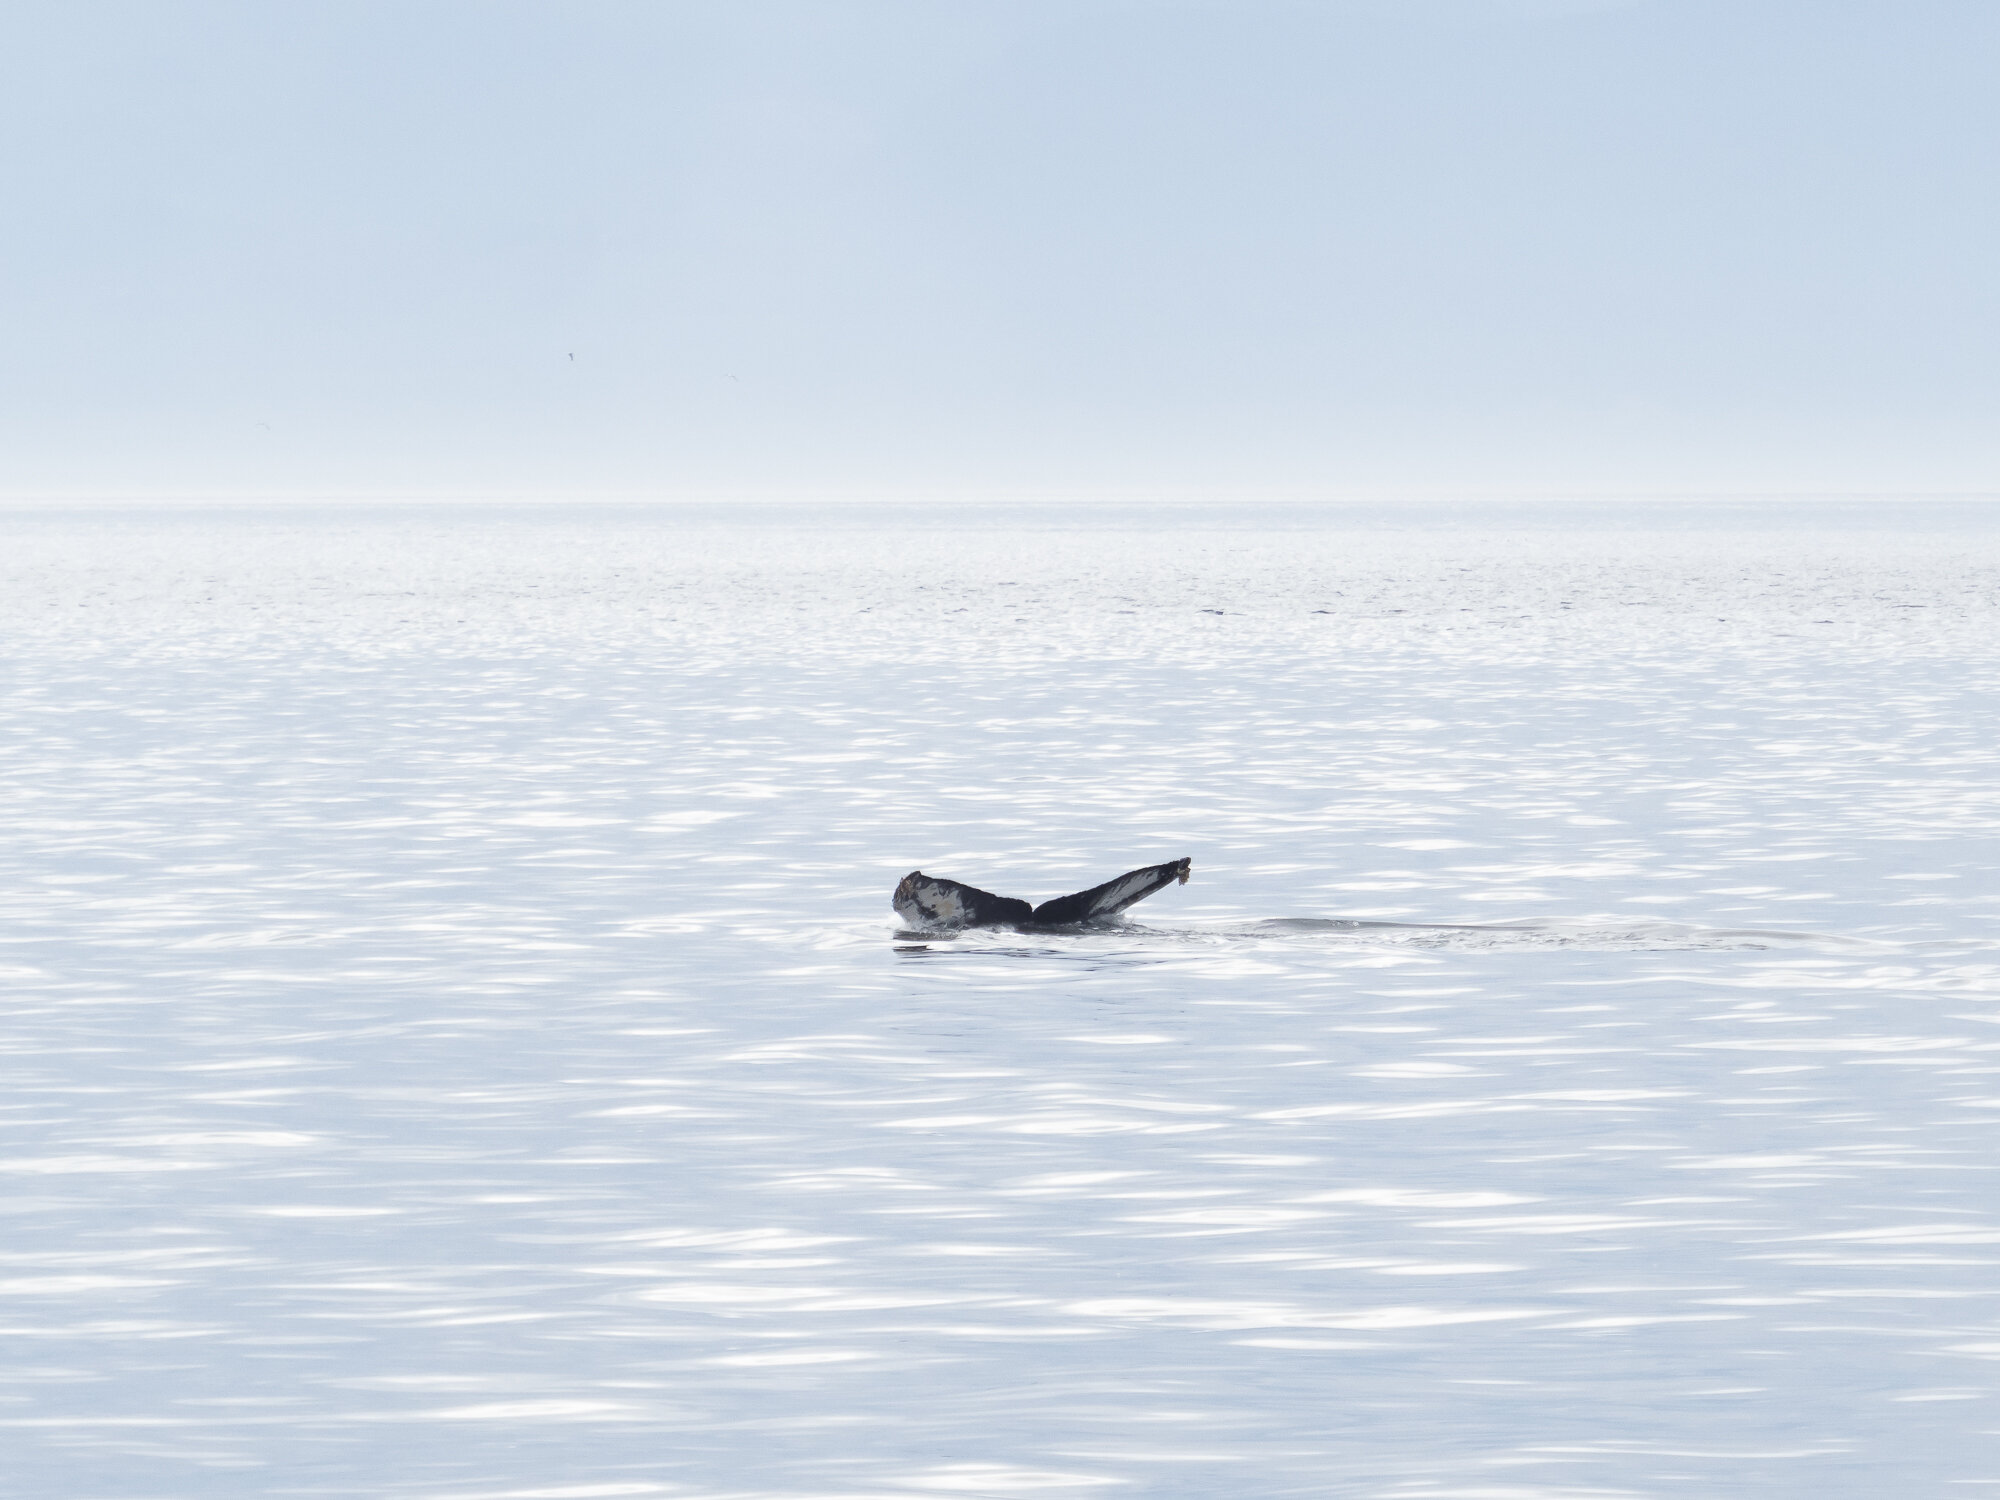
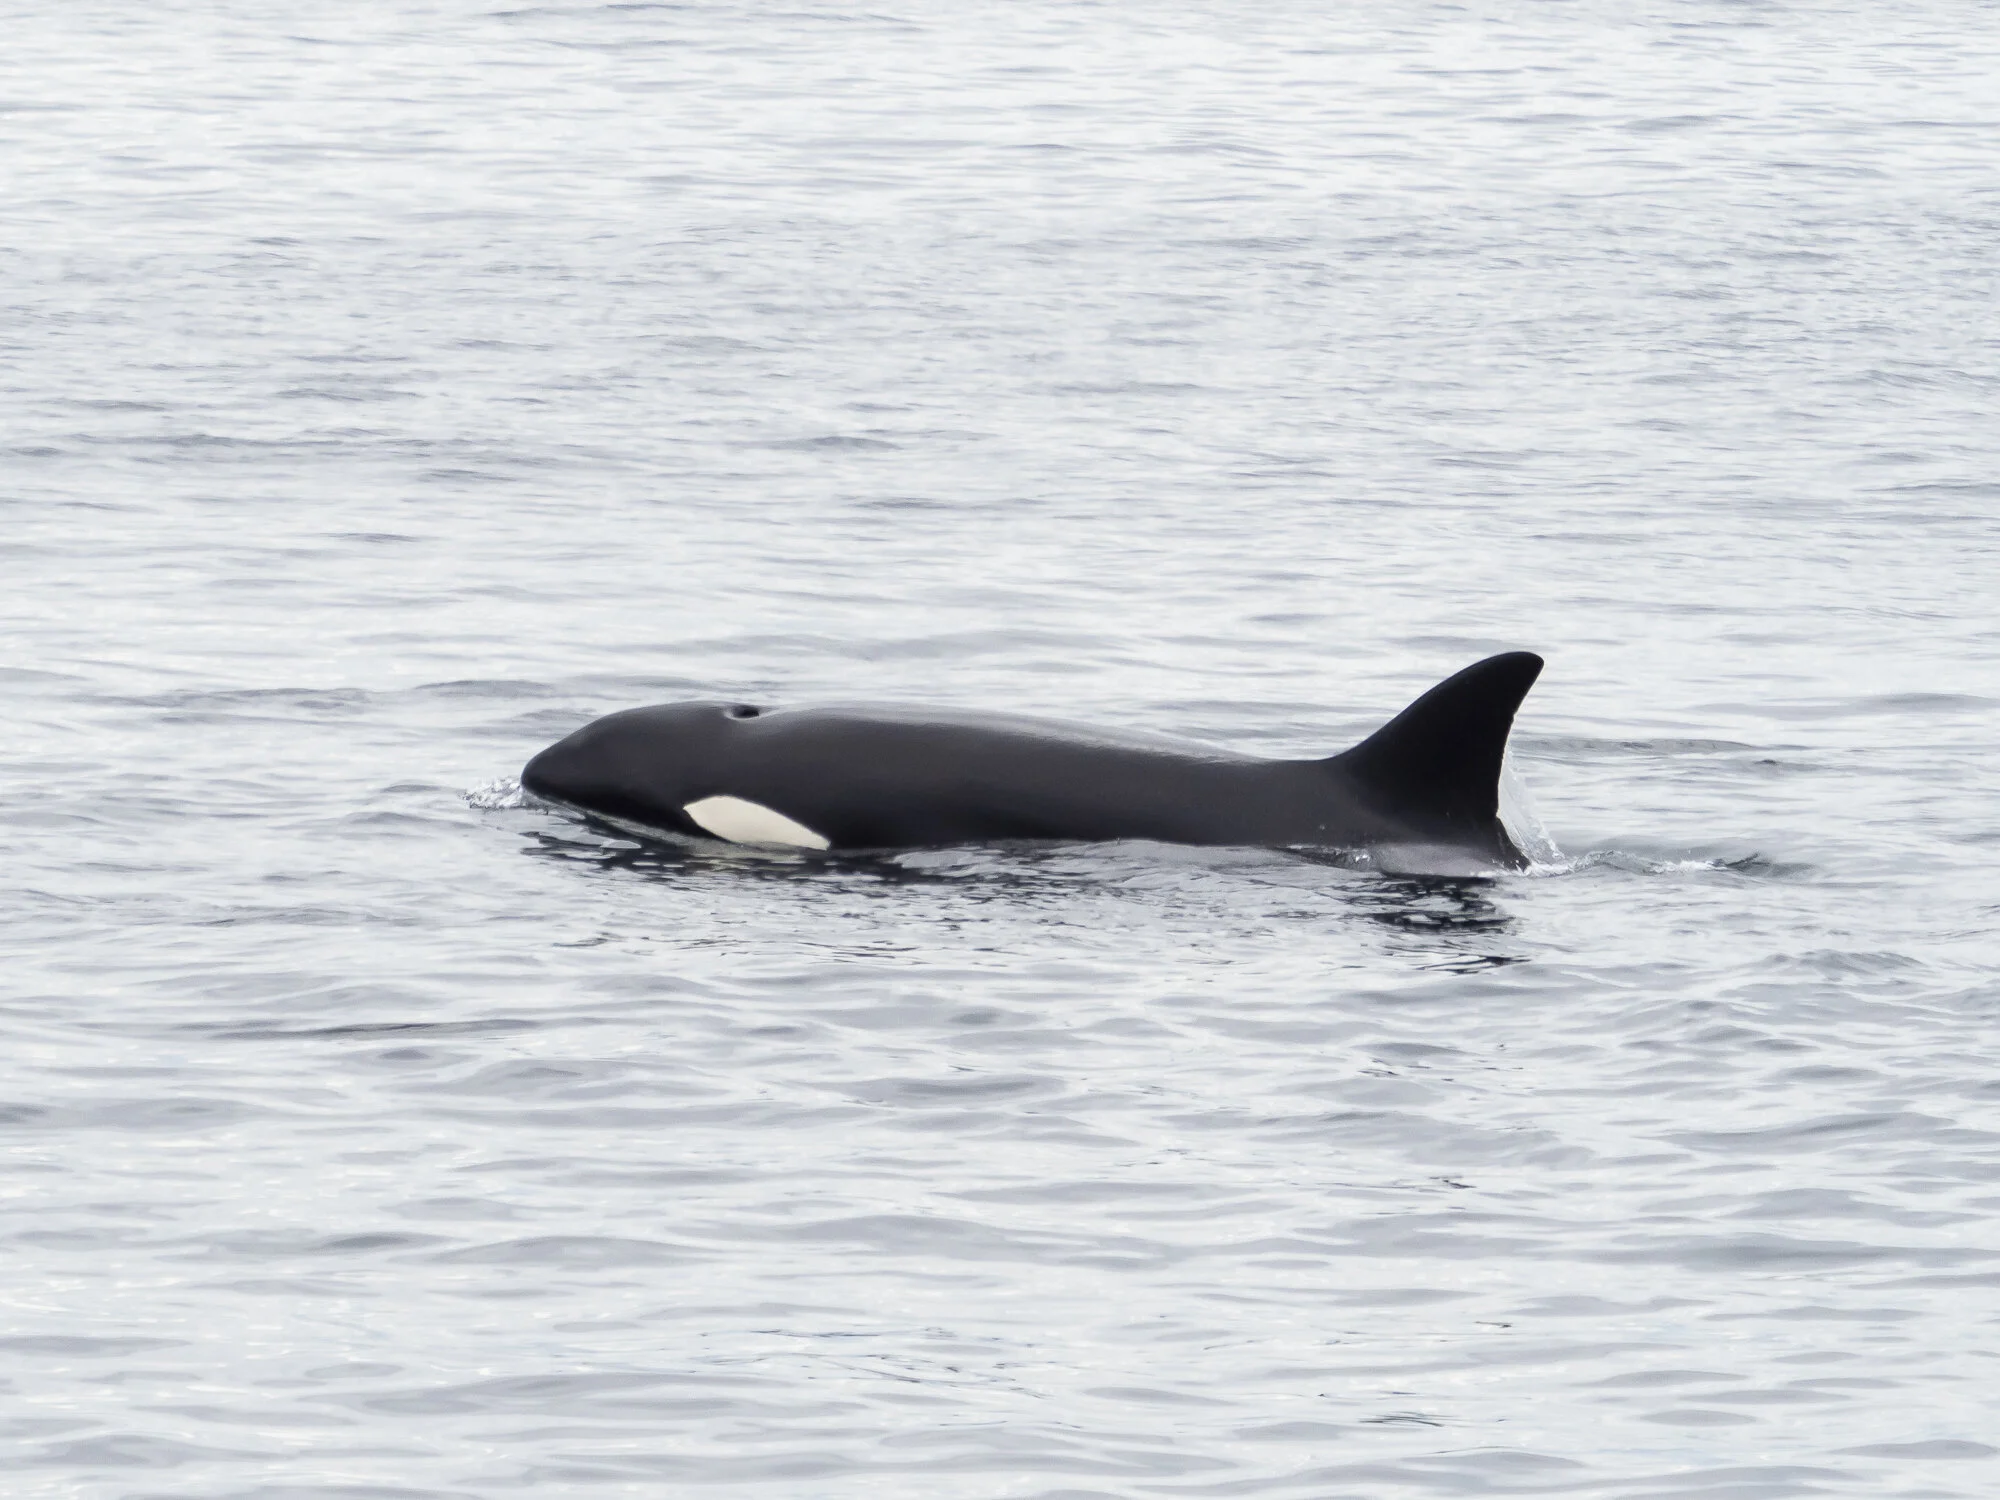
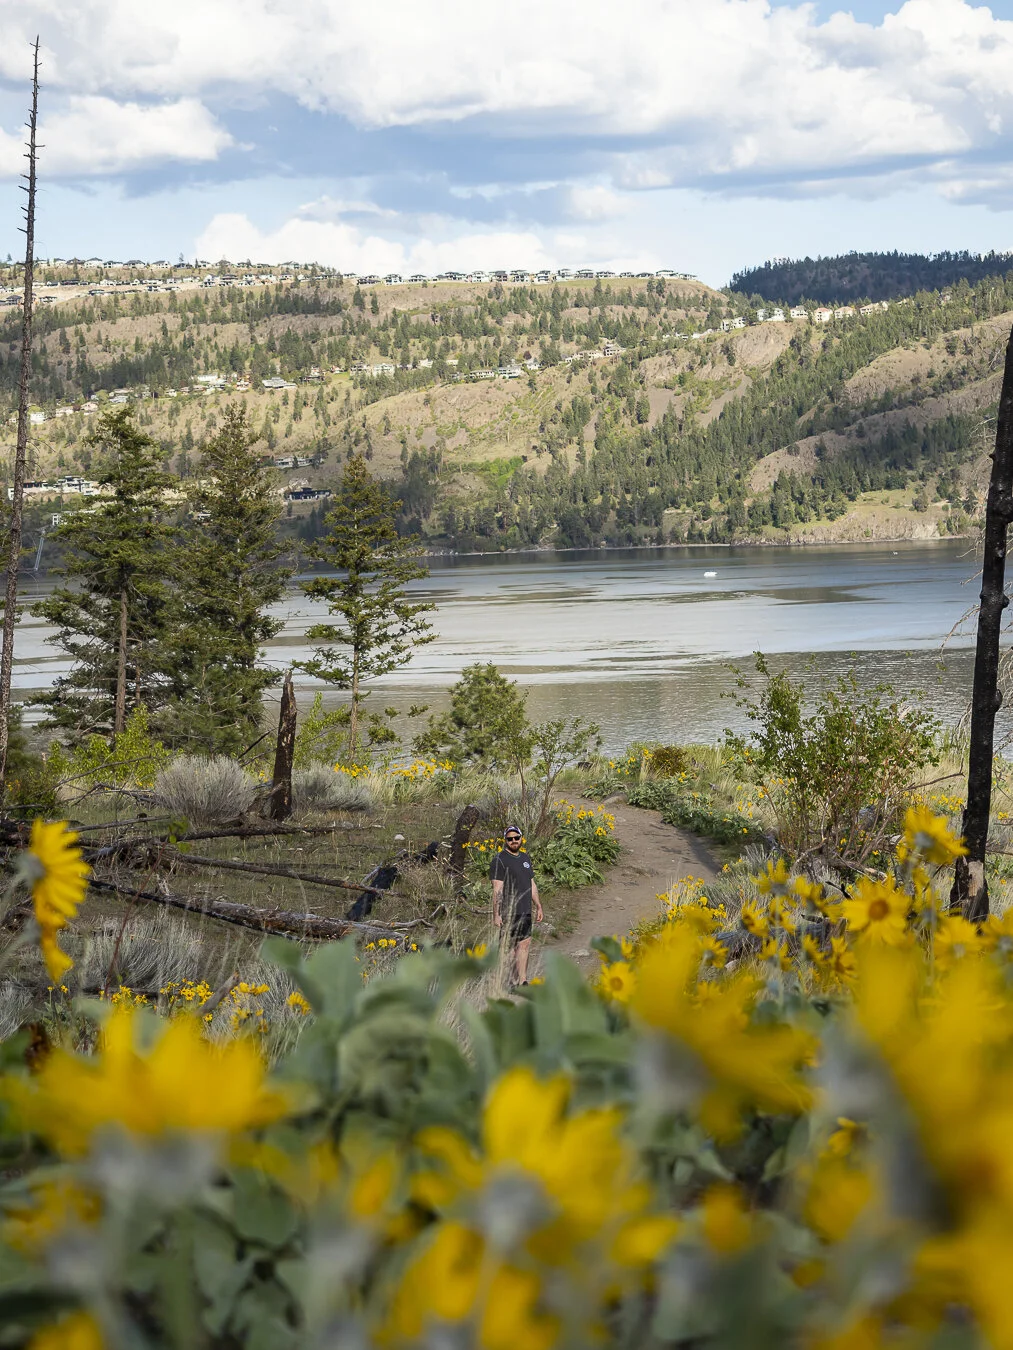
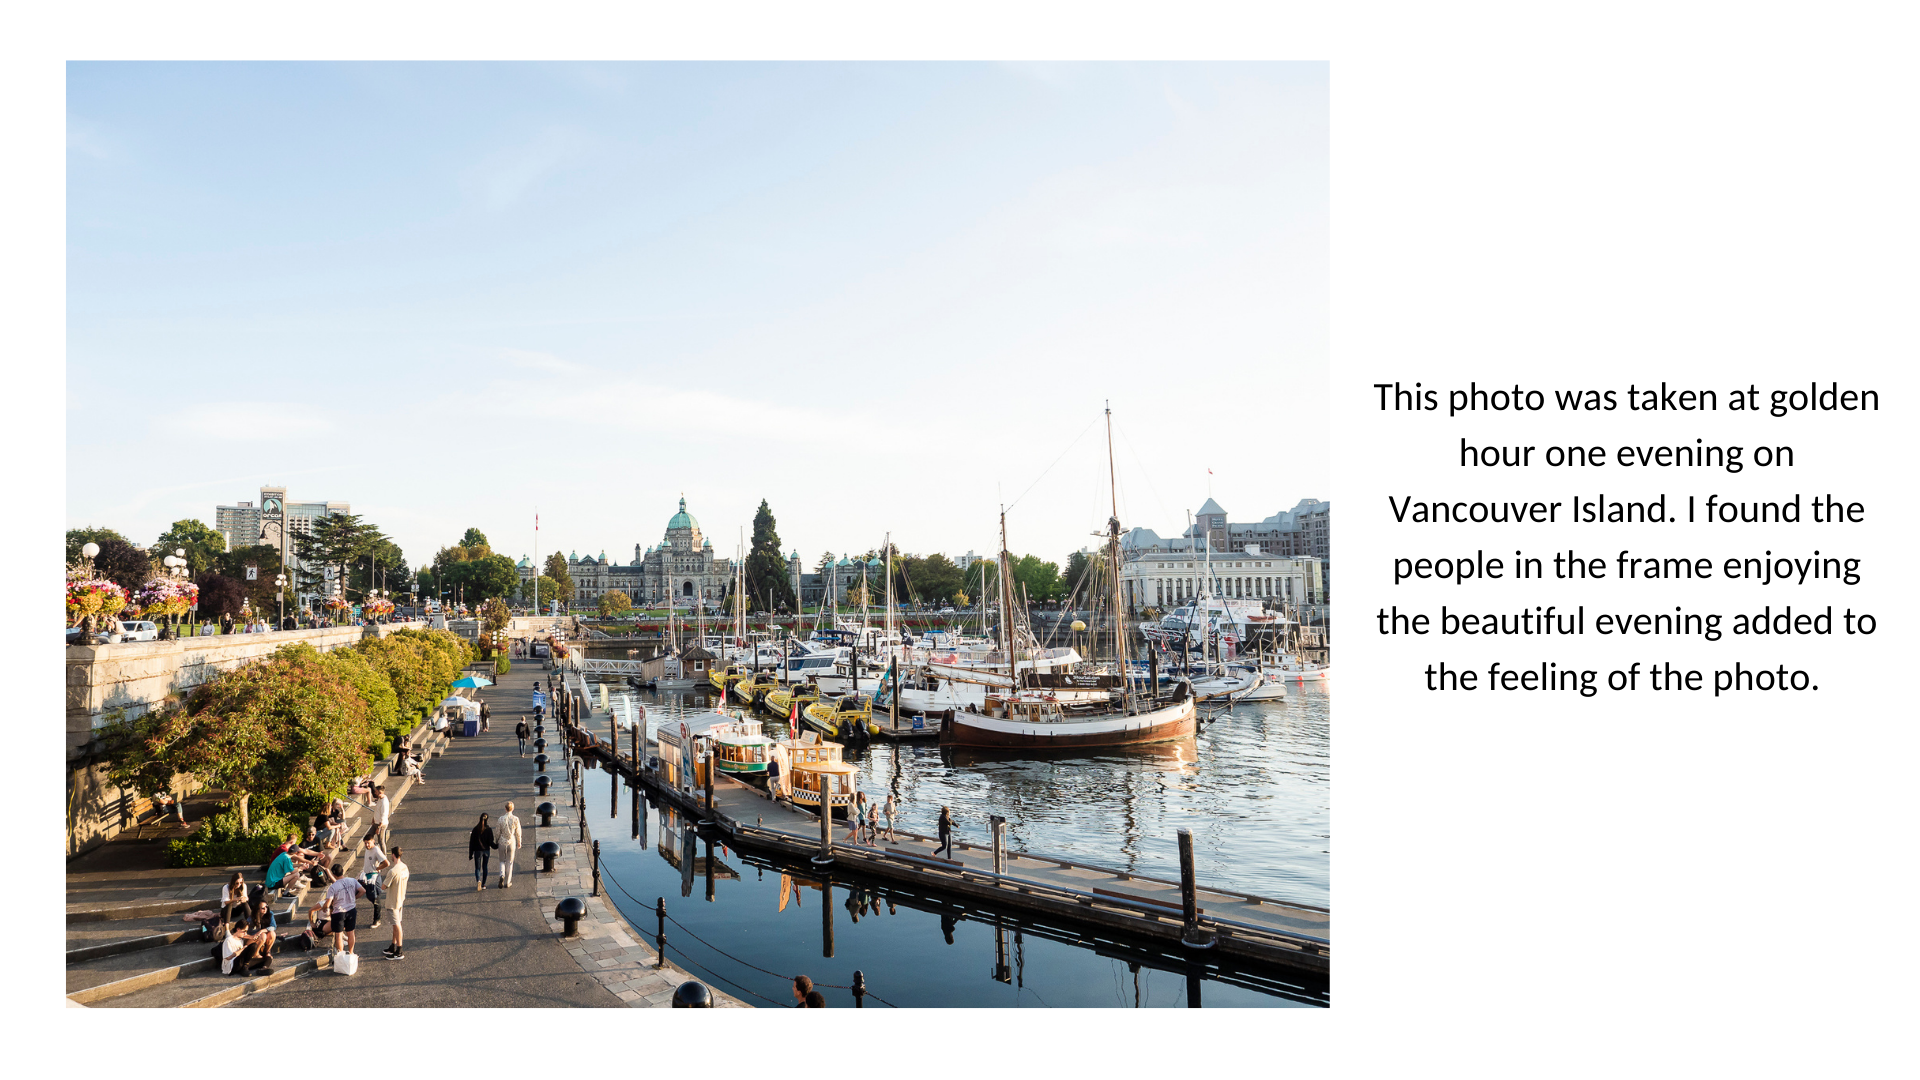
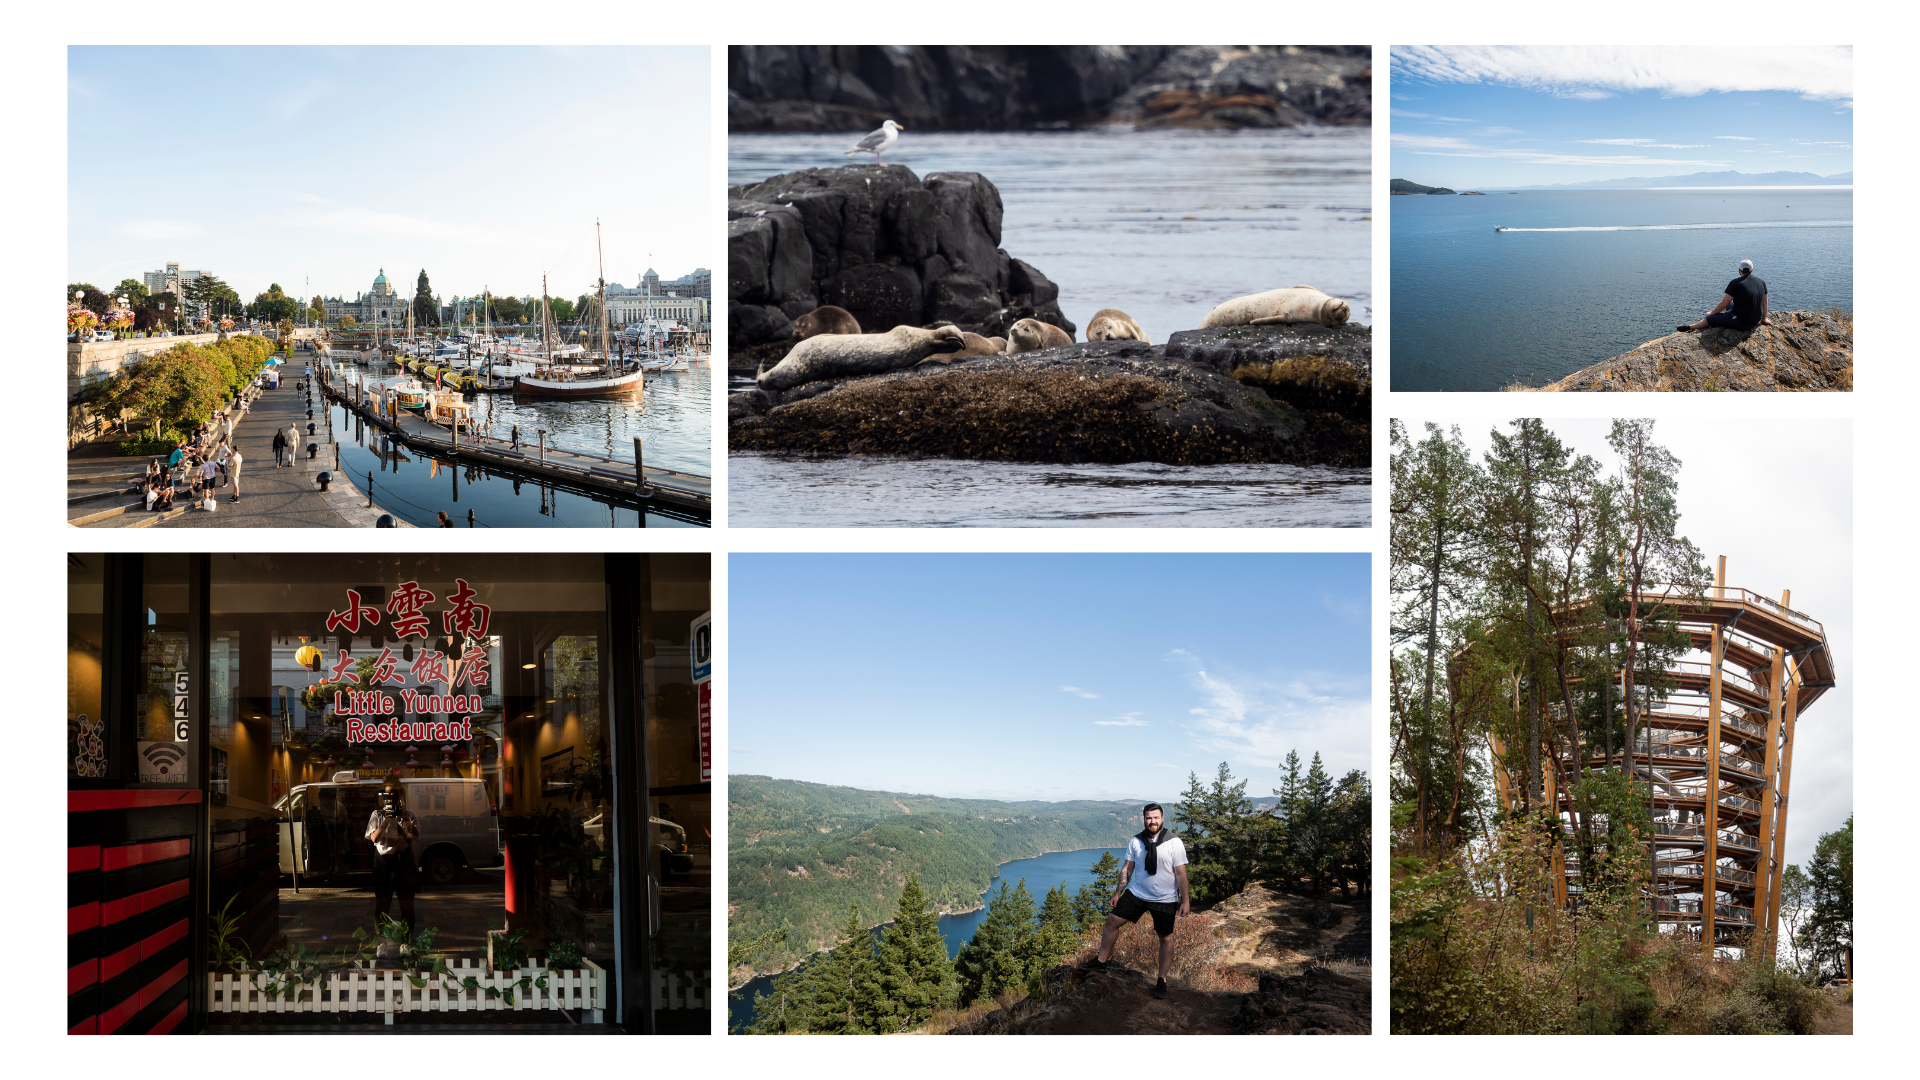
My Vancouver Island trip last summer for my honeymoon was a trip that I found where my “why” and “how” had changed. I loved my trip to the Island, and I love how many of the photos turned out. However, I don’t fully love how the story feels because I don’t think it accurately paints our experience and joy on that trip.
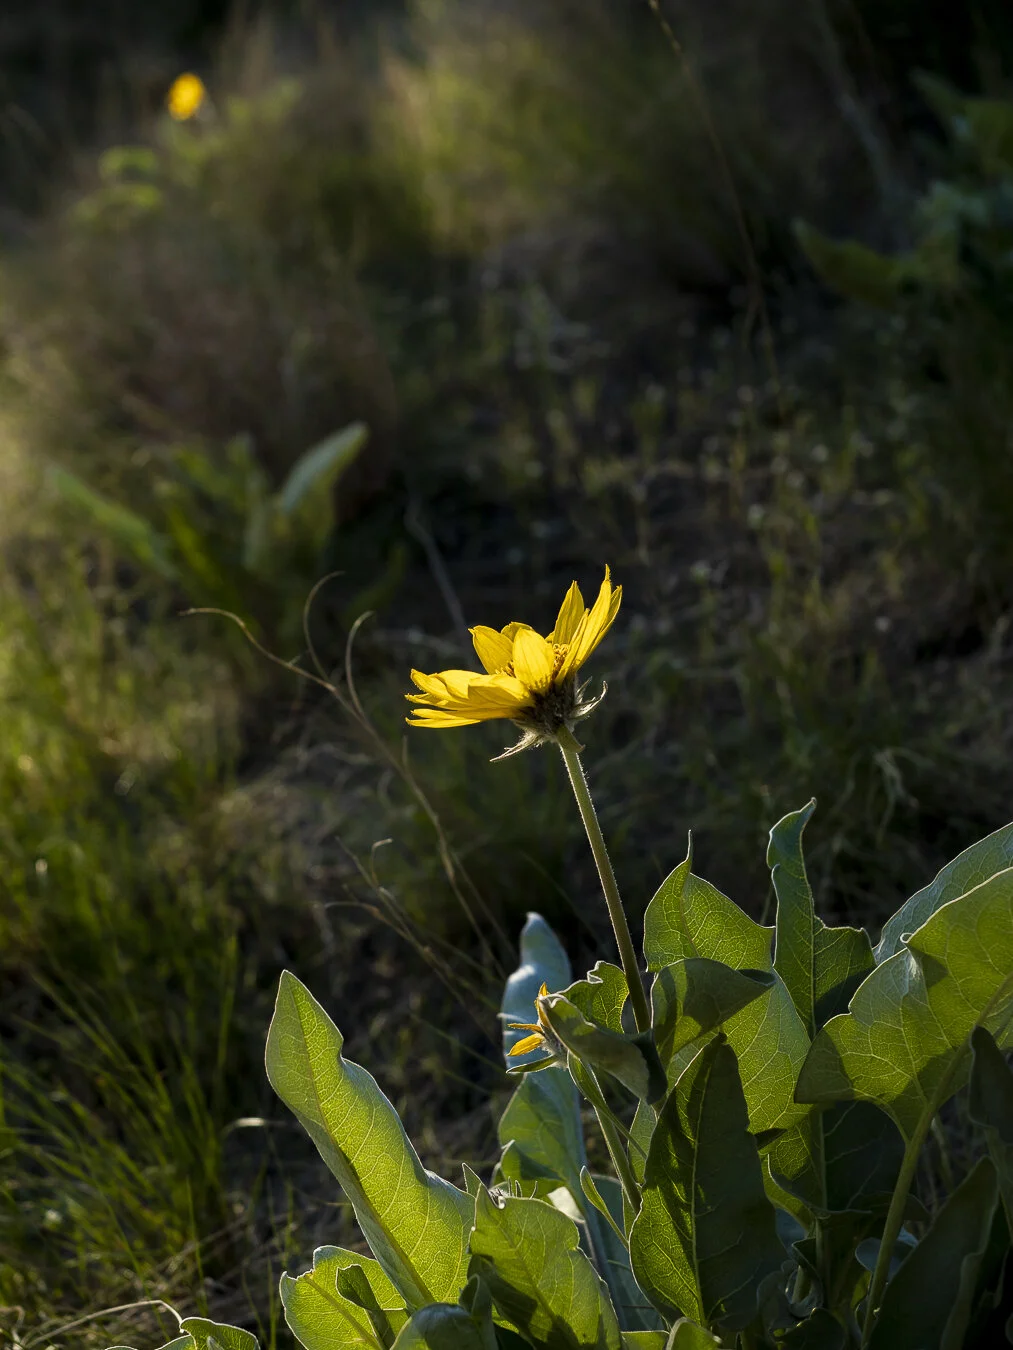
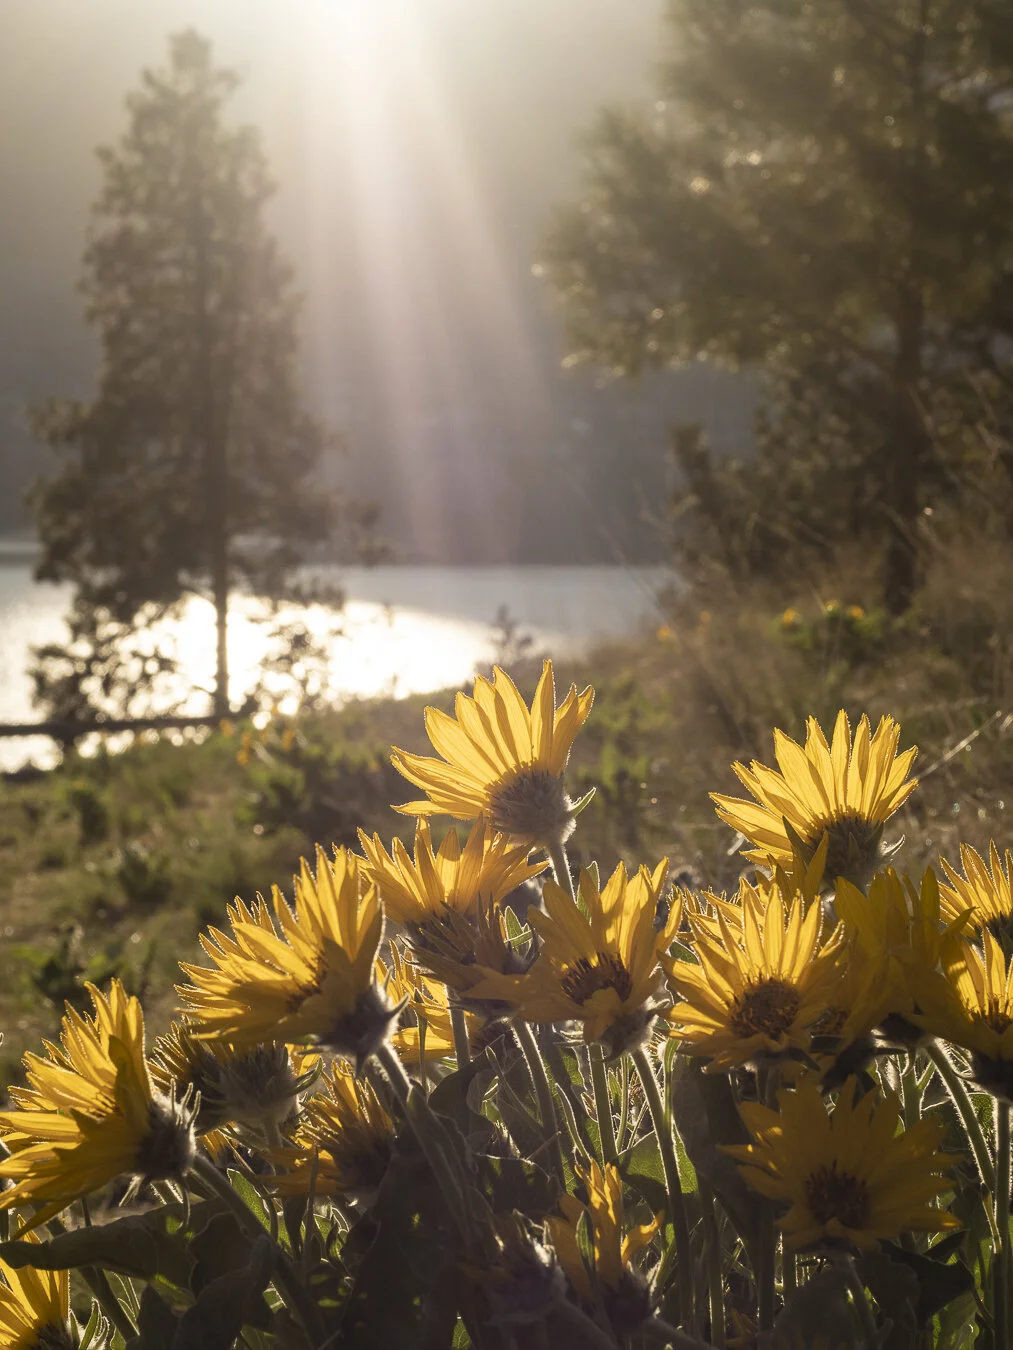
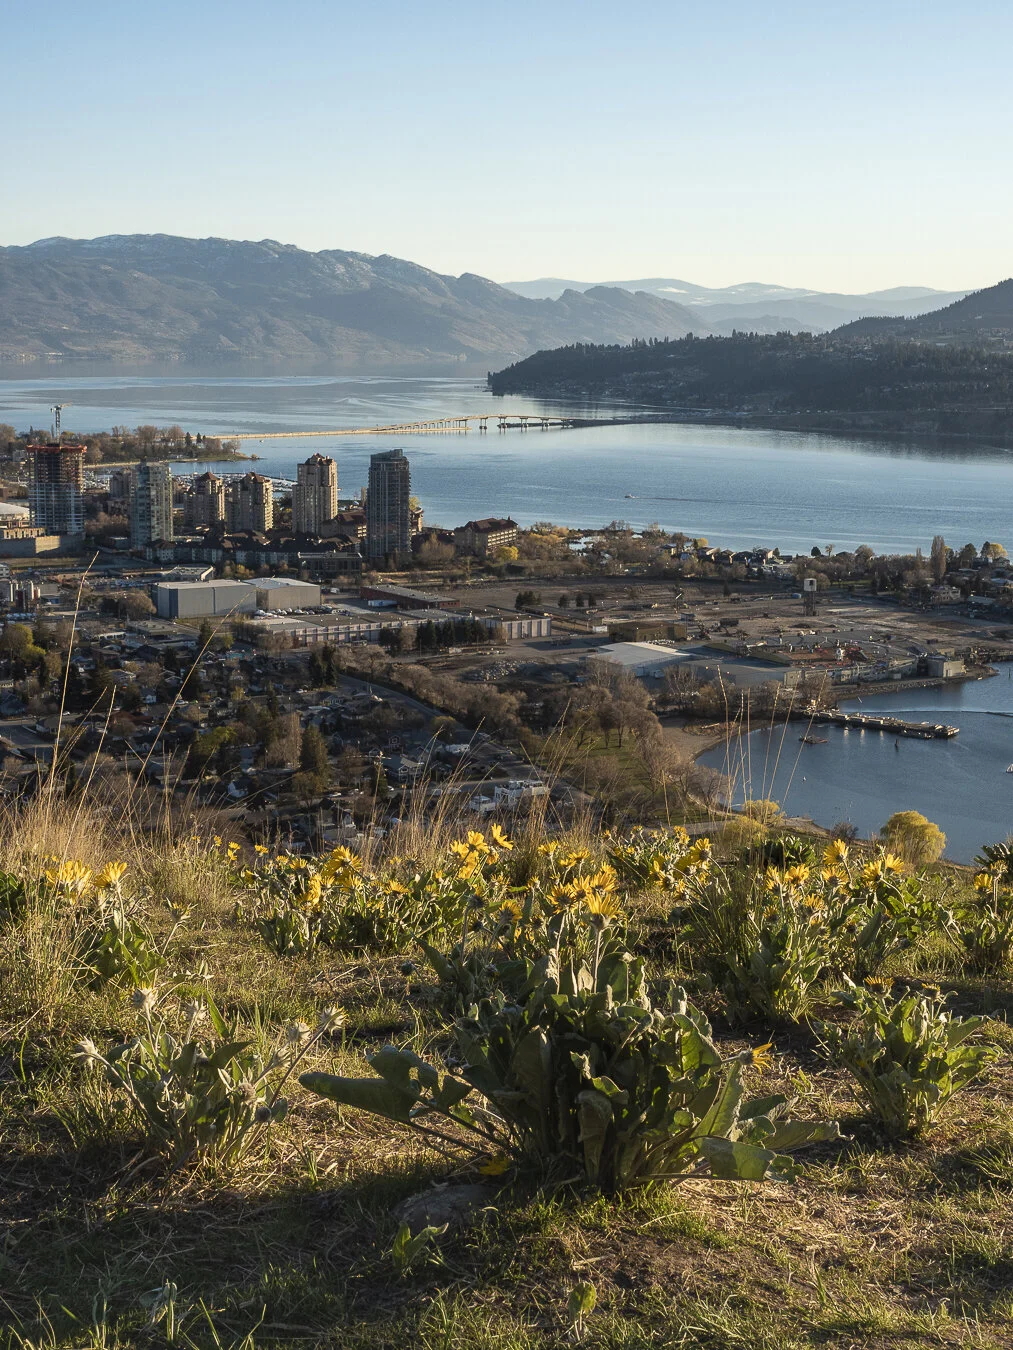
Lesson #3 : Photograph in a Story Format
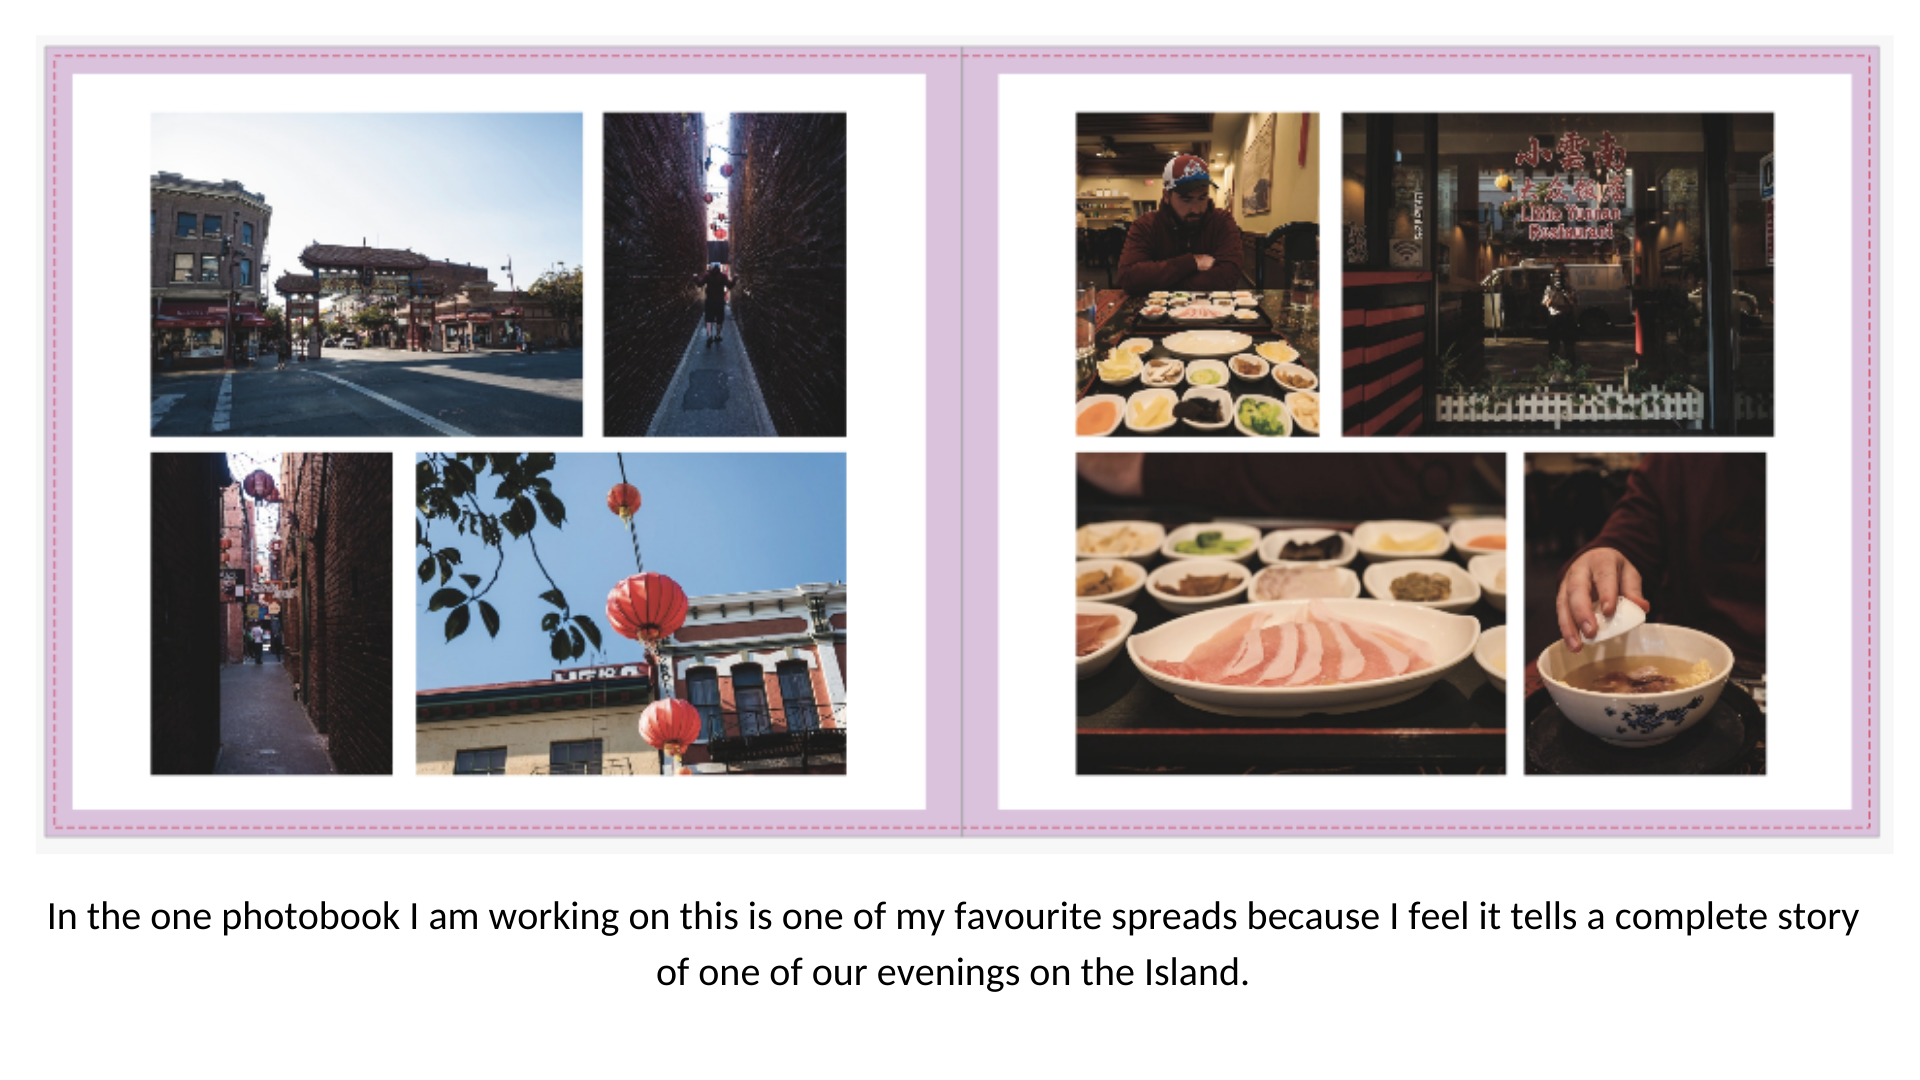
This could come down to personal preference but I love photographing in a story format (having a mix of environmental photos, context photos, details and portraits of us) because I think it tells a more powerful story of our trip - where we were, what we did and our experience there.
Photographing in this way allows me to have front-facing photos that I can post to Instagram and Facebook. But also comes in handy when I try to create a photo book afterwards of our adventure.
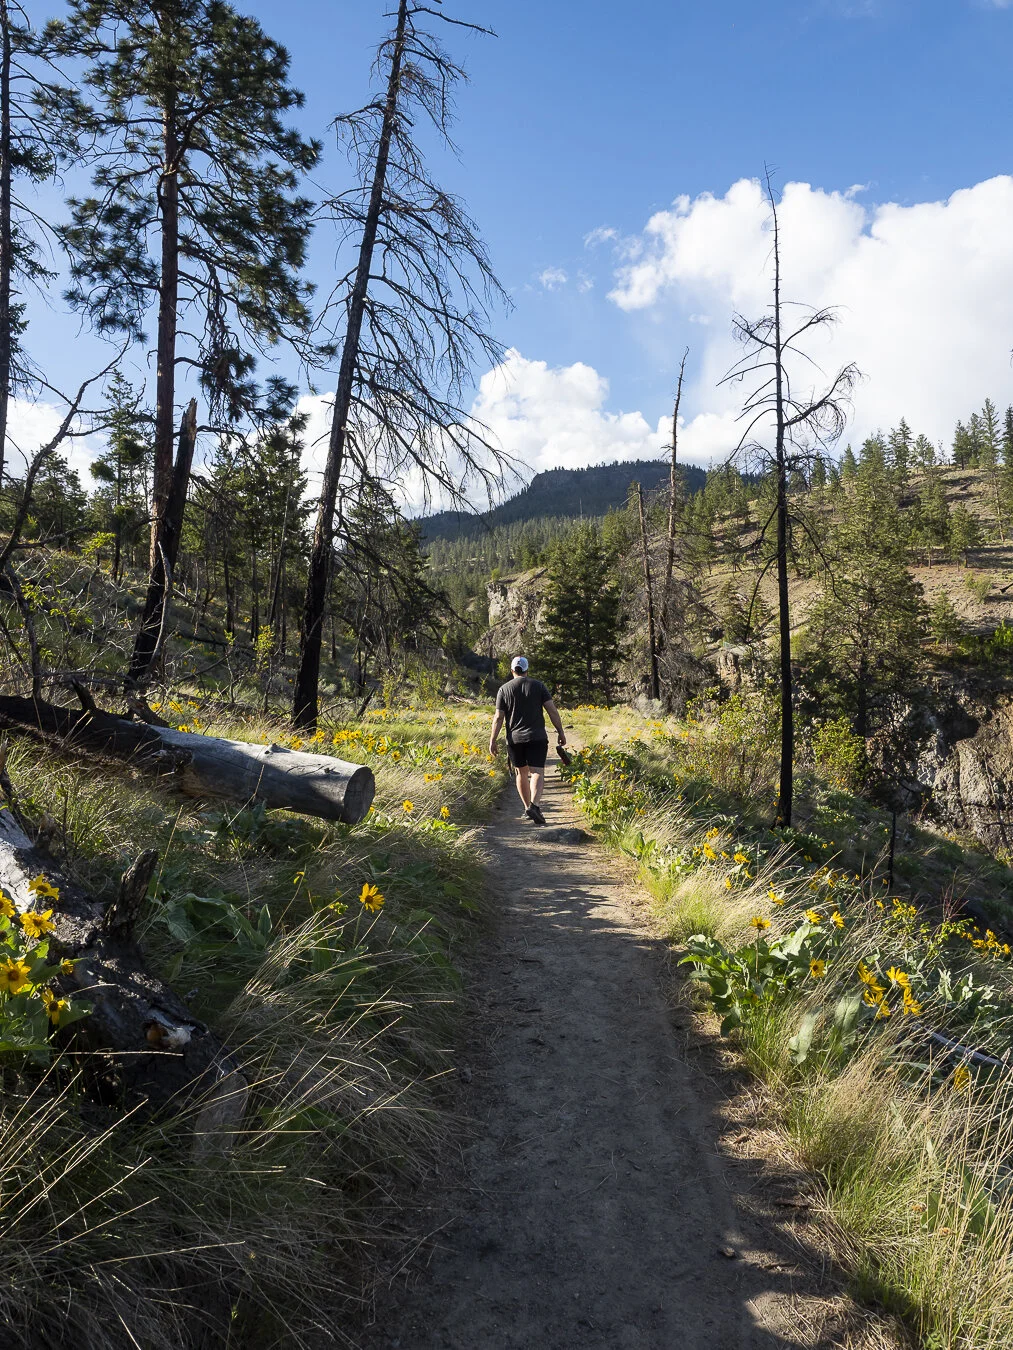
Lesson #4 : Get in Front of the Camera
It’s important to get in front of the camera because you were there, this is your story this is your experience.
I know it can be awkward, I don’t always love my photo being taken because I’m self-conscious too of what I look like and what others think. However, I have found that I regret after a trip not getting in front of the camera because I’ll come back with zero photos of us or me there.
It can feel like we weren’t even on the trip because the story is missing the characters.
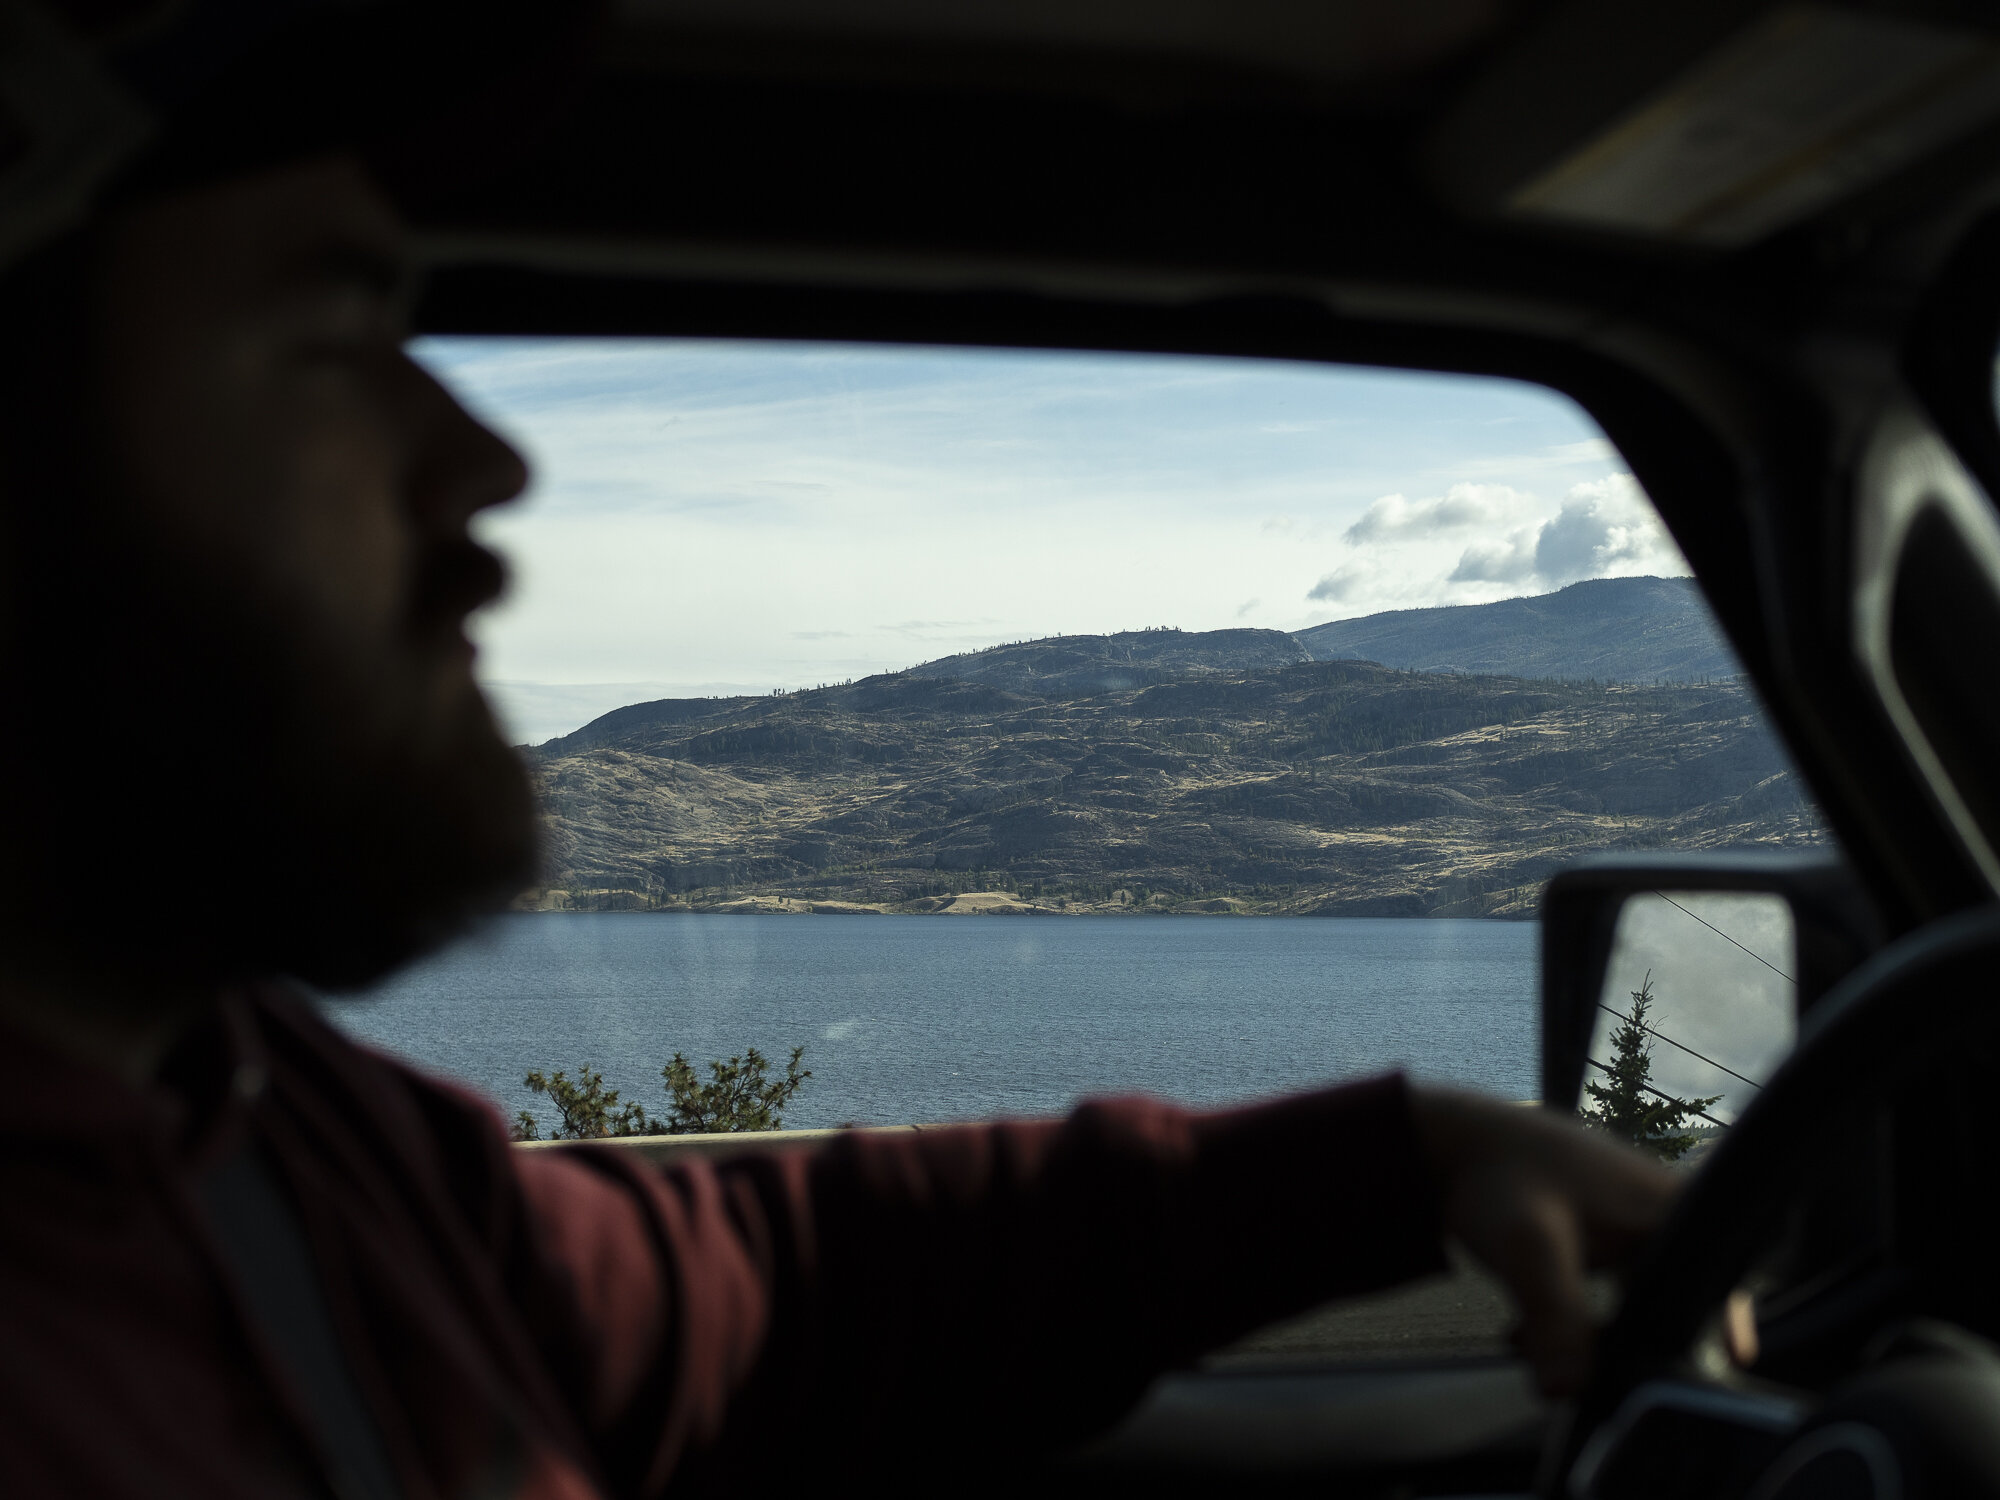
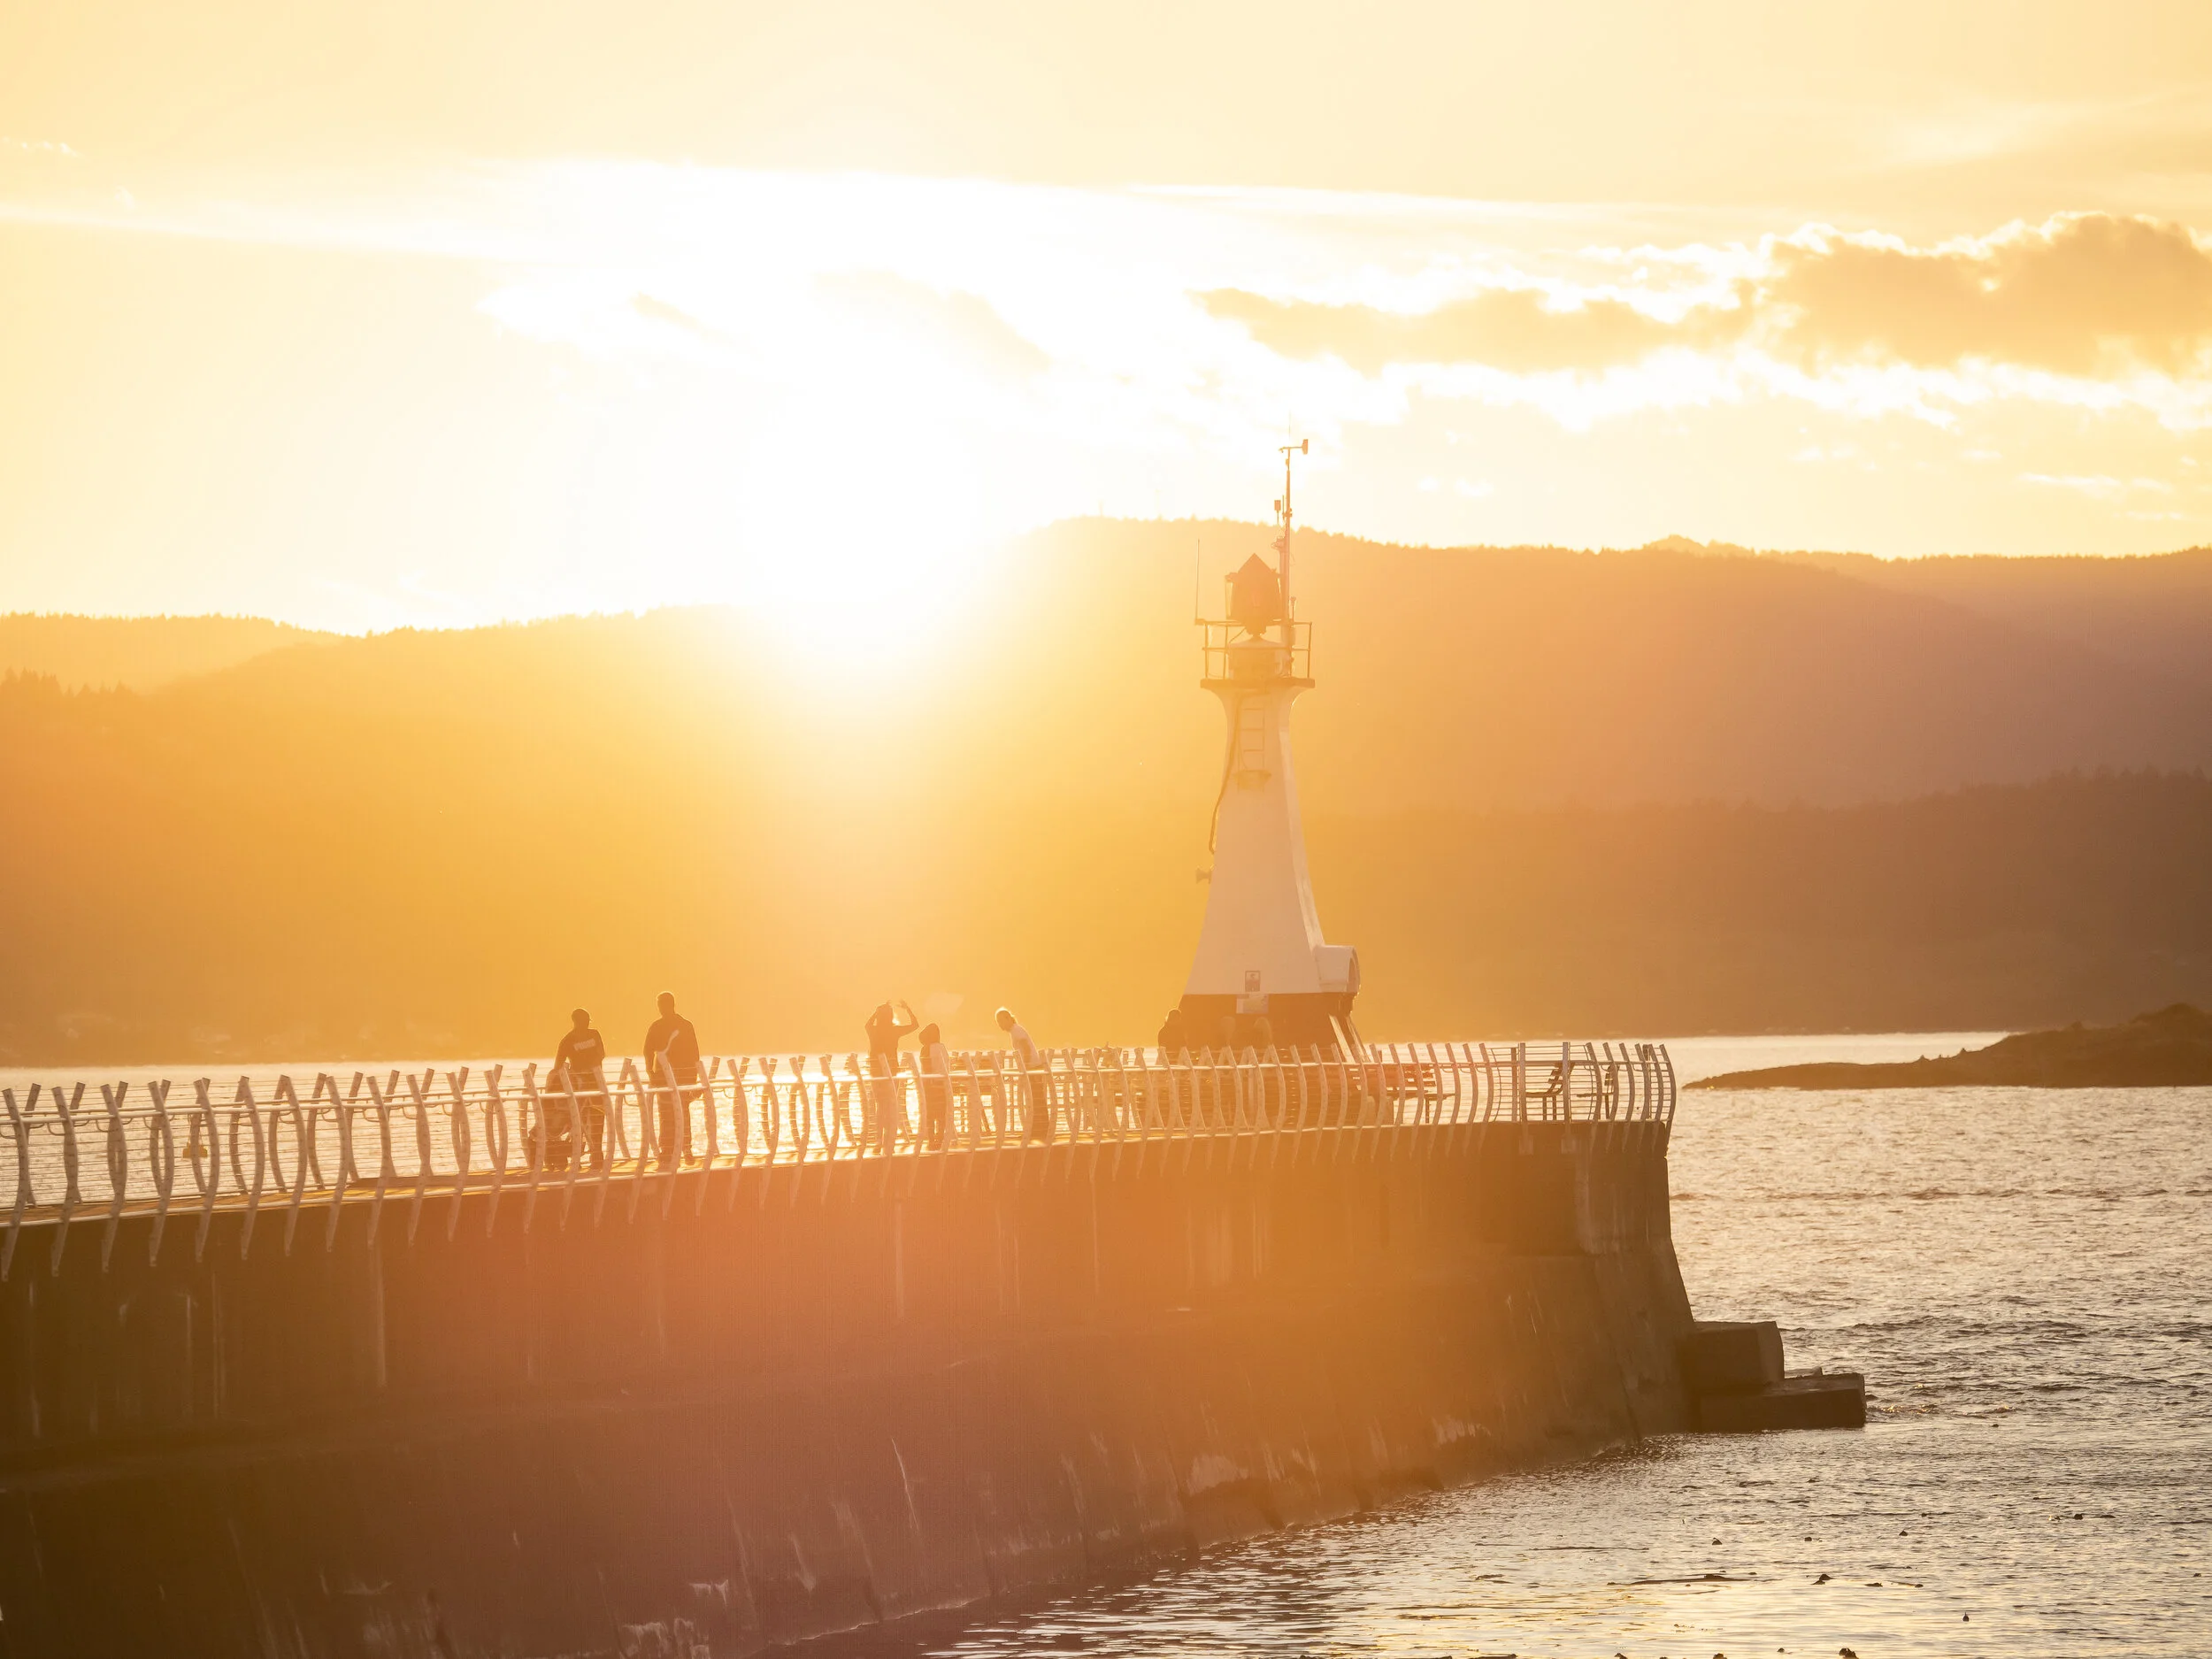
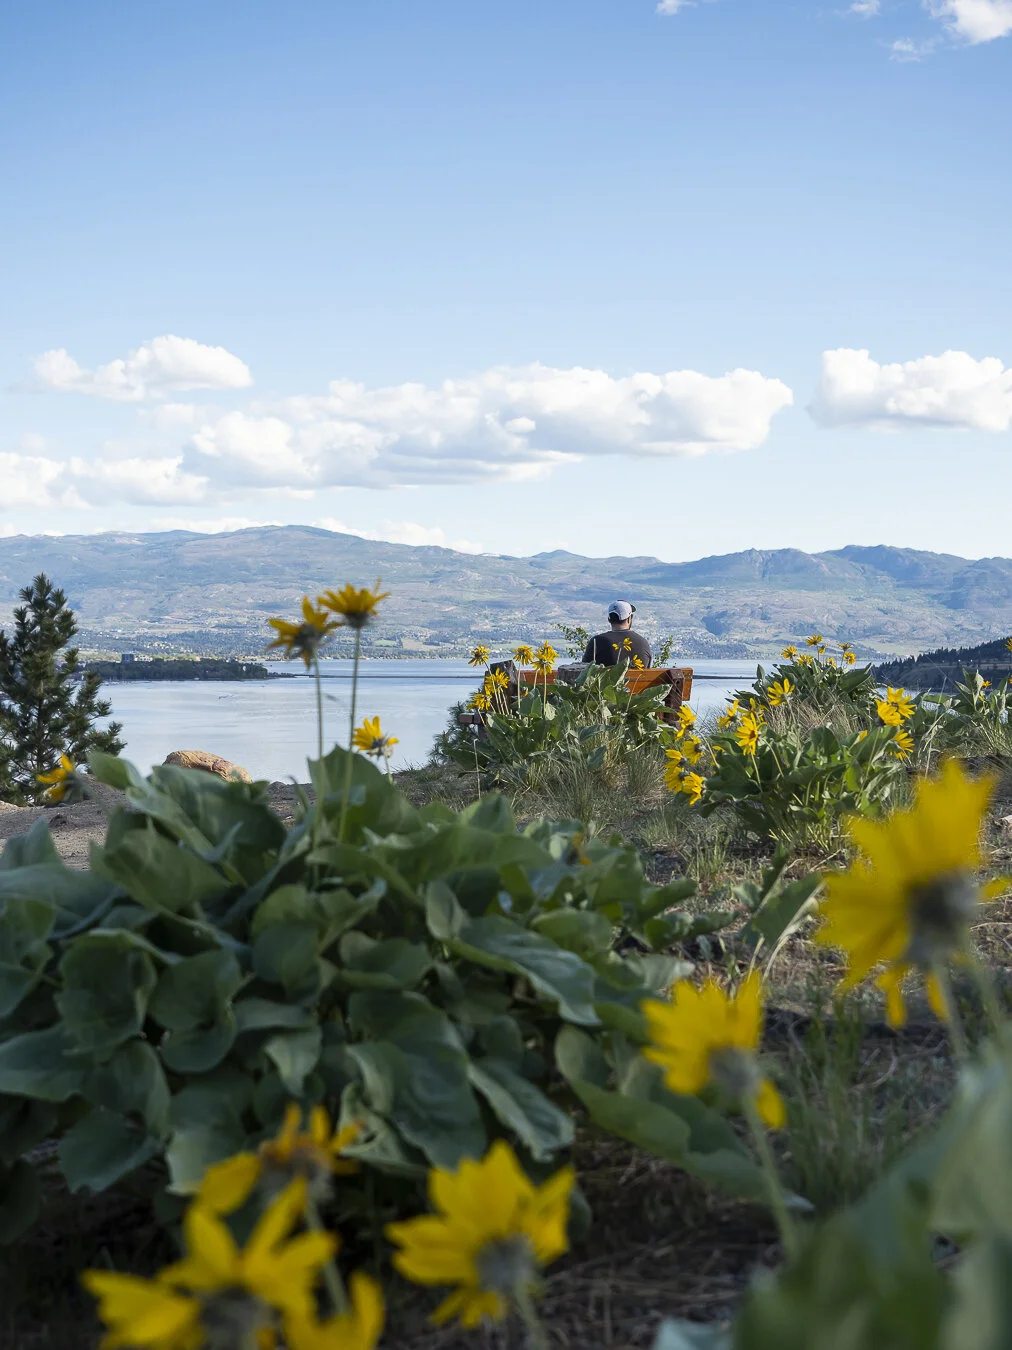
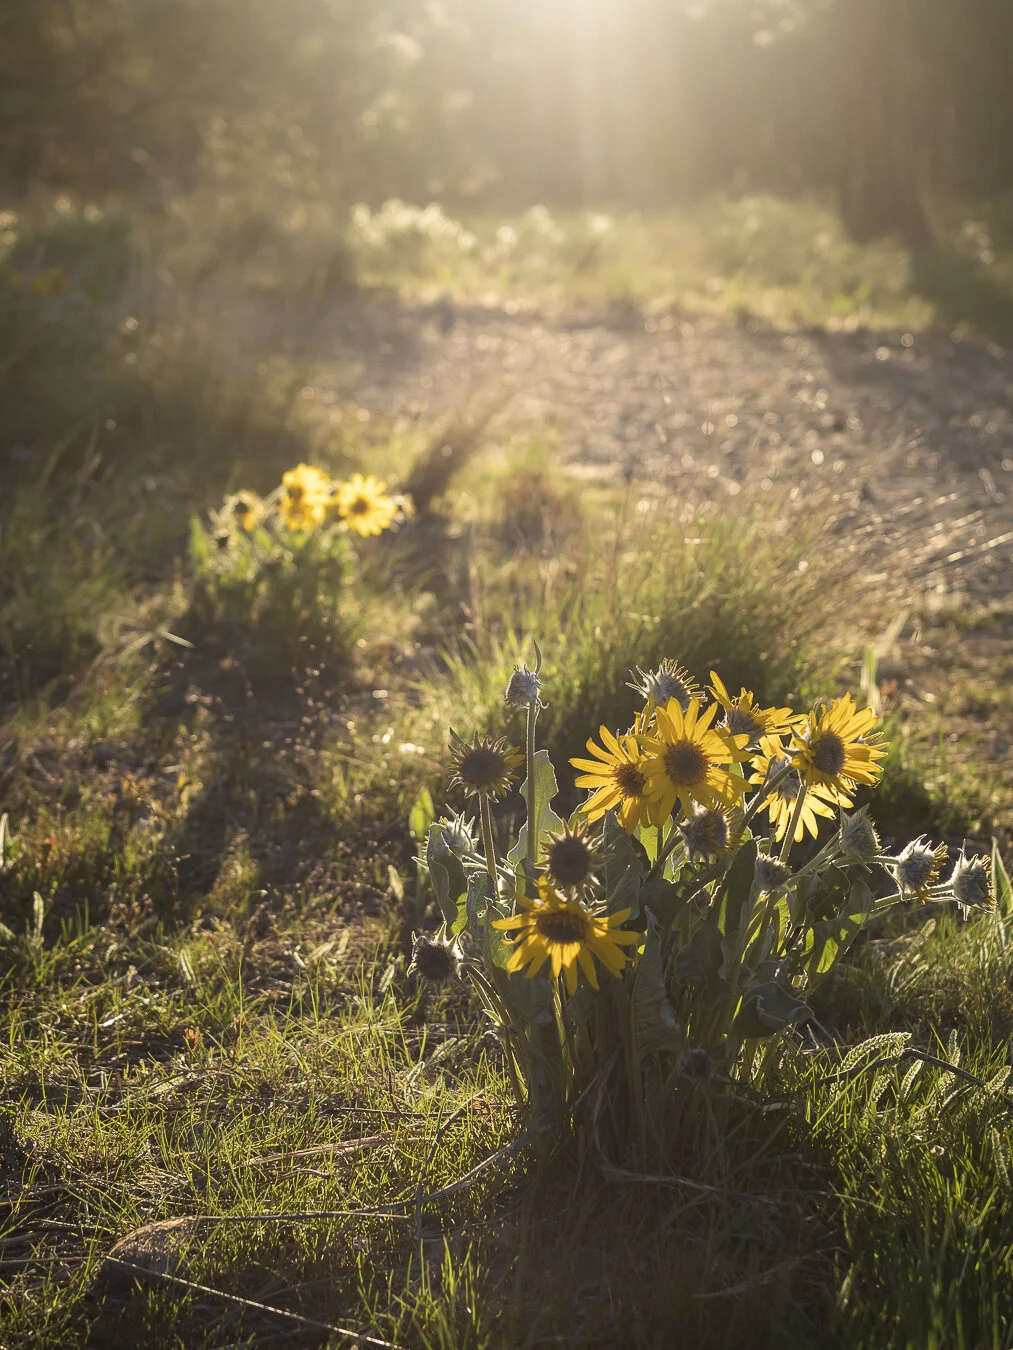
Lesson #5 : Put the Camera Down
This is the most important lesson that I’ve learned from past trips and might sound counterintuitive to what we’ve been talking about. However, it’s important to put the camera down.
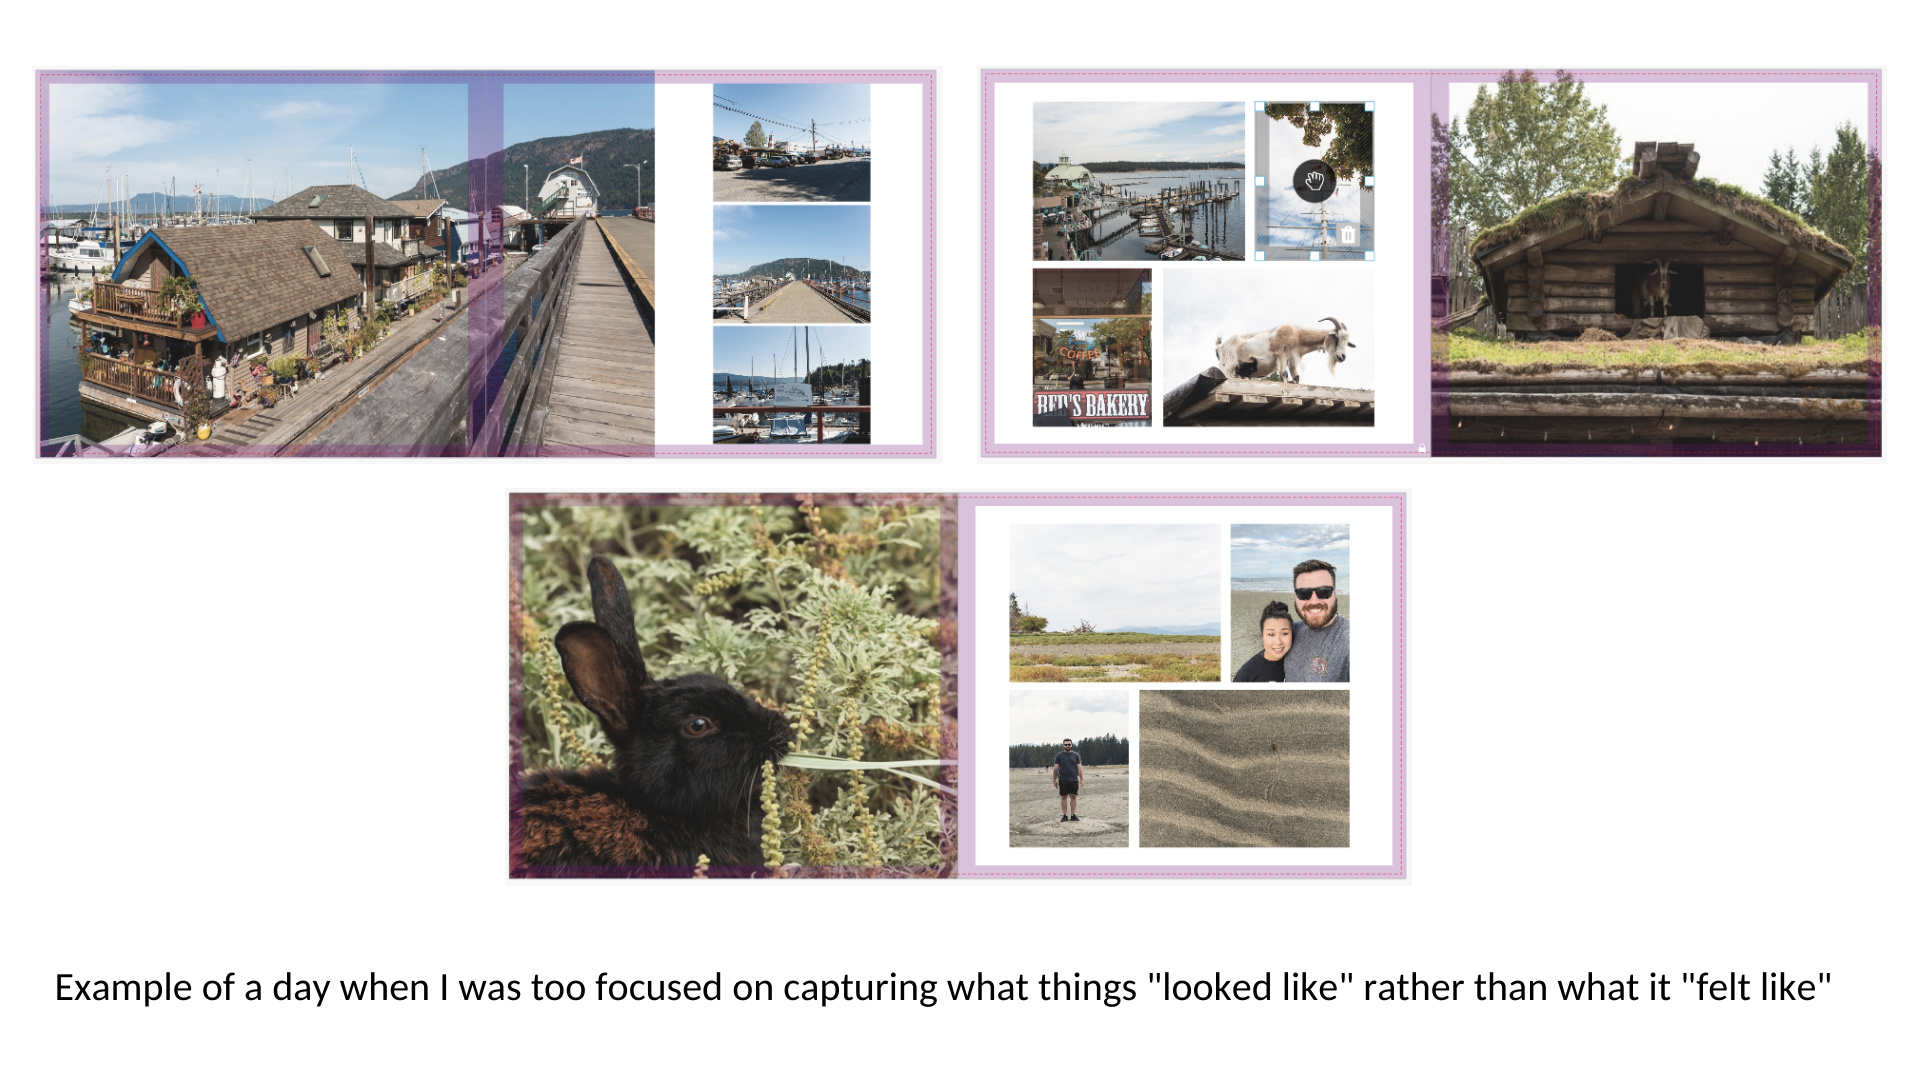
The photo you see below is a photo that I visually love but emotionally hate. It was taken on my trip to Vancouver Island with my husband and I was so consumed with getting the perfect sunset photo that I missed the gorgeous sunset with my husband.

It’s a painful reminder to me on the mistakes I made on that trip, but also a driver for me to be better at putting down the camera, being in the moment, spending time with the one’s I love and finding that balance between documenting moments that matter without taking away from them.
Let me know over on the channel if you found something helpful or meaningful in todays article!
I post weekly to my YouTube Channel so if you found this helpful please consider subscribing to the channel or buying me a coffee.
Beautifully Wander | Robynne MacLeod