Welcome back to another Create with Me! Last week I was live with Olympus and three other amazing photographers chatting about what we like to photograph and how we got certain photos and I was inspired by Emilie Talpin to try doing some refraction photography!
Refraction Photography
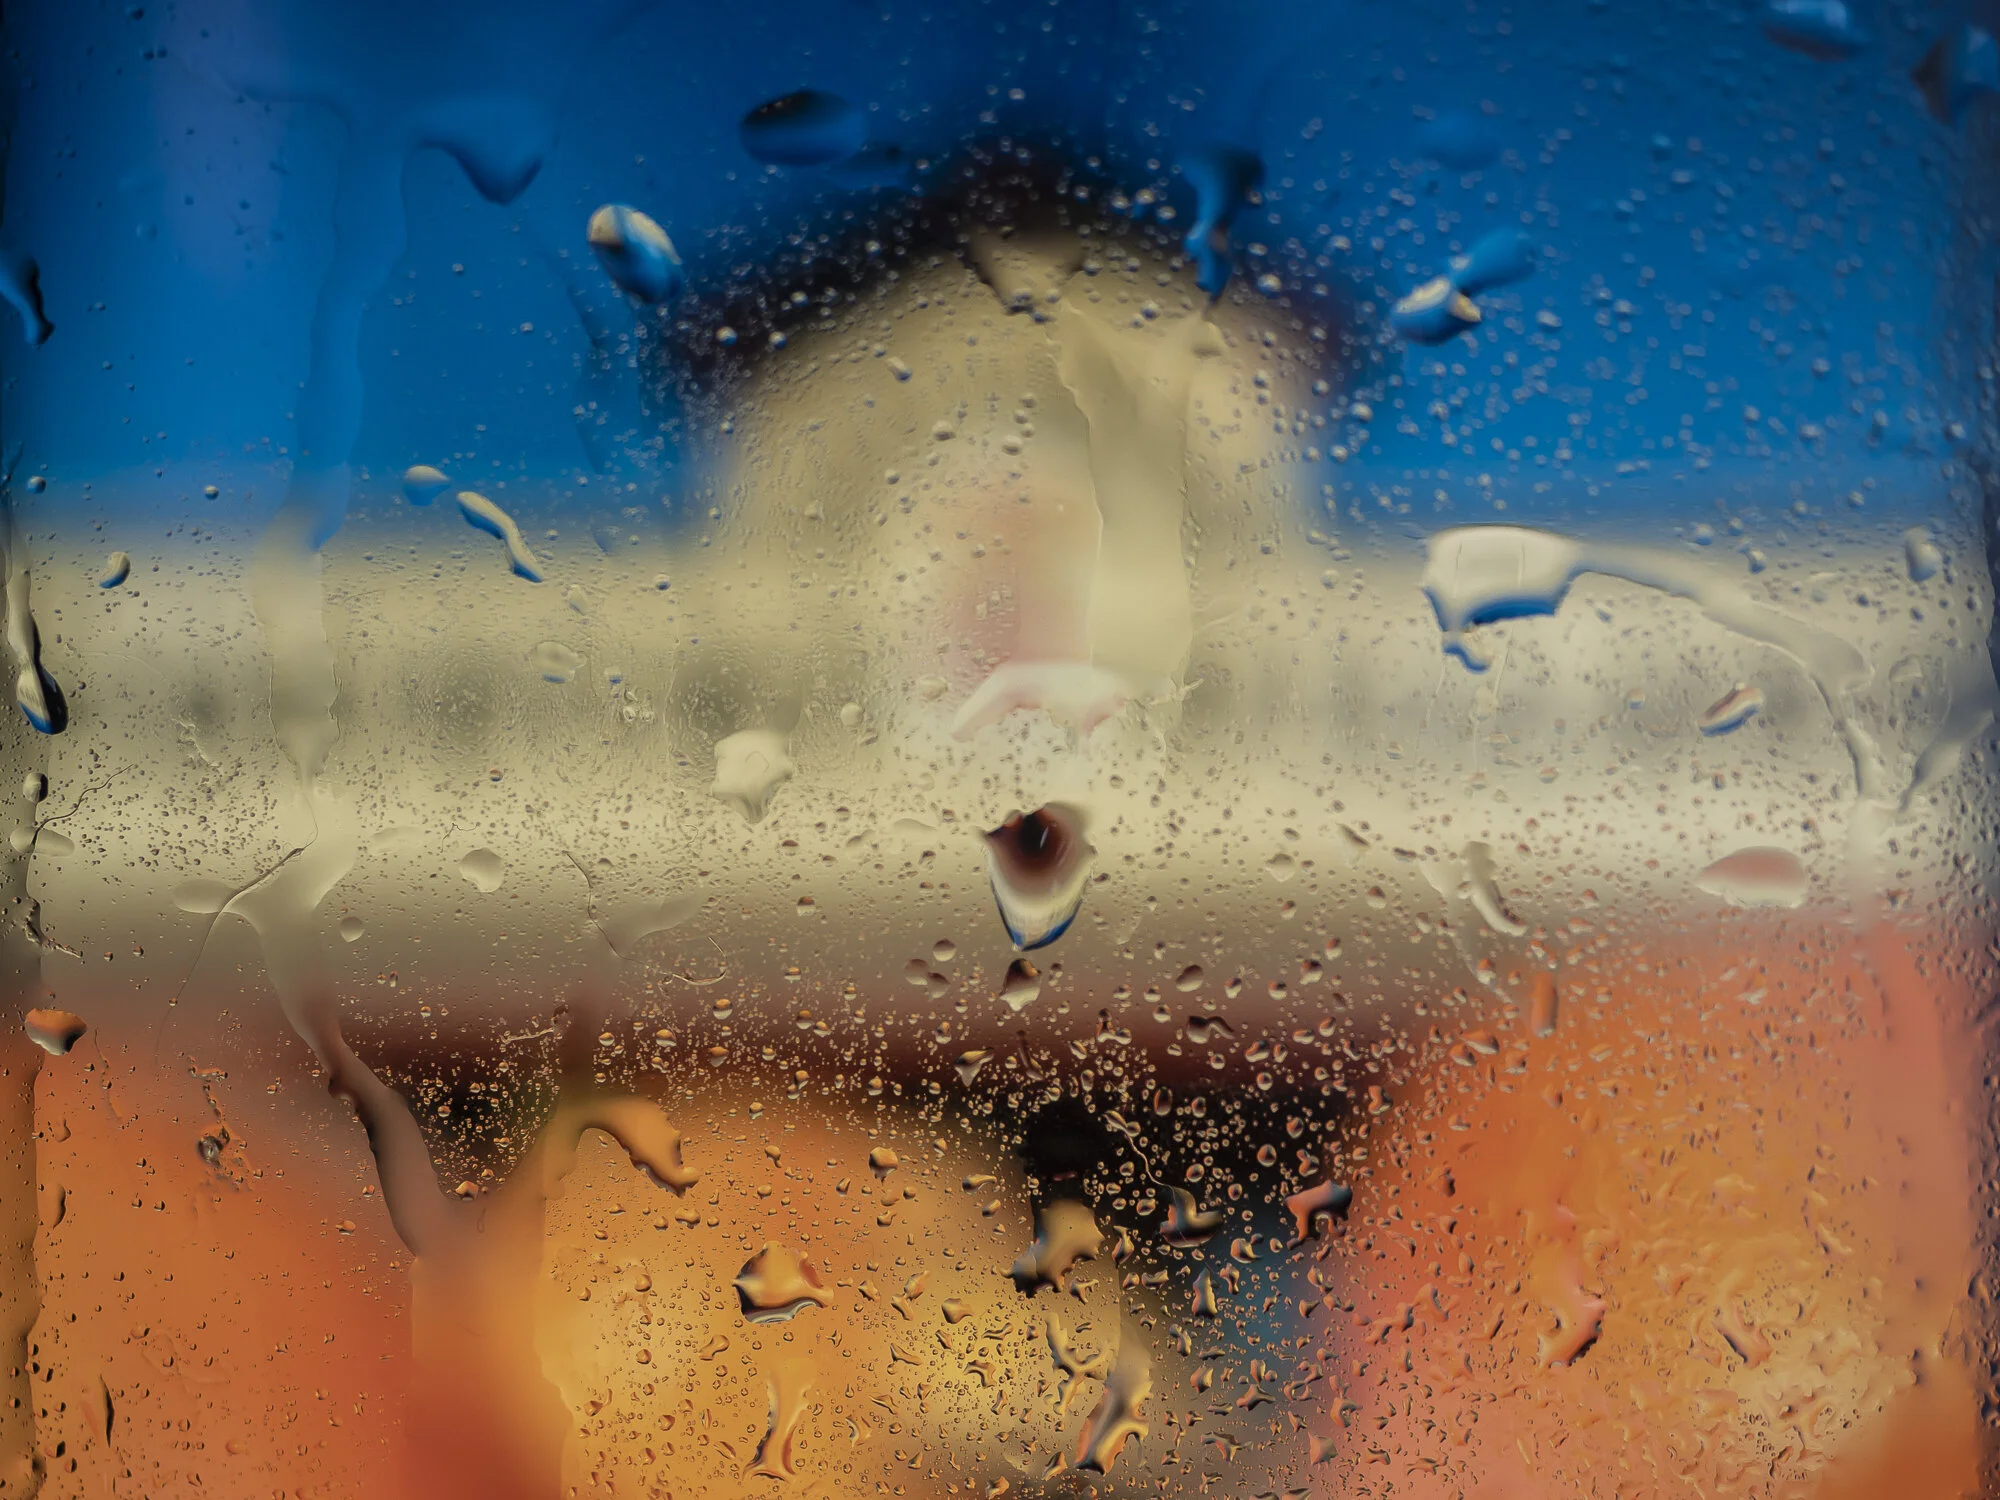
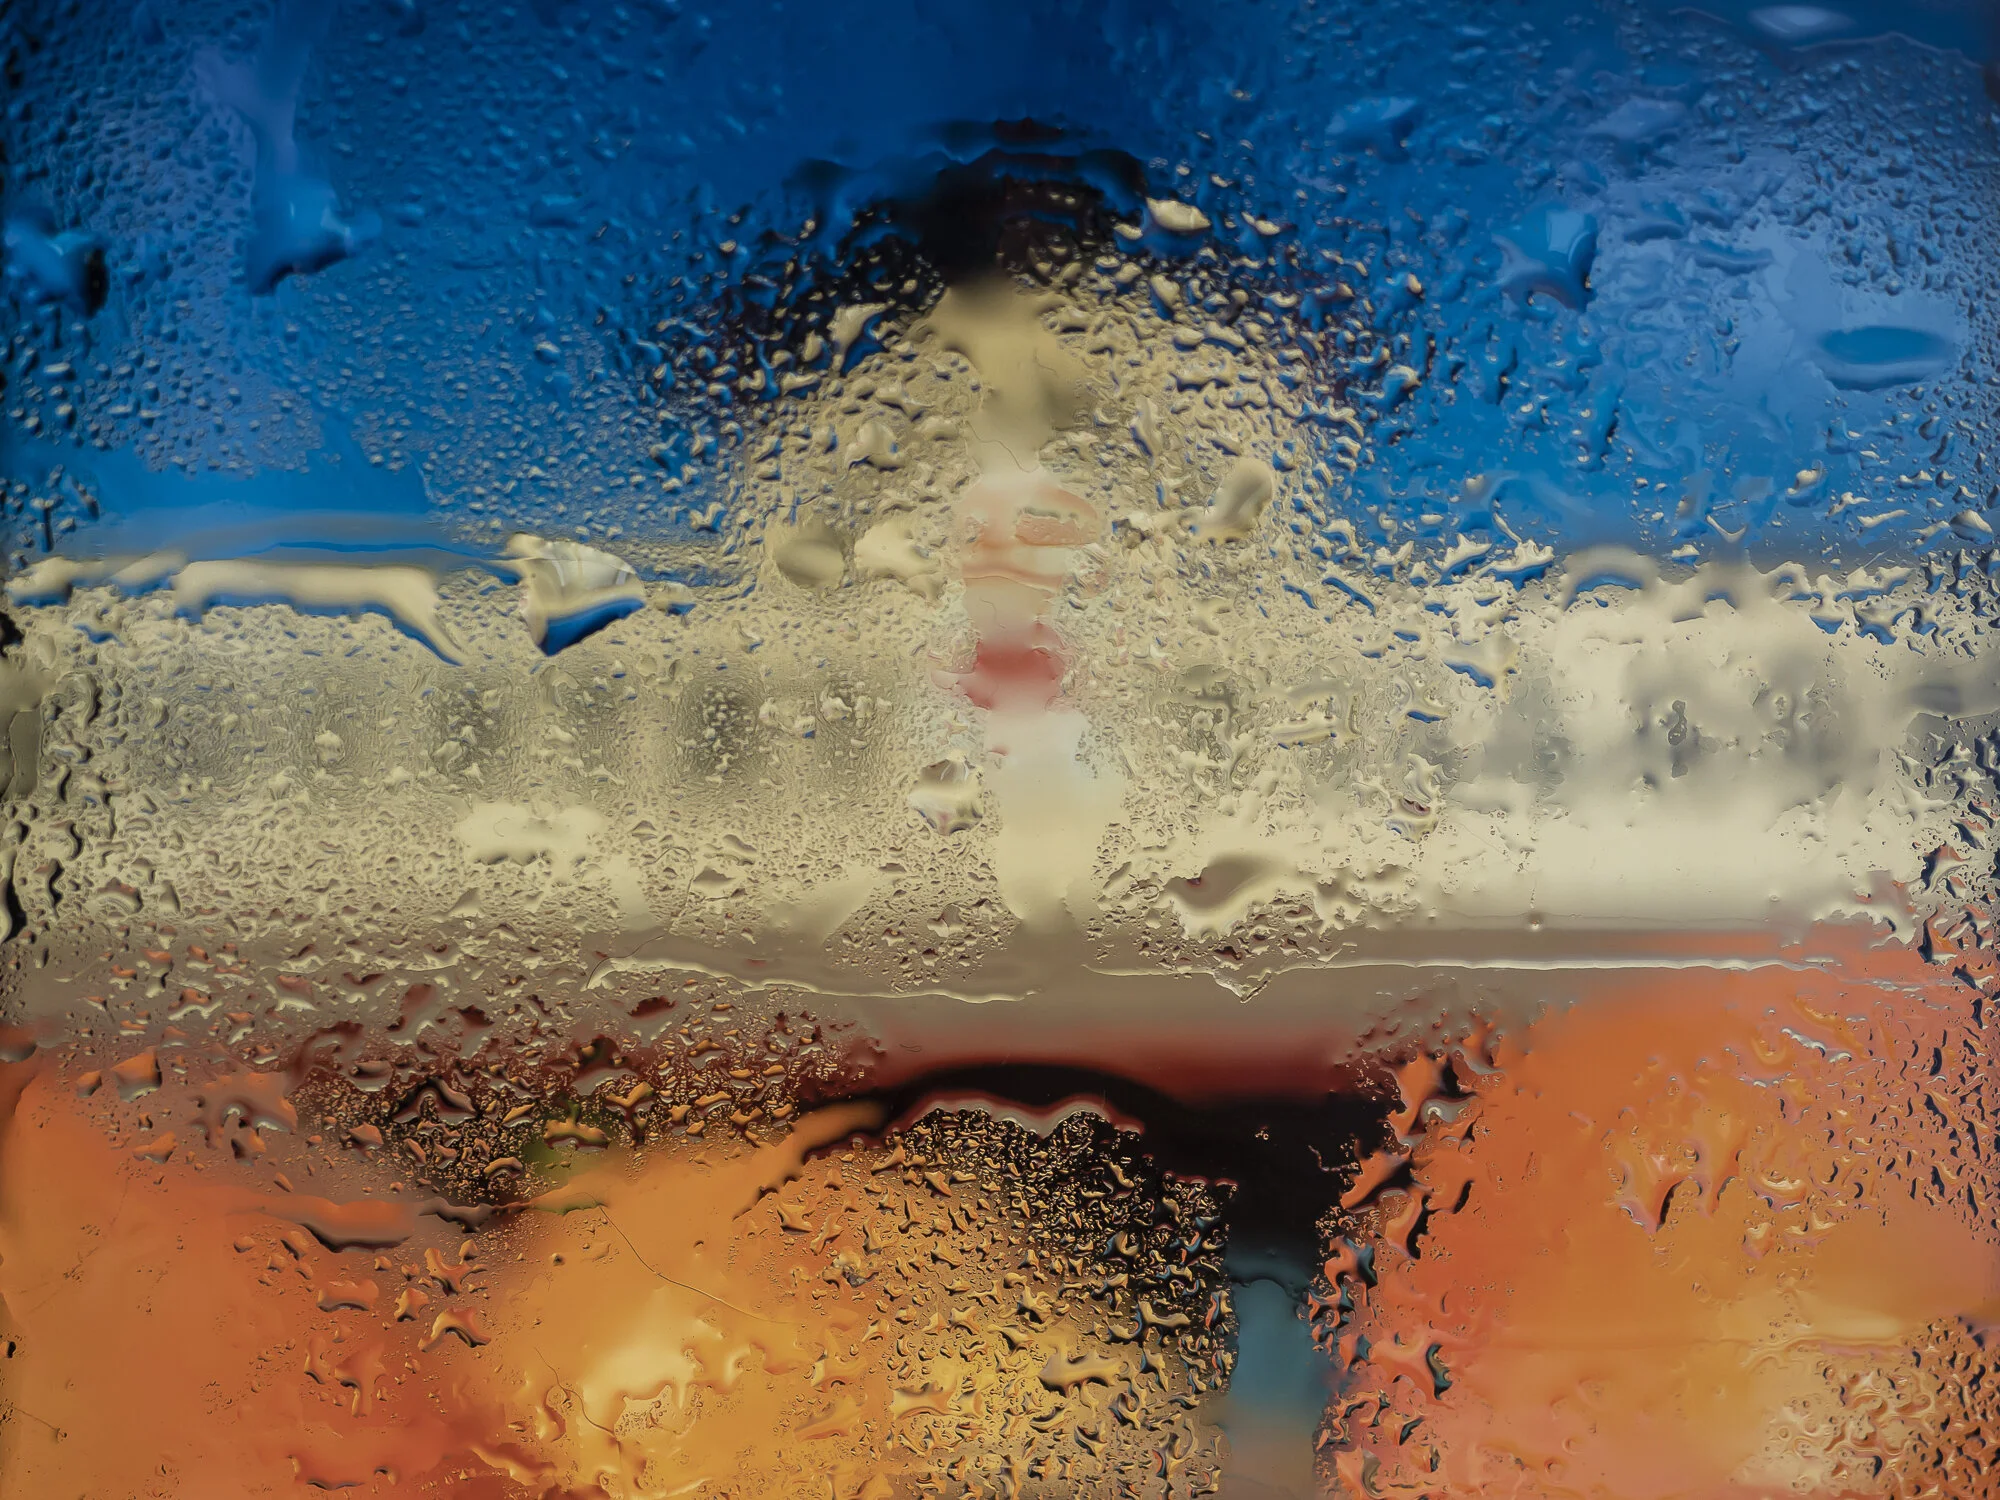
I have no idea how to define refraction photography. All I have for you is refraction is the “bending of light”… if that even makes sense. The best I have for you is images as an example.
The Concept
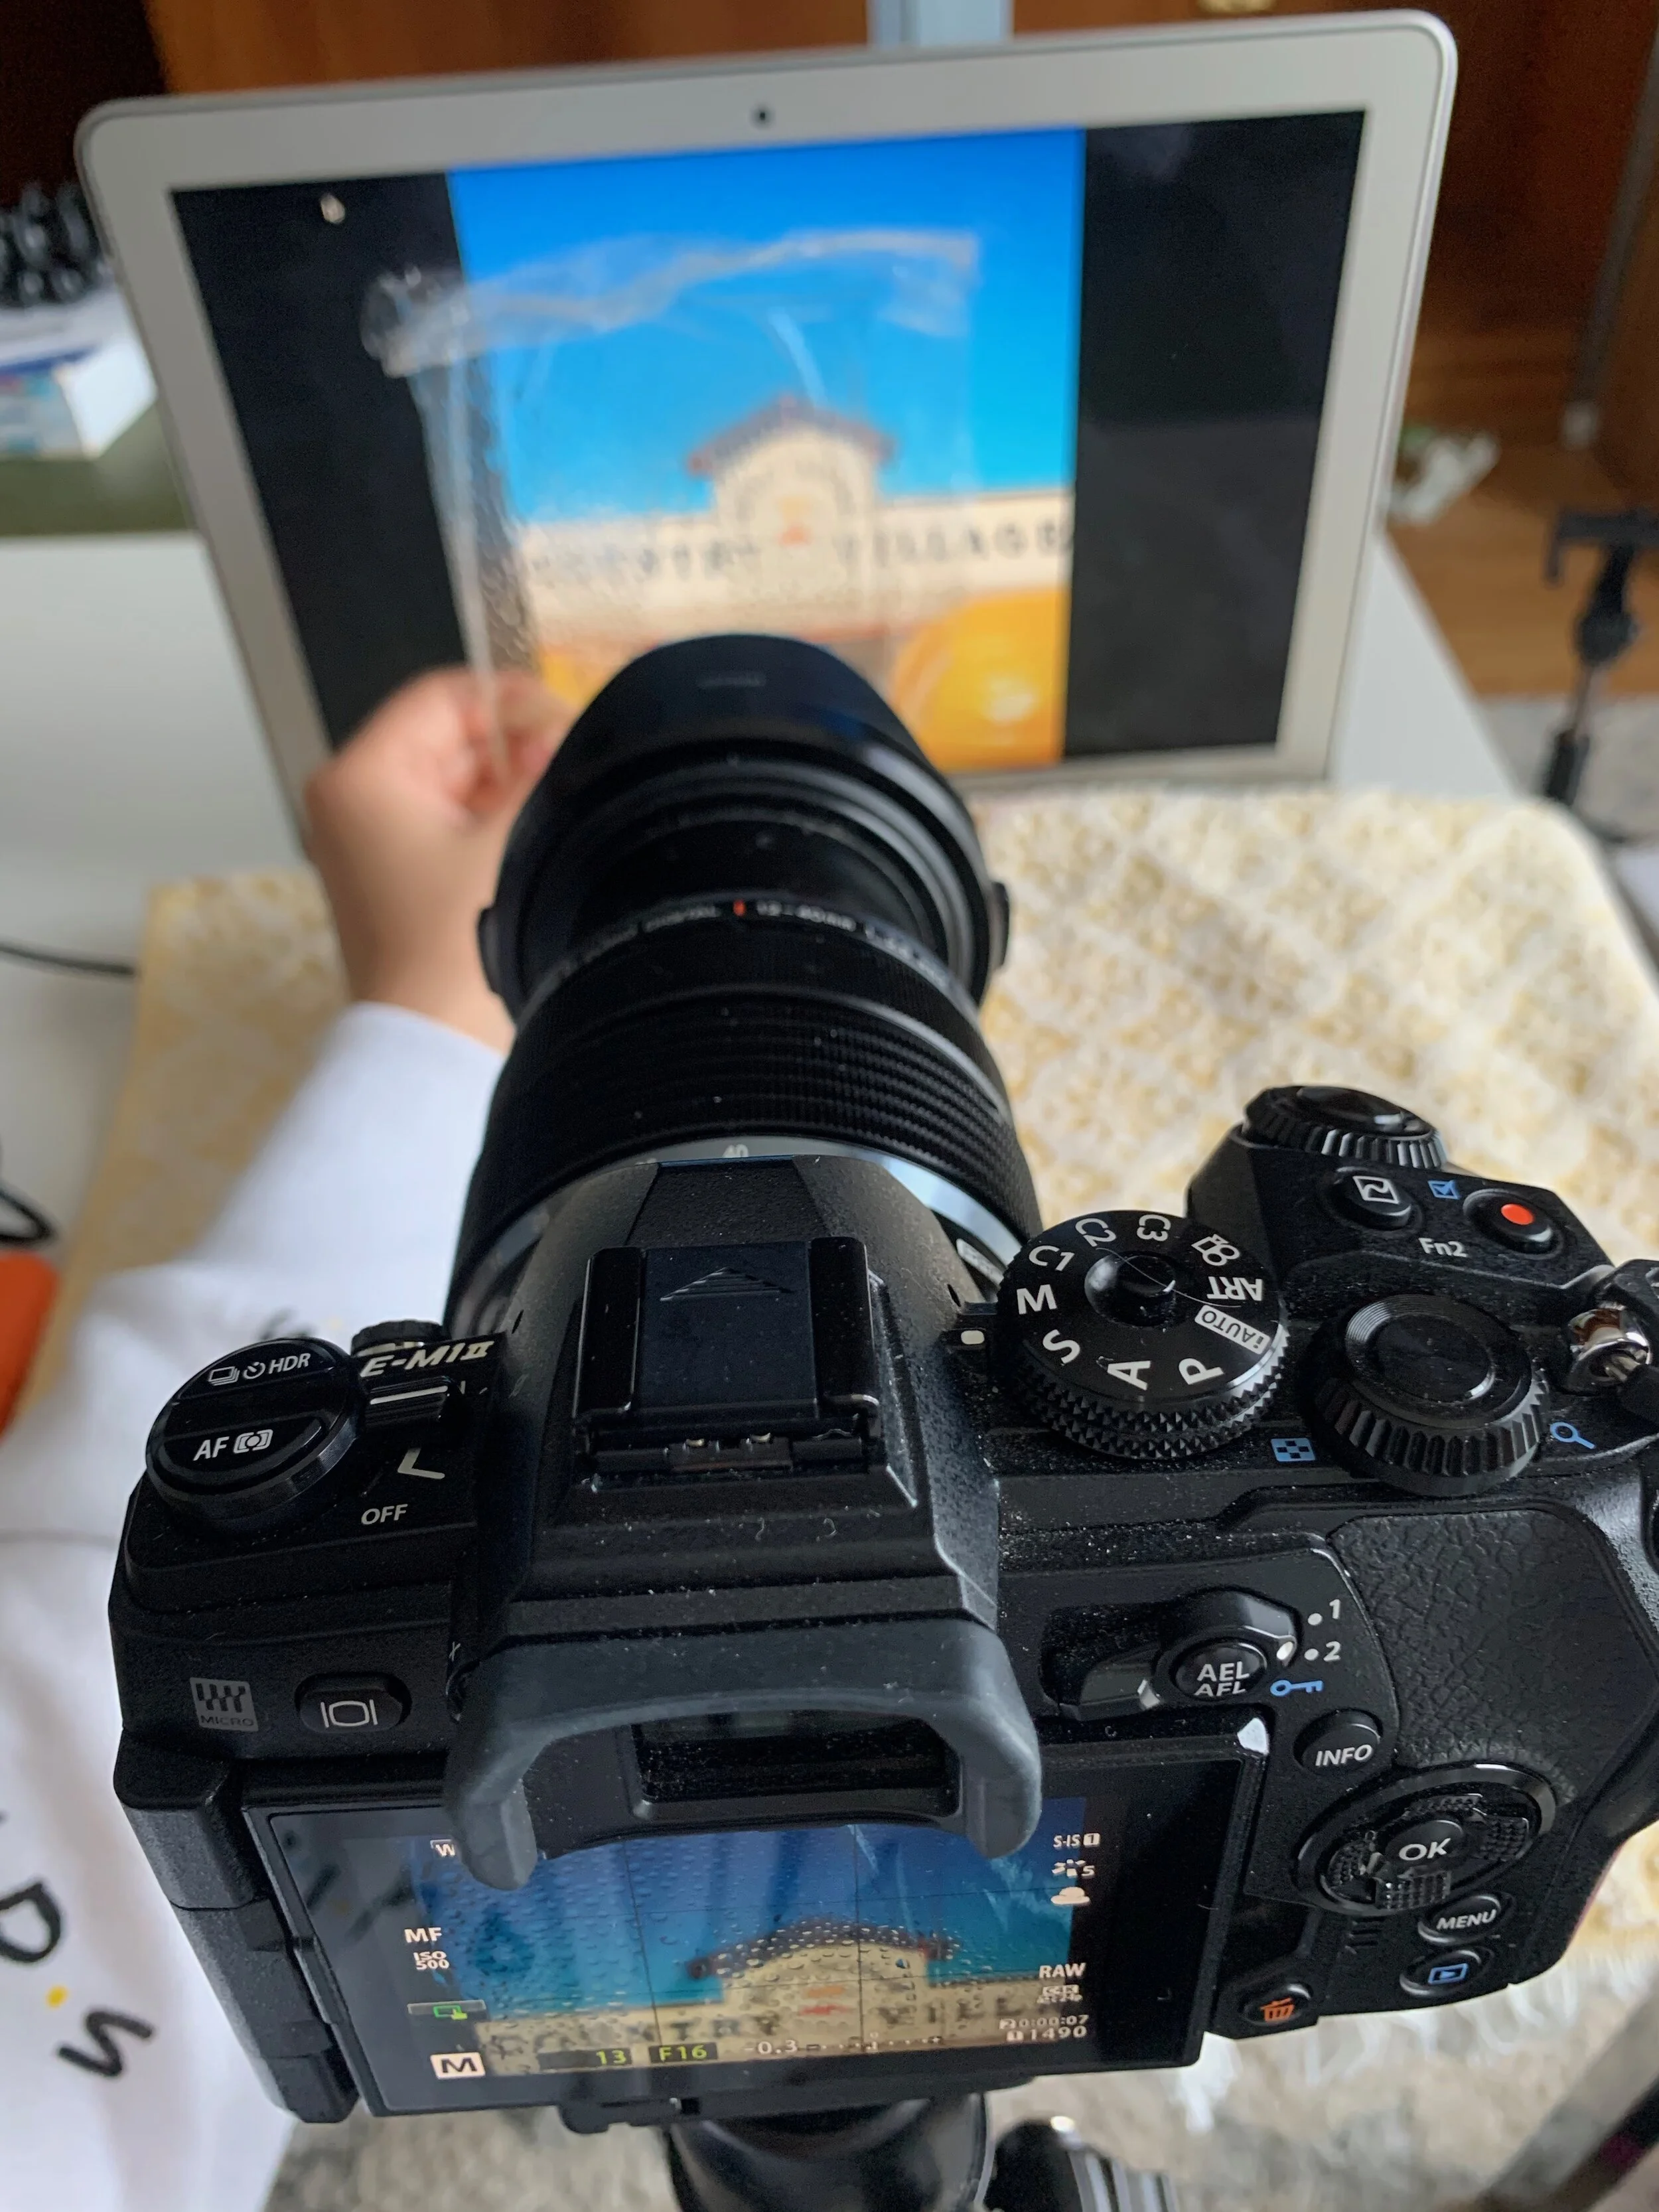
The concept I was going for was refracting an image on my laptop screen onto some water droplets that I have made on a sheet of glass. However, after setting up for the shot I ran into two issues:
When I sprayed my glass with some water it didn’t actually form water droplets
I couldn’t manually focus on a water droplet, hold my camera, and hold the glass at the same time to take the shot
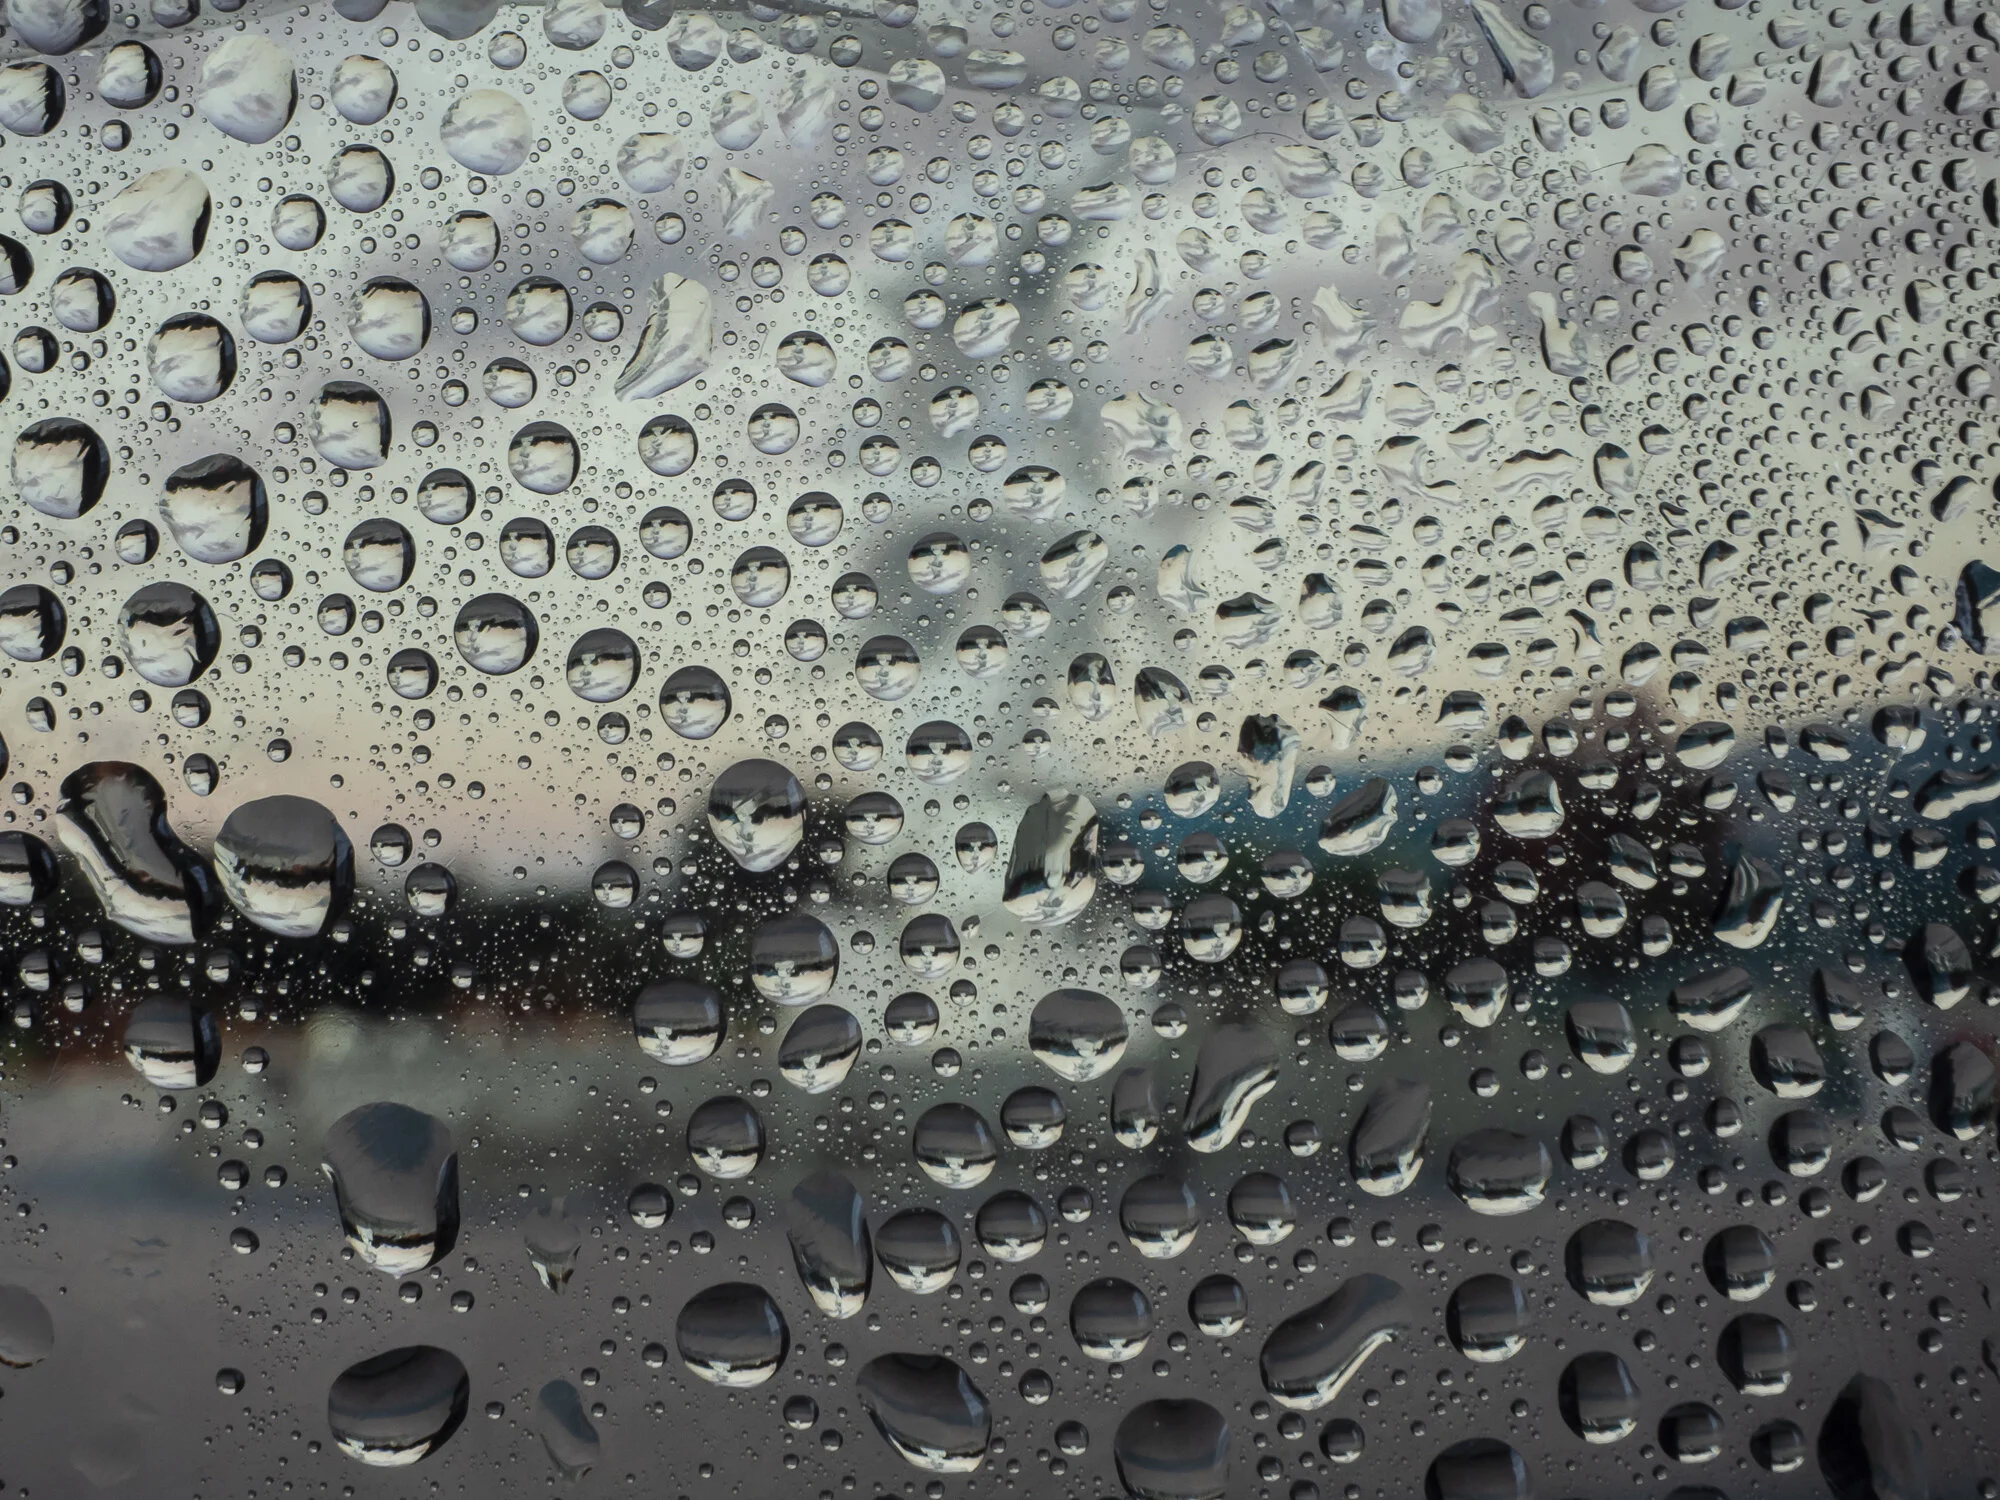
I was tempted to give up…I continued to spray my glass, dot the glass with water, even tried it on my patio door…nothing. I couldn’t create water droplets on my glass.
These are how they were turning out:
I Almost Gave Up…Adjustments I Made
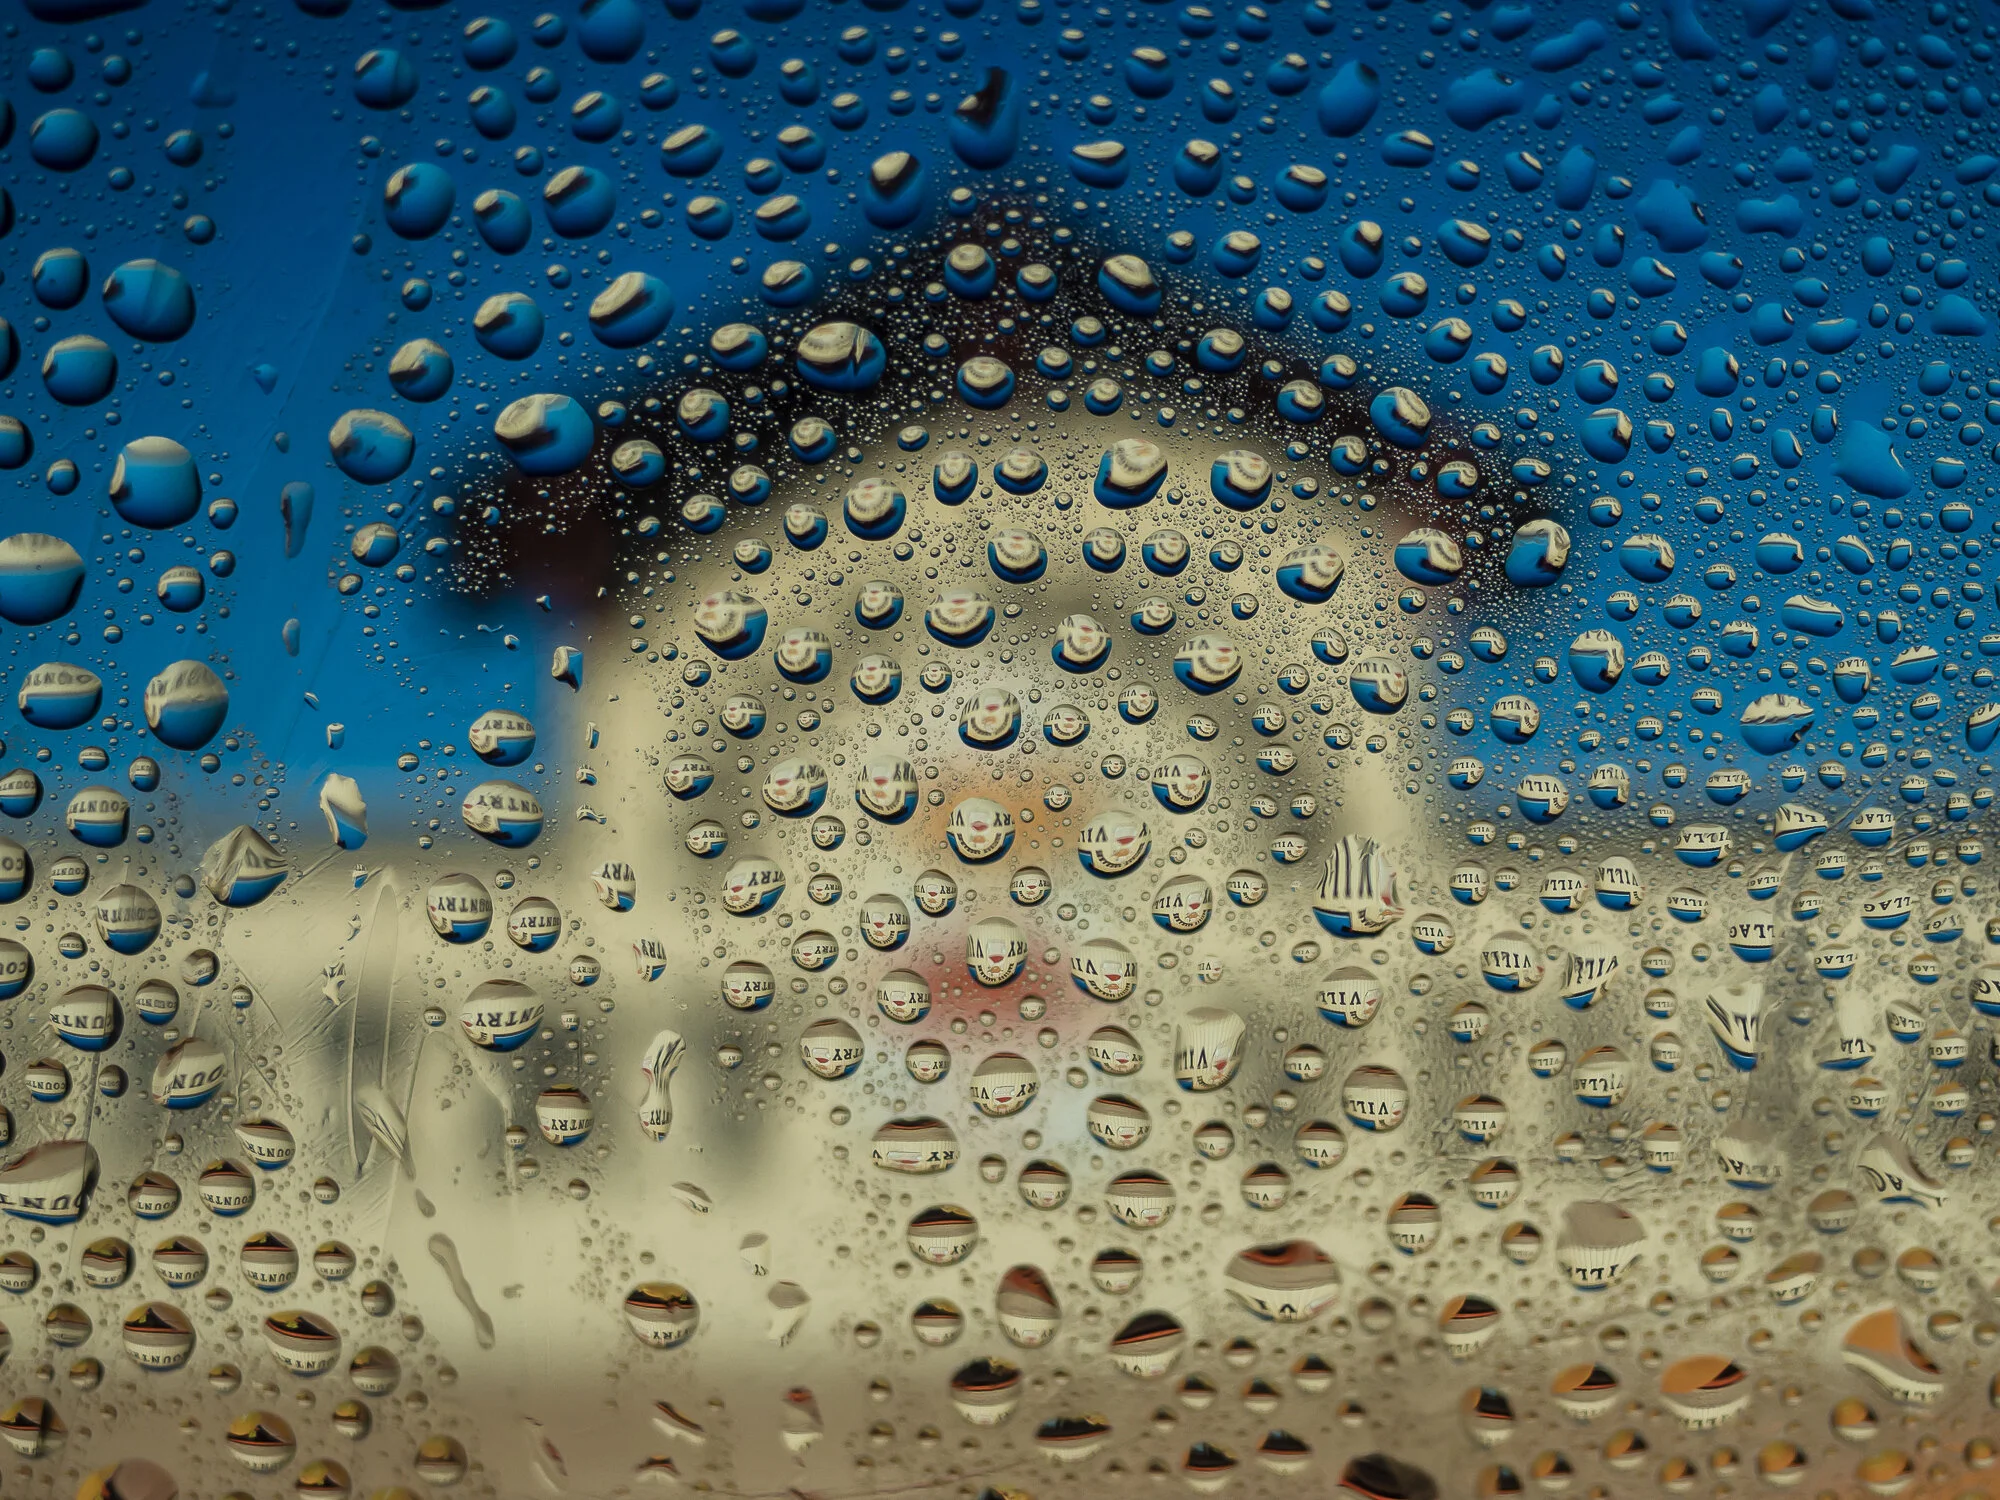
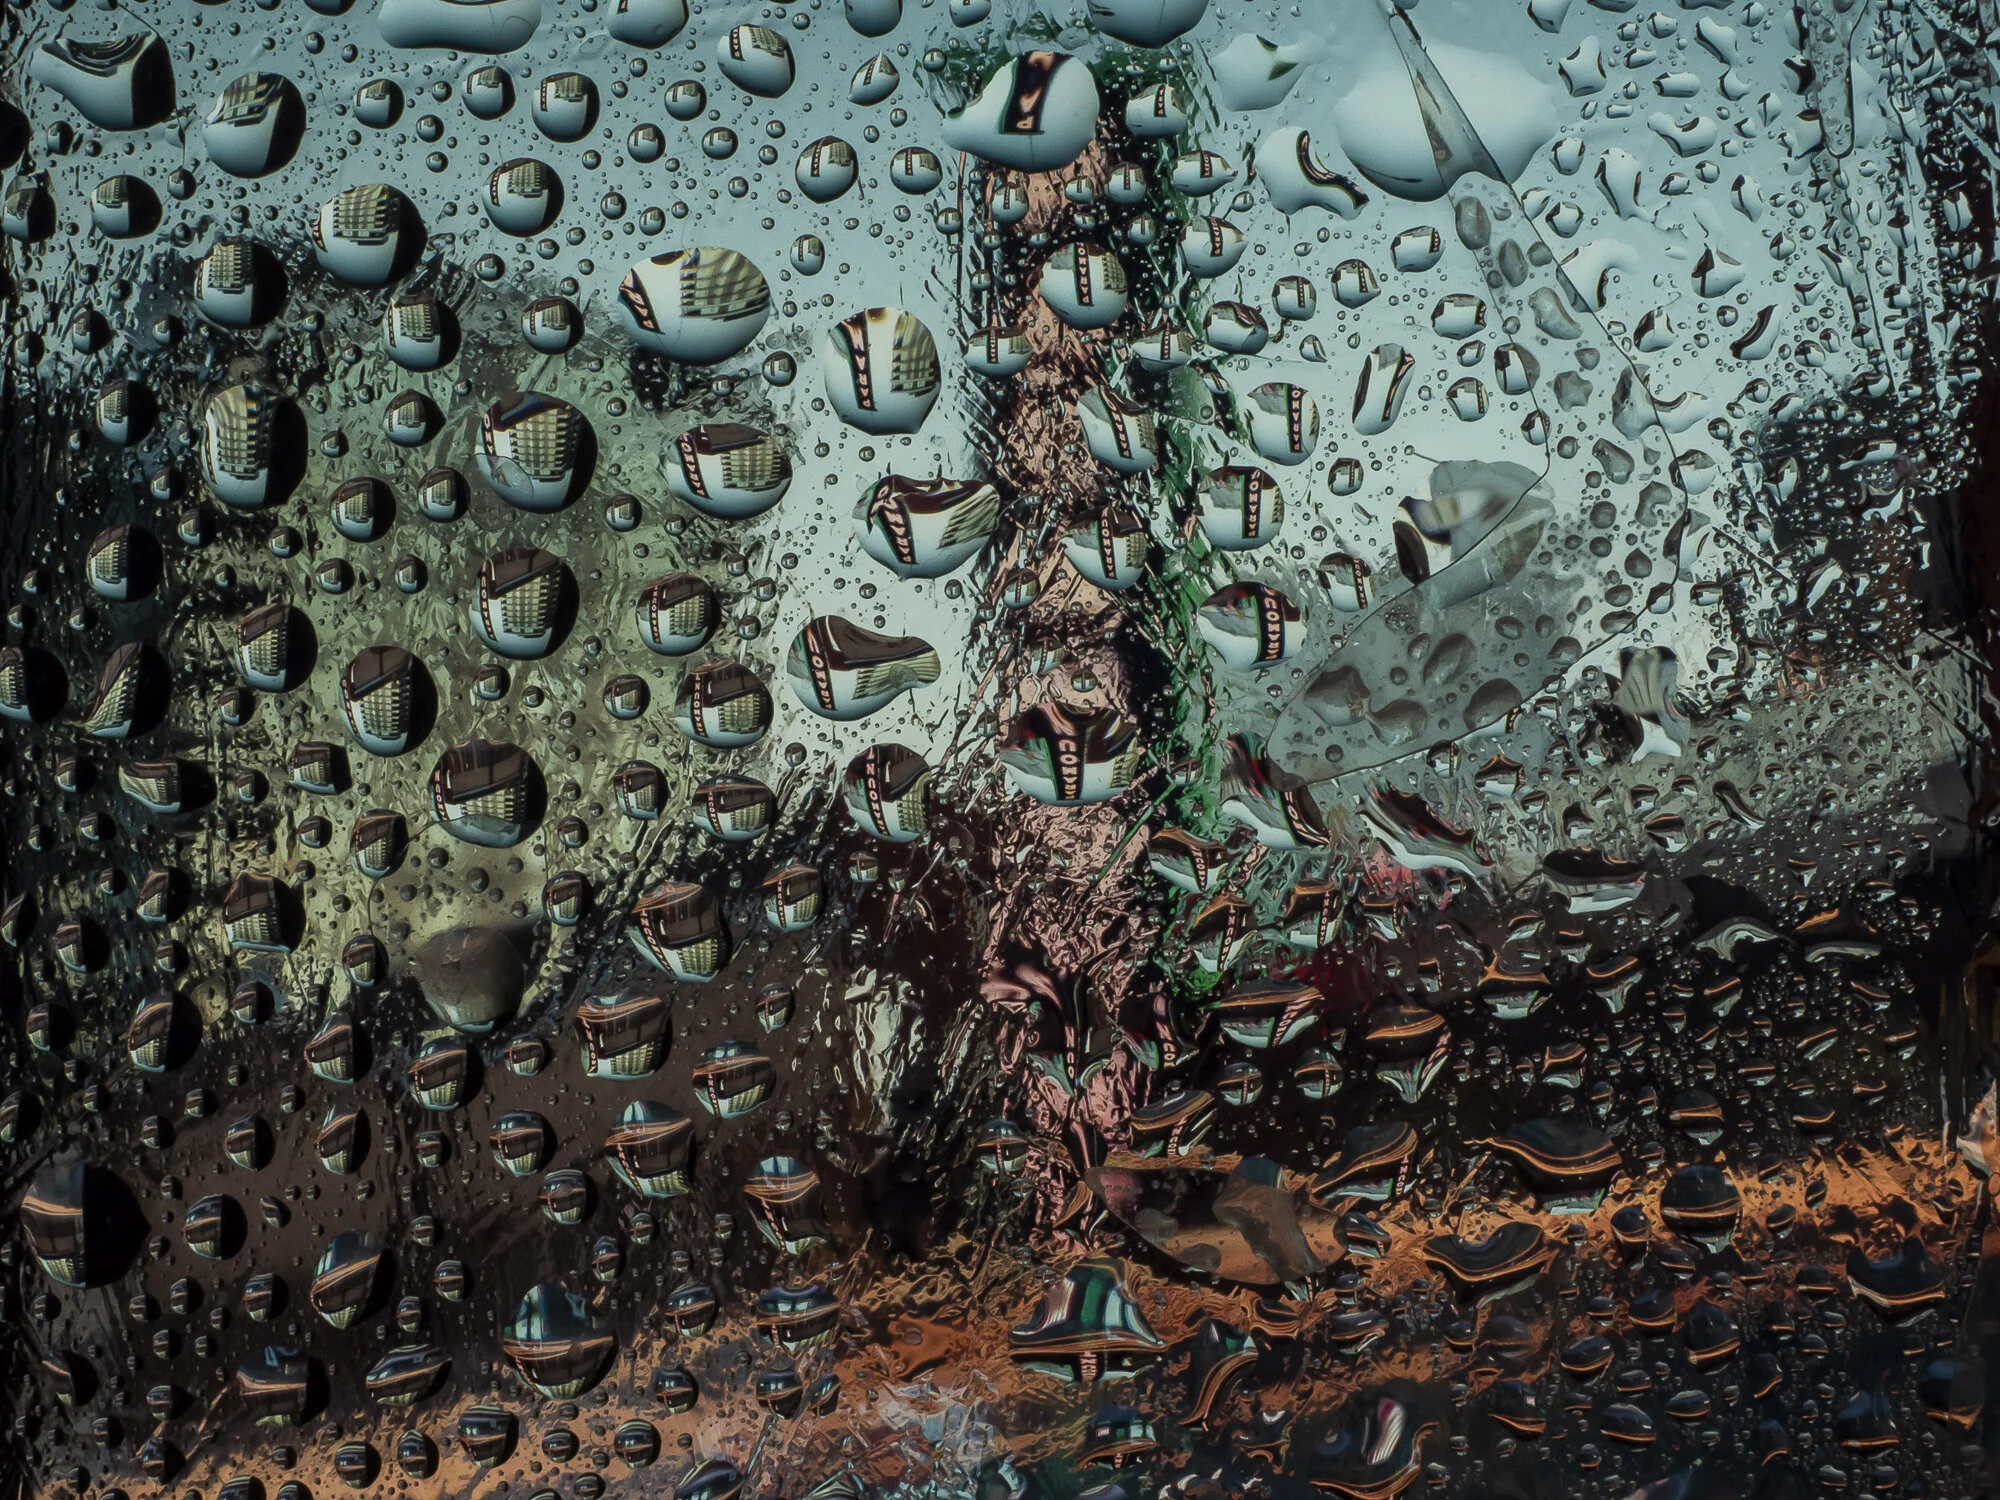
After almost admitting defeat I found an article that suggested I cover my glass with plastic wrap…and…BINGO! After covering my glass with some plastic wrap it actually created water droplets that stayed!
This was the first shot I got!

Final Thoughts
If you’re having issues using glass and creating water droplets on the glass try placing plastic wrap on the glass and then spraying the water (it will actually form better droplets). The only issue here is getting a nice clean placement of the plastic wrap (without any lines or bubbles).
Try shooting top-down. Use a larger piece of glass and prop it up, place your photo underneath, spray the glass and shoot top down. This will help your water droplets stay uniformed. I didn’t have a large enough sheet of glass to do this with so I worked with what I had.
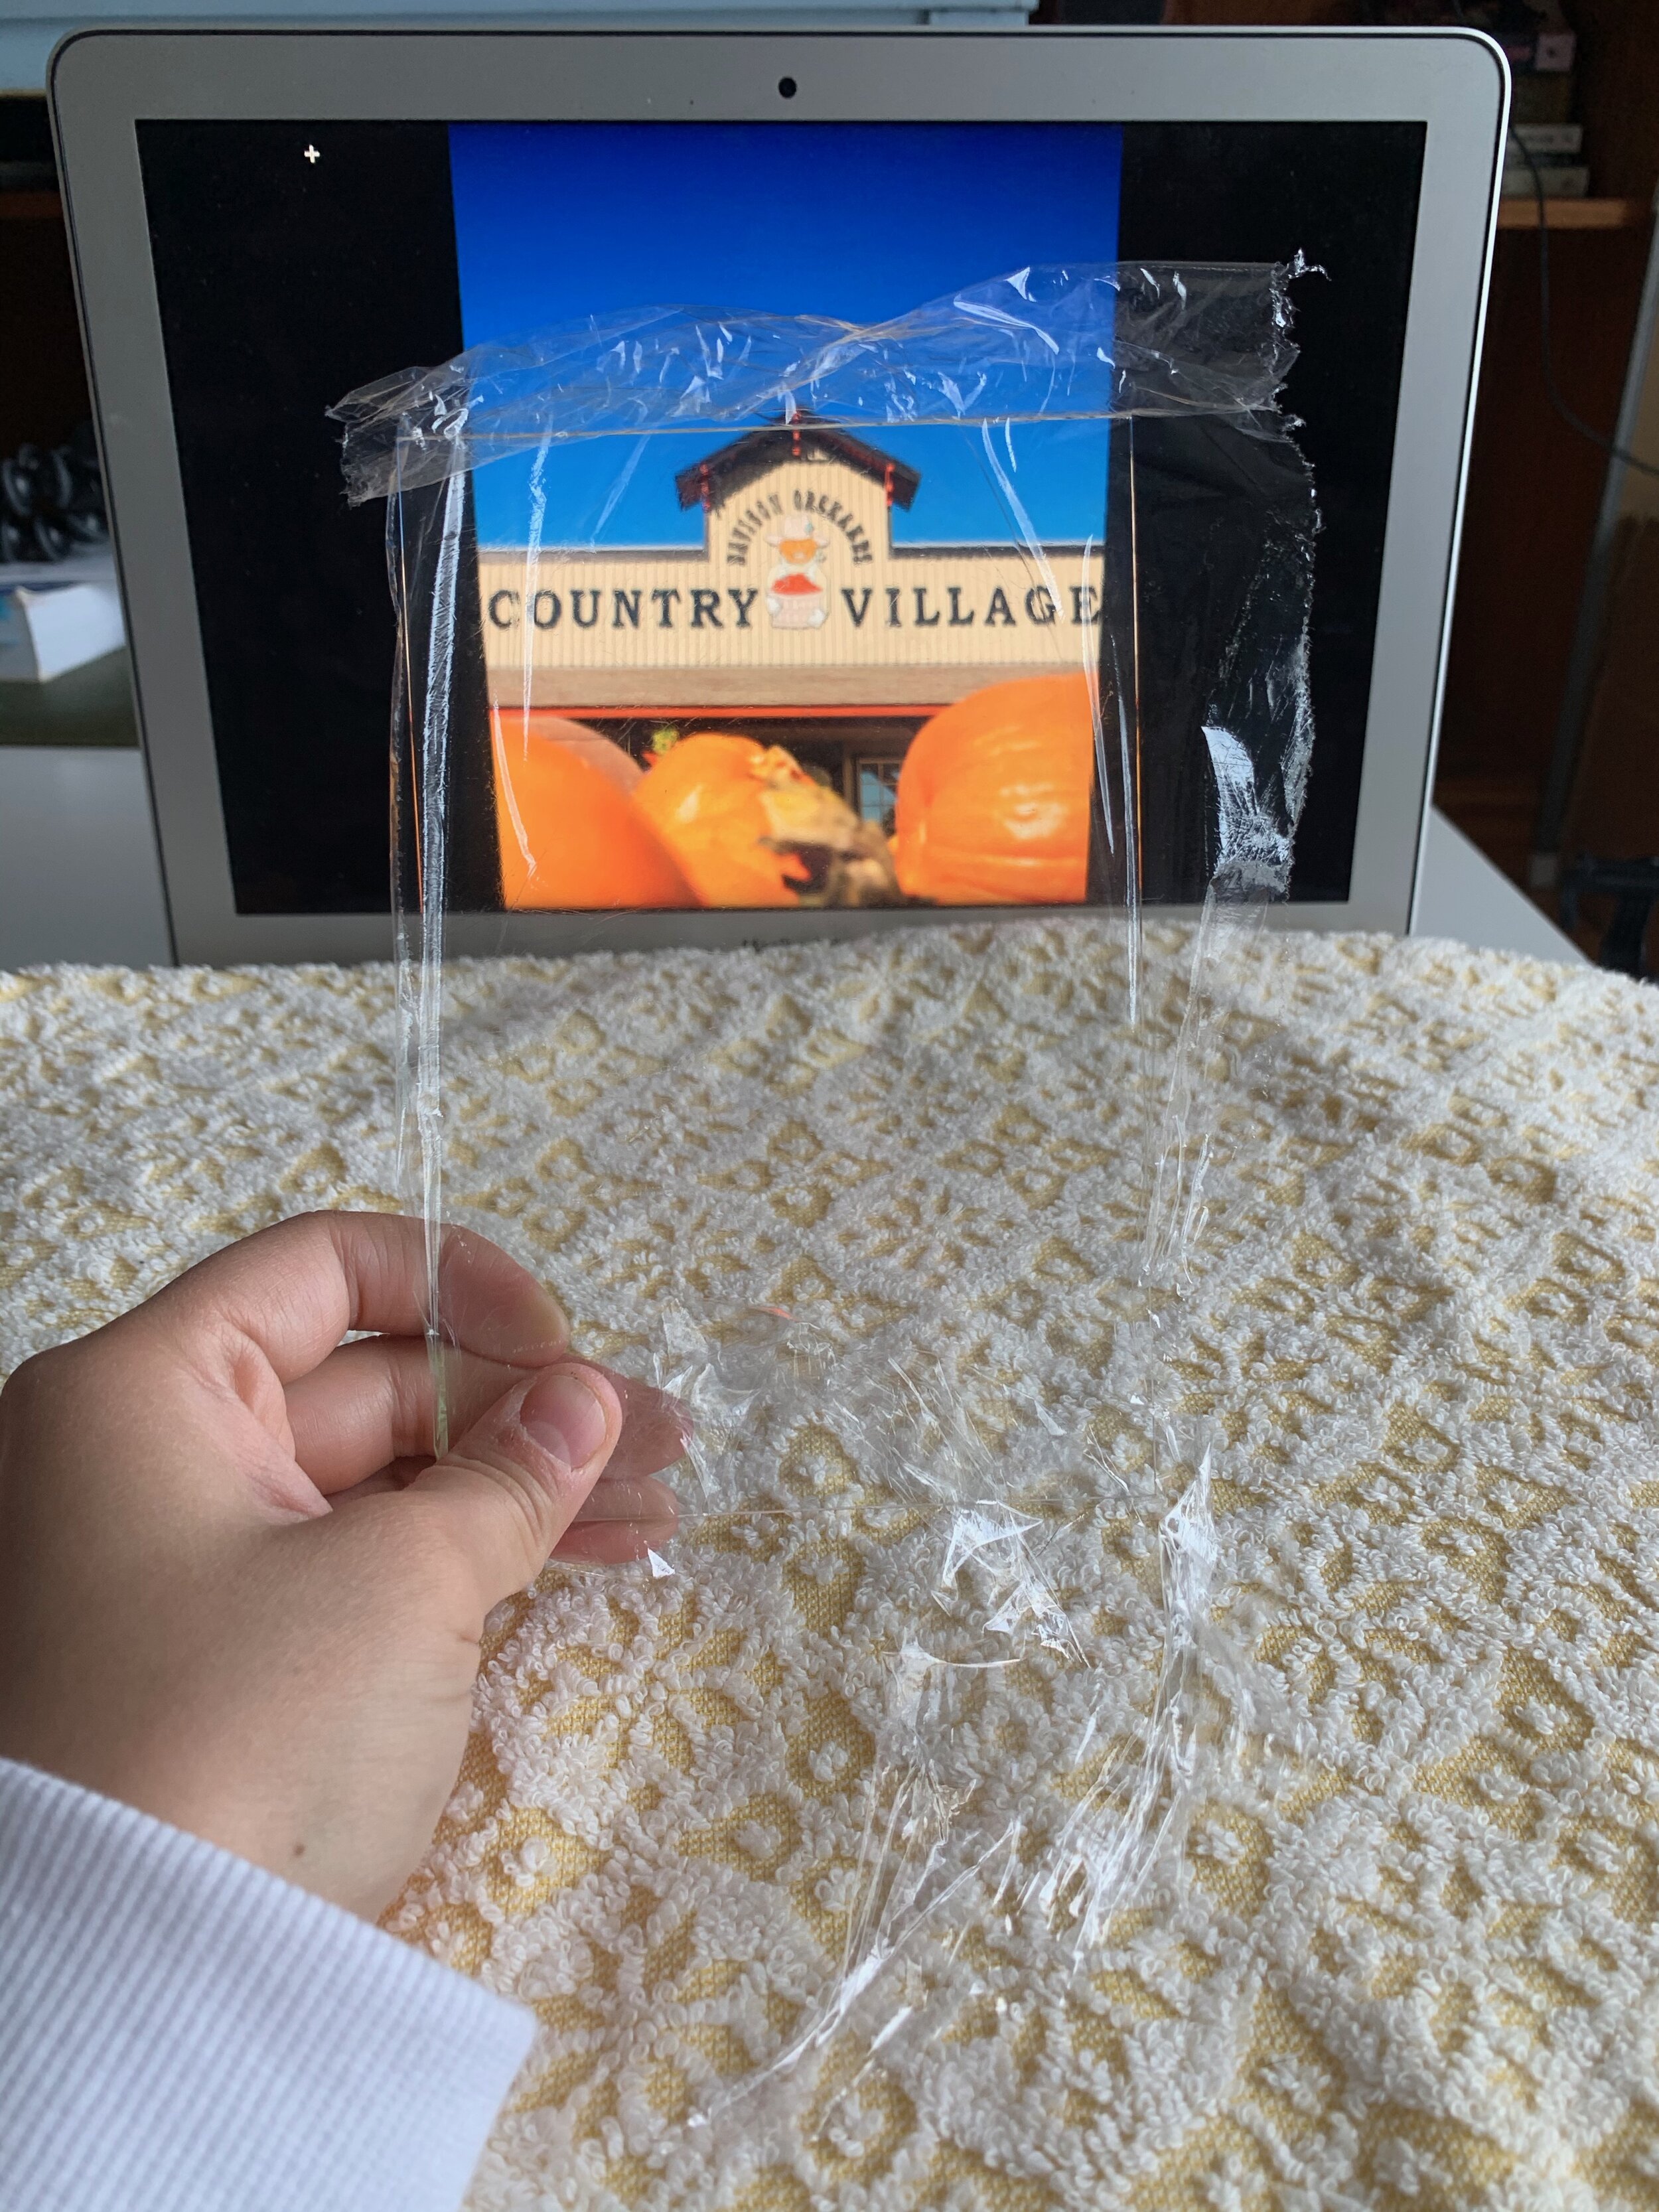
Try to place your plastic wrap on your glass as cleanly and tightly as you can.
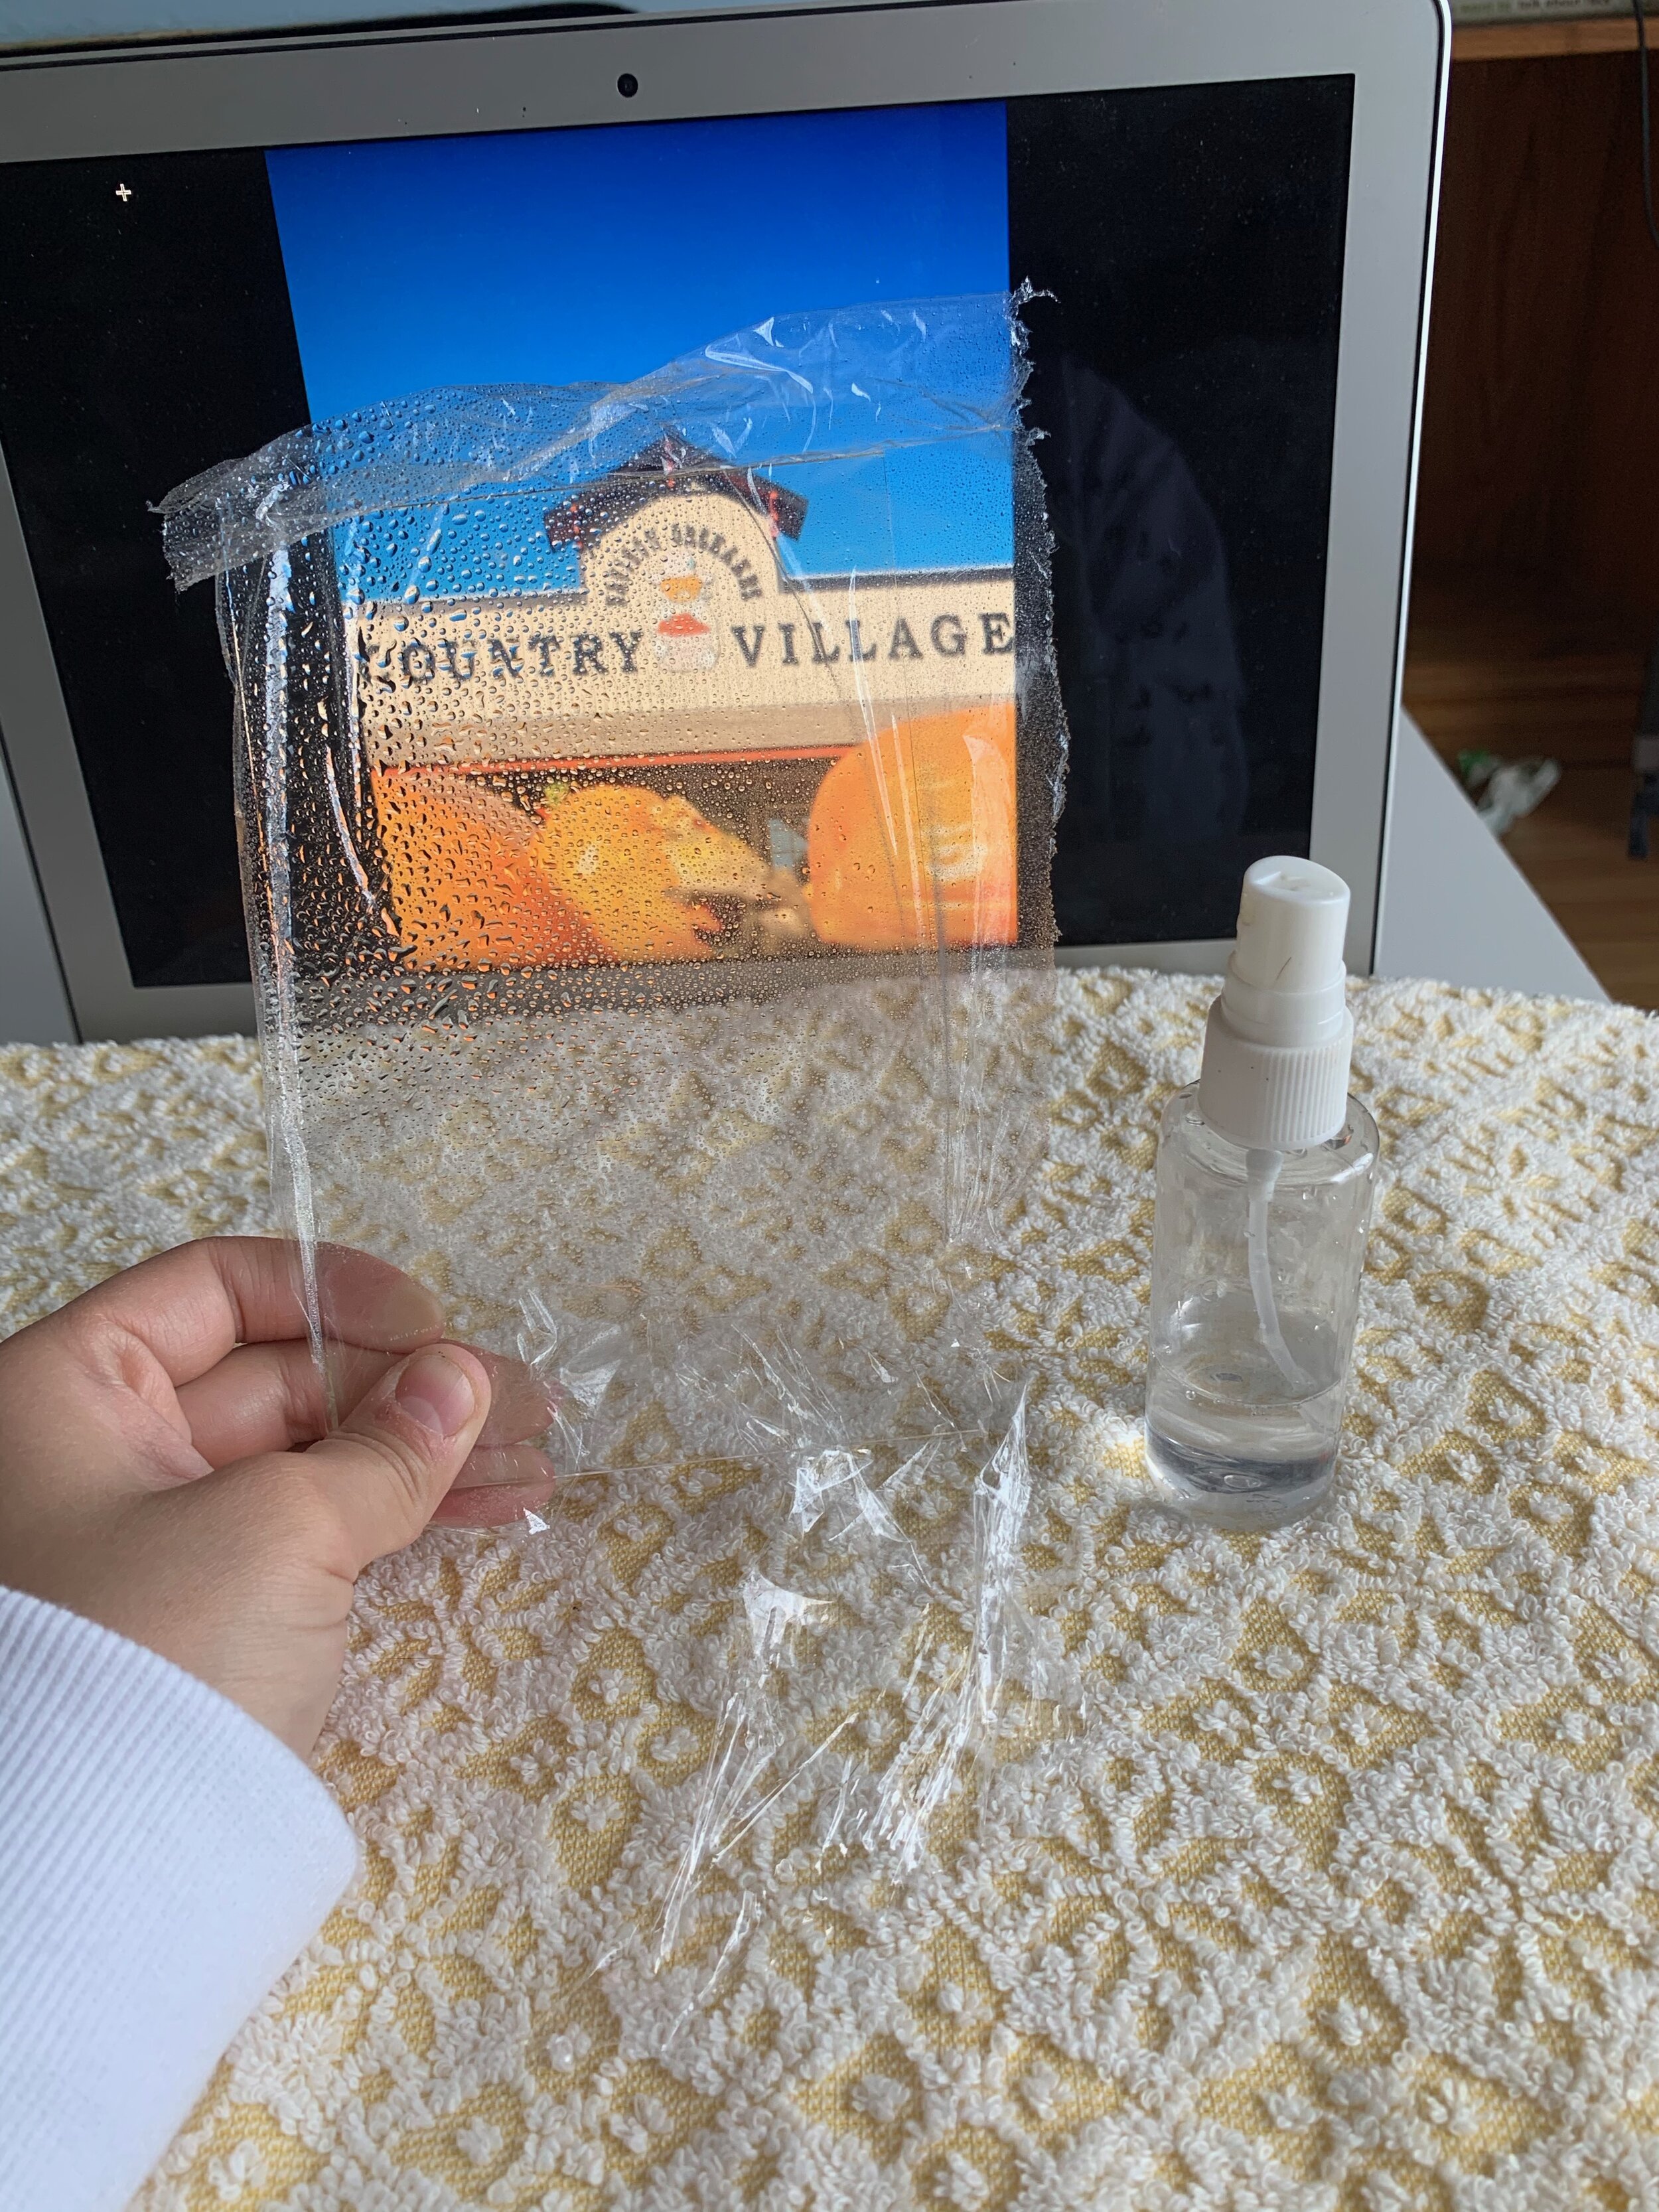
By spraying water on the plastic vs. straight on the glass it will form better droplets (based on my experience)
If you shoot top-down rather than my vertical shot your droplets will have a better chance of staying uniformed and clean.
Use manual focus to get clear focus on a water droplet (if you enable Manual Focus Assist (MF Assist) it will help magnify your screen to 3x while adjusting your focus so you can clearly see if you are in focus)
To set this up go into your Olympus Menu -> Scroll down to the gear icon -> Head down to A3 -> Scroll over to MF Assist and make sure “Magnify” is on (when Magnify is ON it will automatically magnify the image when the focus rig is rotated in MF mode)
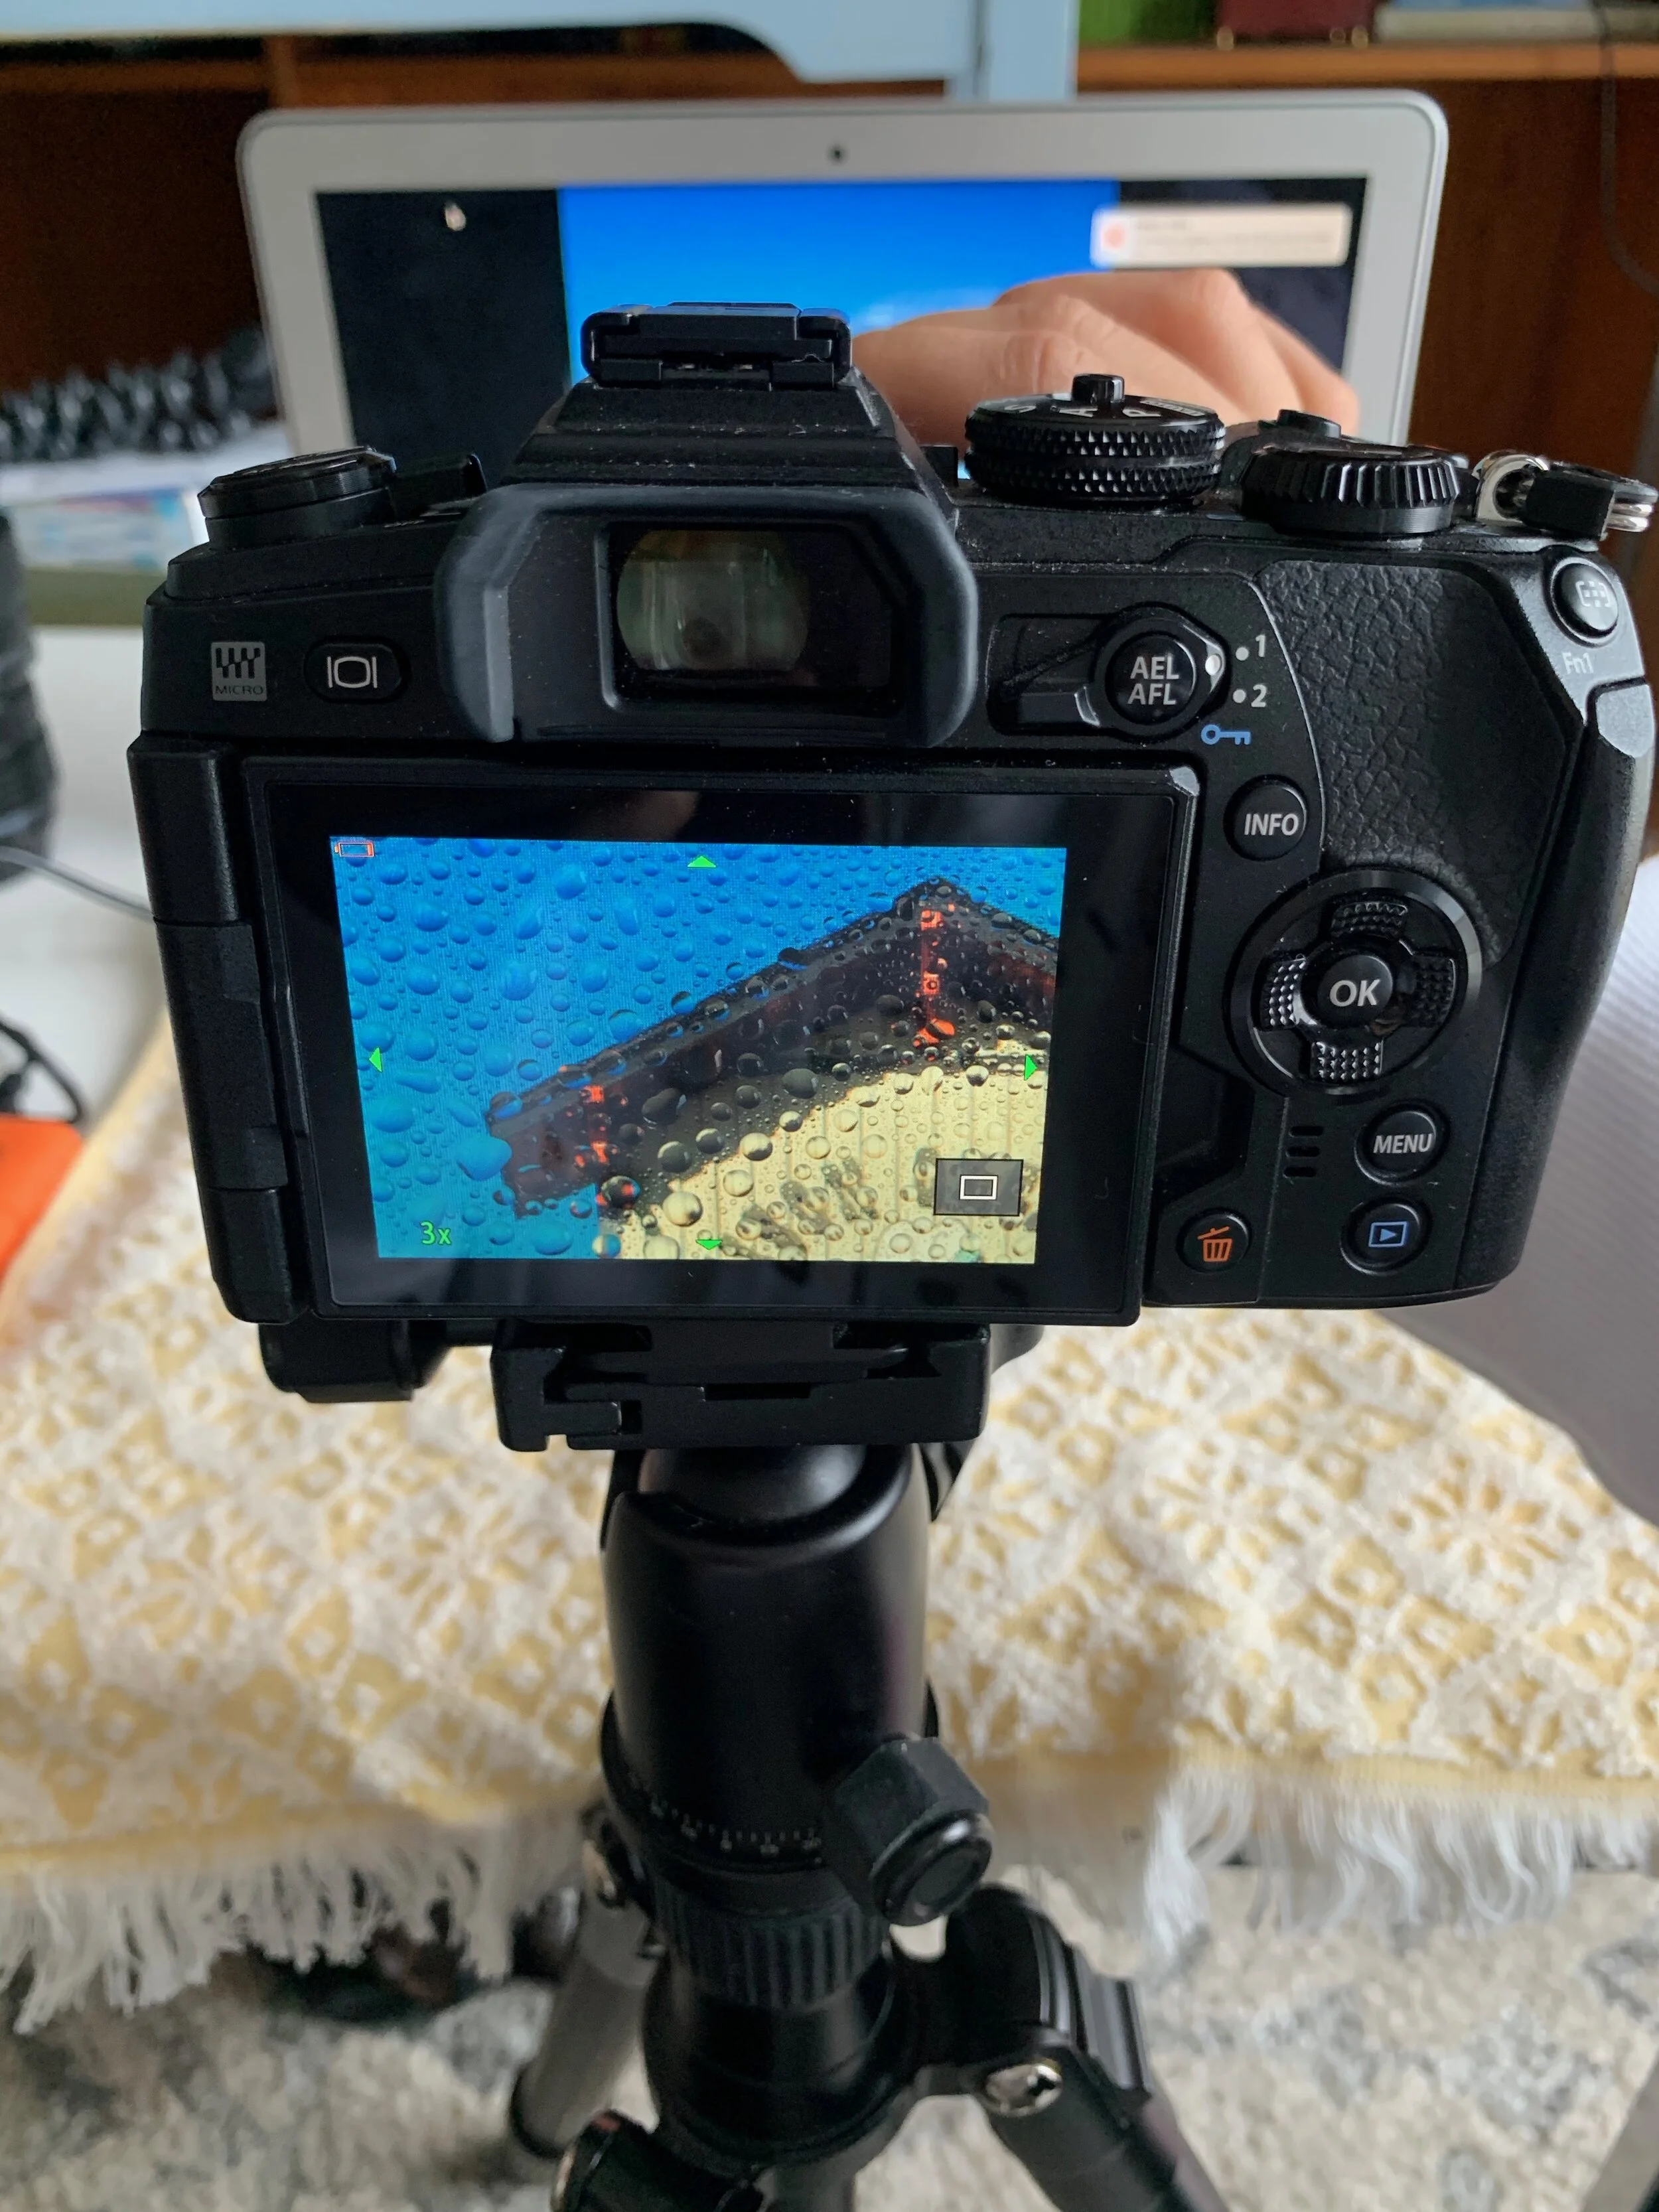
When you turn ‘Manual Focus Assist’ on and you are manually focusing the screen will go to 3x so you can see better if you’re in focus.
Play around:
Play with the size of your glass. I used a 4x6 frame glass but you could play with smaller and larger pieces.
Play with your subject (you could try using real photos or different kinds of photos on your screen)
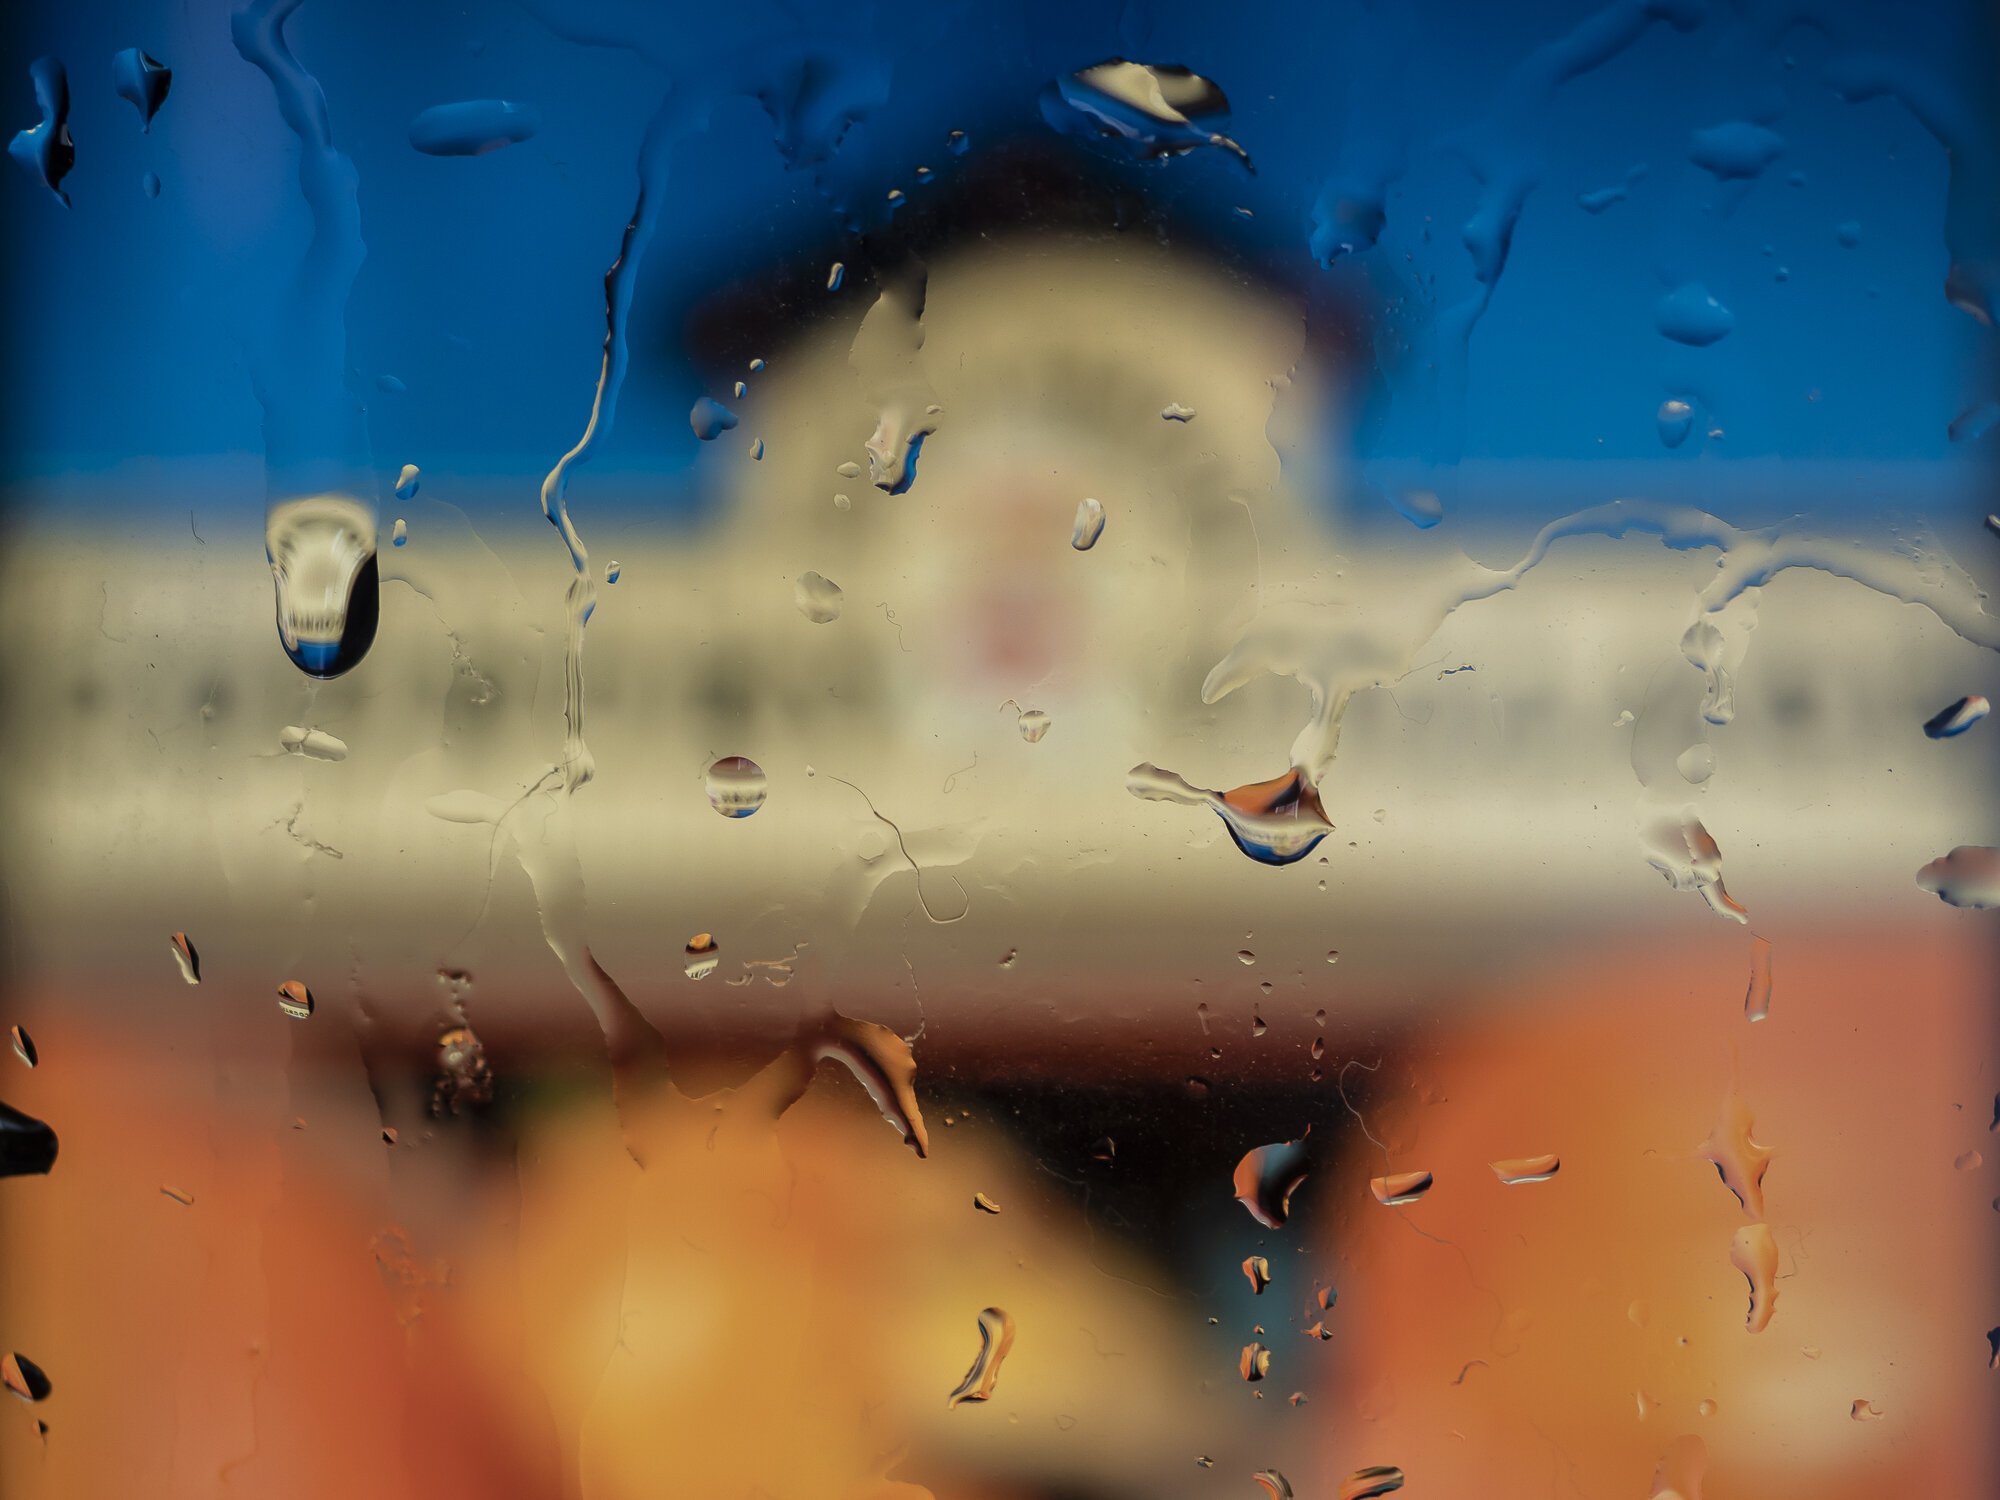
Play with your settings (at first I had my aperture setting at F2.8 so the actual photo was pretty blurred out in the background, but when I pushed it to F16 the background photo popped more.
Play with colour (I found darker images popped more than bright, light and airy photos).
Be careful handling the glass. I ended up cutting myself at some point during the experiment. So after it was over I taped some cardboard to the side so I can hold it better without cutting my hand.
I really hoped you enjoyed todays Create with Me and you try it out at home. Huge thank you to Emilie Talpin for the inspiration!