Welcome back! In todays episode we do something a little different. I’ve never taken you through my editing workflow before so today I thought I would show you how I edited a recent photo you might have seen on my Instagram of a Canadian Goose on Okanagan Lake fluttering its wings.
The photo on the left you see below is an unedited version of the photo we’re going to edit and the photo on the right is the final version.
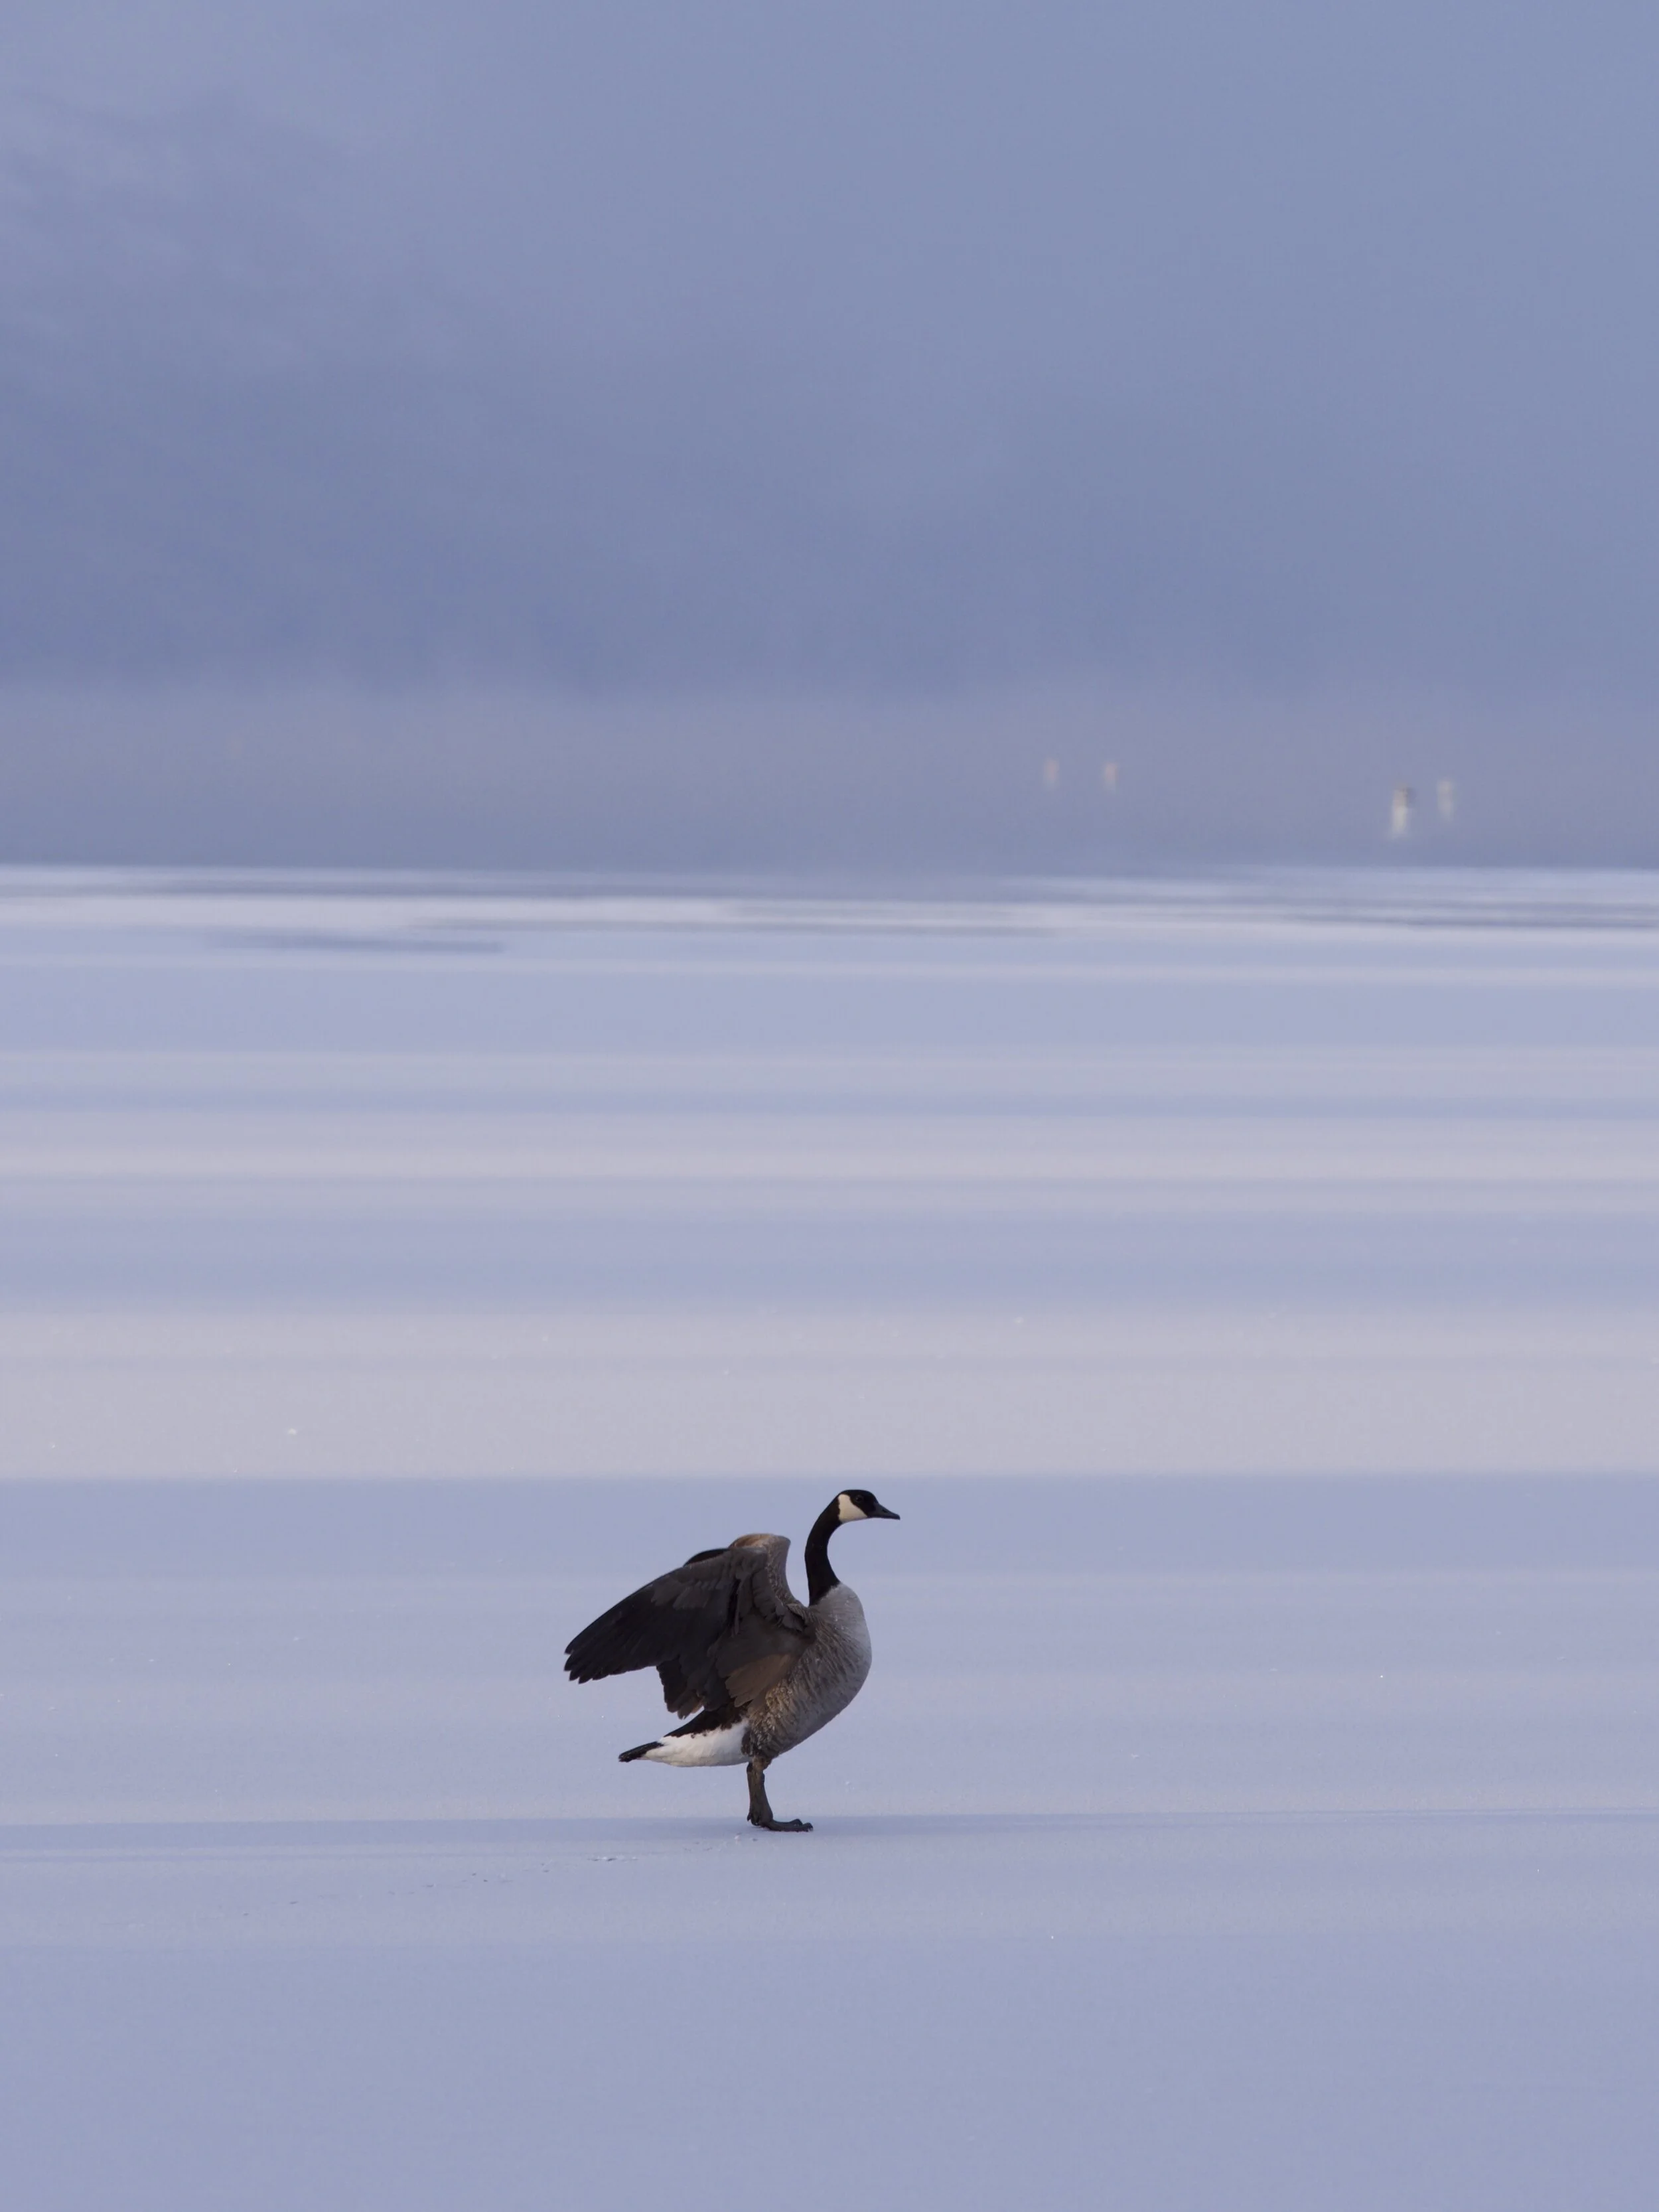
Unedited version of the Canadian Goose on the partially frozen Okanagan Lake in Kelowna, BC.
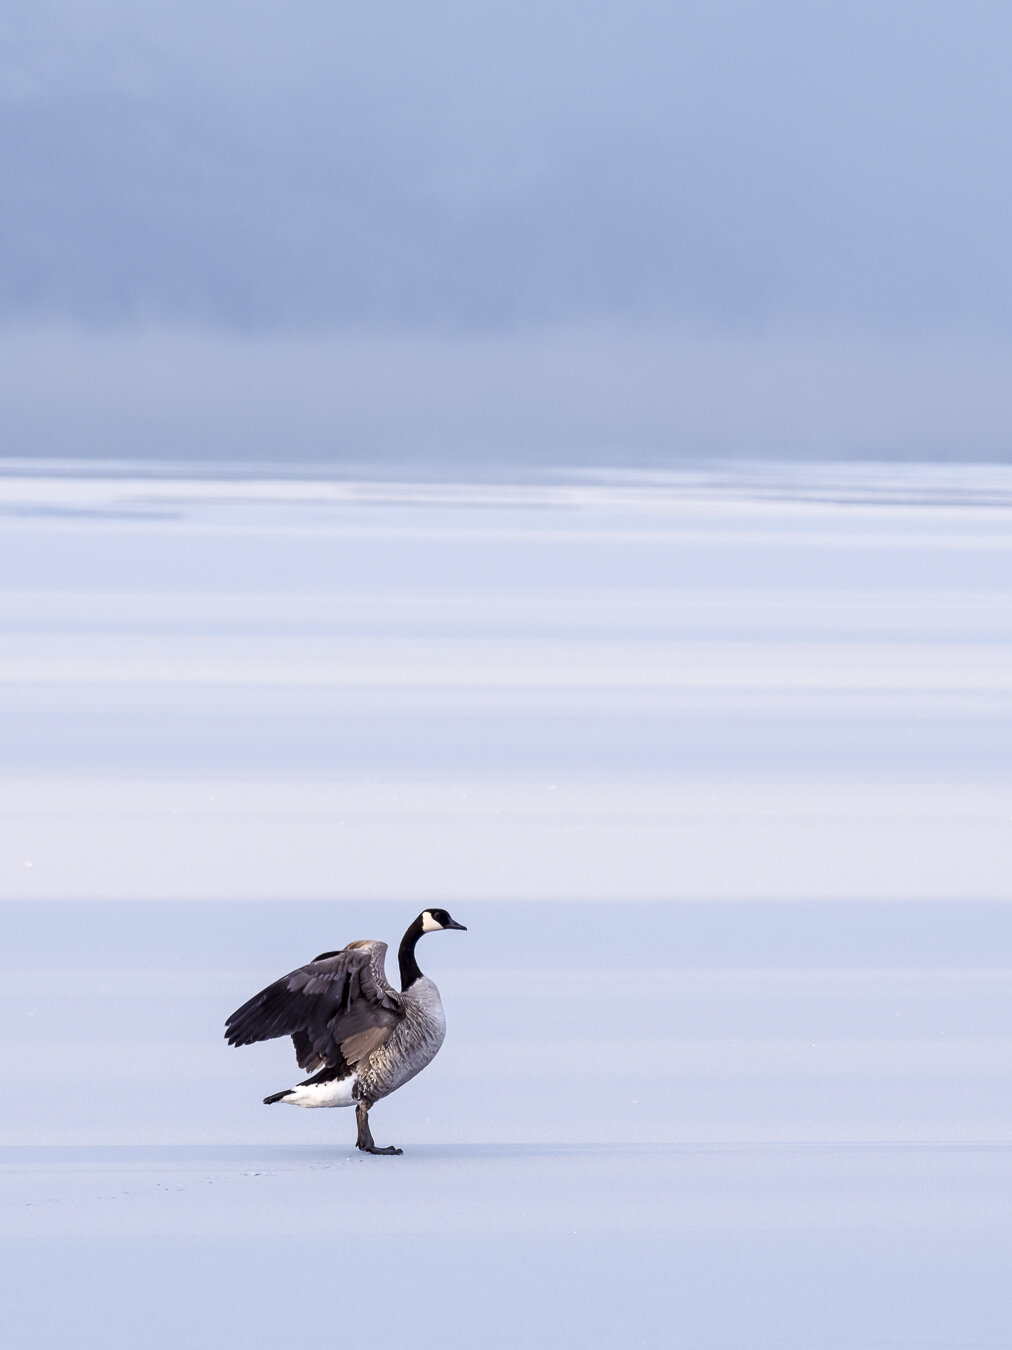
Final edited version of the Goose with some basic and refined edits done in Lightroom Classic to make the details and Goose pop.
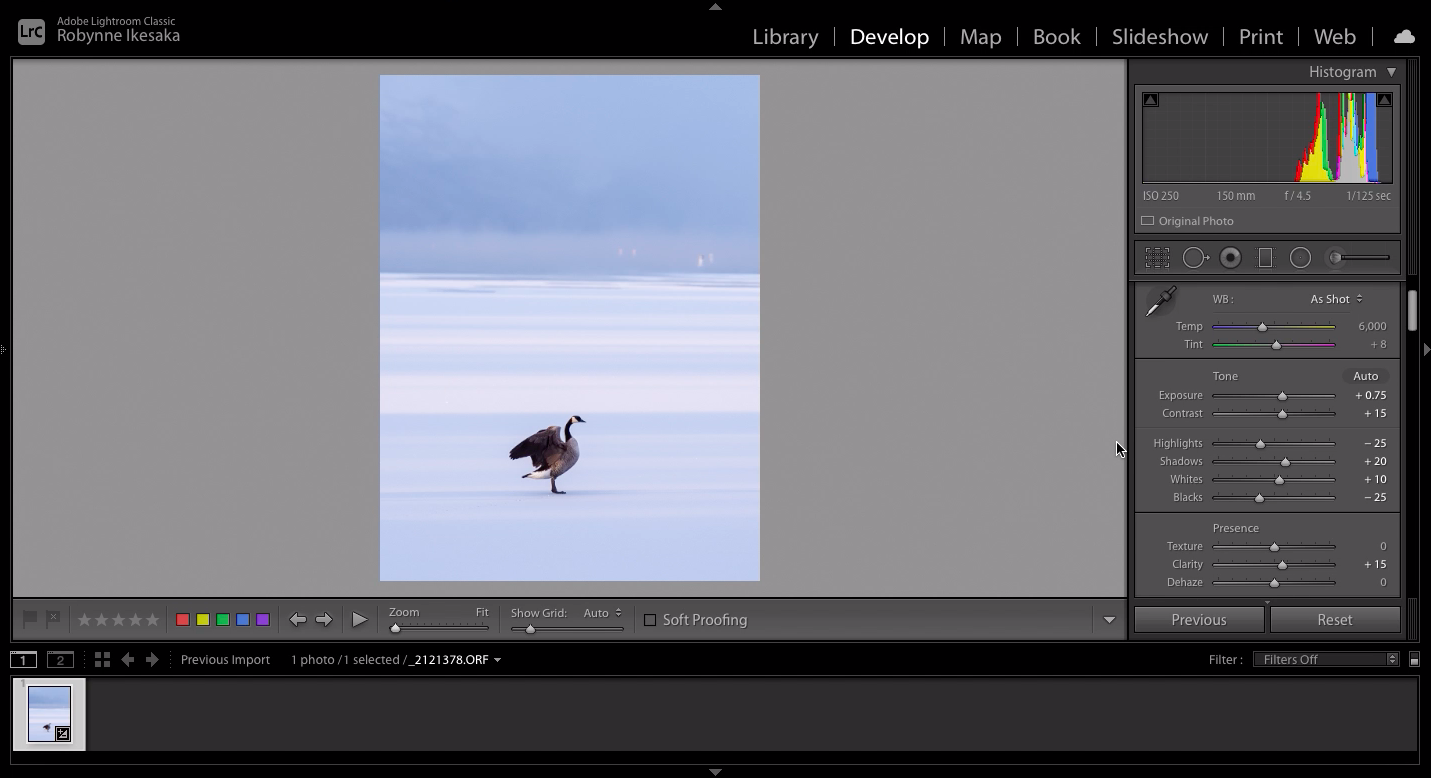
Basic Edits
I always start with some basic edits - exposure, contrast, highlights, shadows, tone curve, detail, etc.,
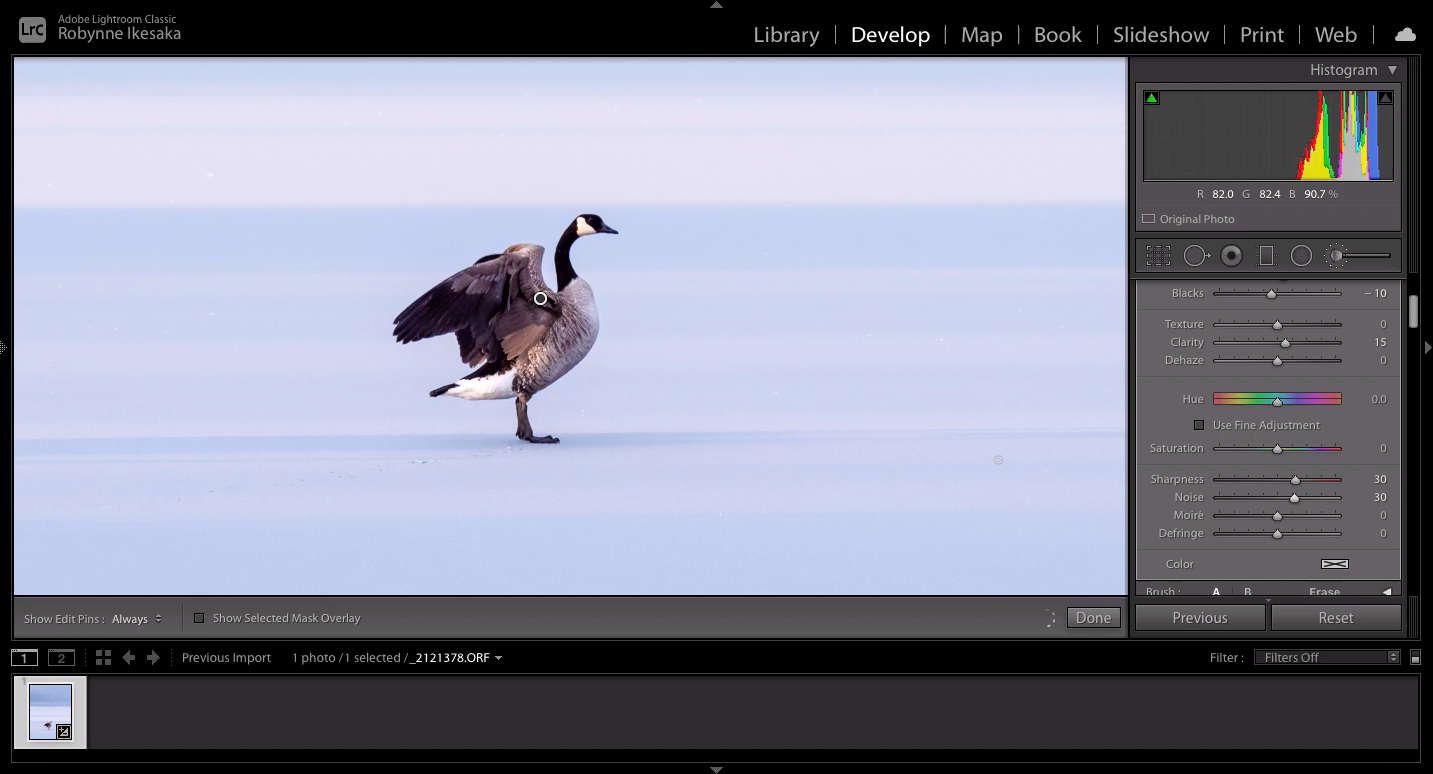
Refined Edits - Adjustment Brush
After I’ve finished with my basic edits I go into any refined edits I need to make. Because of the nature of this photo and that it’s a wildlife photo of a Canadian Goose I wanted to make the bird pop by using the adjustment brush.
I brushed over the goose and made some additional edits to exposure, contrast, highlights, shadows, whites, blacks, etc.,
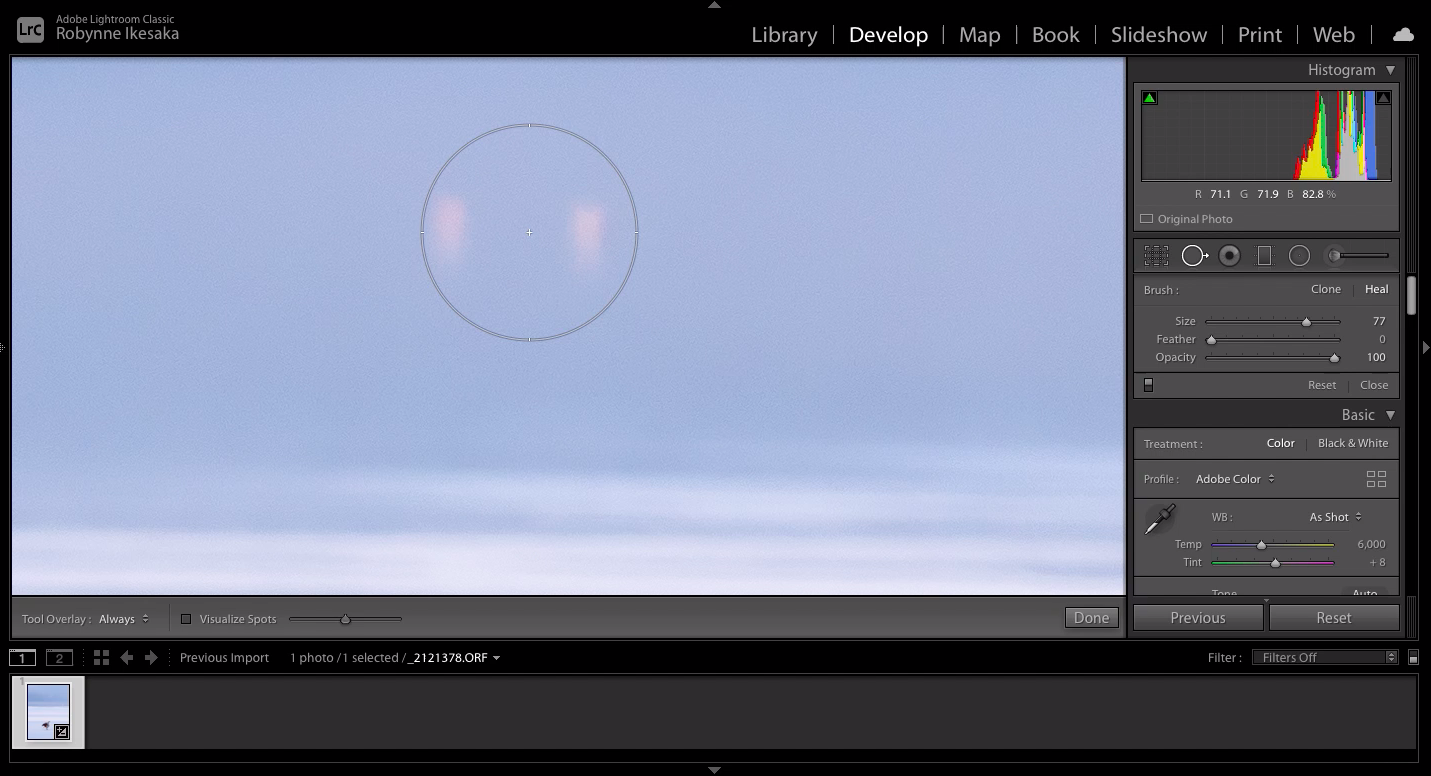
Refined Edits - Spot Removal
Depending on the photo I might also go in with the spot removal tool to get rid of any distractions. In this particular photo the goose was standing on the partially frozen Okanagan Lake with some buoys in the back. To me, it added an element of distraction so I removed it using the spot removal tool.
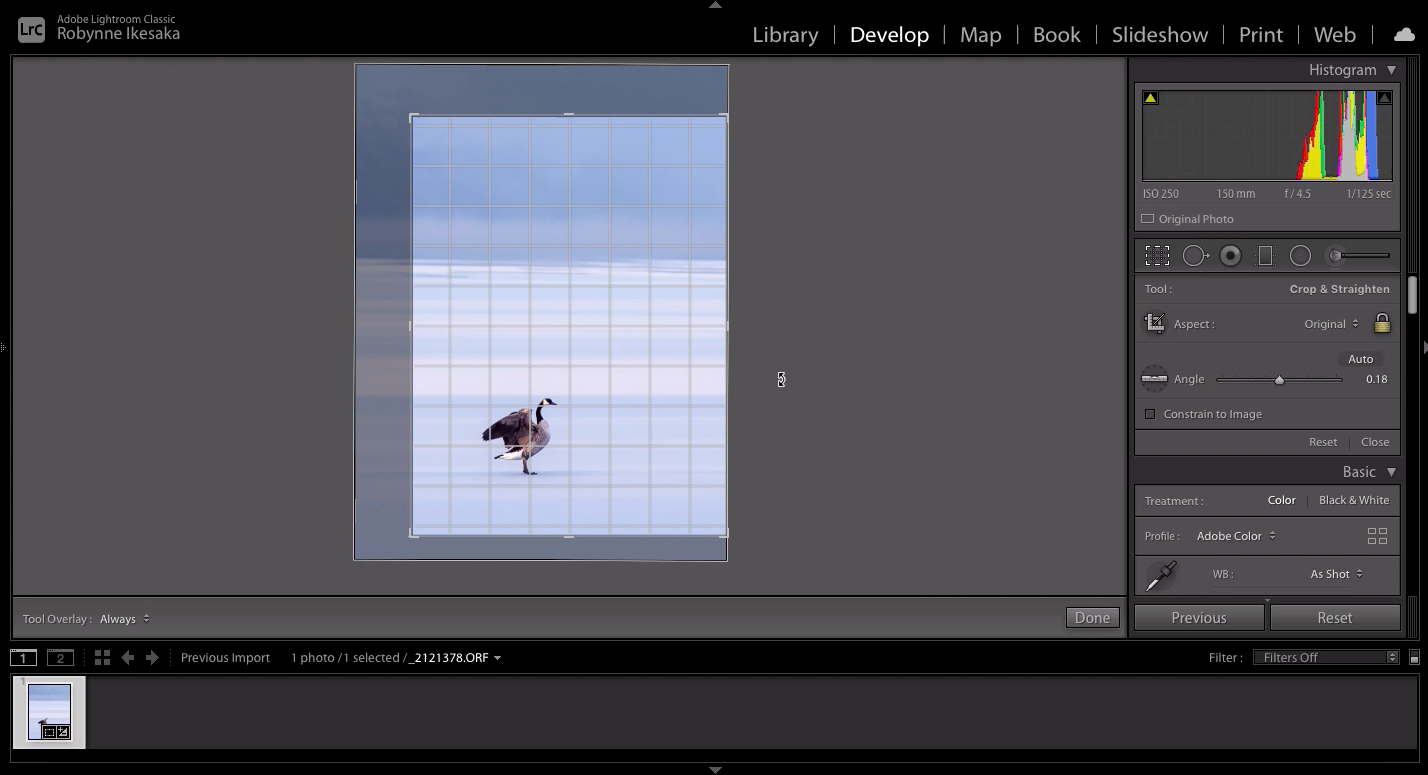
Refined Edits - Crop
After I am happy with my edits I’ll go in and crop my image. For this particular photo I wanted to place my Goose more on the thirds of the photo (I try to nail this in-camera, however, this proved difficult when trying to catch one of the Geese fluttering its wings).
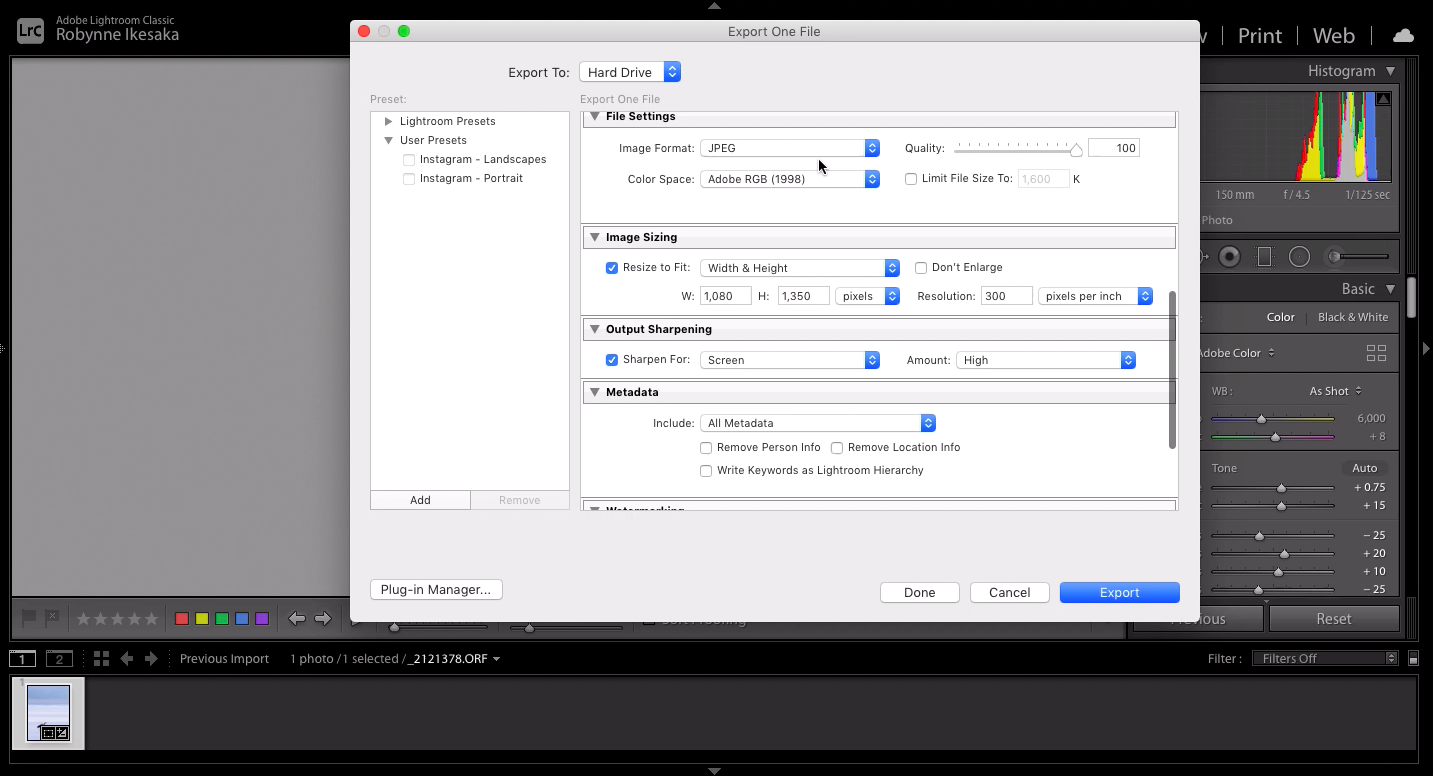
Export
The last step is exporting the photo. I haven’t found the perfect exporting settings. I’ve watched many videos about exporting in Lightroom and experimented with a few but the one that seems to work the best for me is when the Width and Height is 1080 x 1350 pixels.
Final Thoughts
On certain photos I will use the Graduated Filter function in Lightroom but in this particular photo I opted not to.
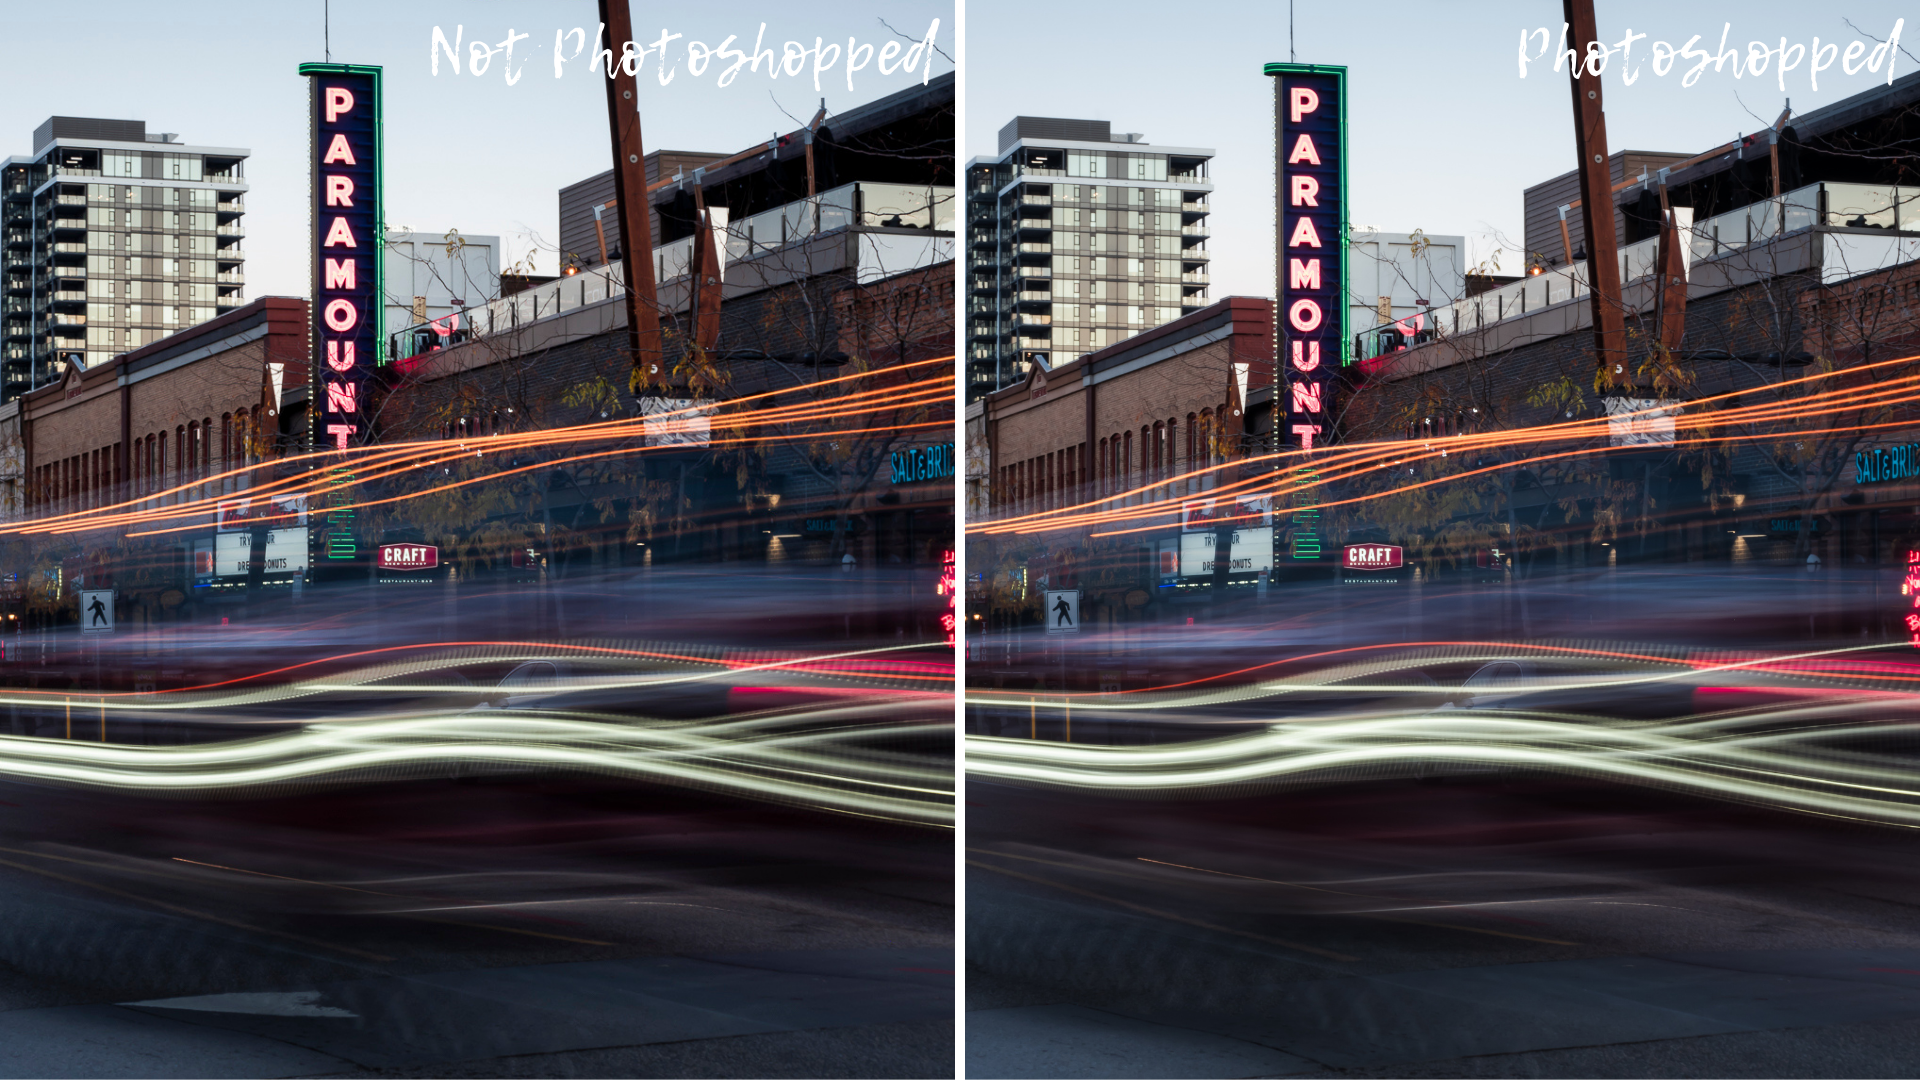
For the most part I edit in Lightroom Classic but there is the occasion that I take the photo into Photoshop when I need to remove an element of the photo to clean it up (see below for some examples).
Editing like photography is also very personal - some photographers like to edit on the light and airy side, some photographers prefer dark and moody. I like to keep my edits fairly natural but slightly amplified.
Now you know how I edited my Goose photo! I hope you found a part of this post helpful and happy editing!