Welcome back! I was so intrigued with creating this clone-yourself self-portrait that I attempted one this past week to pair with my re-introduction post on Instagram. In this episode I take your through how I created it!
The Setup
For this clone self-portrait I used my Olympus EM1 Mark II with the M.Zuiko 12-40mm F2.8 PRO lens. I also for this self-portrait used the Olympus OI.Share app to remote control the camera.
To do this on your Olympus camera hit the WiFi button on your camera screen, after pull up the Olympus OI.Share app on your phone and hit ‘Remote Control’.
Taking the Photos & Light Post-Processing
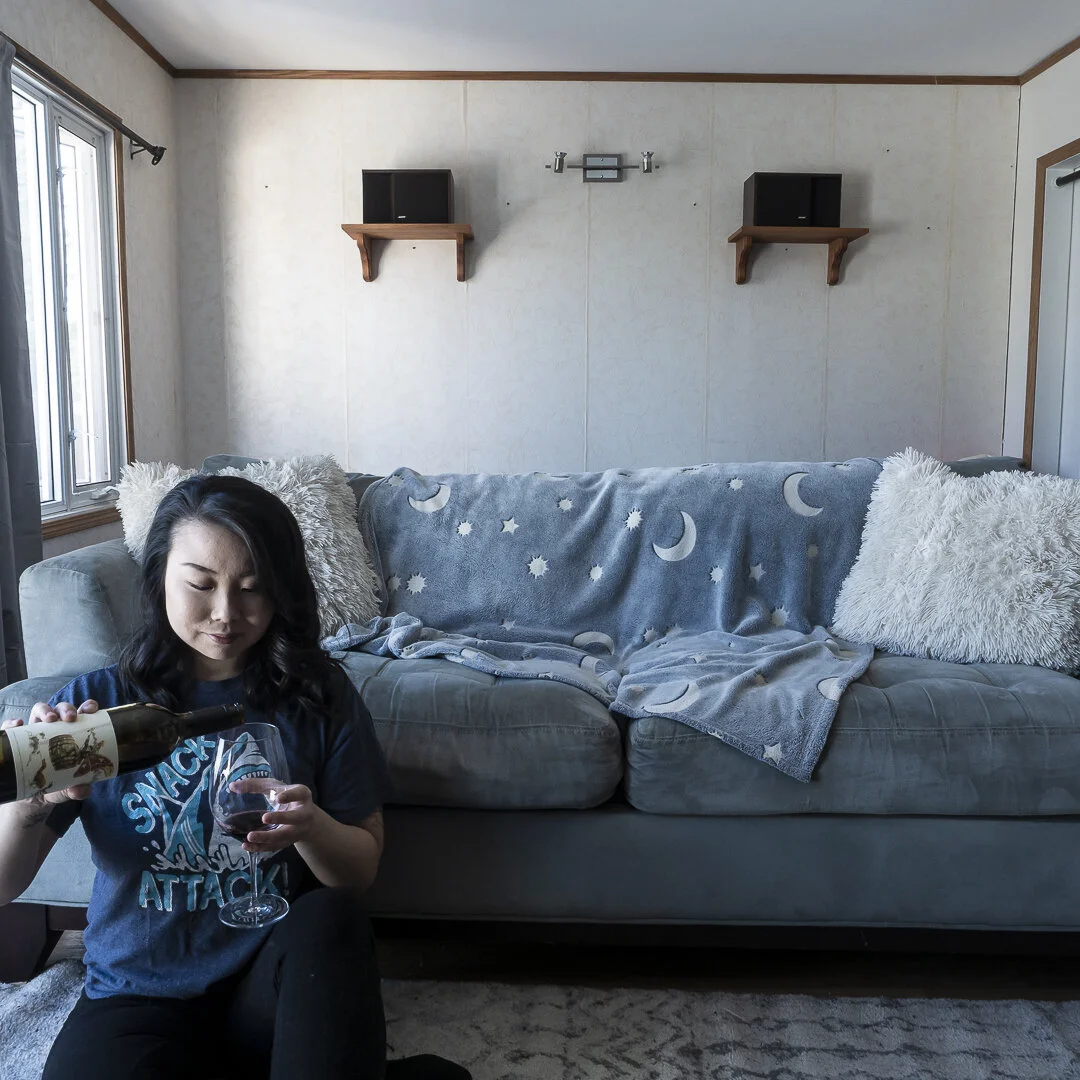
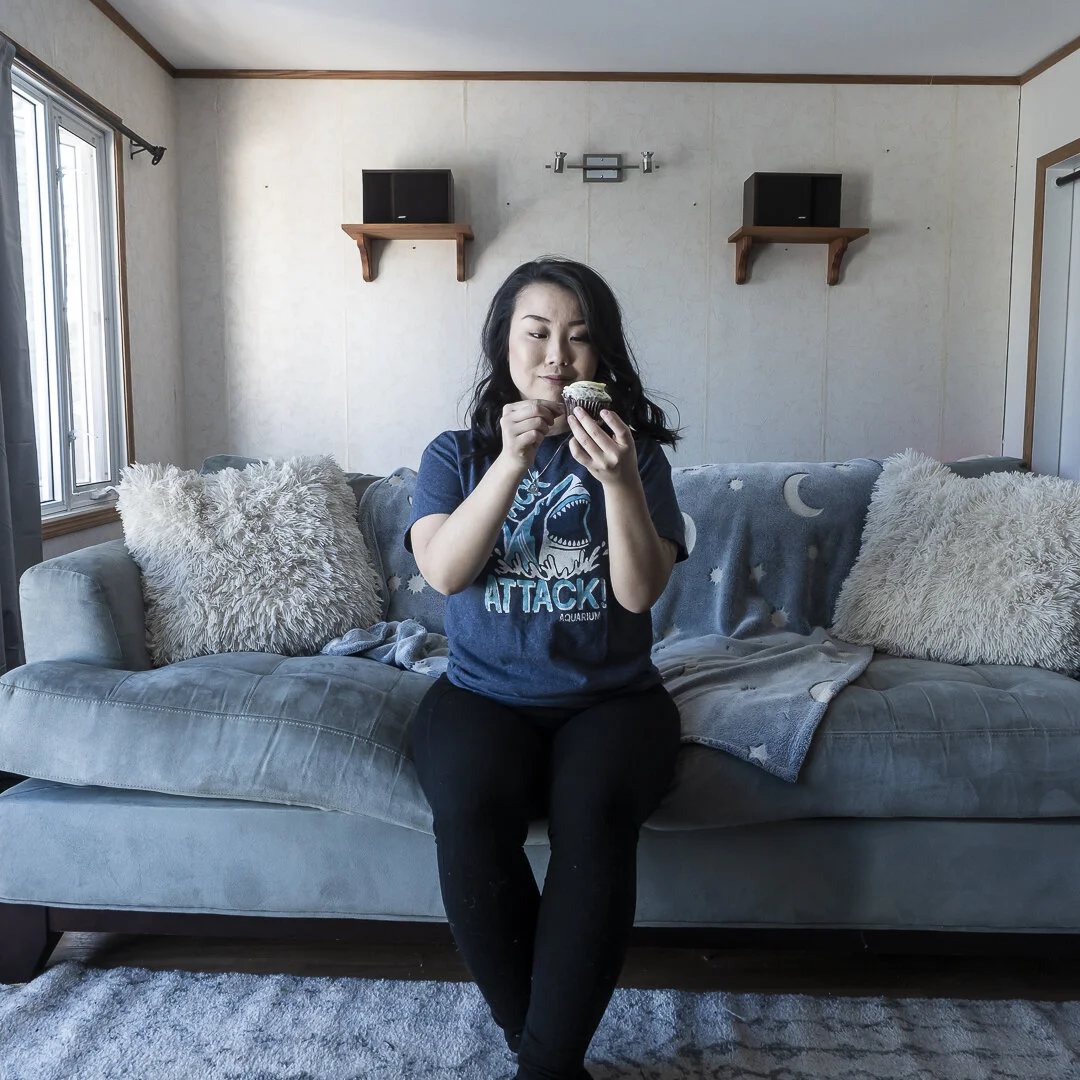
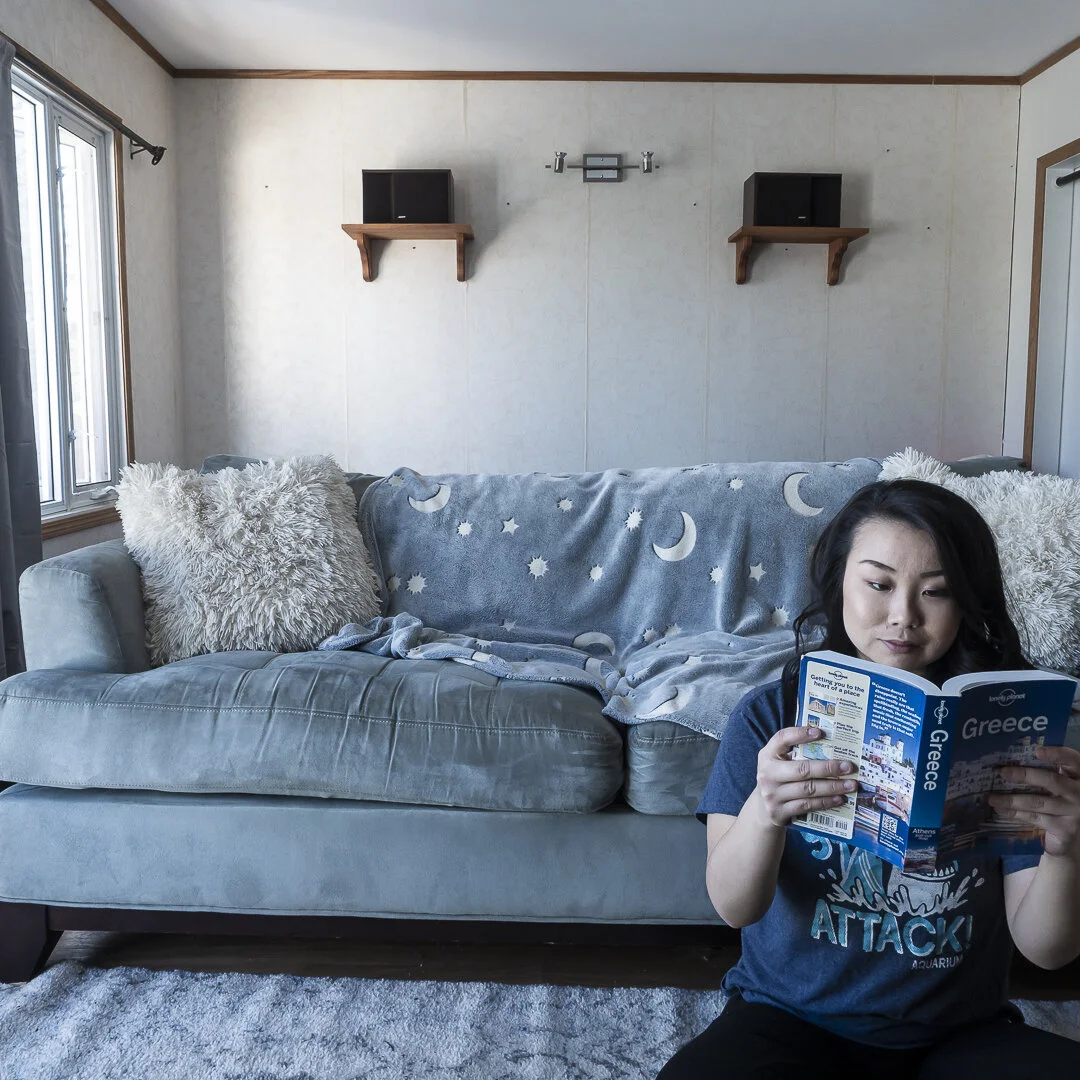
To take the photos I positioned myself using my phone to see and then set the camera to timer so when I clicked the shutter I had 12 seconds to put the phone down and re-compose myself.
I originally wanted to do 5 photos but I did not have enough room in my living room for the 5 so I ended up with 3.
The final photos I got was after my third attempt - I did two wardrobe changes because I wasn’t 100% happy with what I was wearing and how it was turning out.
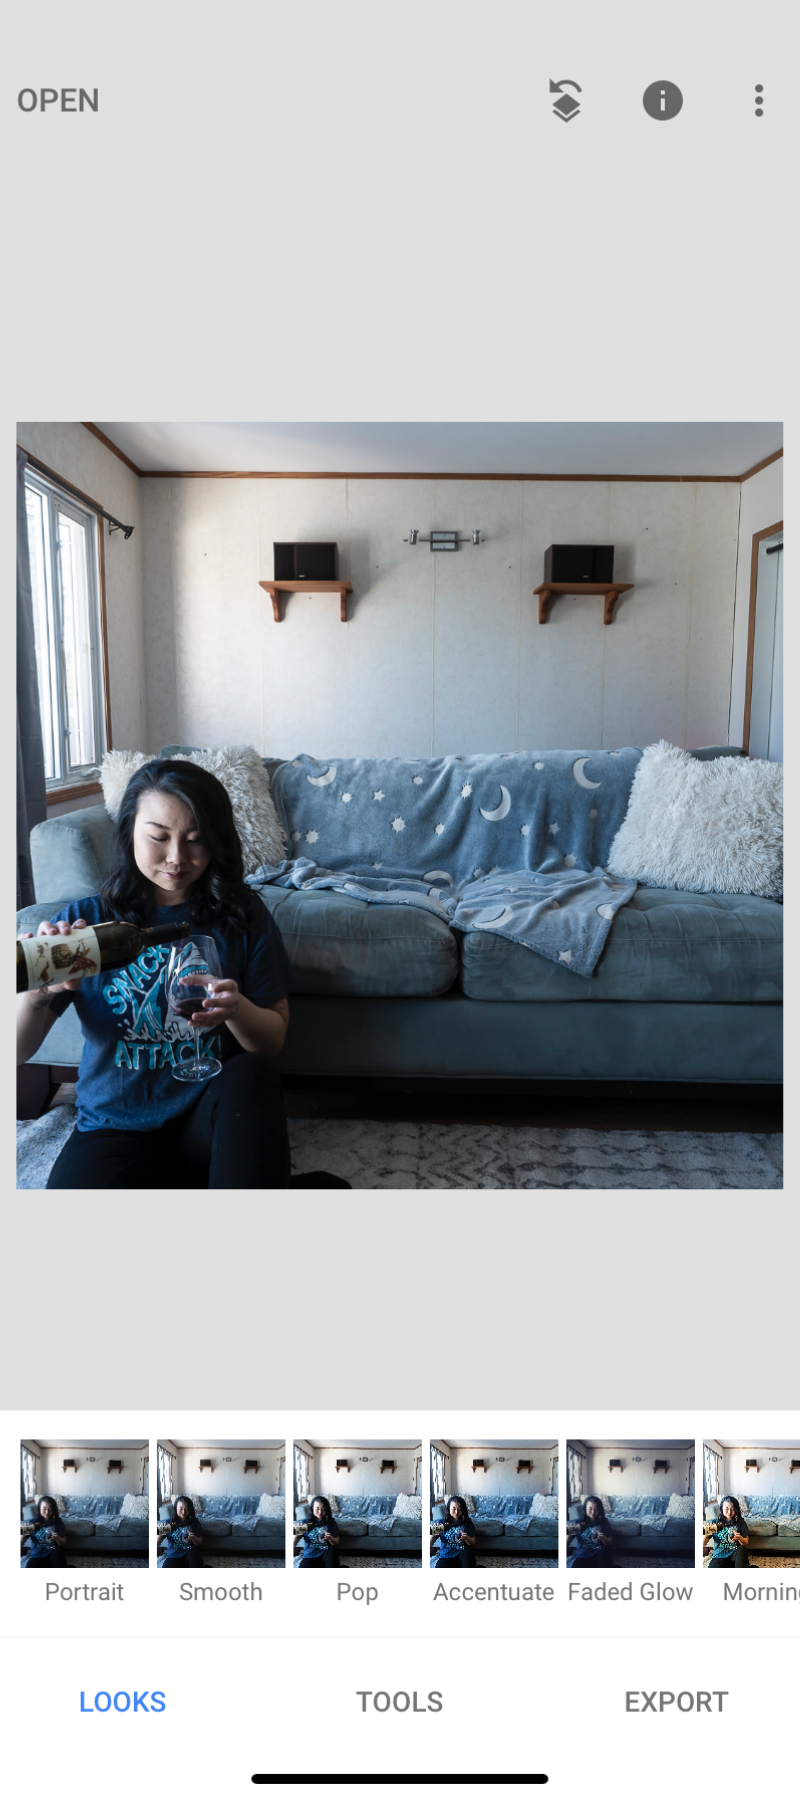
After I got the photos I lightly post-processed in Lightroom Classic.
Cloning Myself
To actually clone myself I used Snapseed. I created double exposures and changed the opacity to achieve the three clones of myself.
Open up your first image in Snapseed.
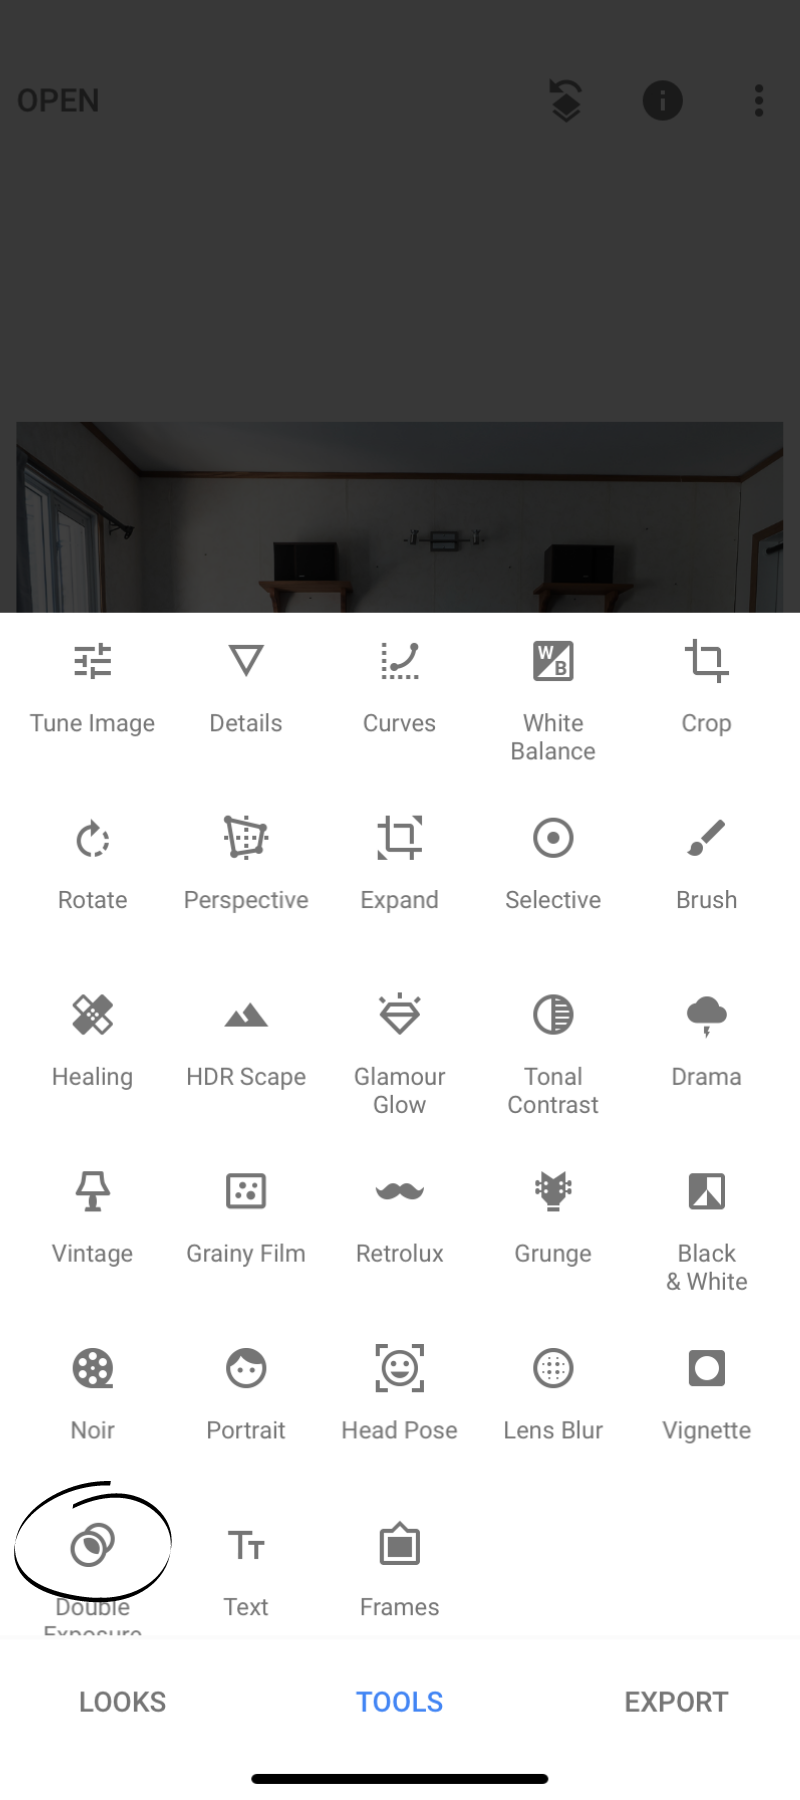
Under ‘Tools’ select ‘Double Exposure’
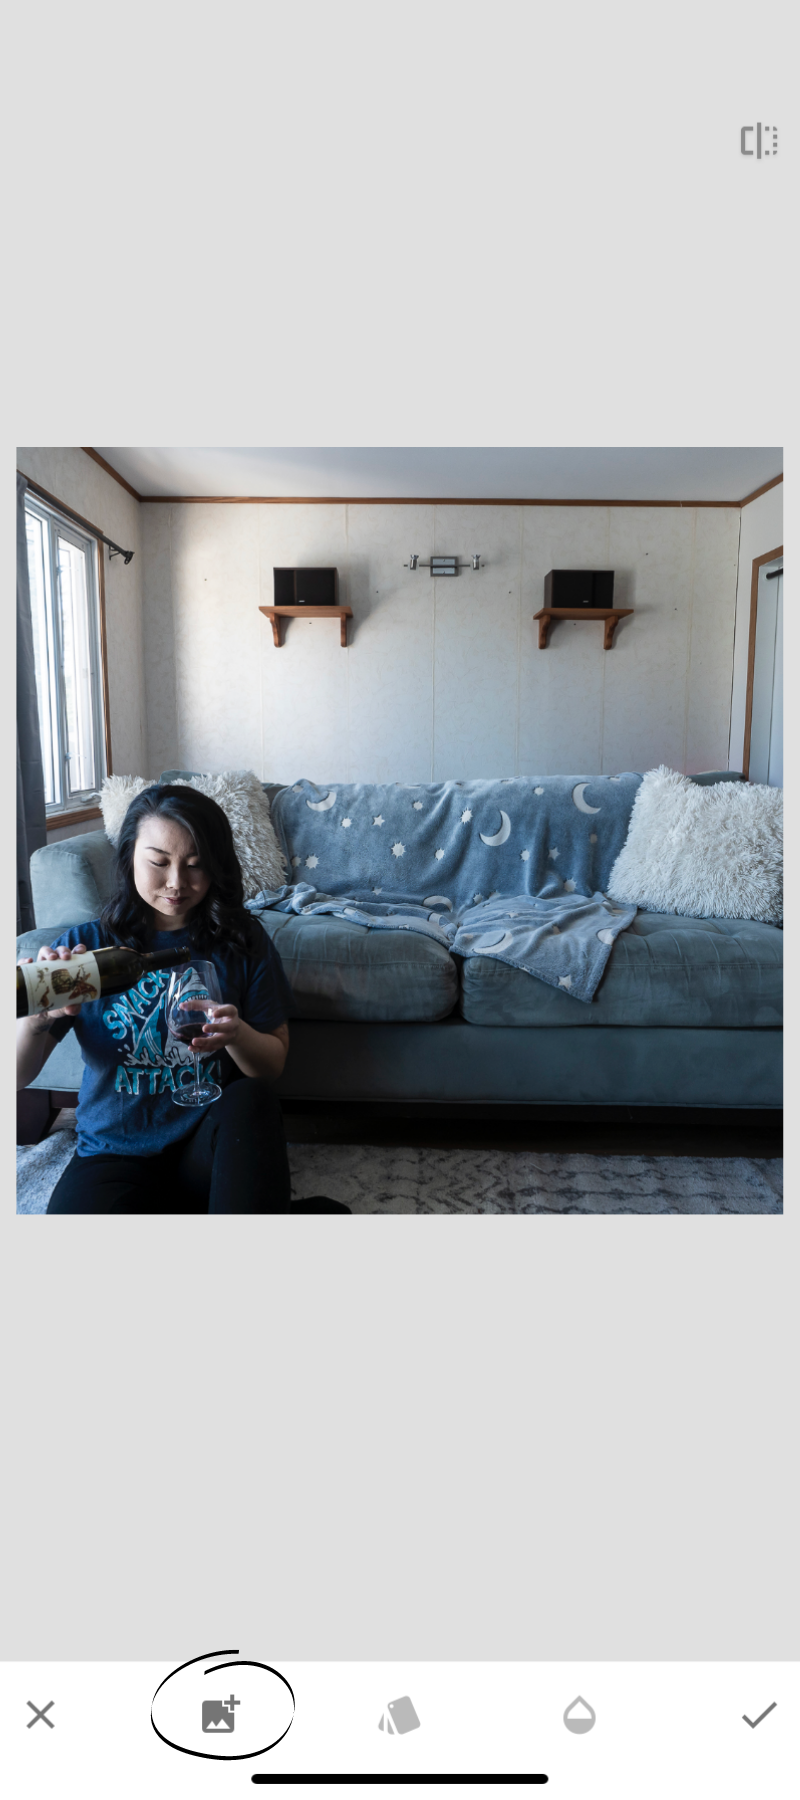
After click the add image button and add your second image.
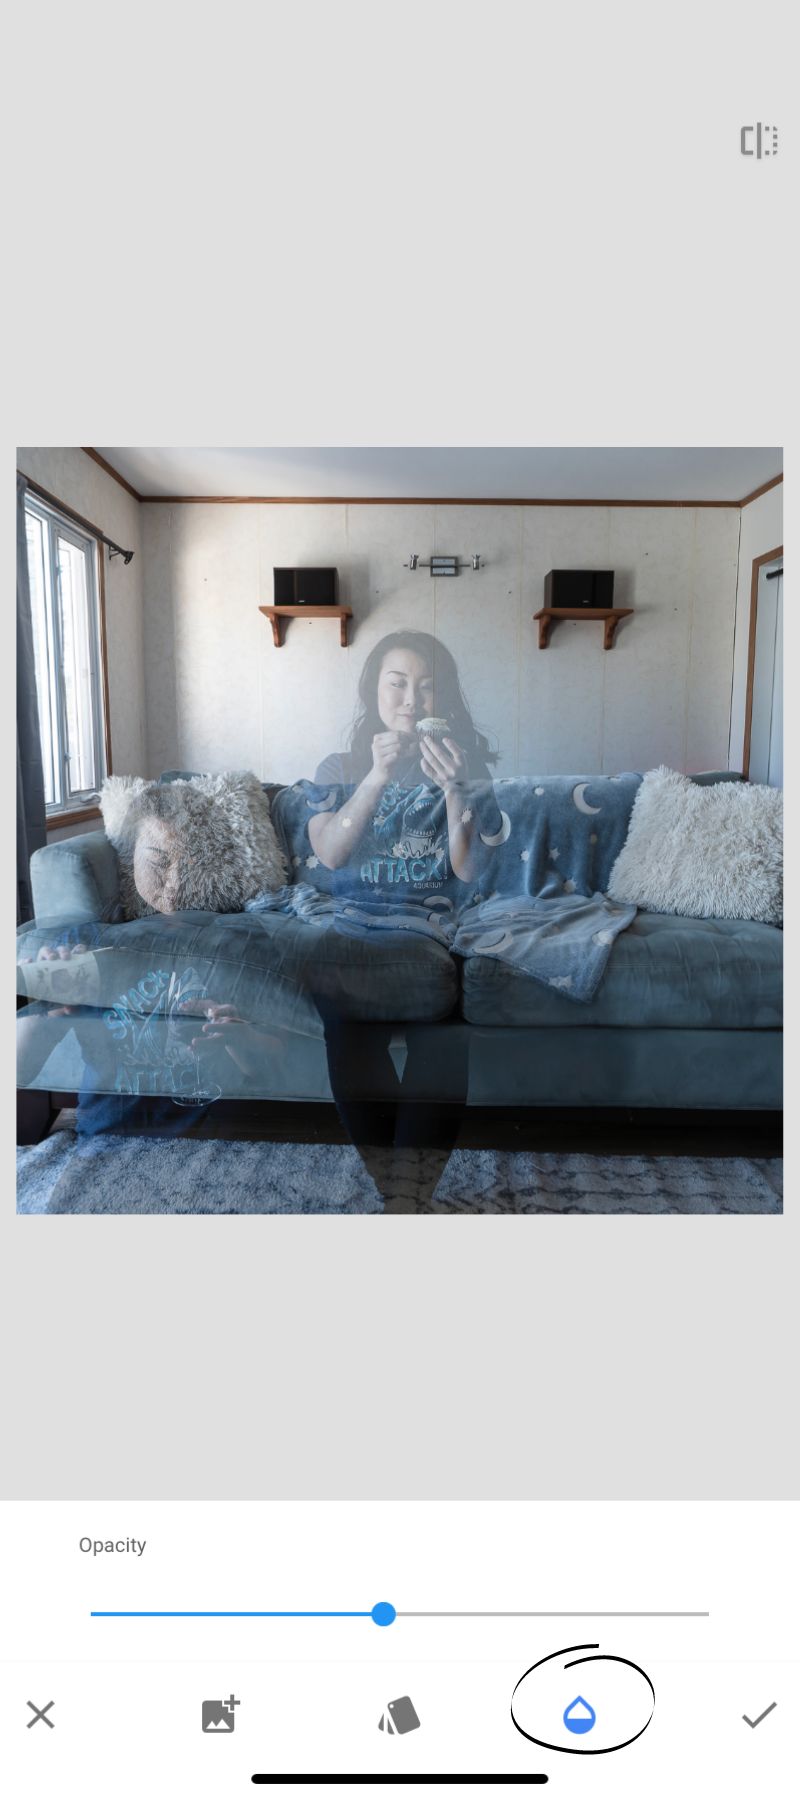
Select the second last icon from the right and increase the opacity all the way to the right.
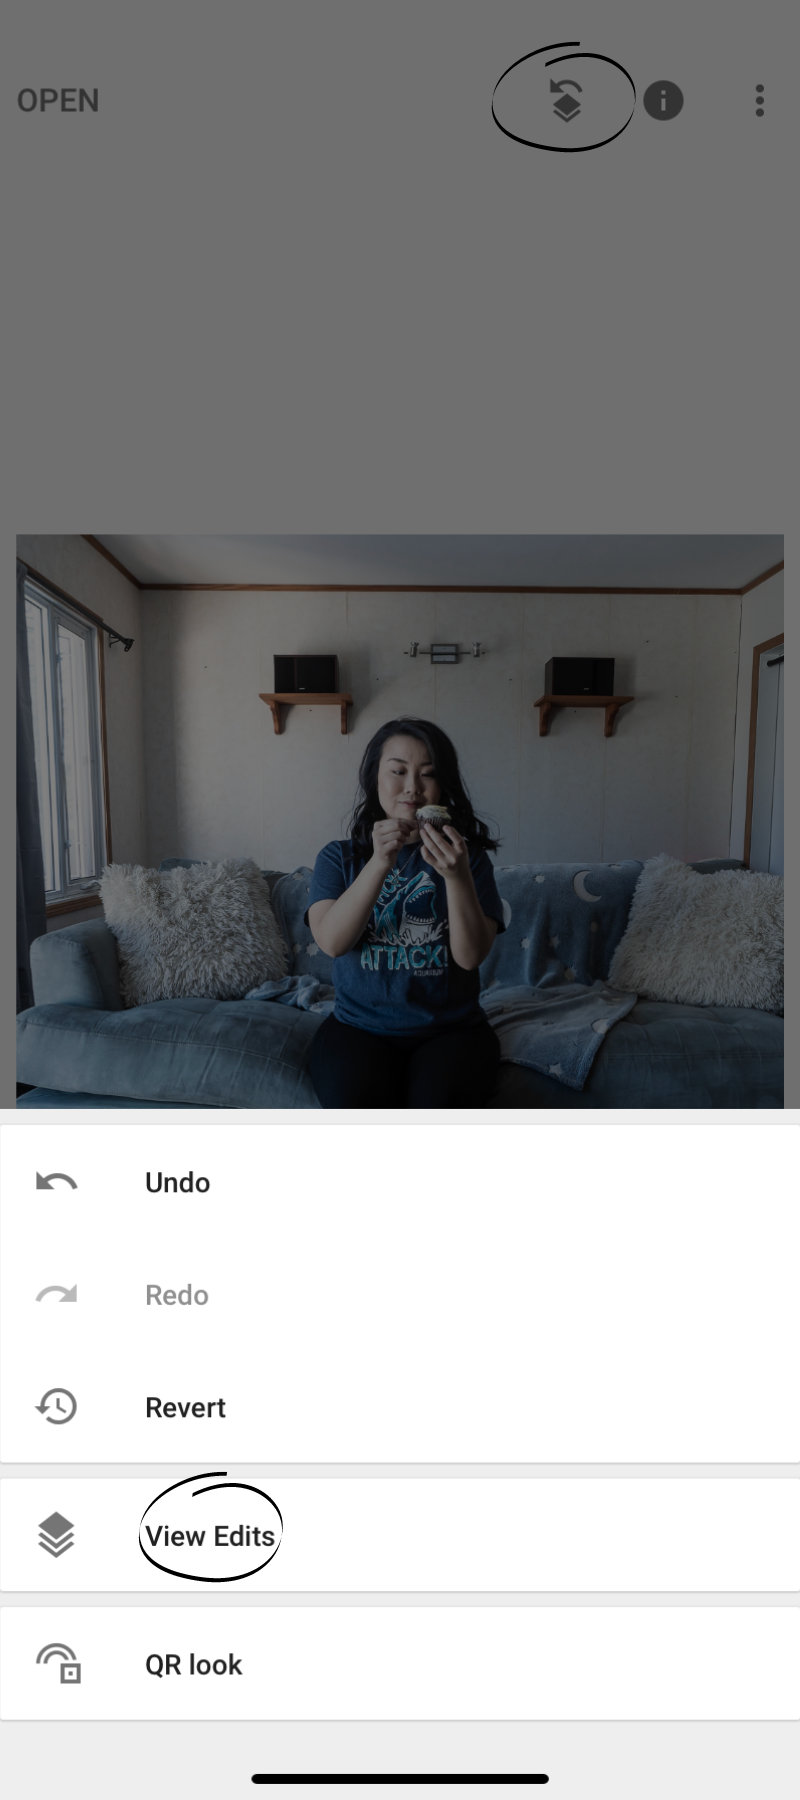
Select the icon on the top right of the screen and select ‘View Edits’.
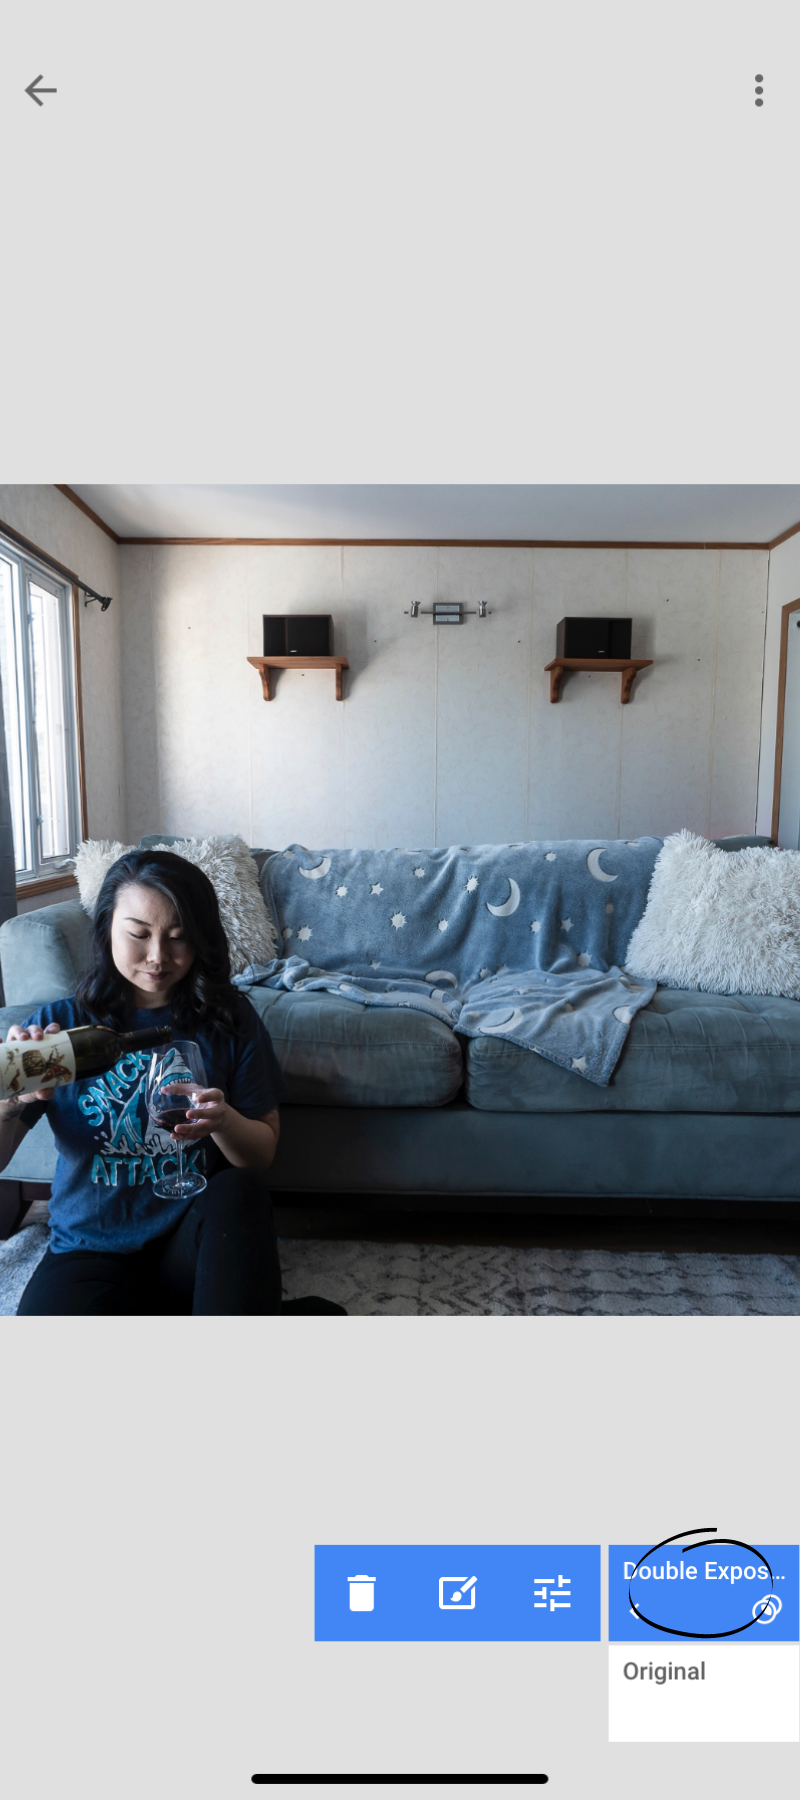
Click on your ‘Double Exposure’.

Select the middle icon with the paint brush.
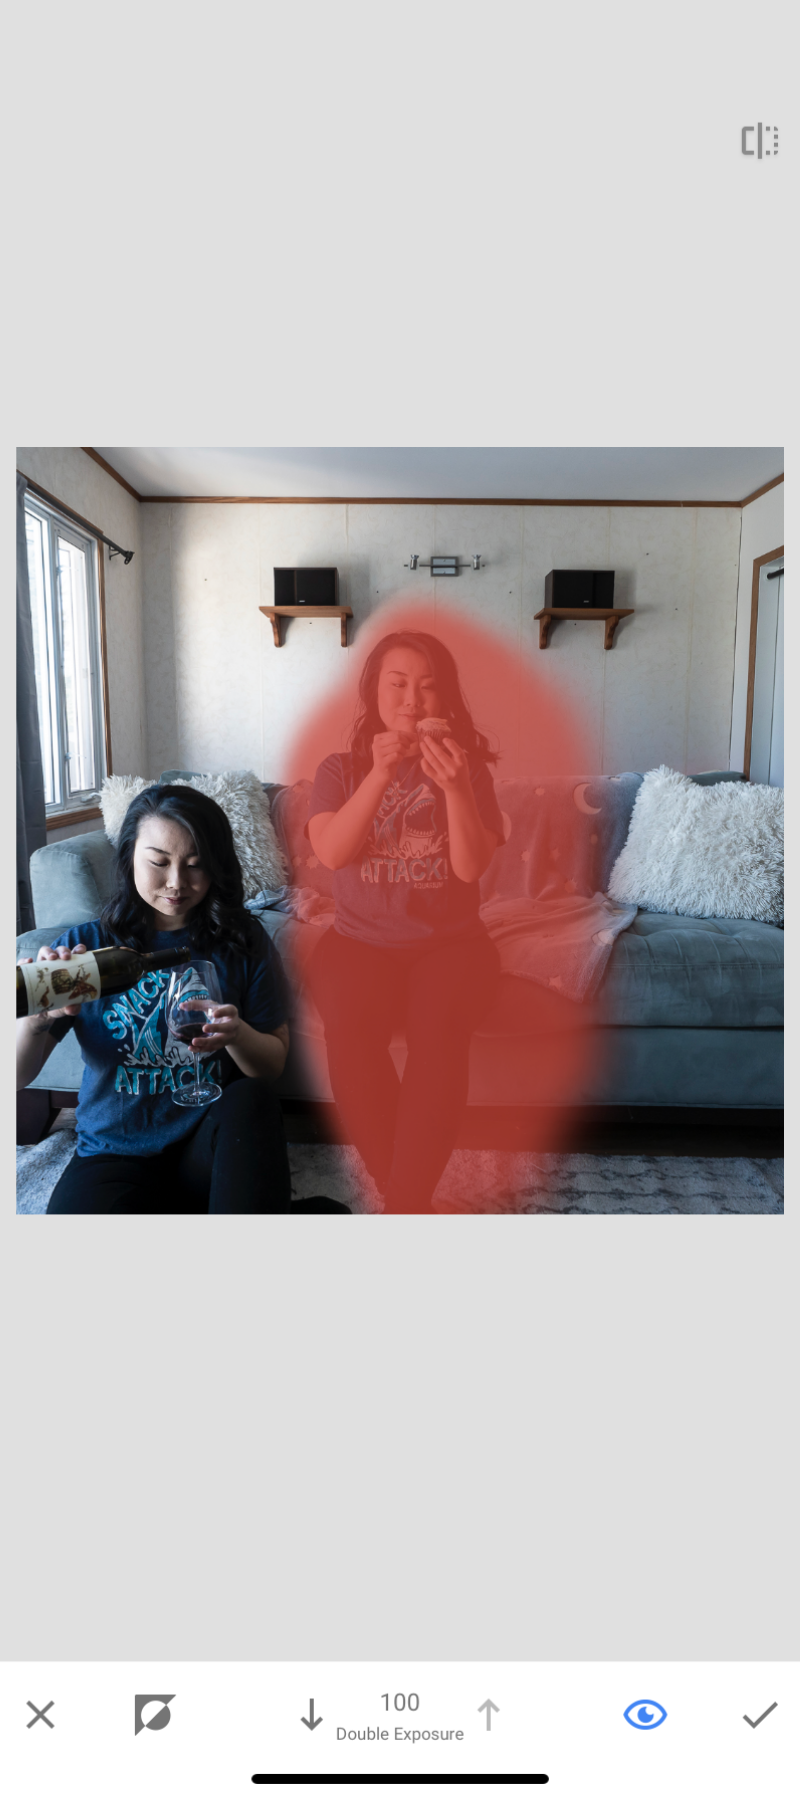
Brush over where you are on the second image (be careful not to go over where you are in the first image).
Keep repeating the steps above for every clone you want to make.
You can also use Photoshop for this or other apps/softwares but Snapseed was free and easy to use.
I would be interested in learning how to do this in Photoshop for more editing freedom.
Final Thoughts
Tip #1: Try to have an idea of how you want to pose yourself and the props you might need to make the process easier and faster for you!
Tip #2: Depending on your vision for your clone self-portrait try utilizing a larger space or get outdoors.
Tip #3: If you want more creative control over your poses and editing process you might want to consider using Photoshop instead of Snapseed.
Tip #4: Get totally creative with this! If you are a baker you could clone yourself putting the dry ingredients together, preparing the pie crust, filling the inside with your fruit, cutting the finished pie, eating the pie!
If you try cloning yourself be sure to share on Instagram and tag @beautifullywander so I can see your creation! Happy cloning!