NOTE: Please note that I did receive this lens from Olympus from a collaboration I did with them previously, but this post/video itself is not a paid promotion, I was not asked to make this post/video, the photos and thoughts are my own.
A few weeks ago I collaborated with Olympus to write an article for their Olympus Learn Centre about Intimate Landscape Photography! From that collaboration I received the M.Zuiko 40-150mm f/2.8 PRO.
In todays short episode we look at the basic details of the lens, the benefit of zoom lenses, and why I chose the 40-150 f/2.8 PRO!
Basic Details
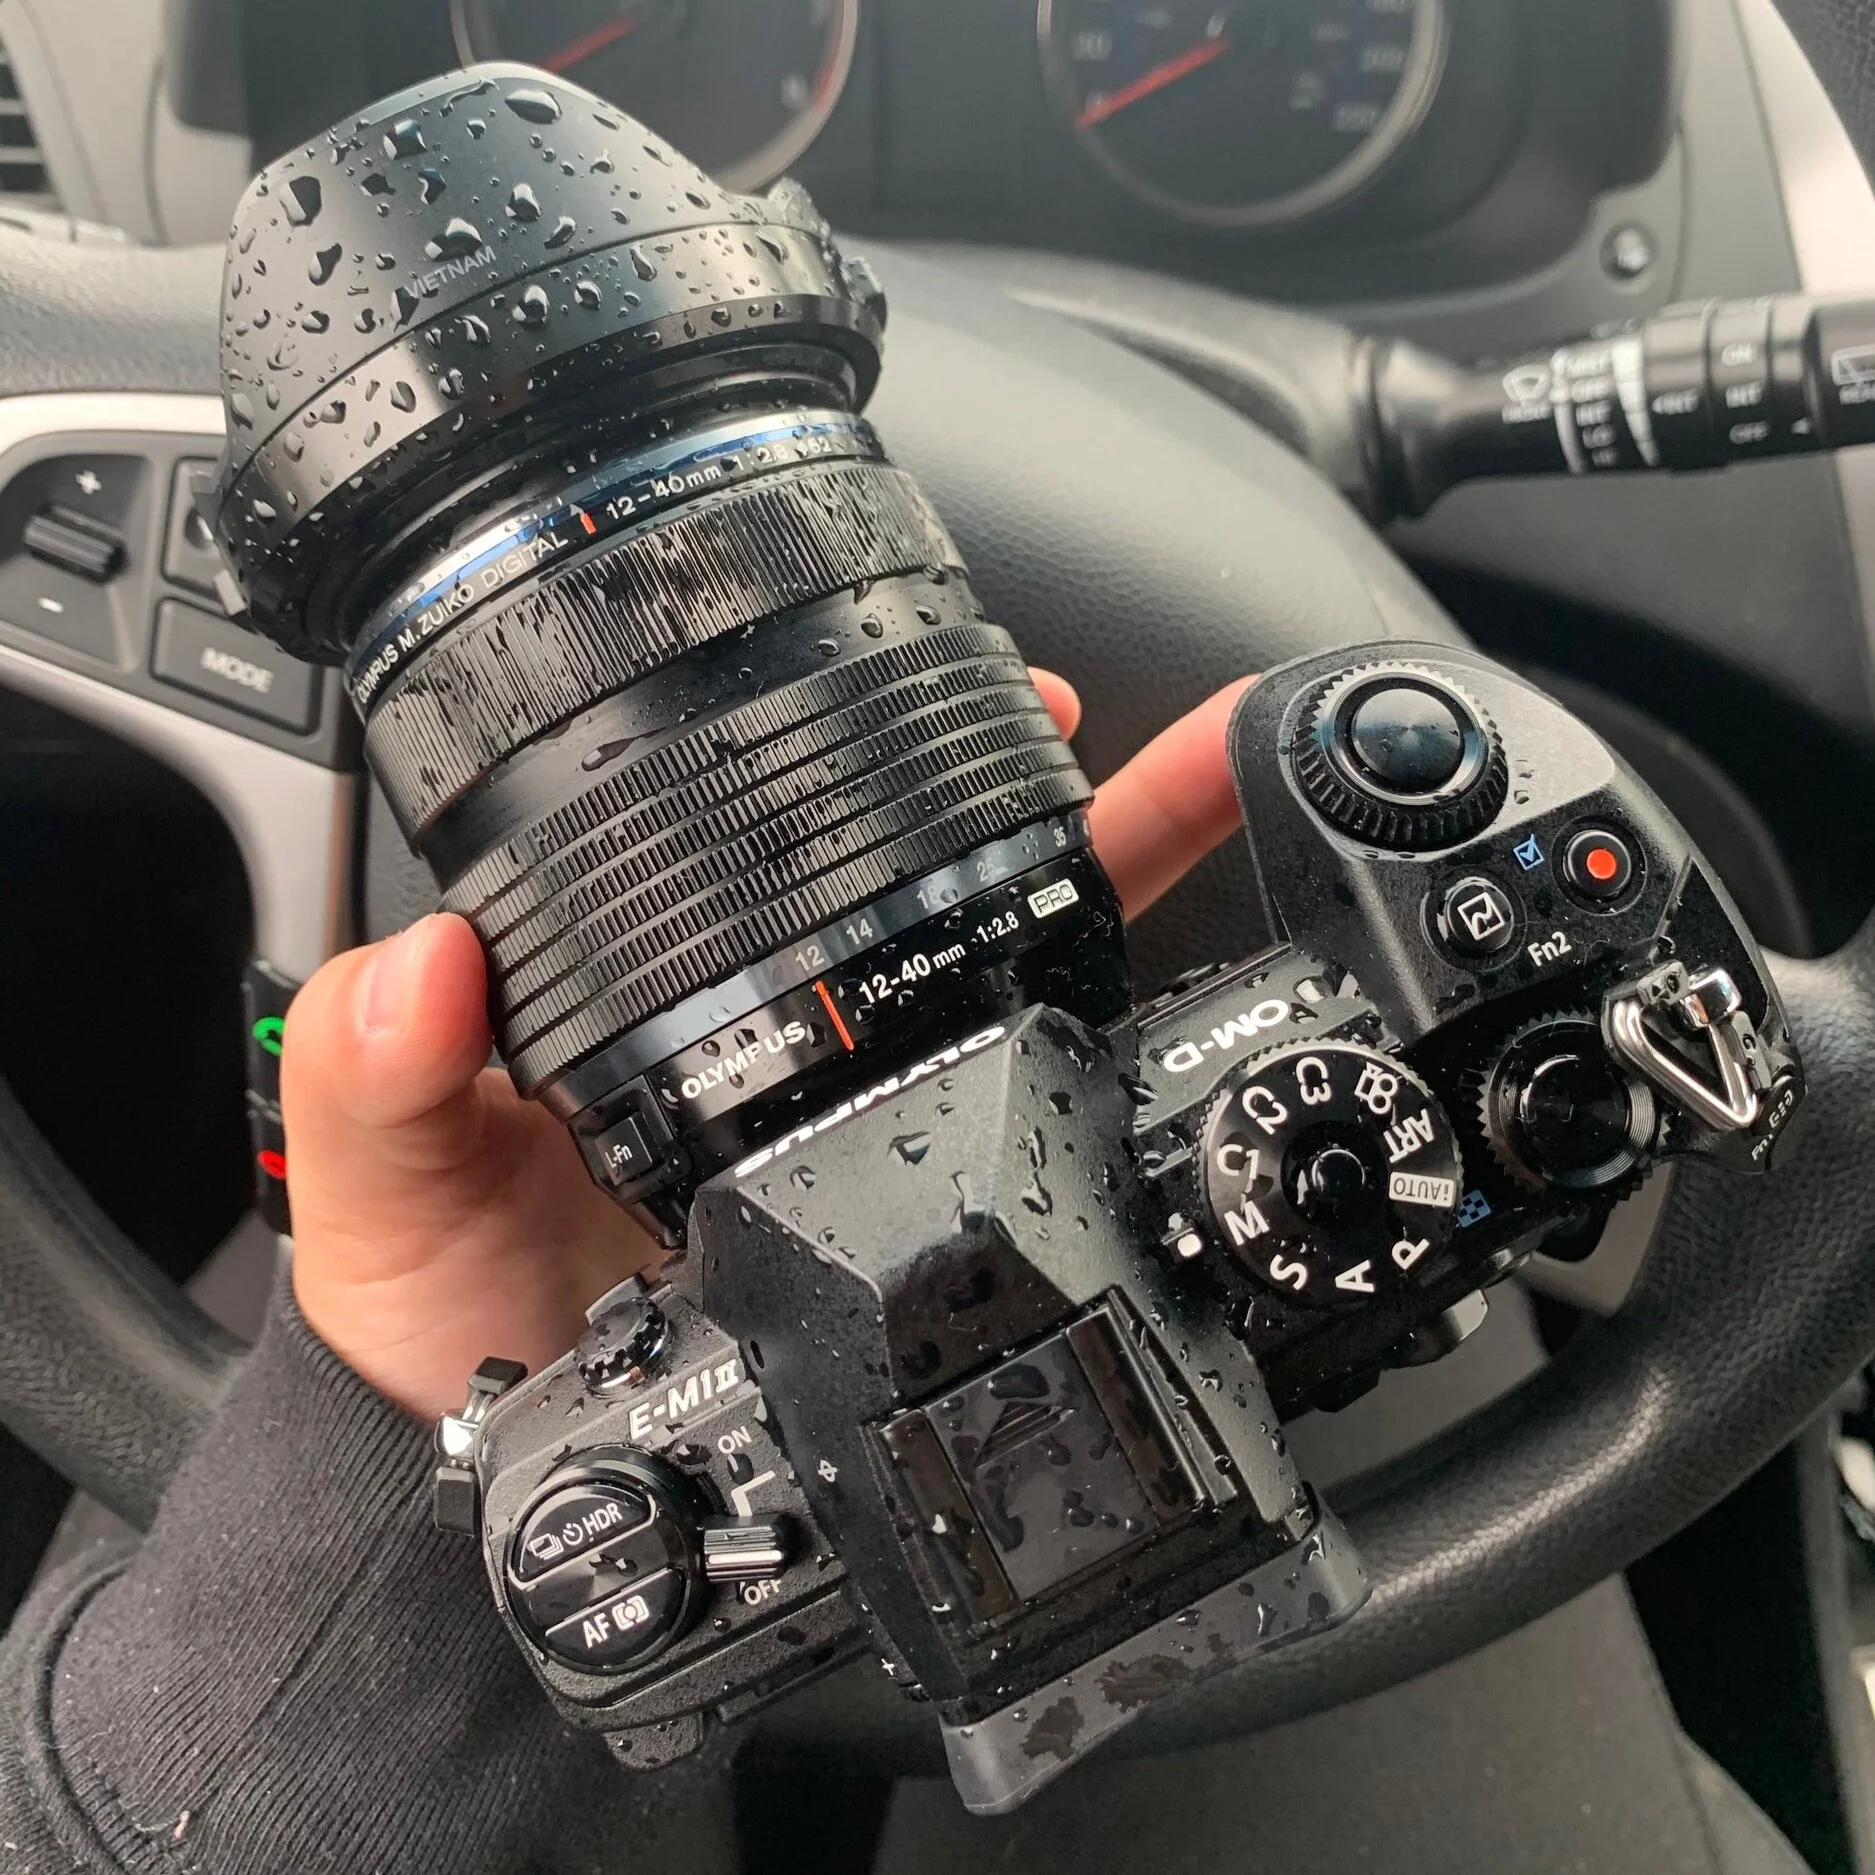
The Olympus 40-150 f/2.8 PRO weights in at 1.67 pounds, and has a focal length of 40-150mm (80-300mm full frame equivalent).
The maximum aperture is f/2.8 and the minimum is f/22. The length of the lens without the lens hood is 6.30” and 3.13” wide.
The lens is splashproof, dustproof and freezeproof! It also has a retractable lens hood and internal zoom so no matter if you use it at 40mm or 150mm the length of the lens does not get any longer.

Benefit of Zoom Lenses
I know there are many die hard prime lens users out there, however, I found with my photography and what I want to create investing in zoom lenses was better for me - I prefer to focus on intimate frames and landscapes.
With zoom lenses like the 40-150 you have a wide array of focal lengths at your disposal.
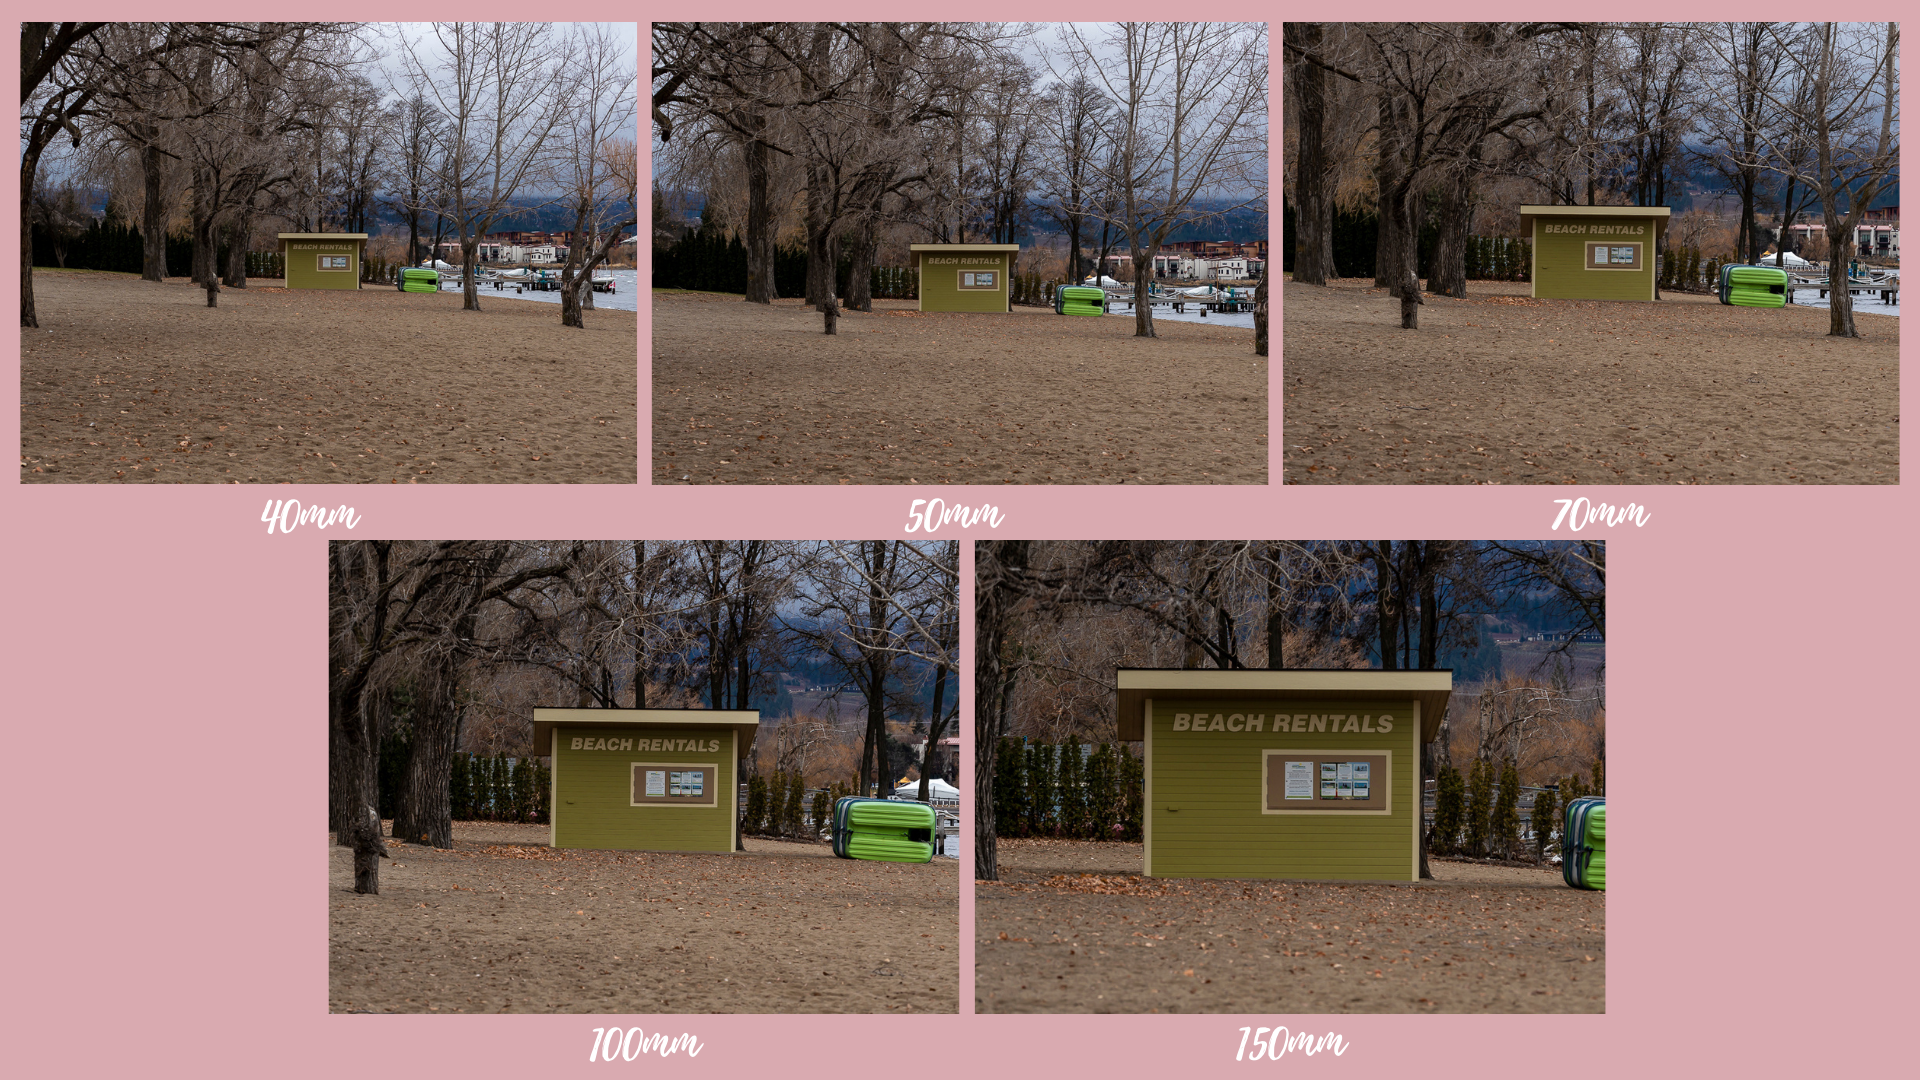
And due to this it allows you to have a lightweight and compact setup - the power of this lens and the size of it is one of the reasons why I invested in Olympus in the first place!
Why I Chose the 40-150mm f/2.8 PRO
When I was deciding which lens to receive I knew deep down that it was going to be the 40-150mm f/2.8 even though I did have my eye on the 7-14mm as well.
I gravitated towards the 40-150mm because of the photography I was doing and saw the benefit over the long term. There were so many times before I got this lens that I wished I had it for its extra reach.
So far it’s been an AMAZING lens! It produces really sharp images, but it is a little heavier than what I am used to with my 12-40mm.
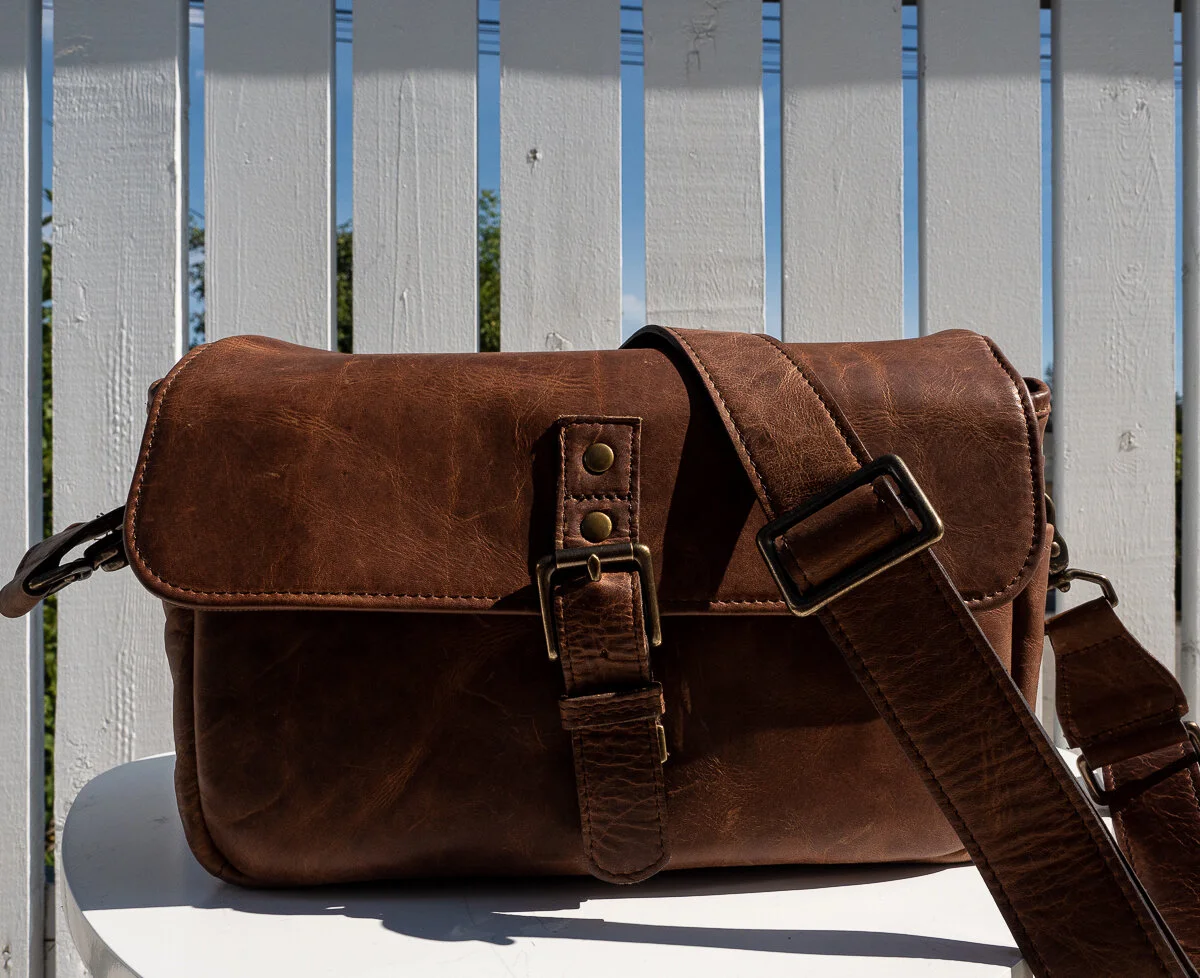
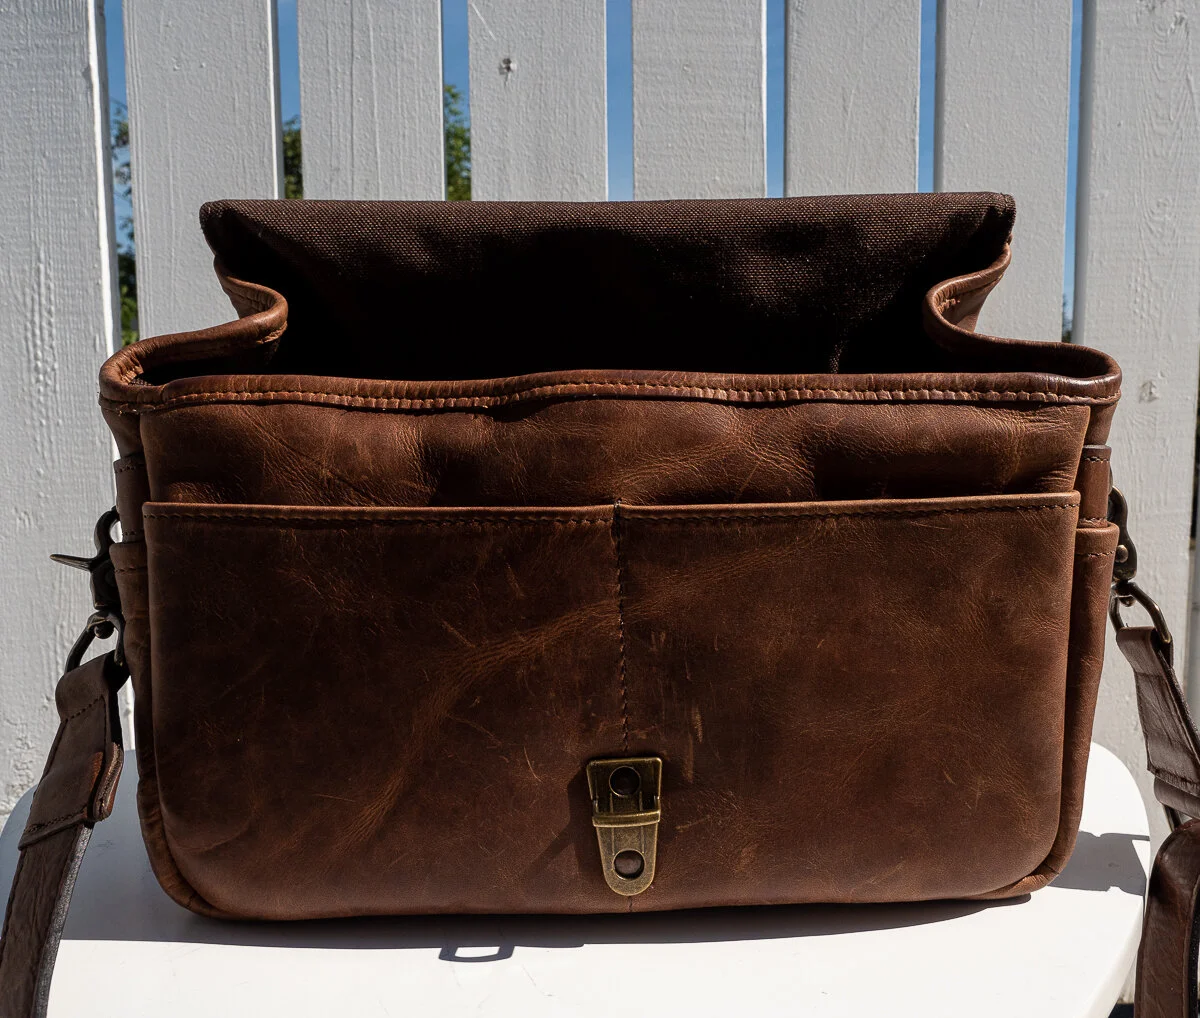
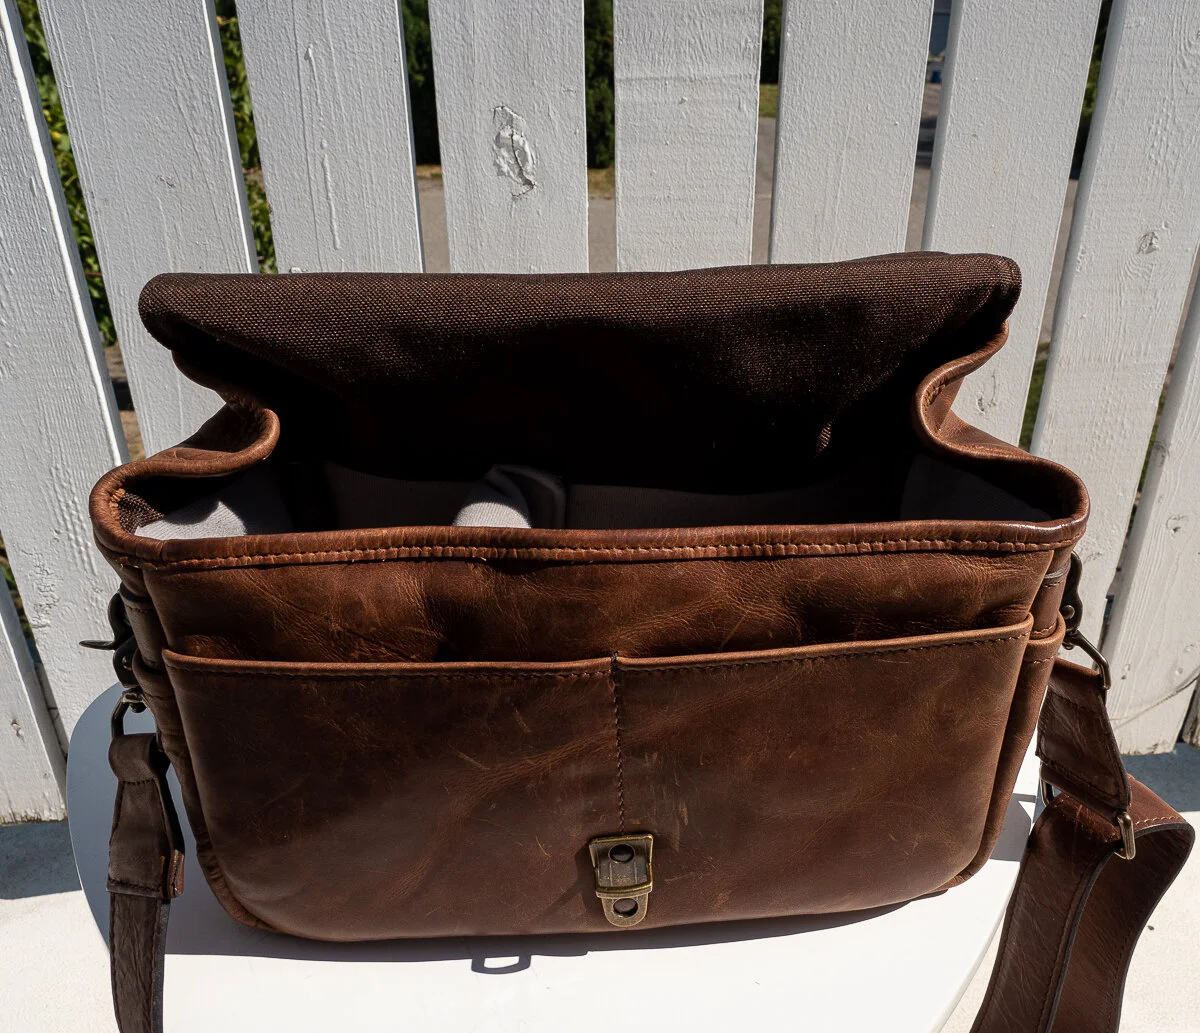
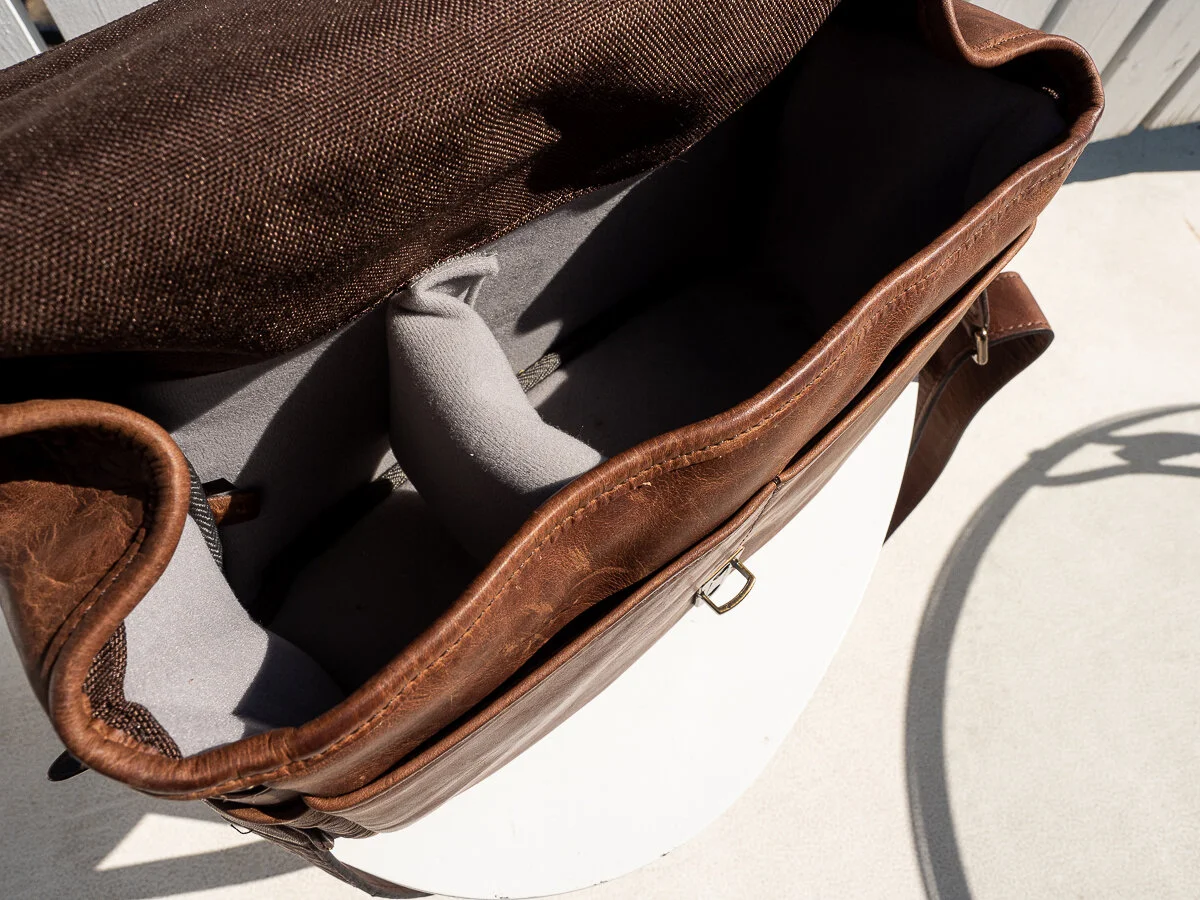
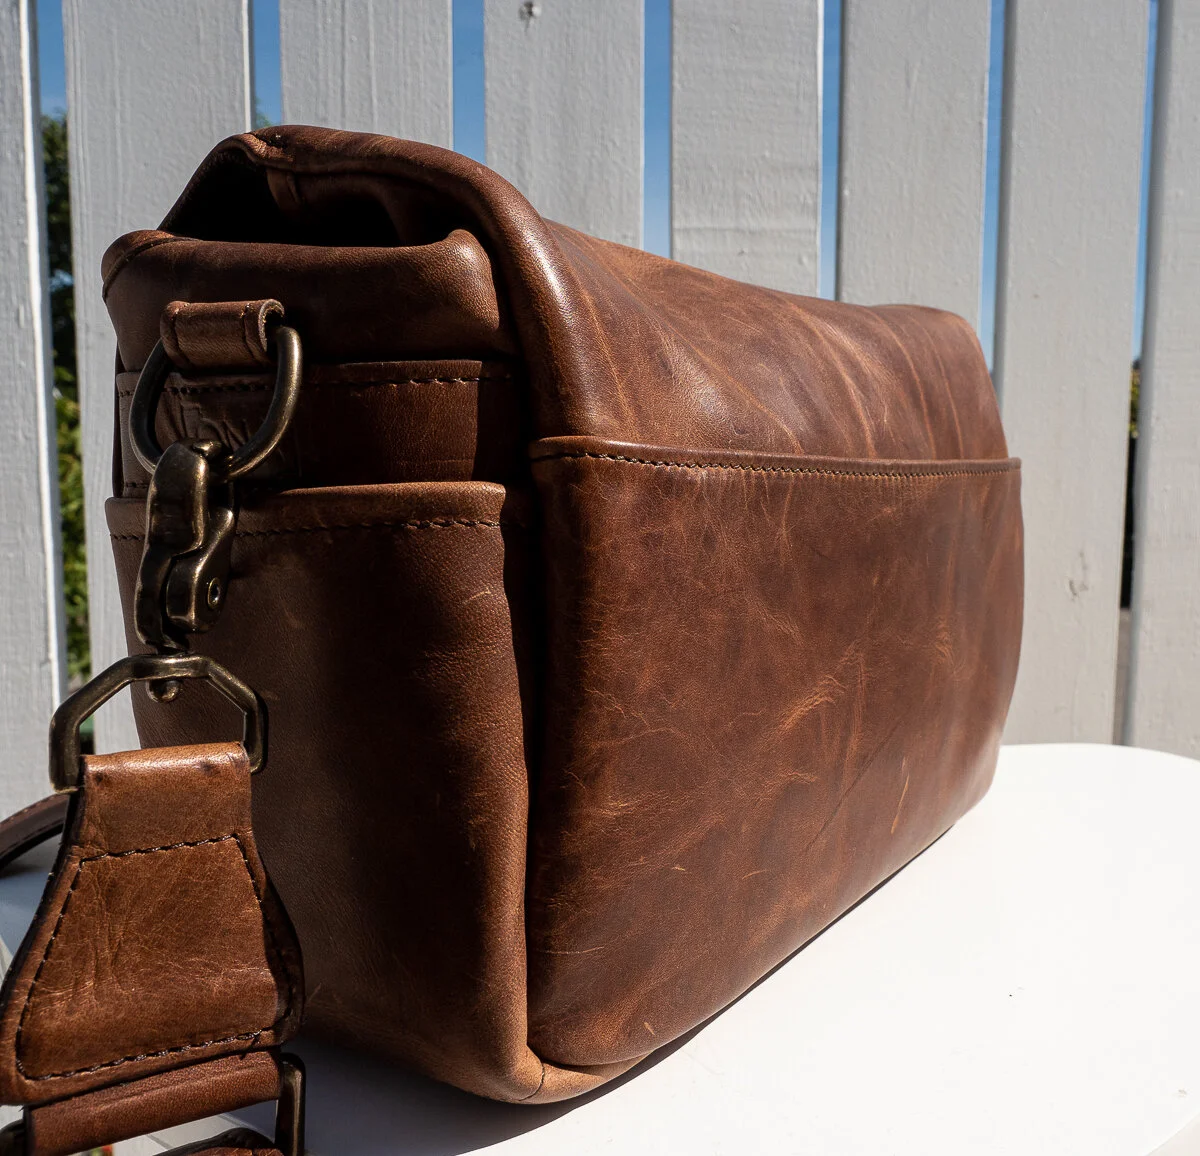
I’ve struggled finding a comfortable way to carry the lens - my Ona Bowery Bag can fit both my 12-40 and the 40-150 with the camera body but it gets tricky. It fits better if the 12-40 is on my EM1 Mark II body and the 40-150 is off to the side, but it doesn’t fit as nicely if the 40-150mm is on my camera body. I have a camera backpack but I find my stuff rolls a lot in the compartments which I don’t like.
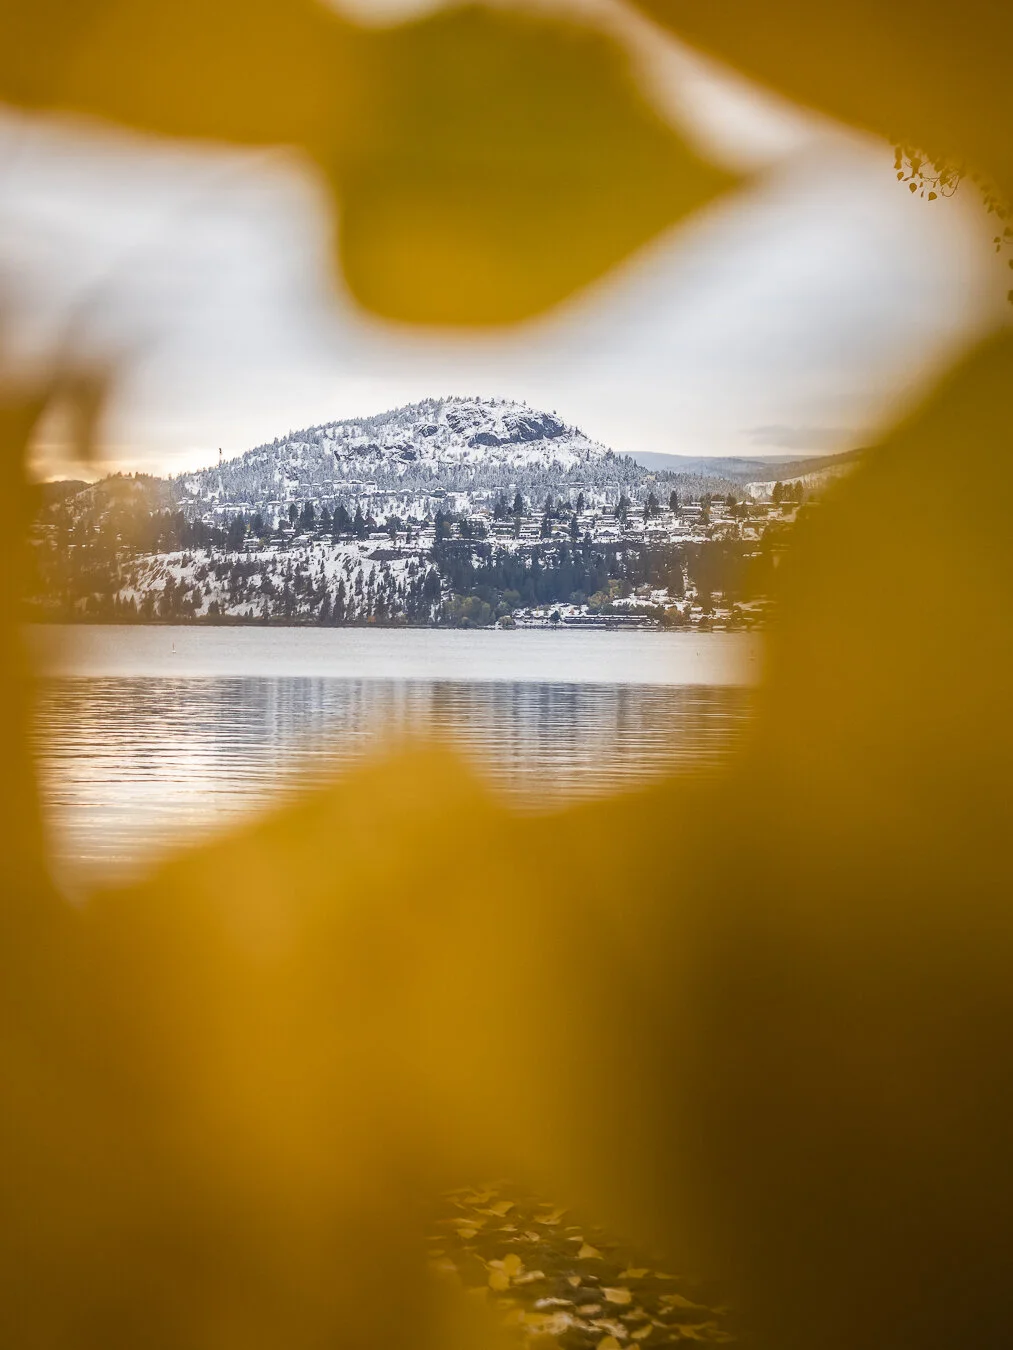
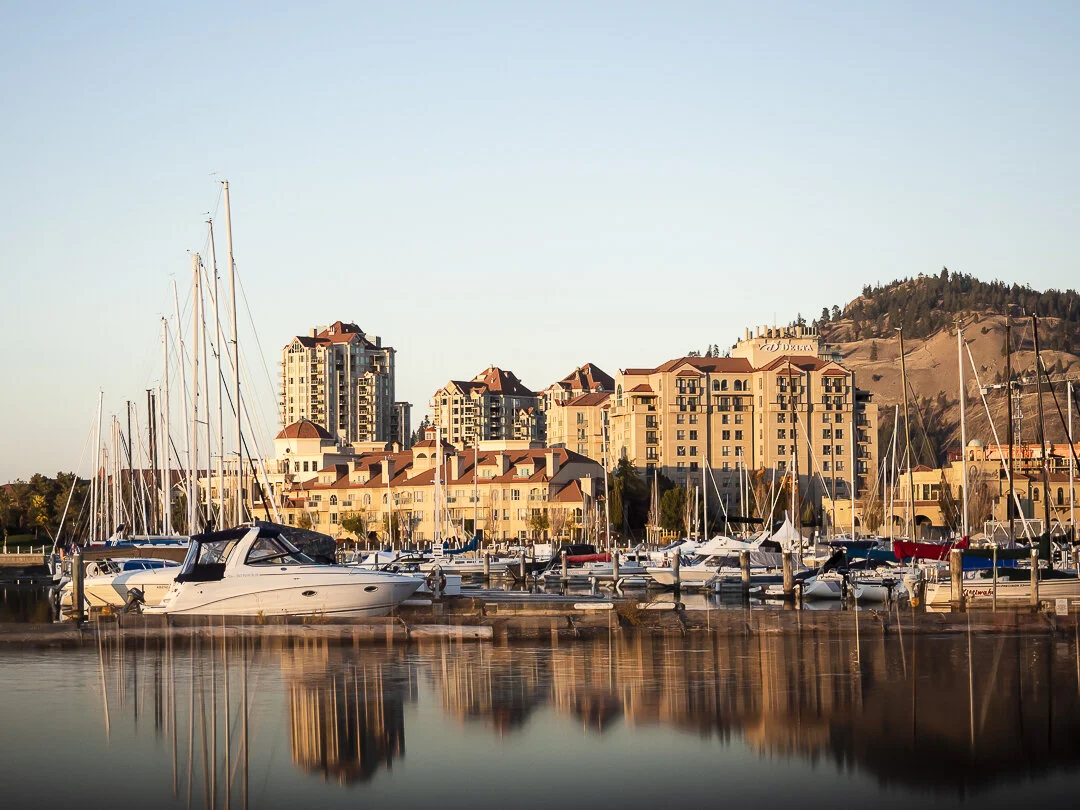
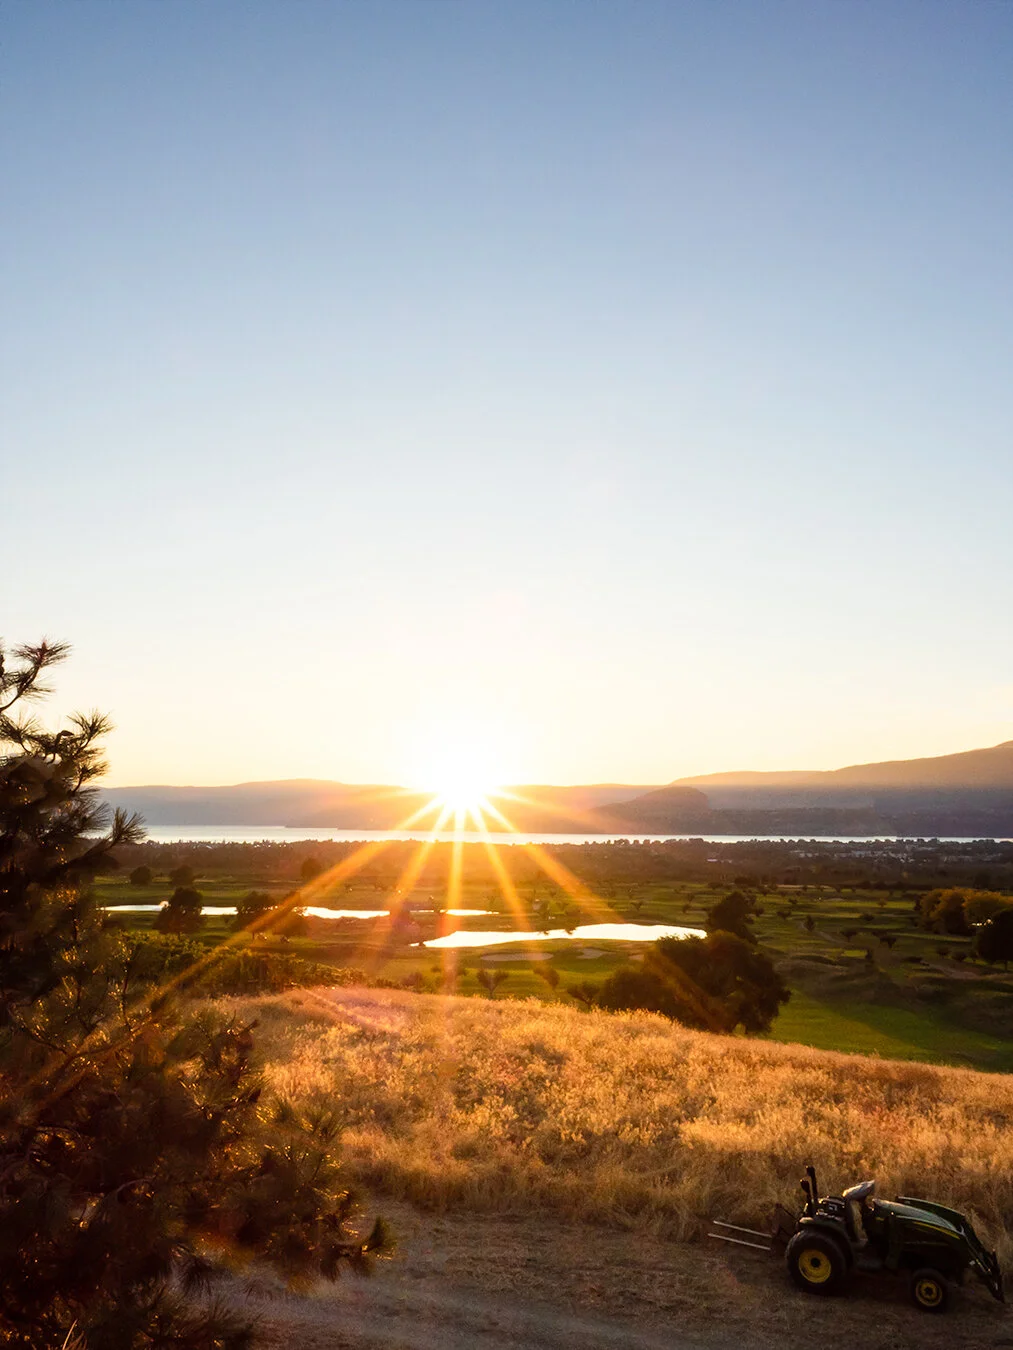
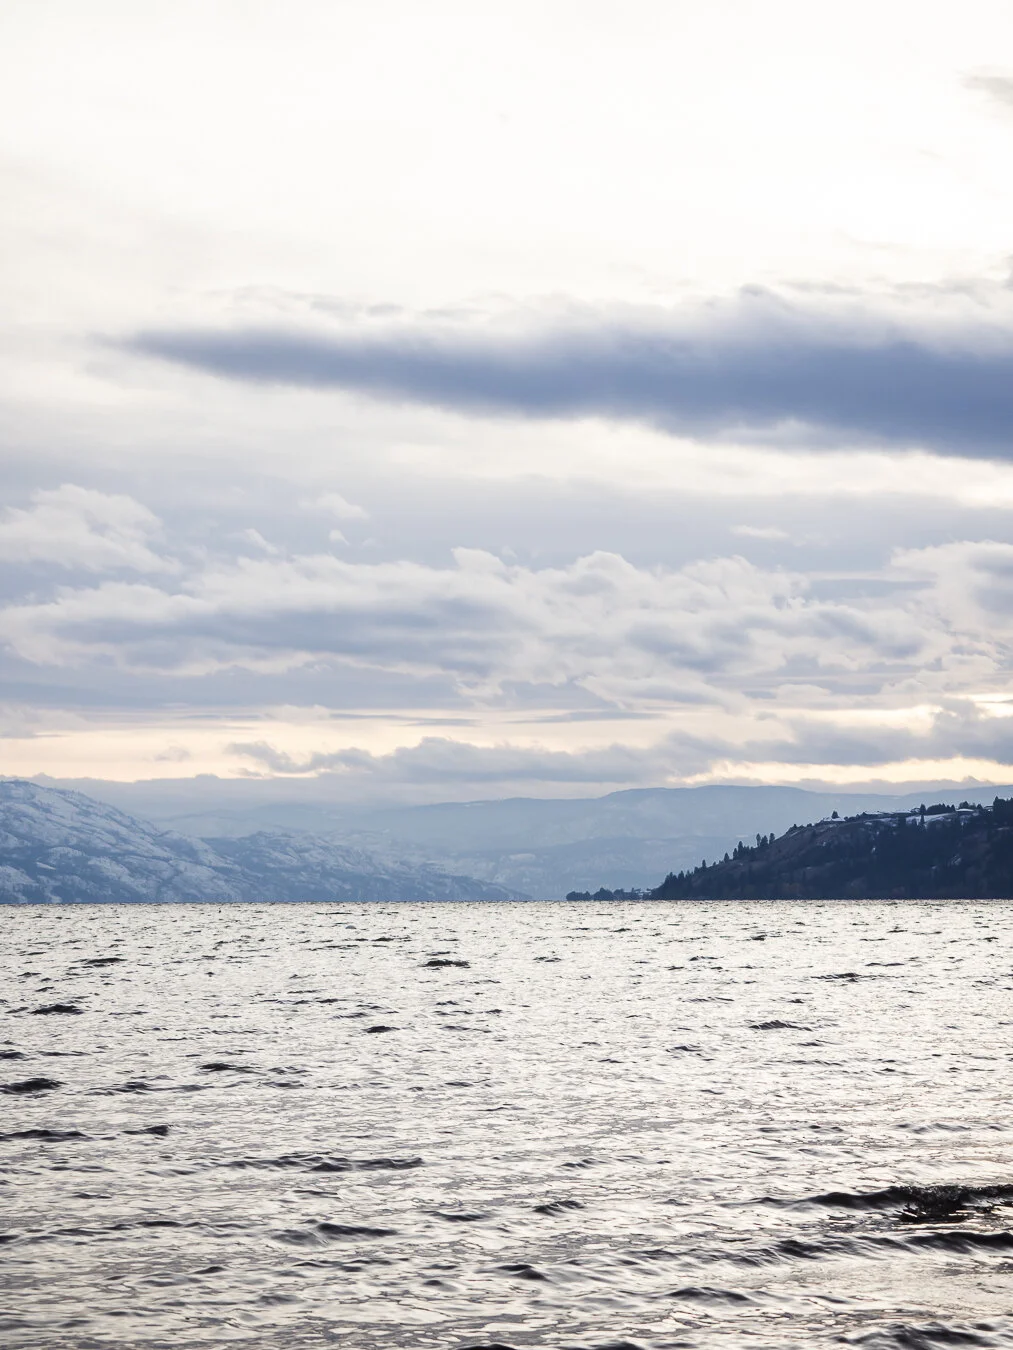
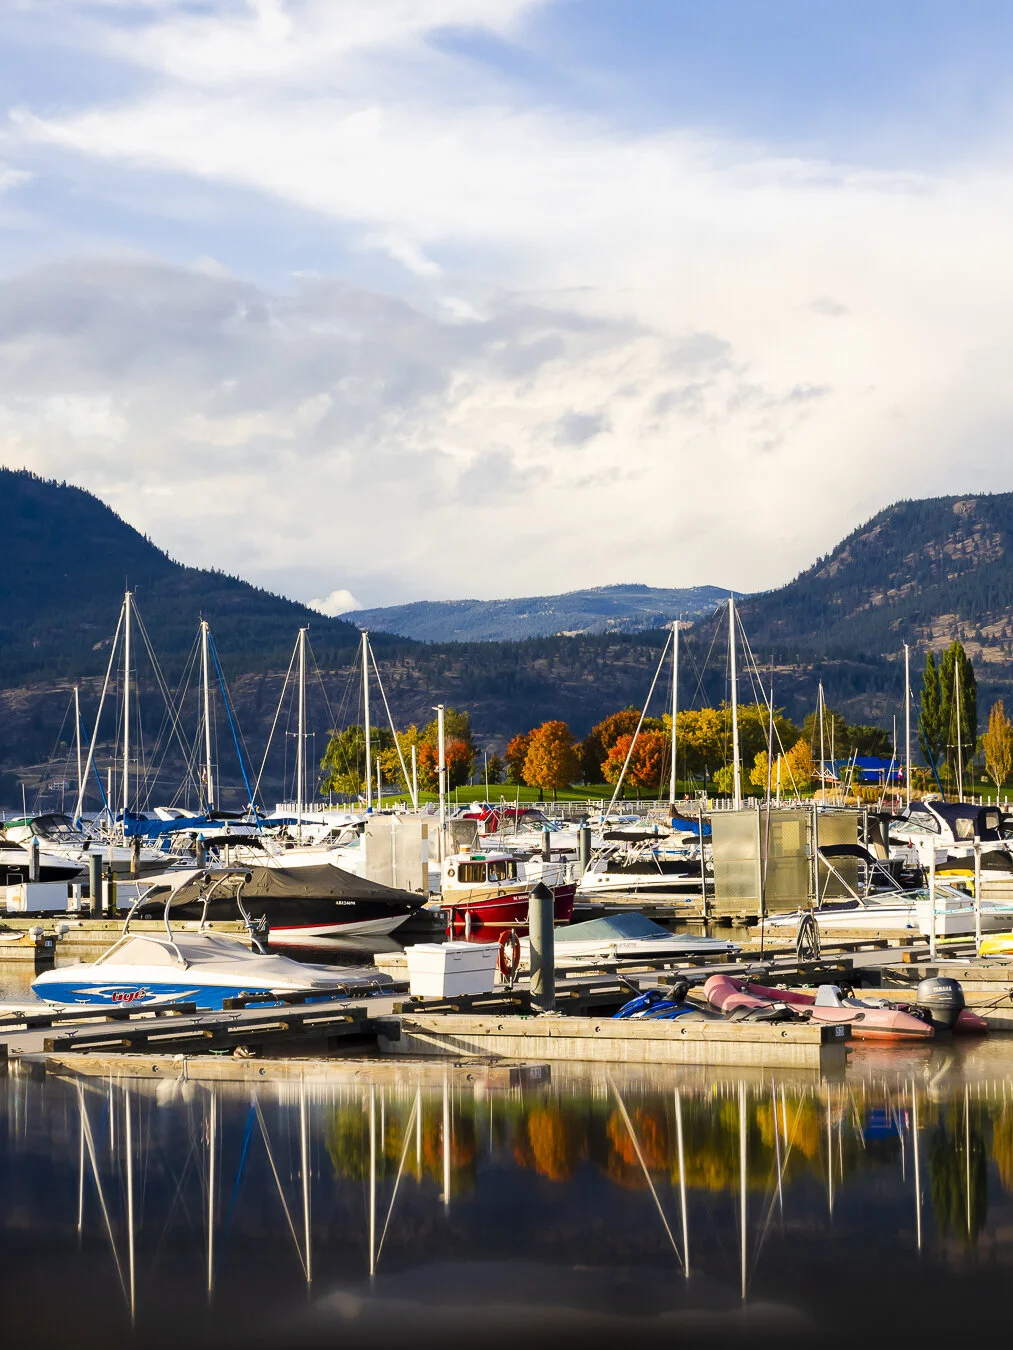
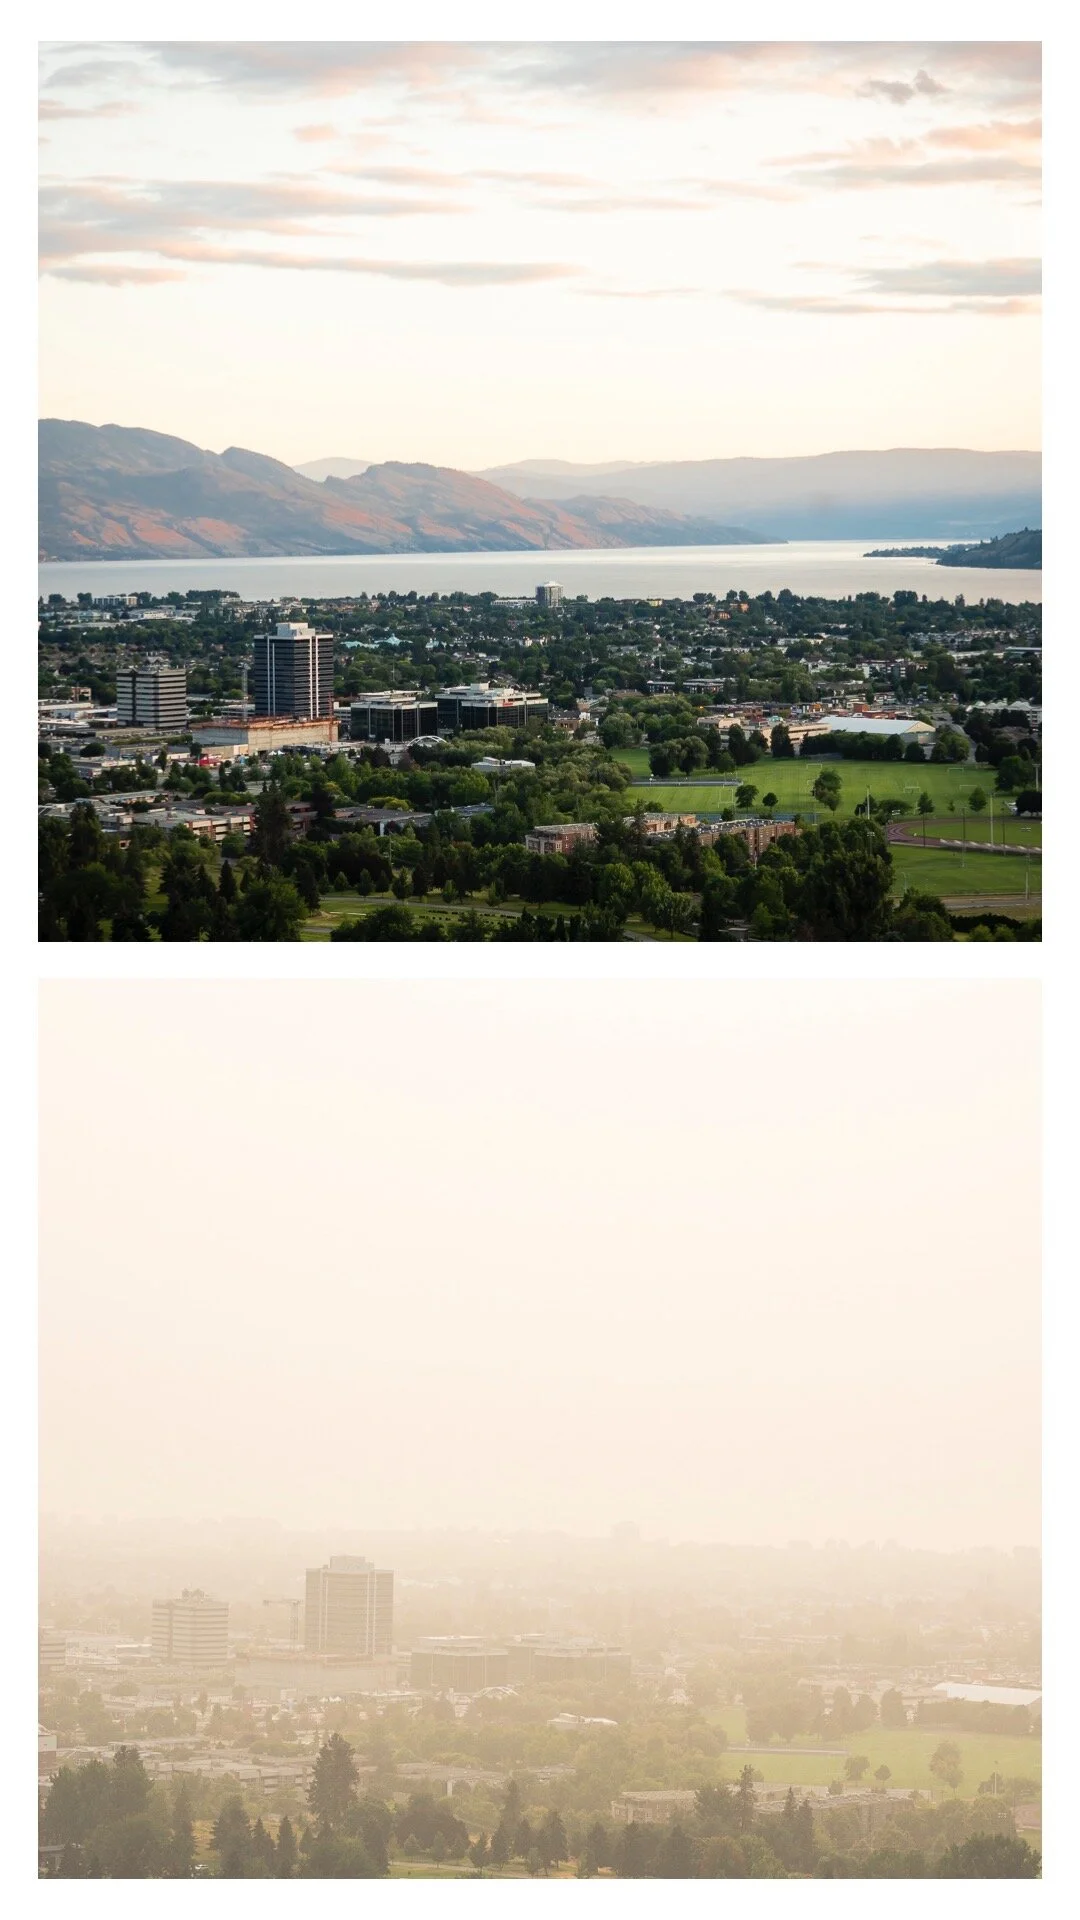
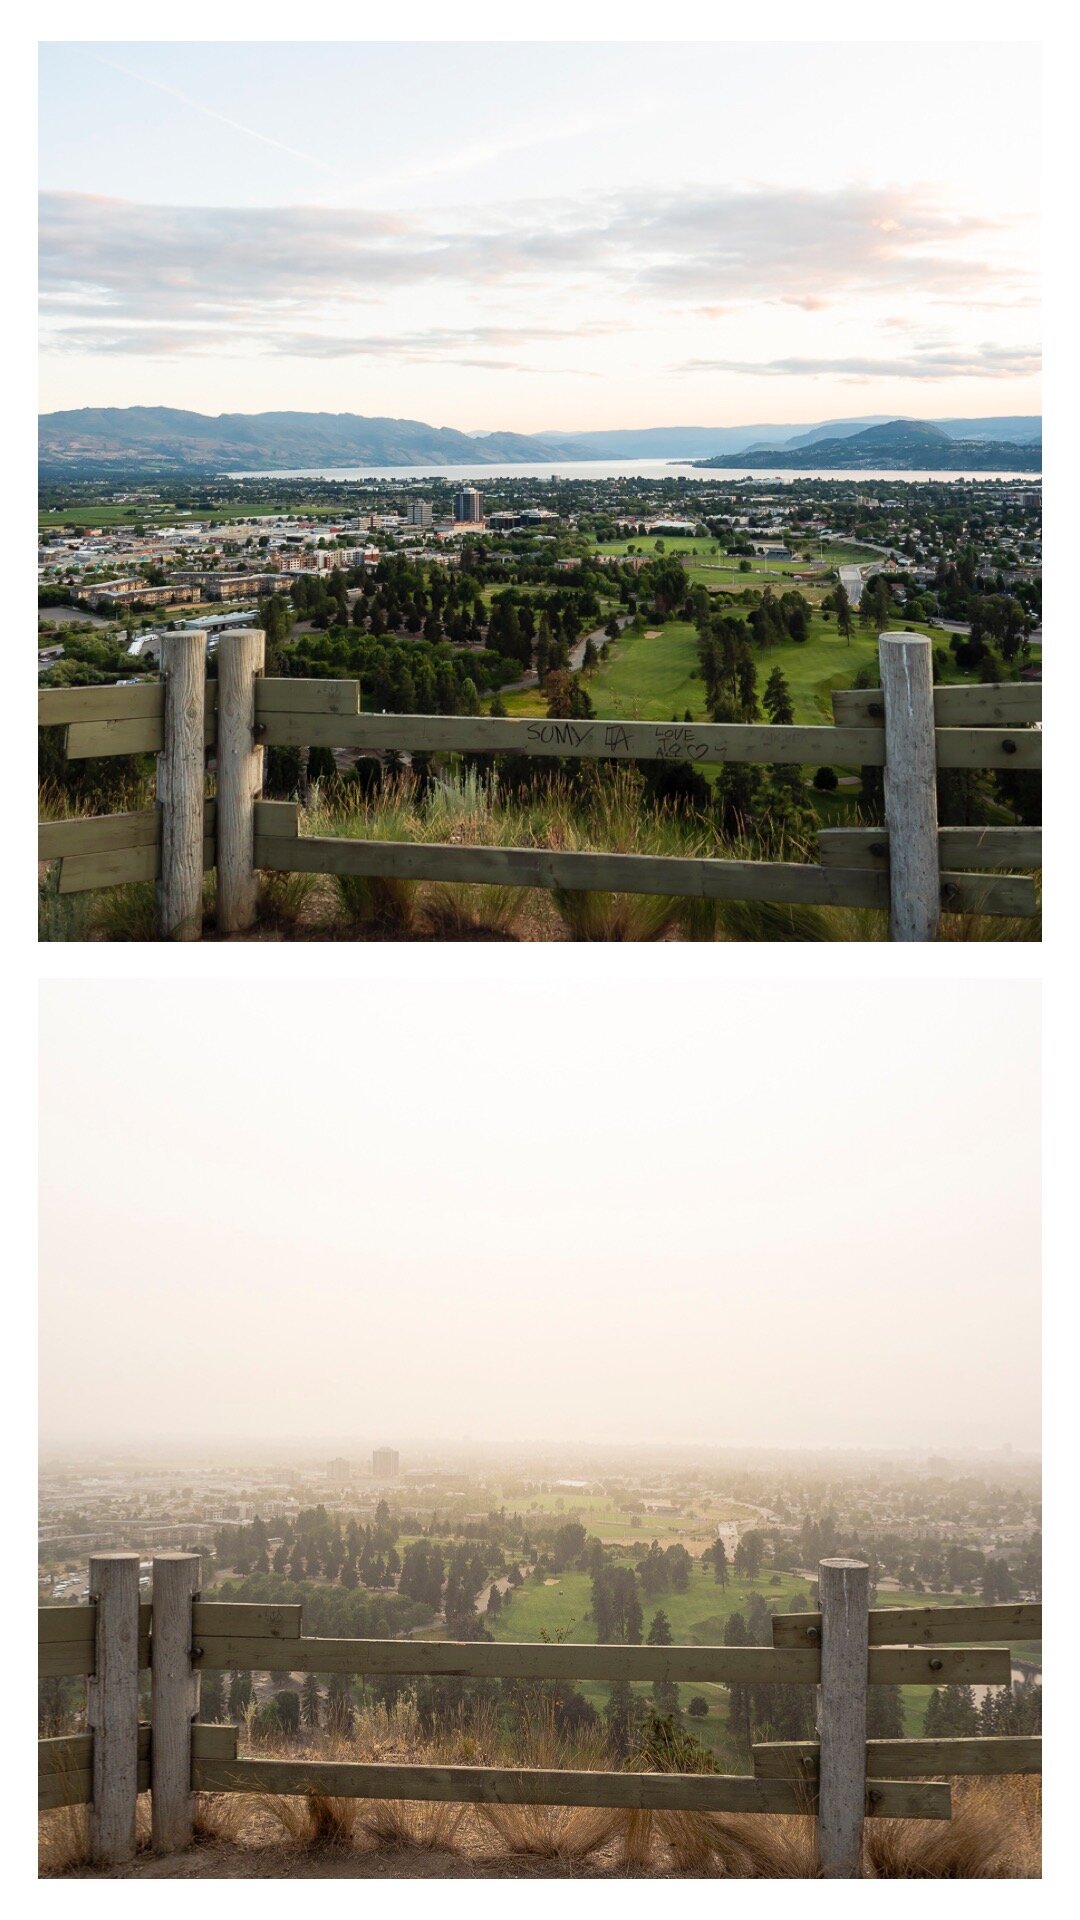
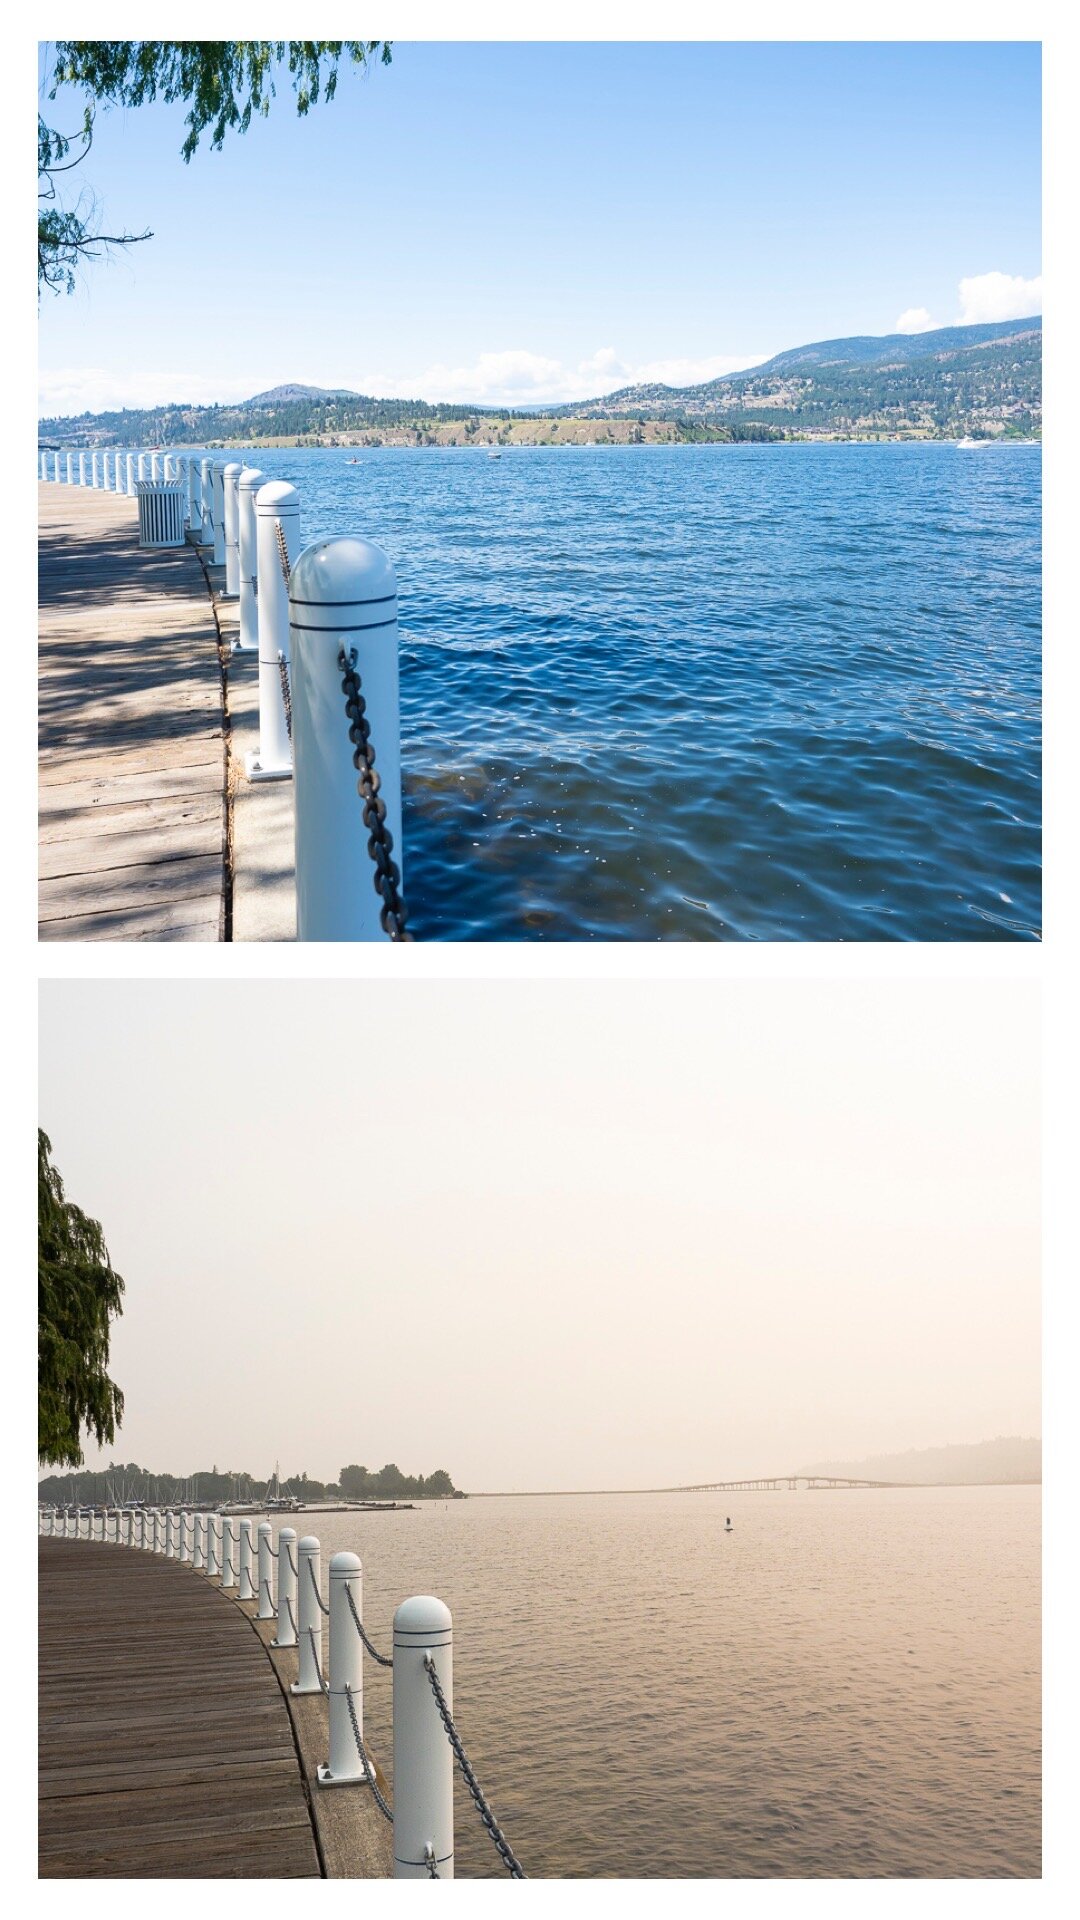
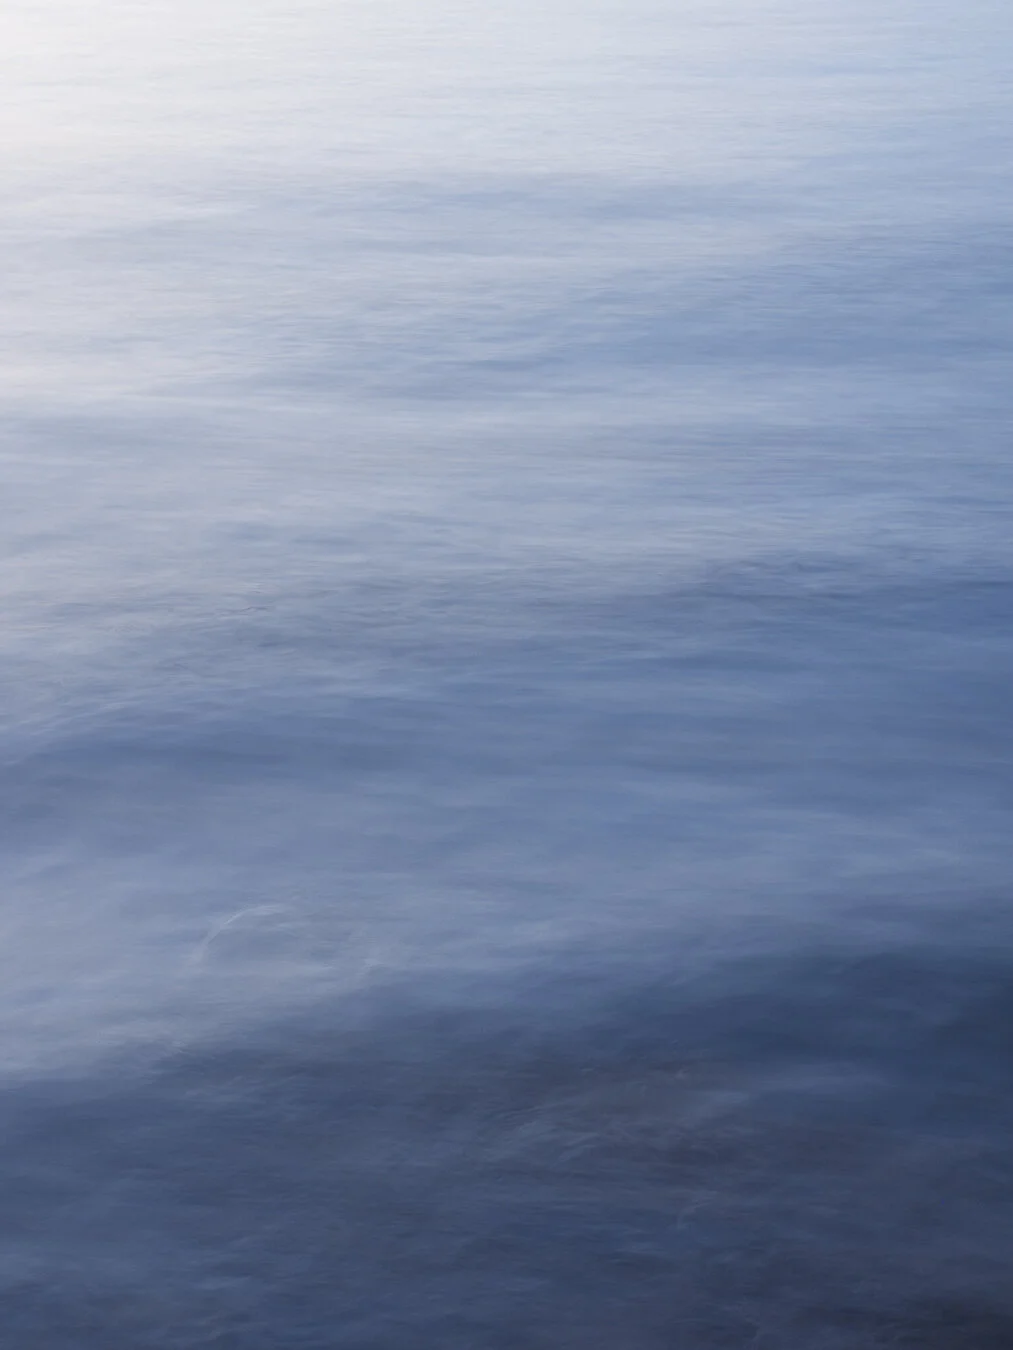
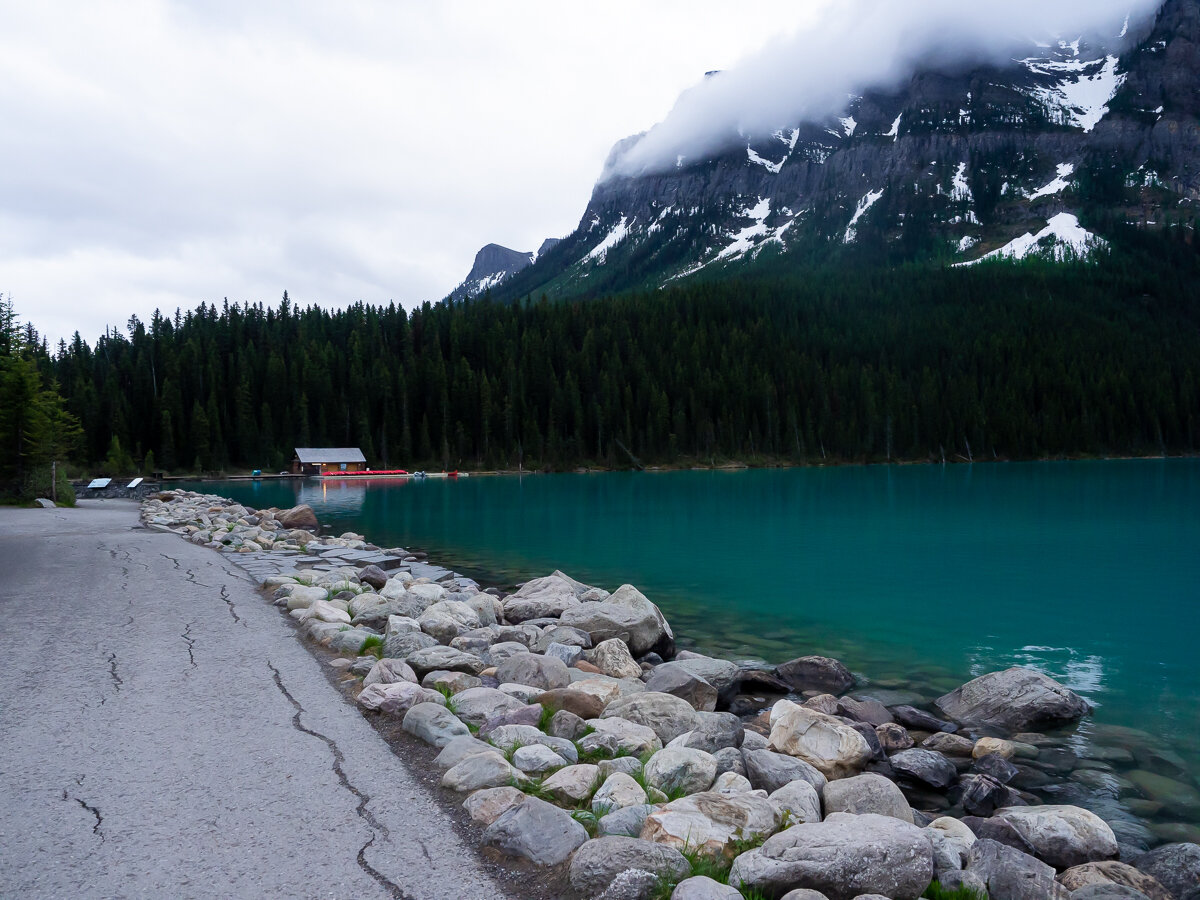
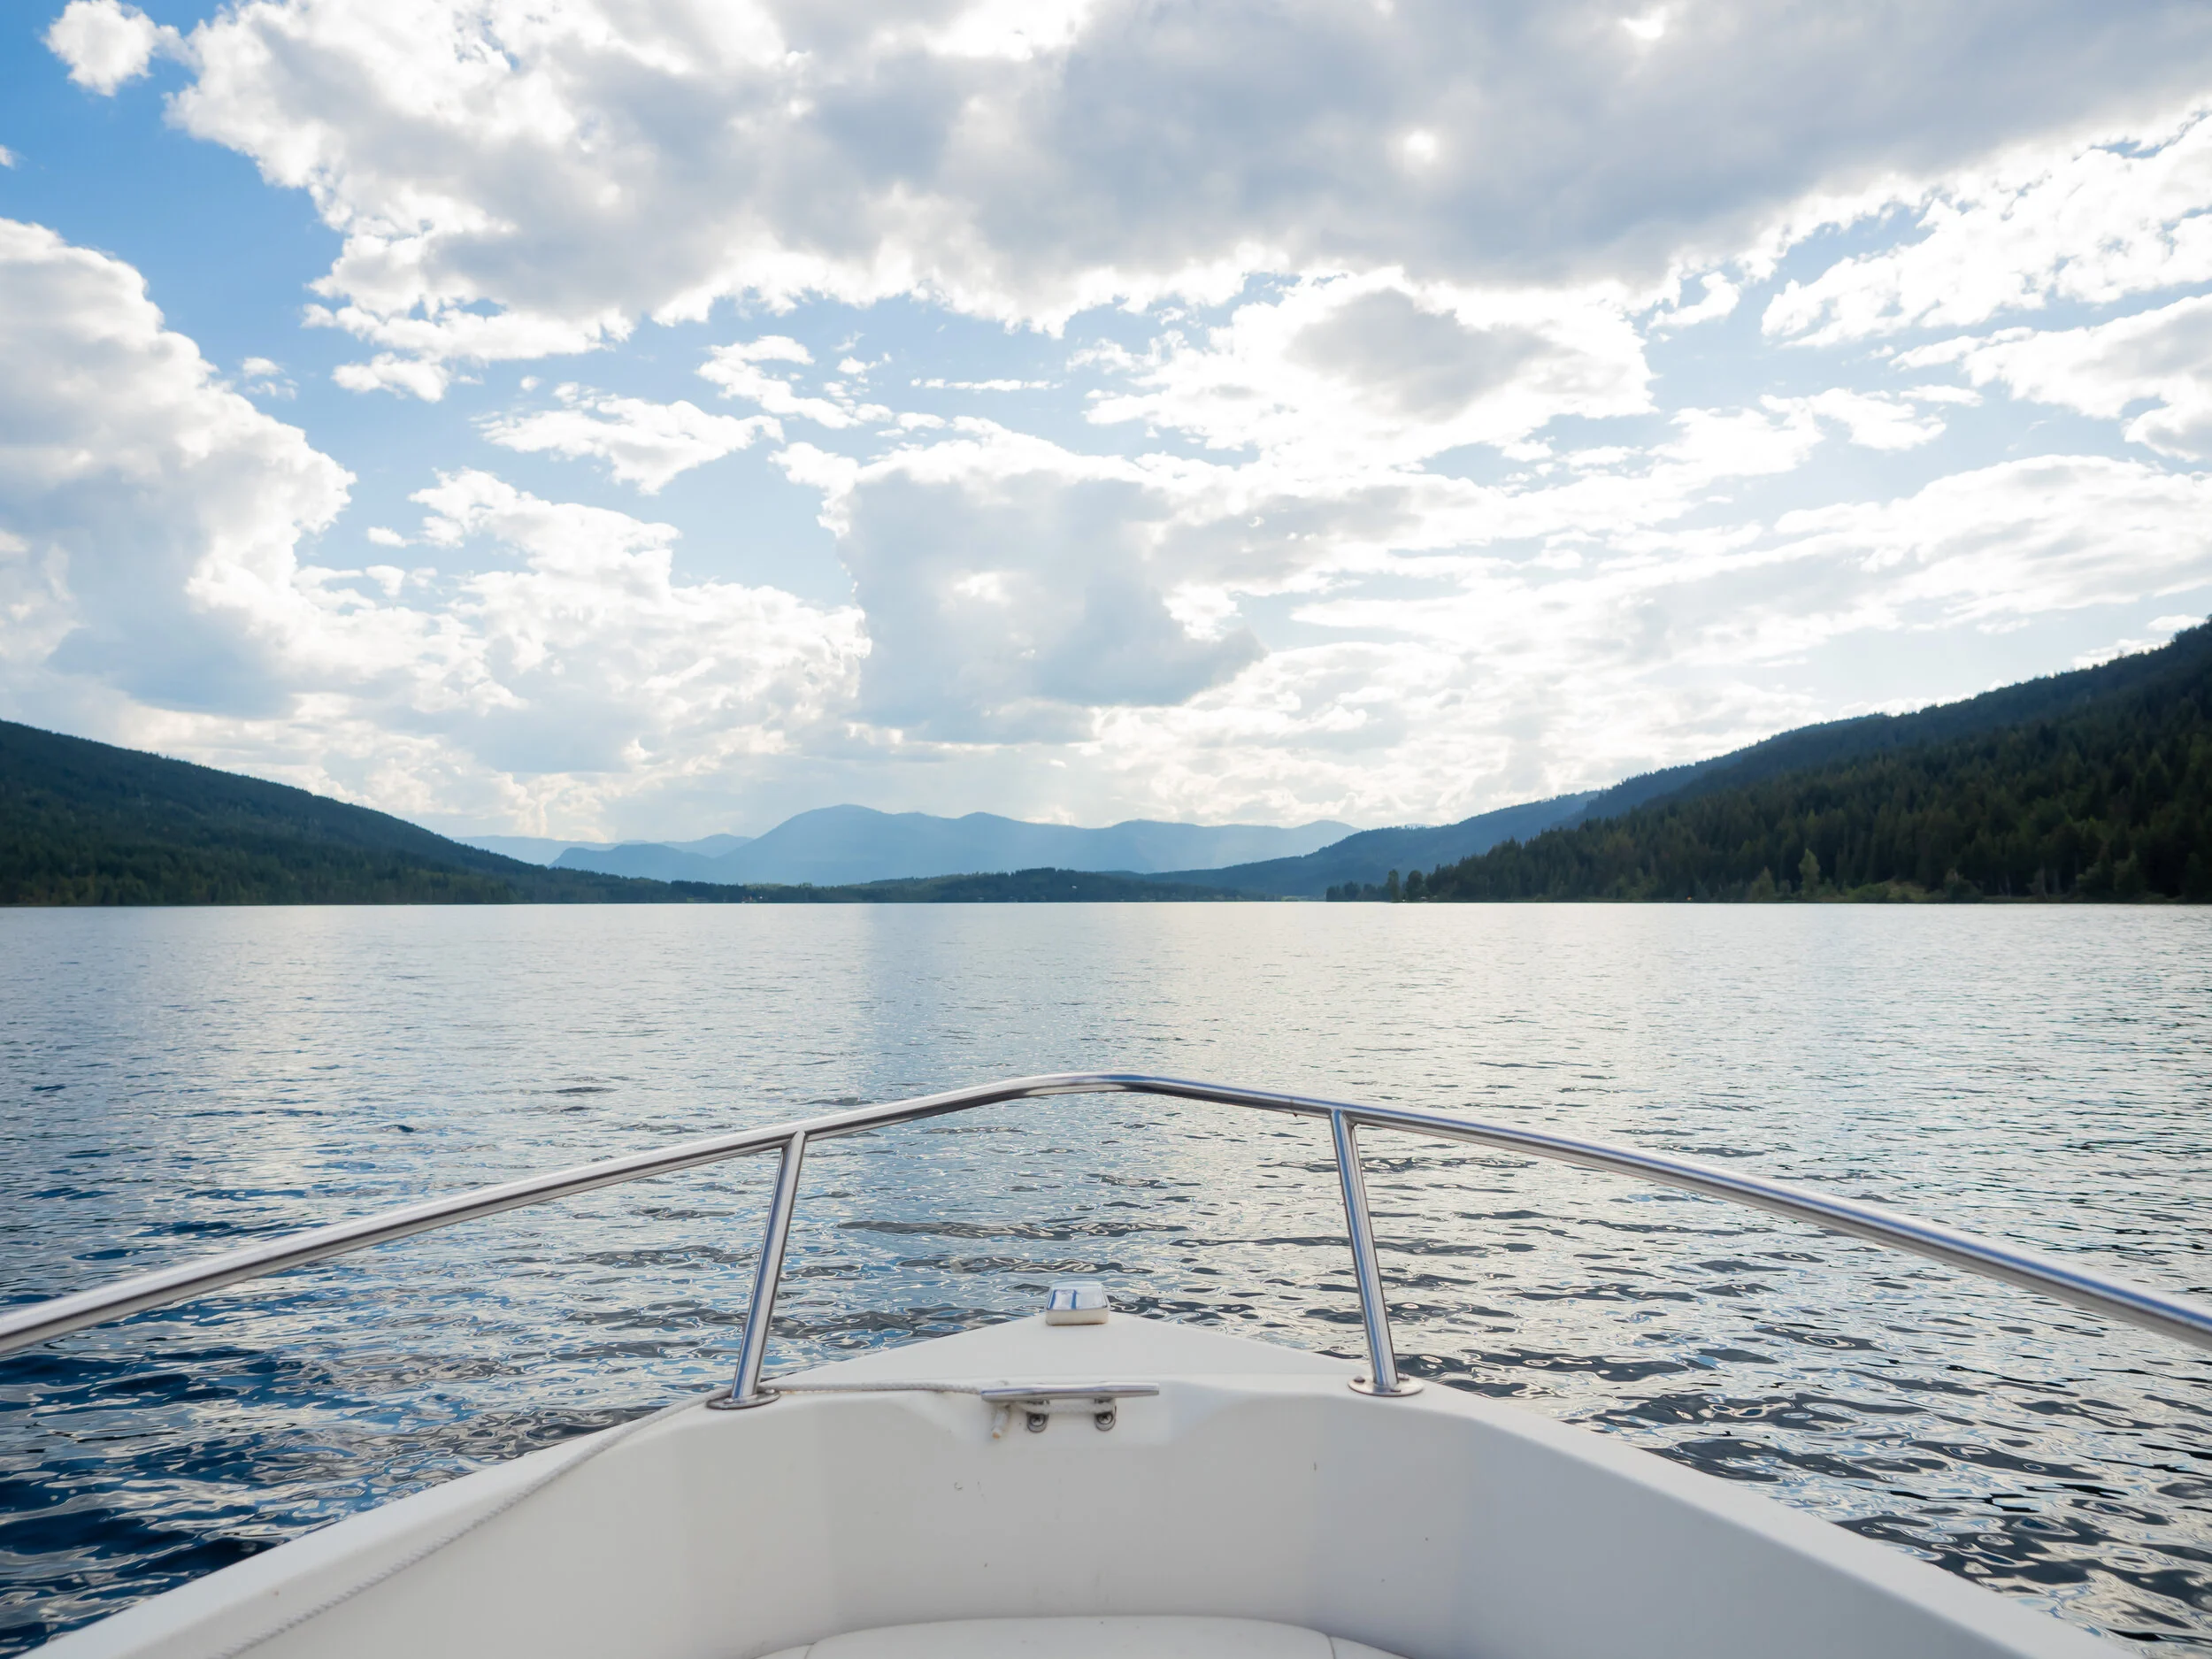
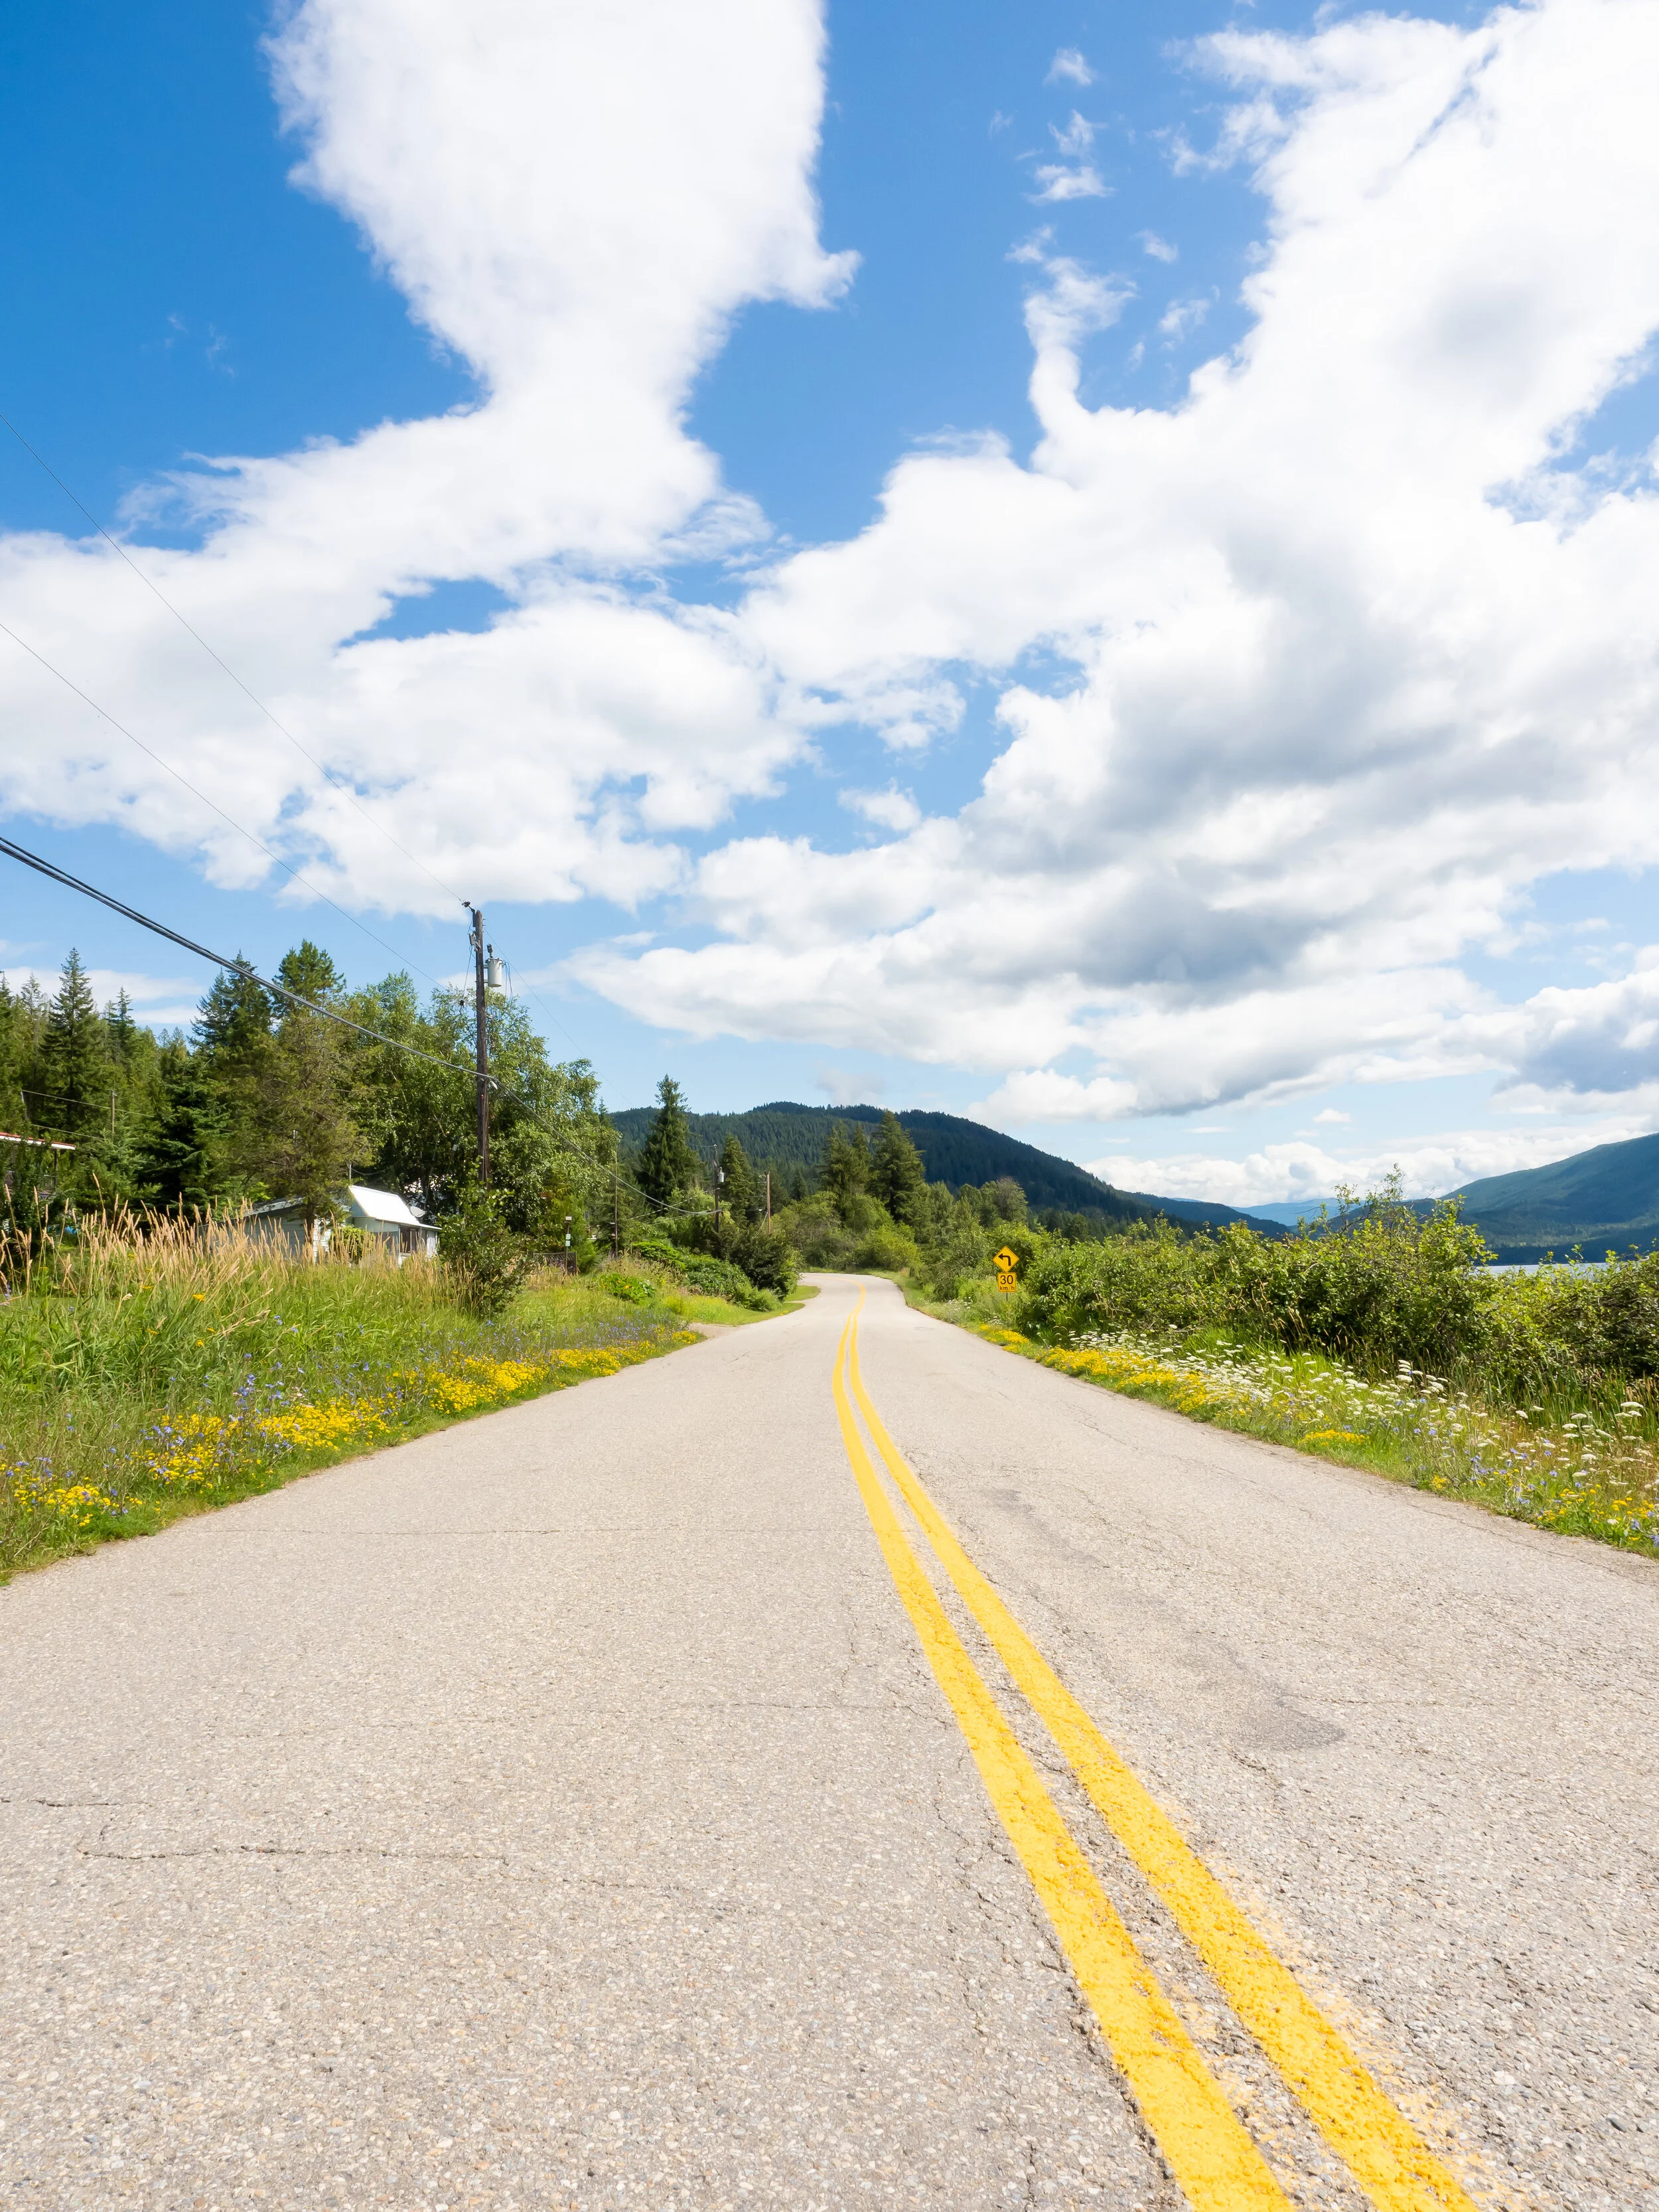
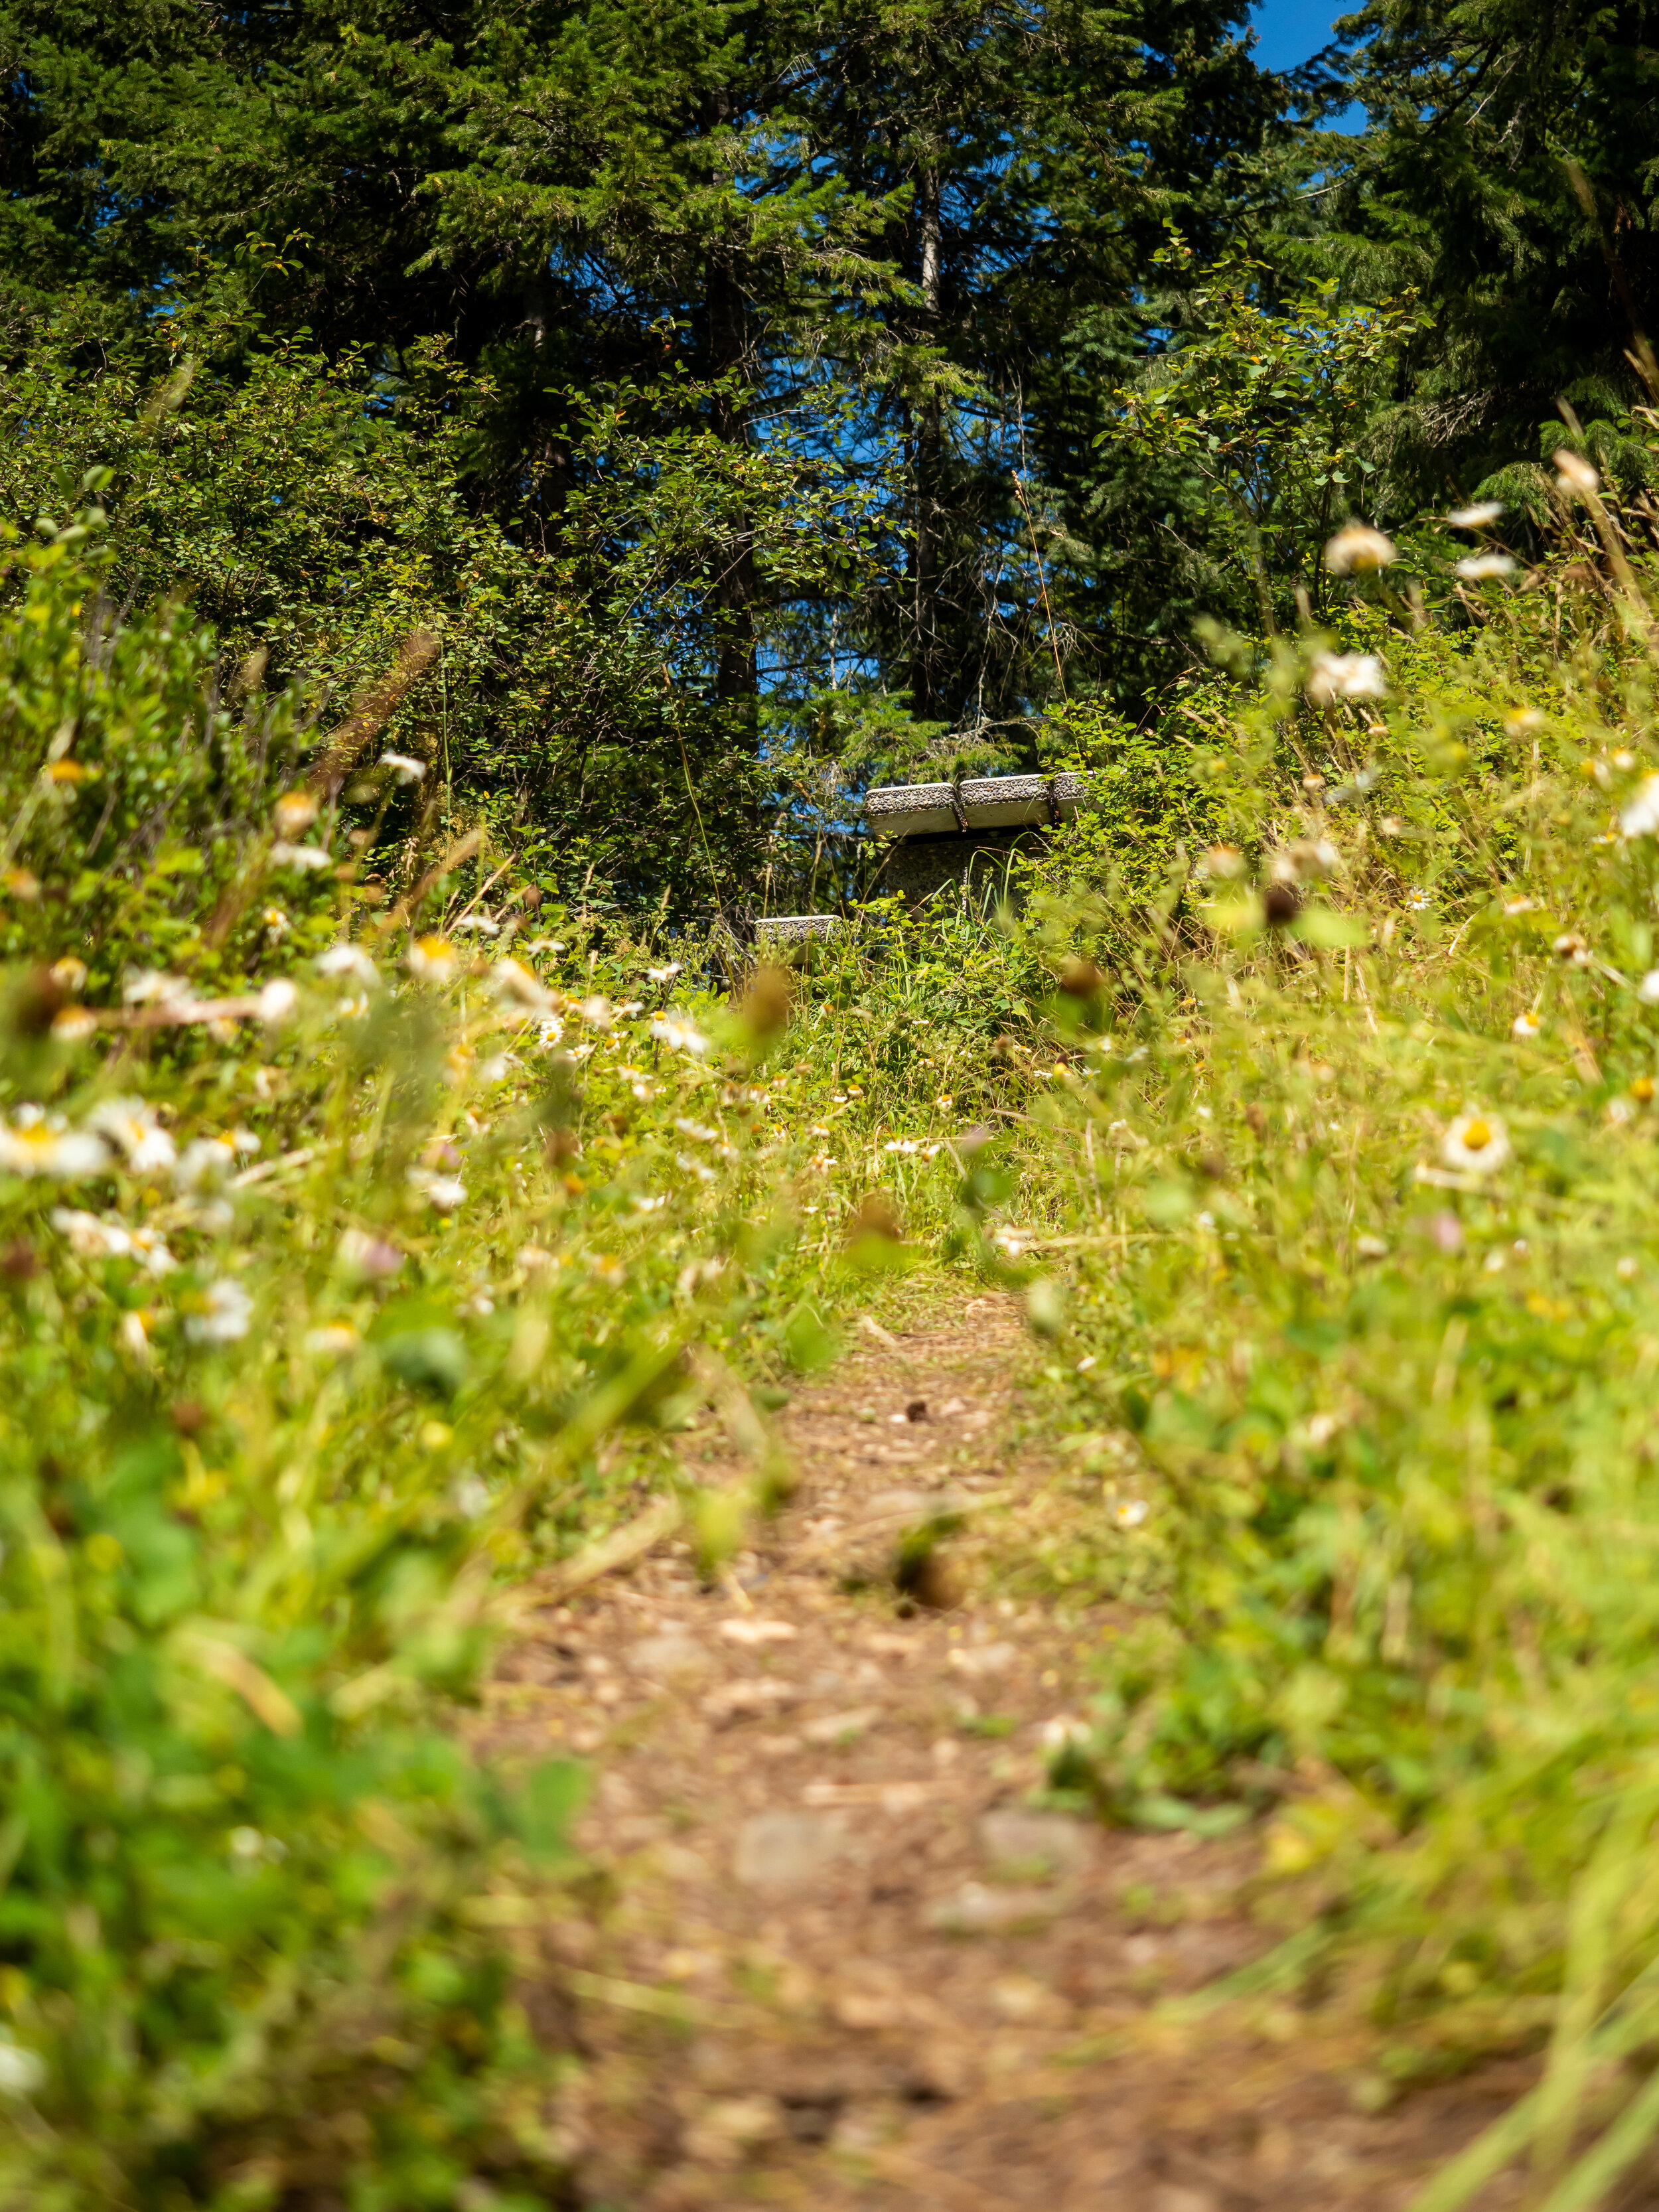
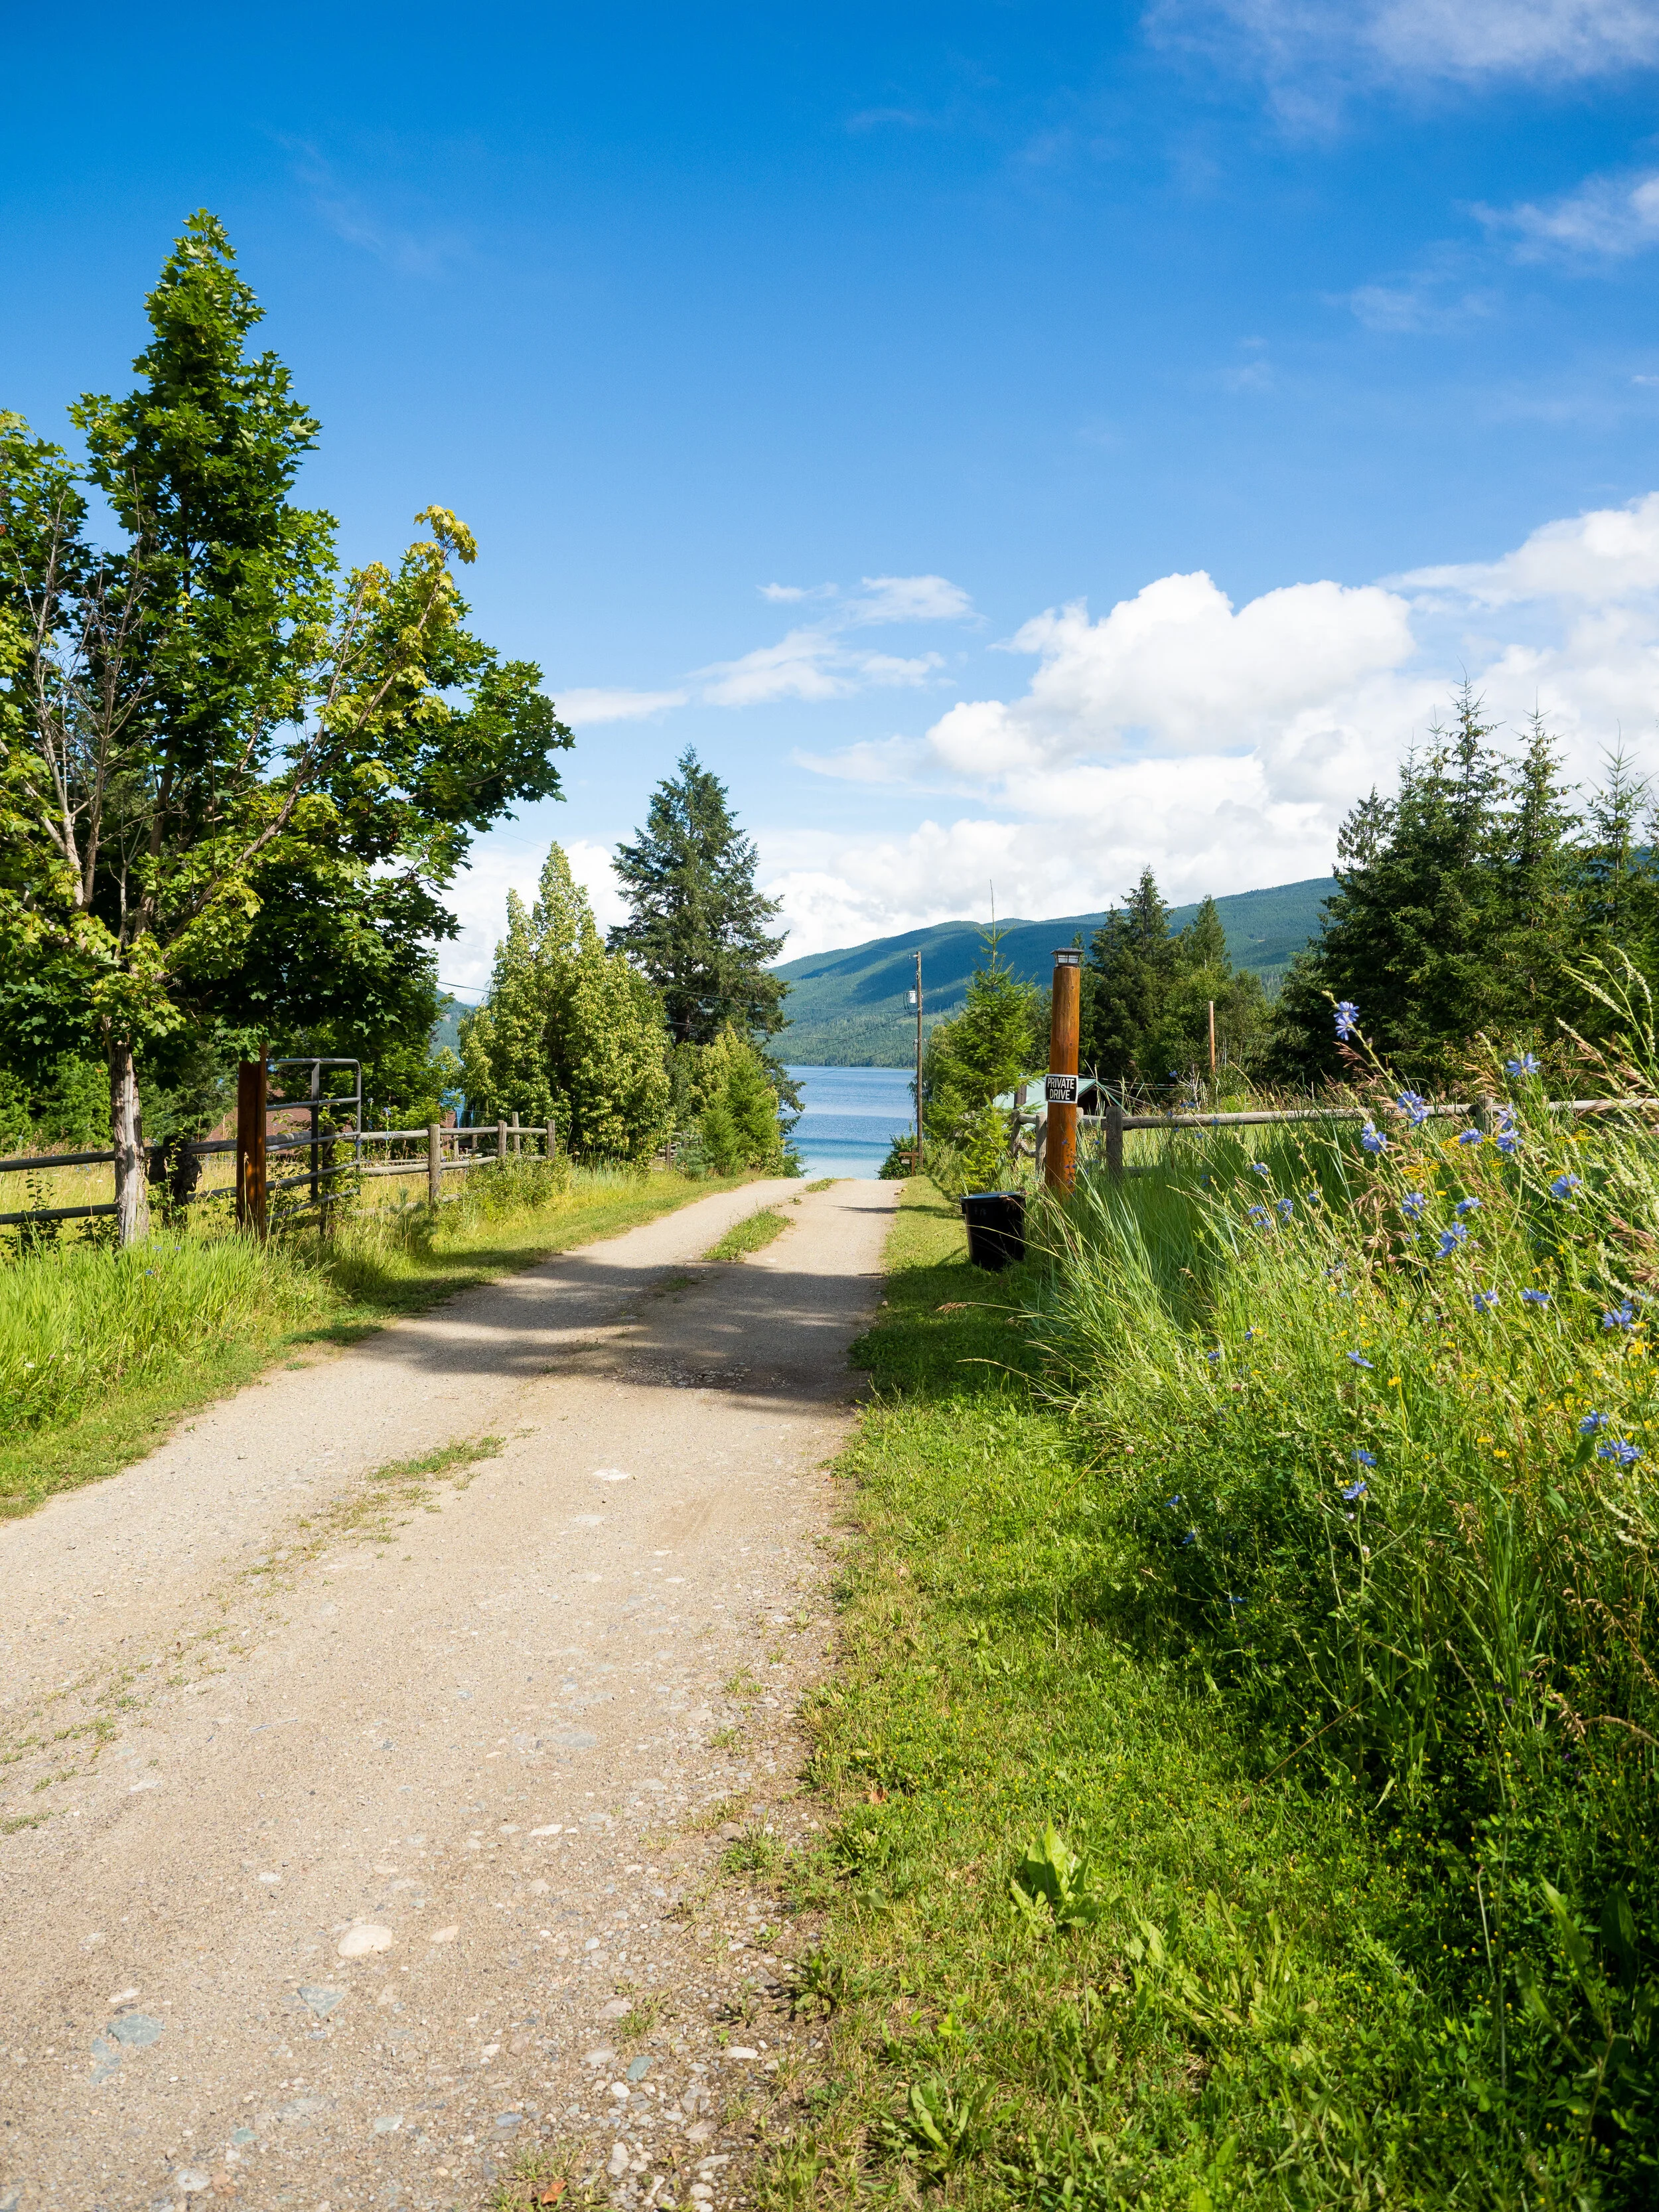
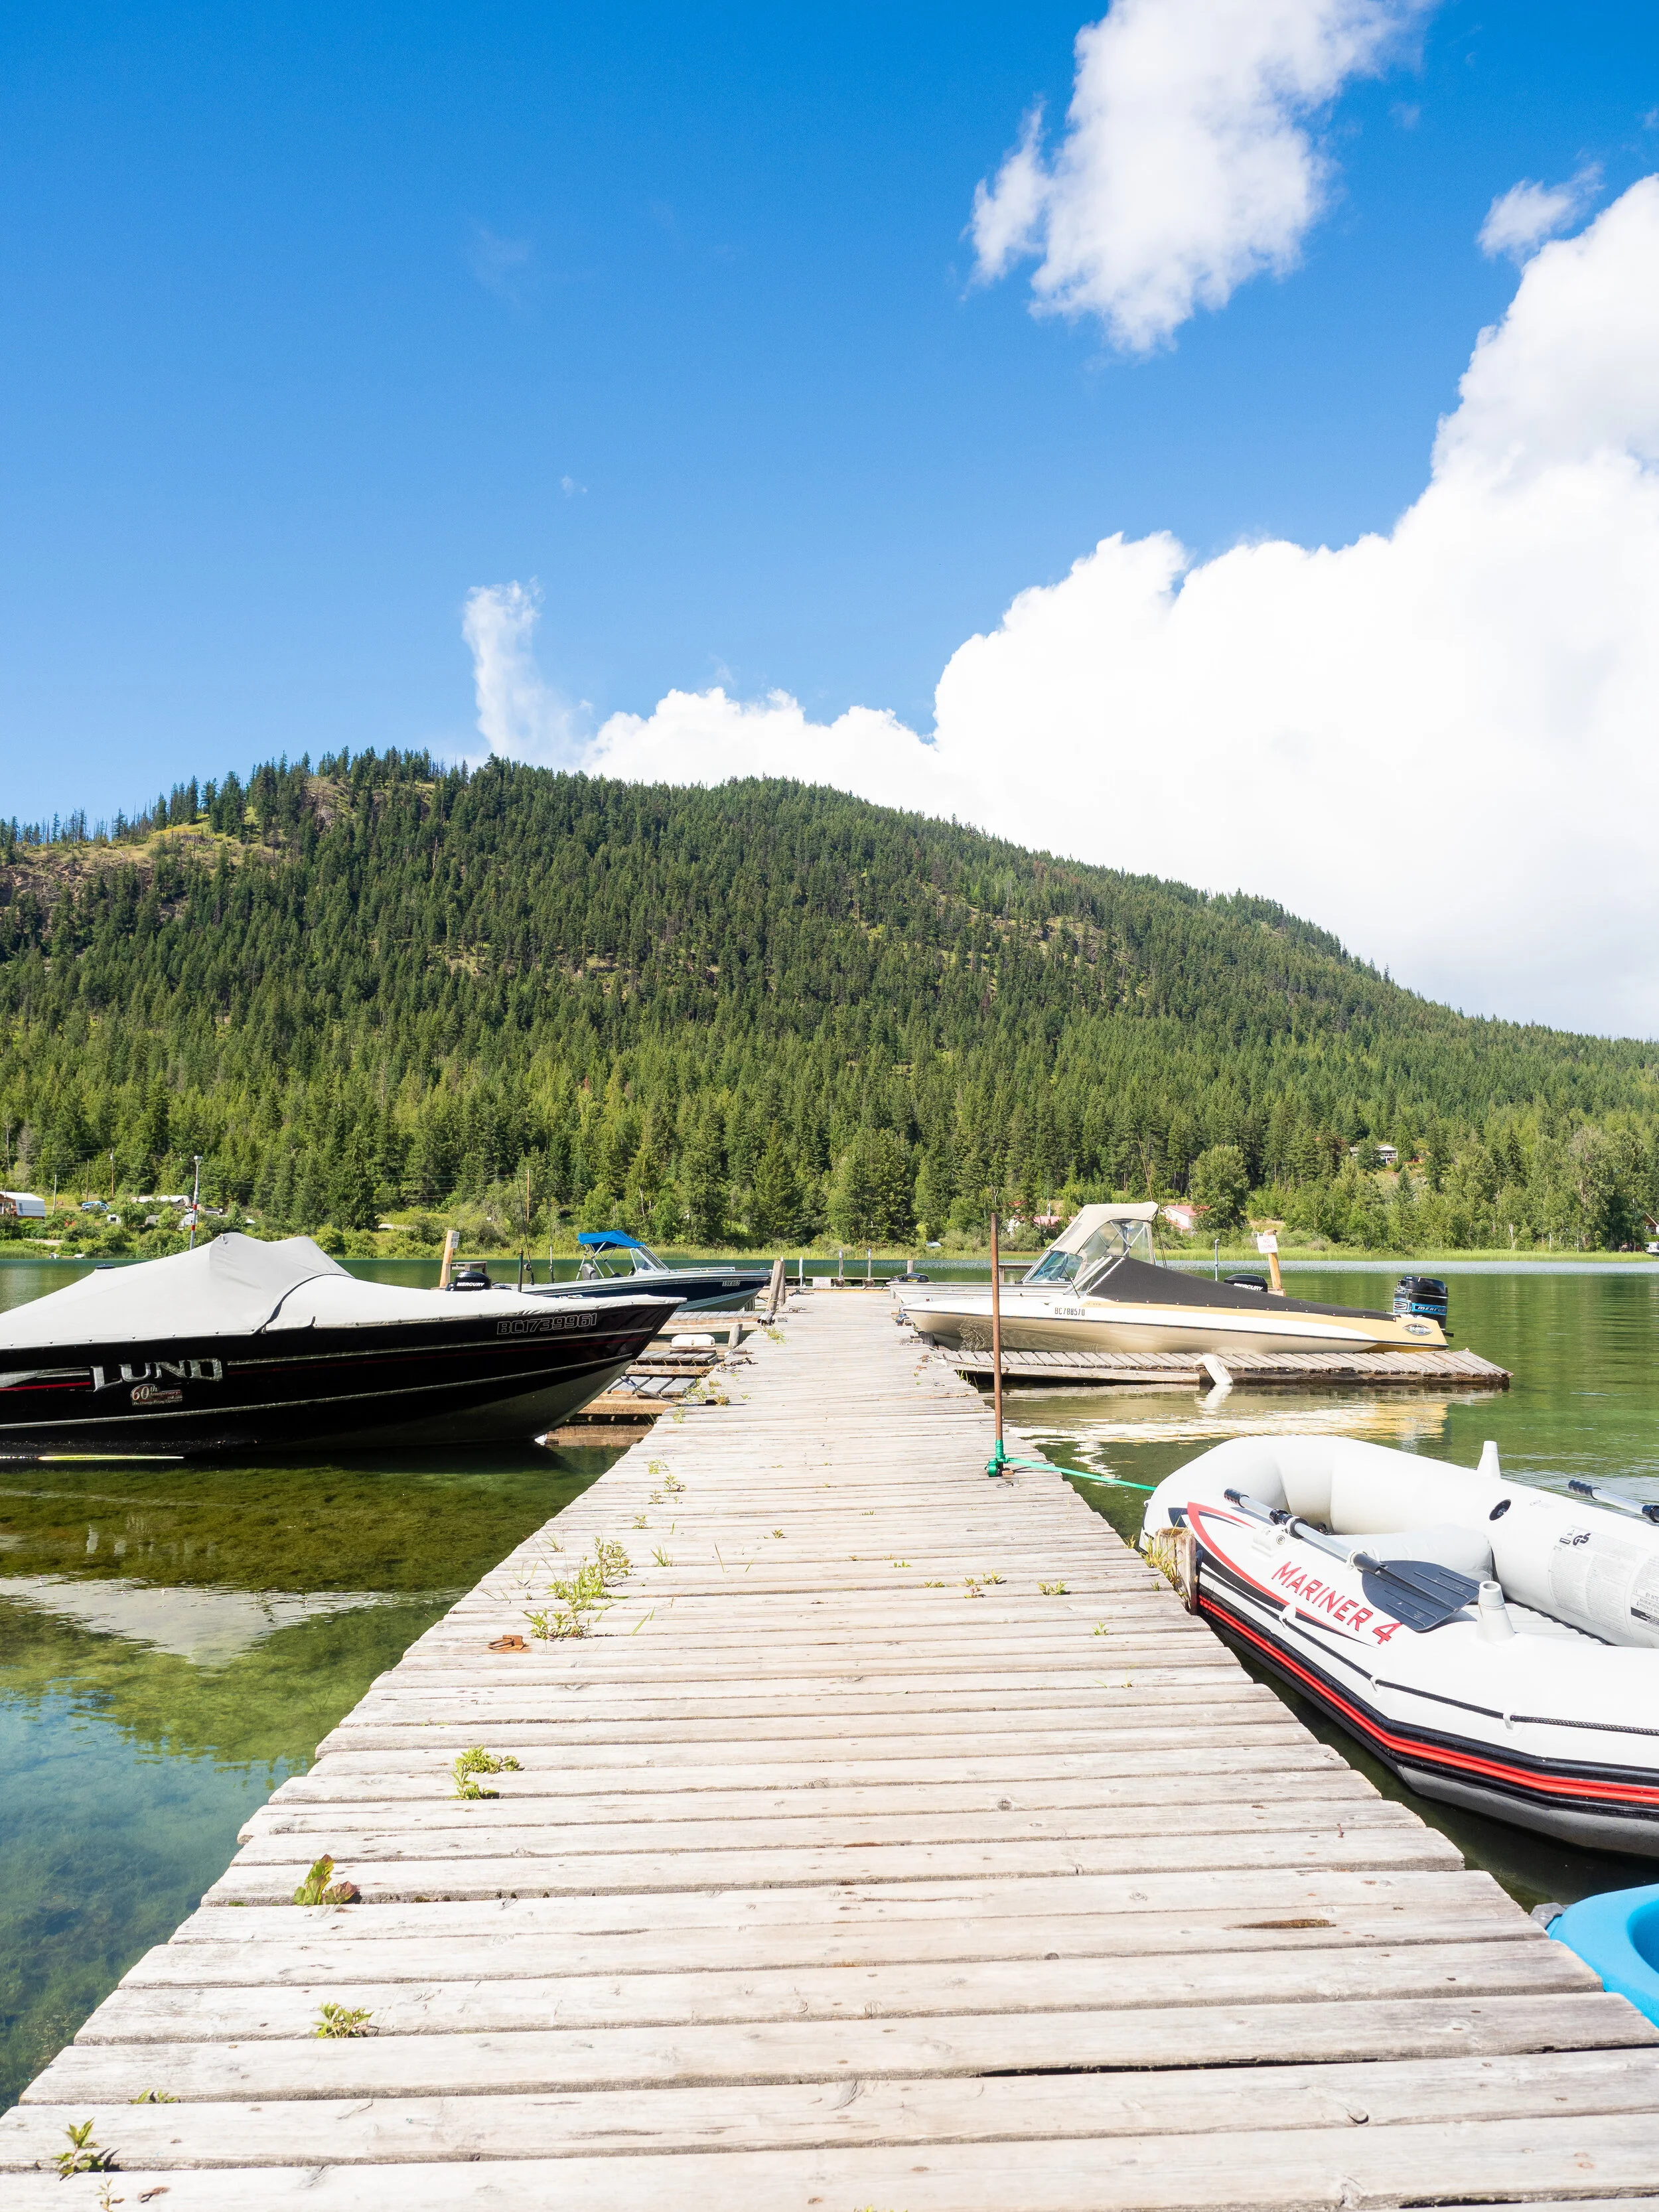
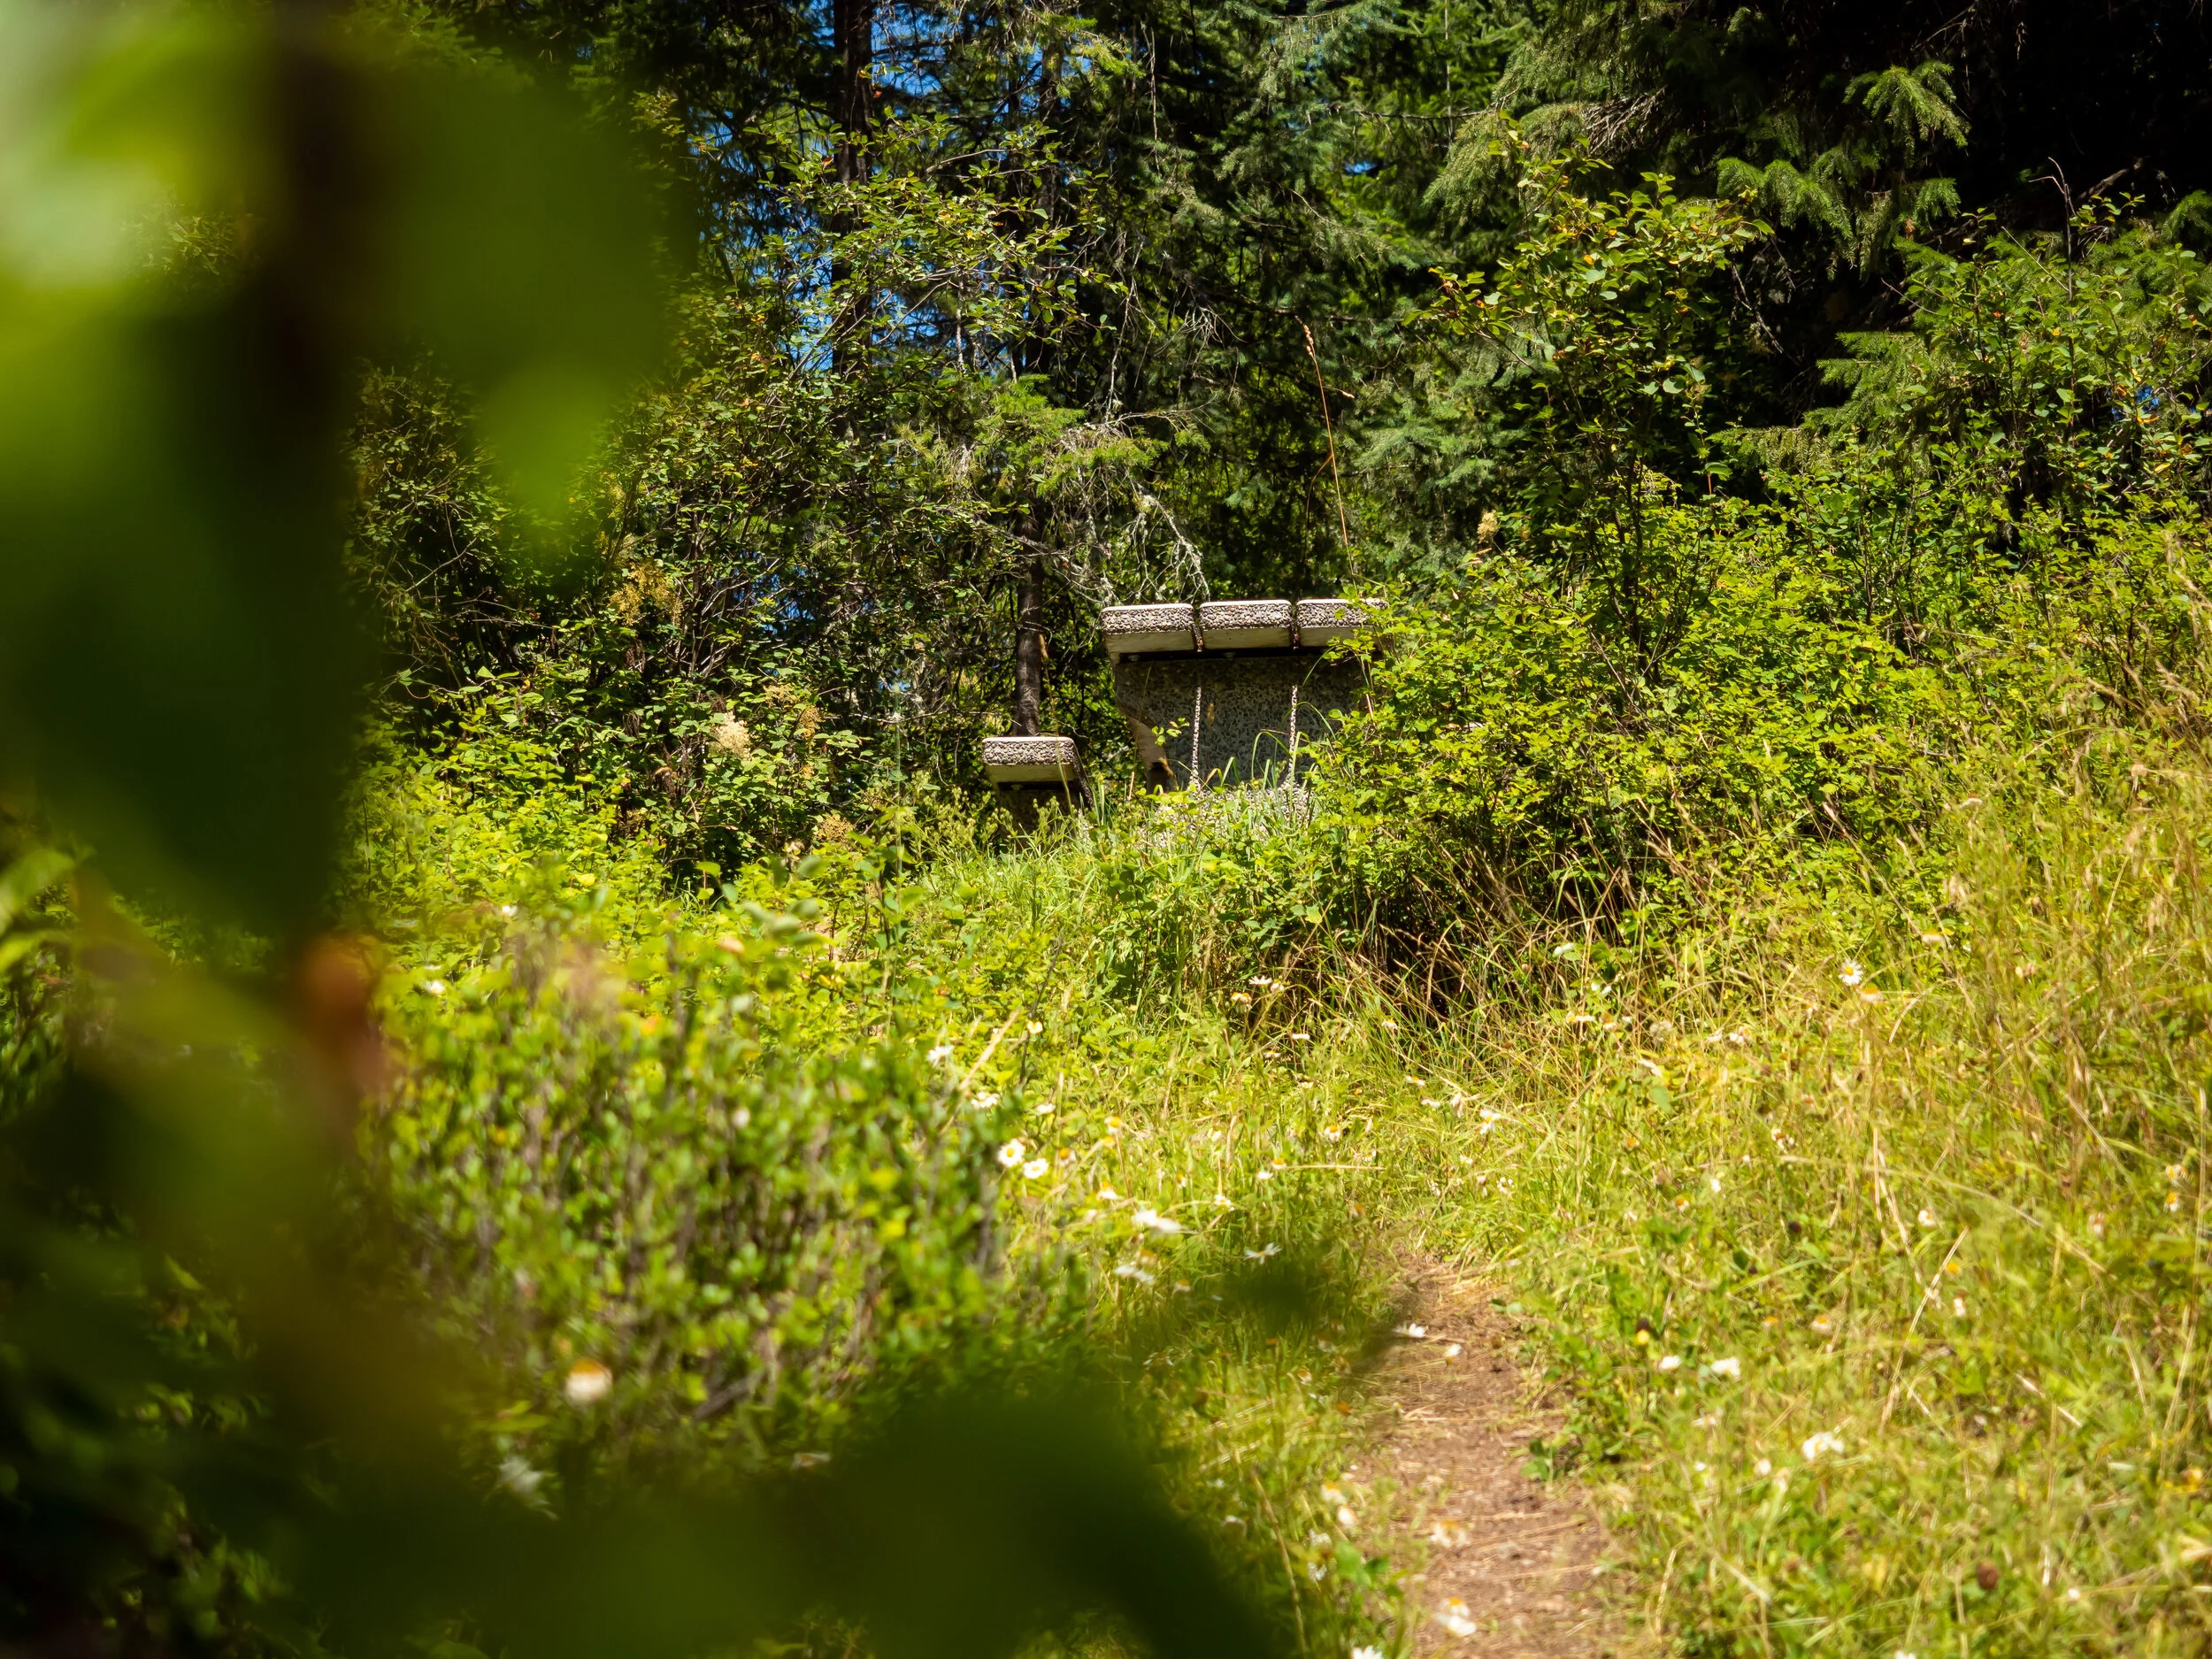
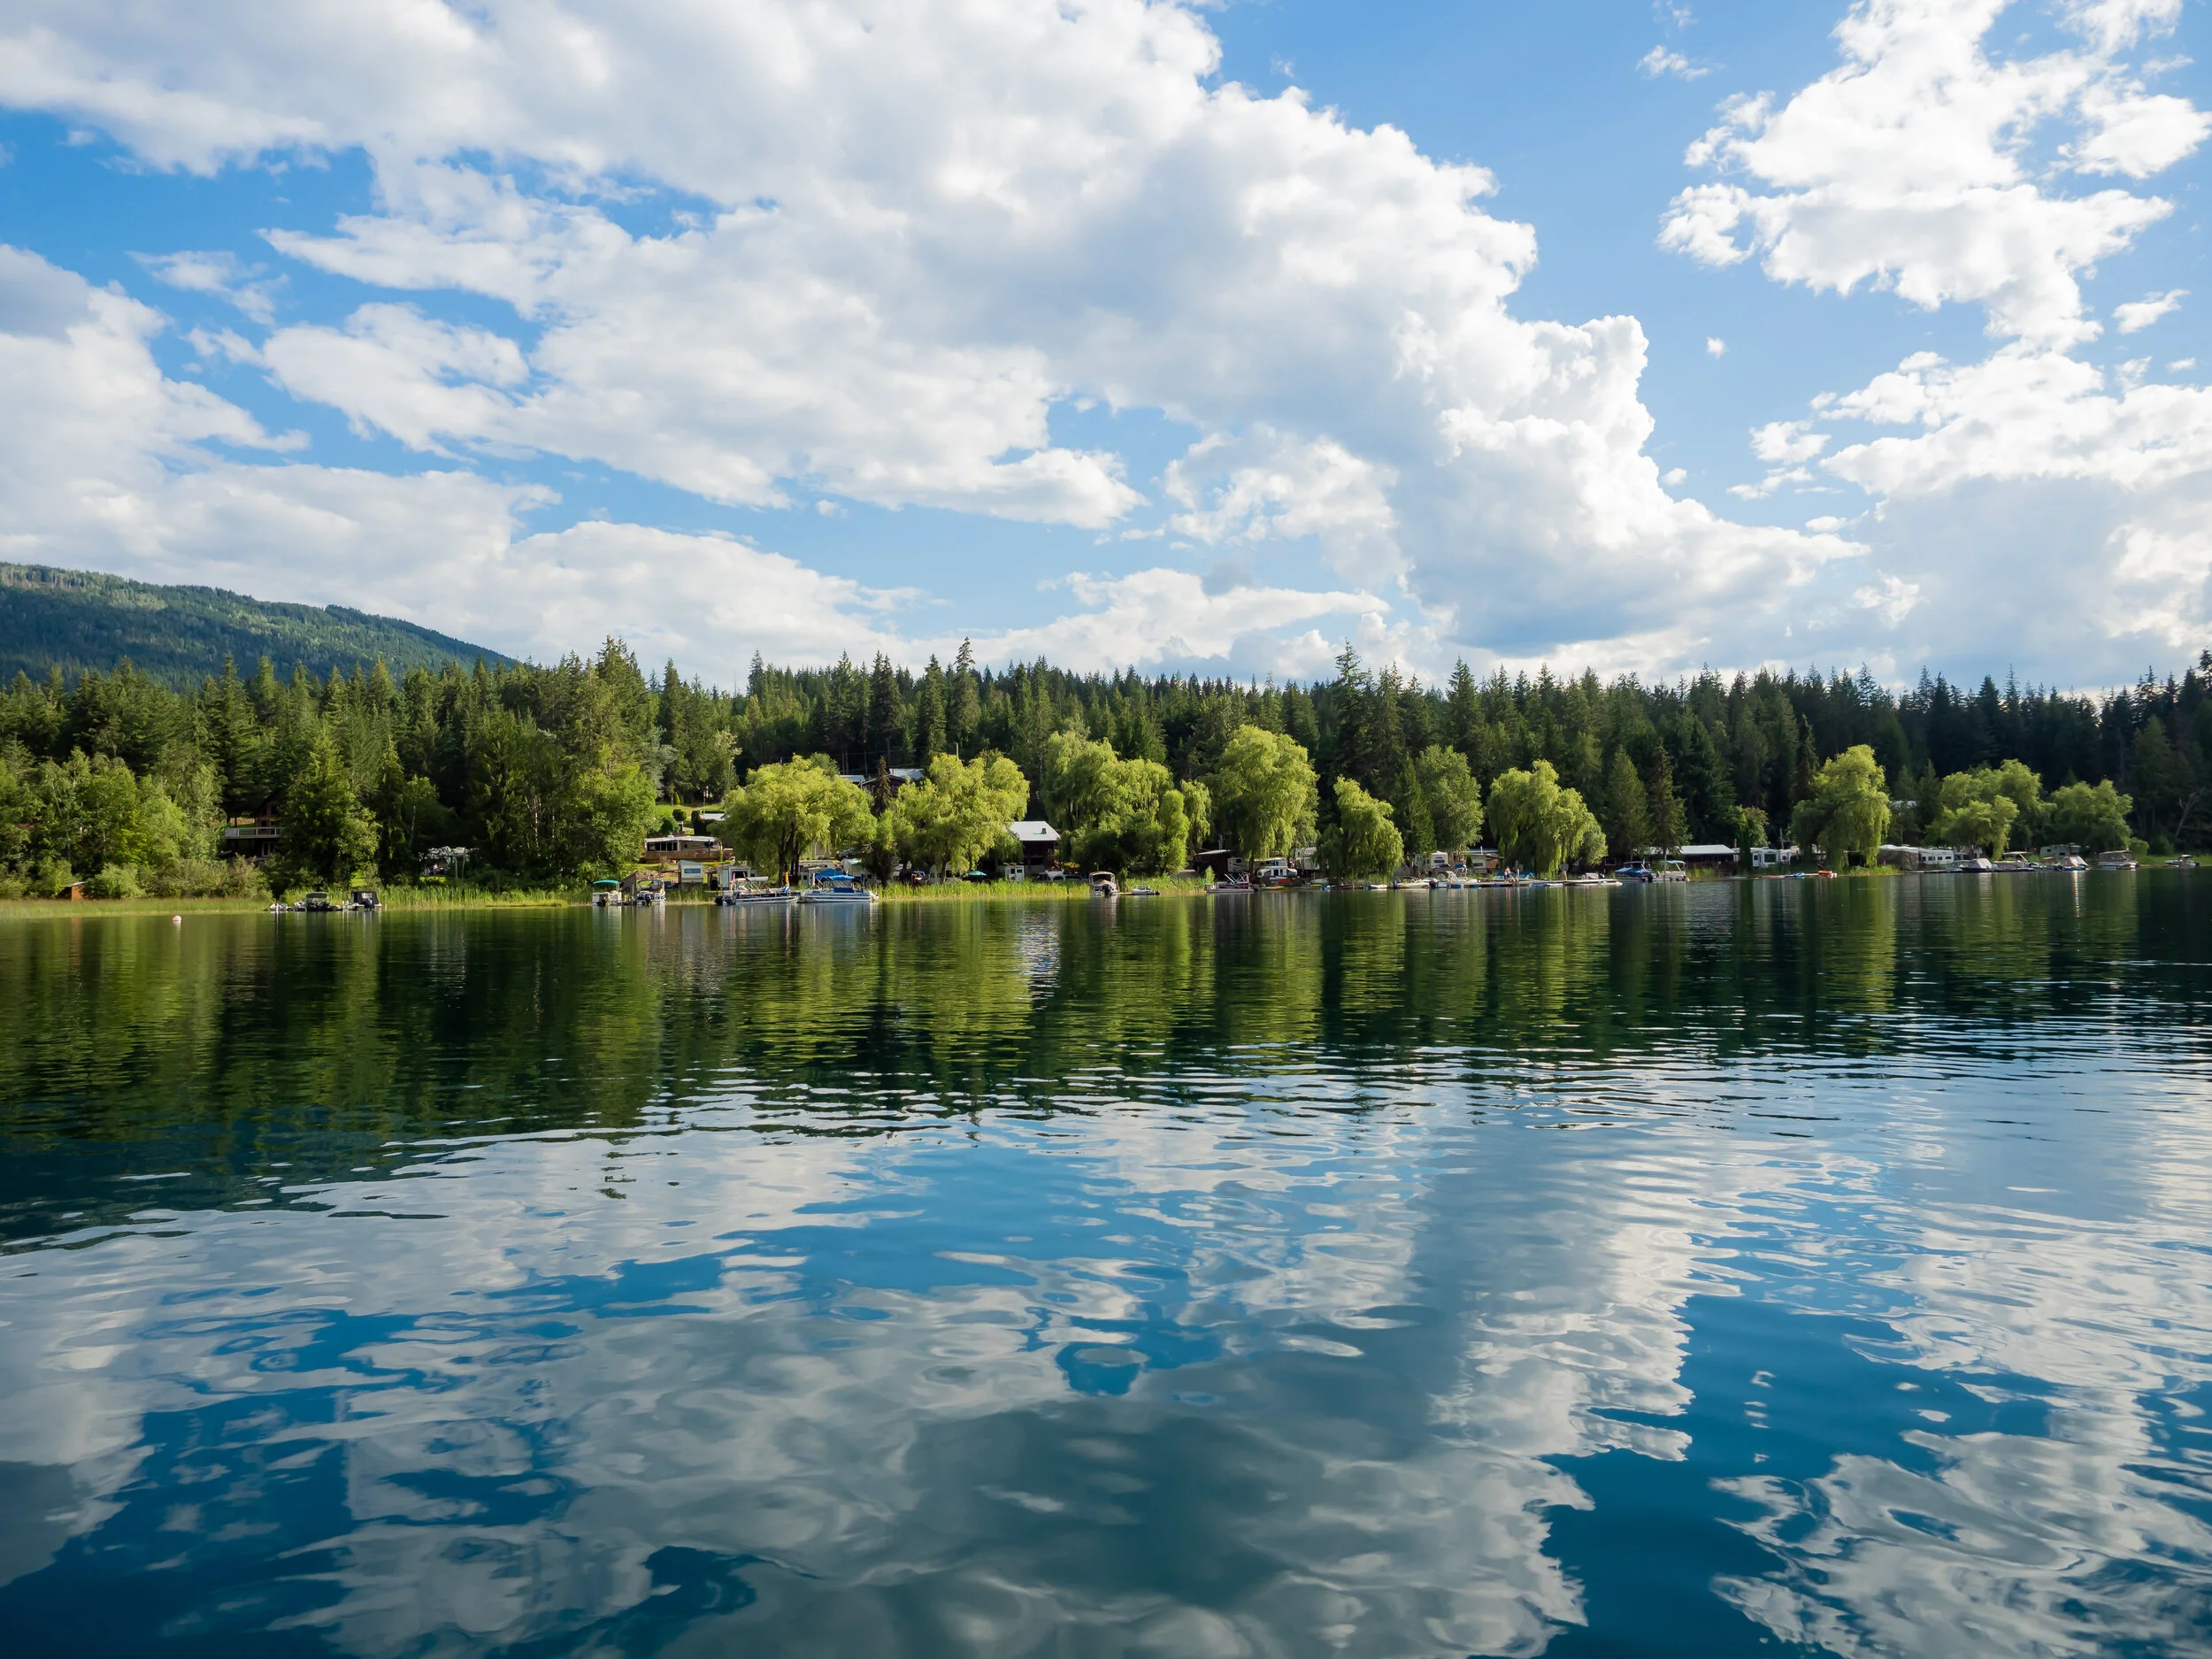
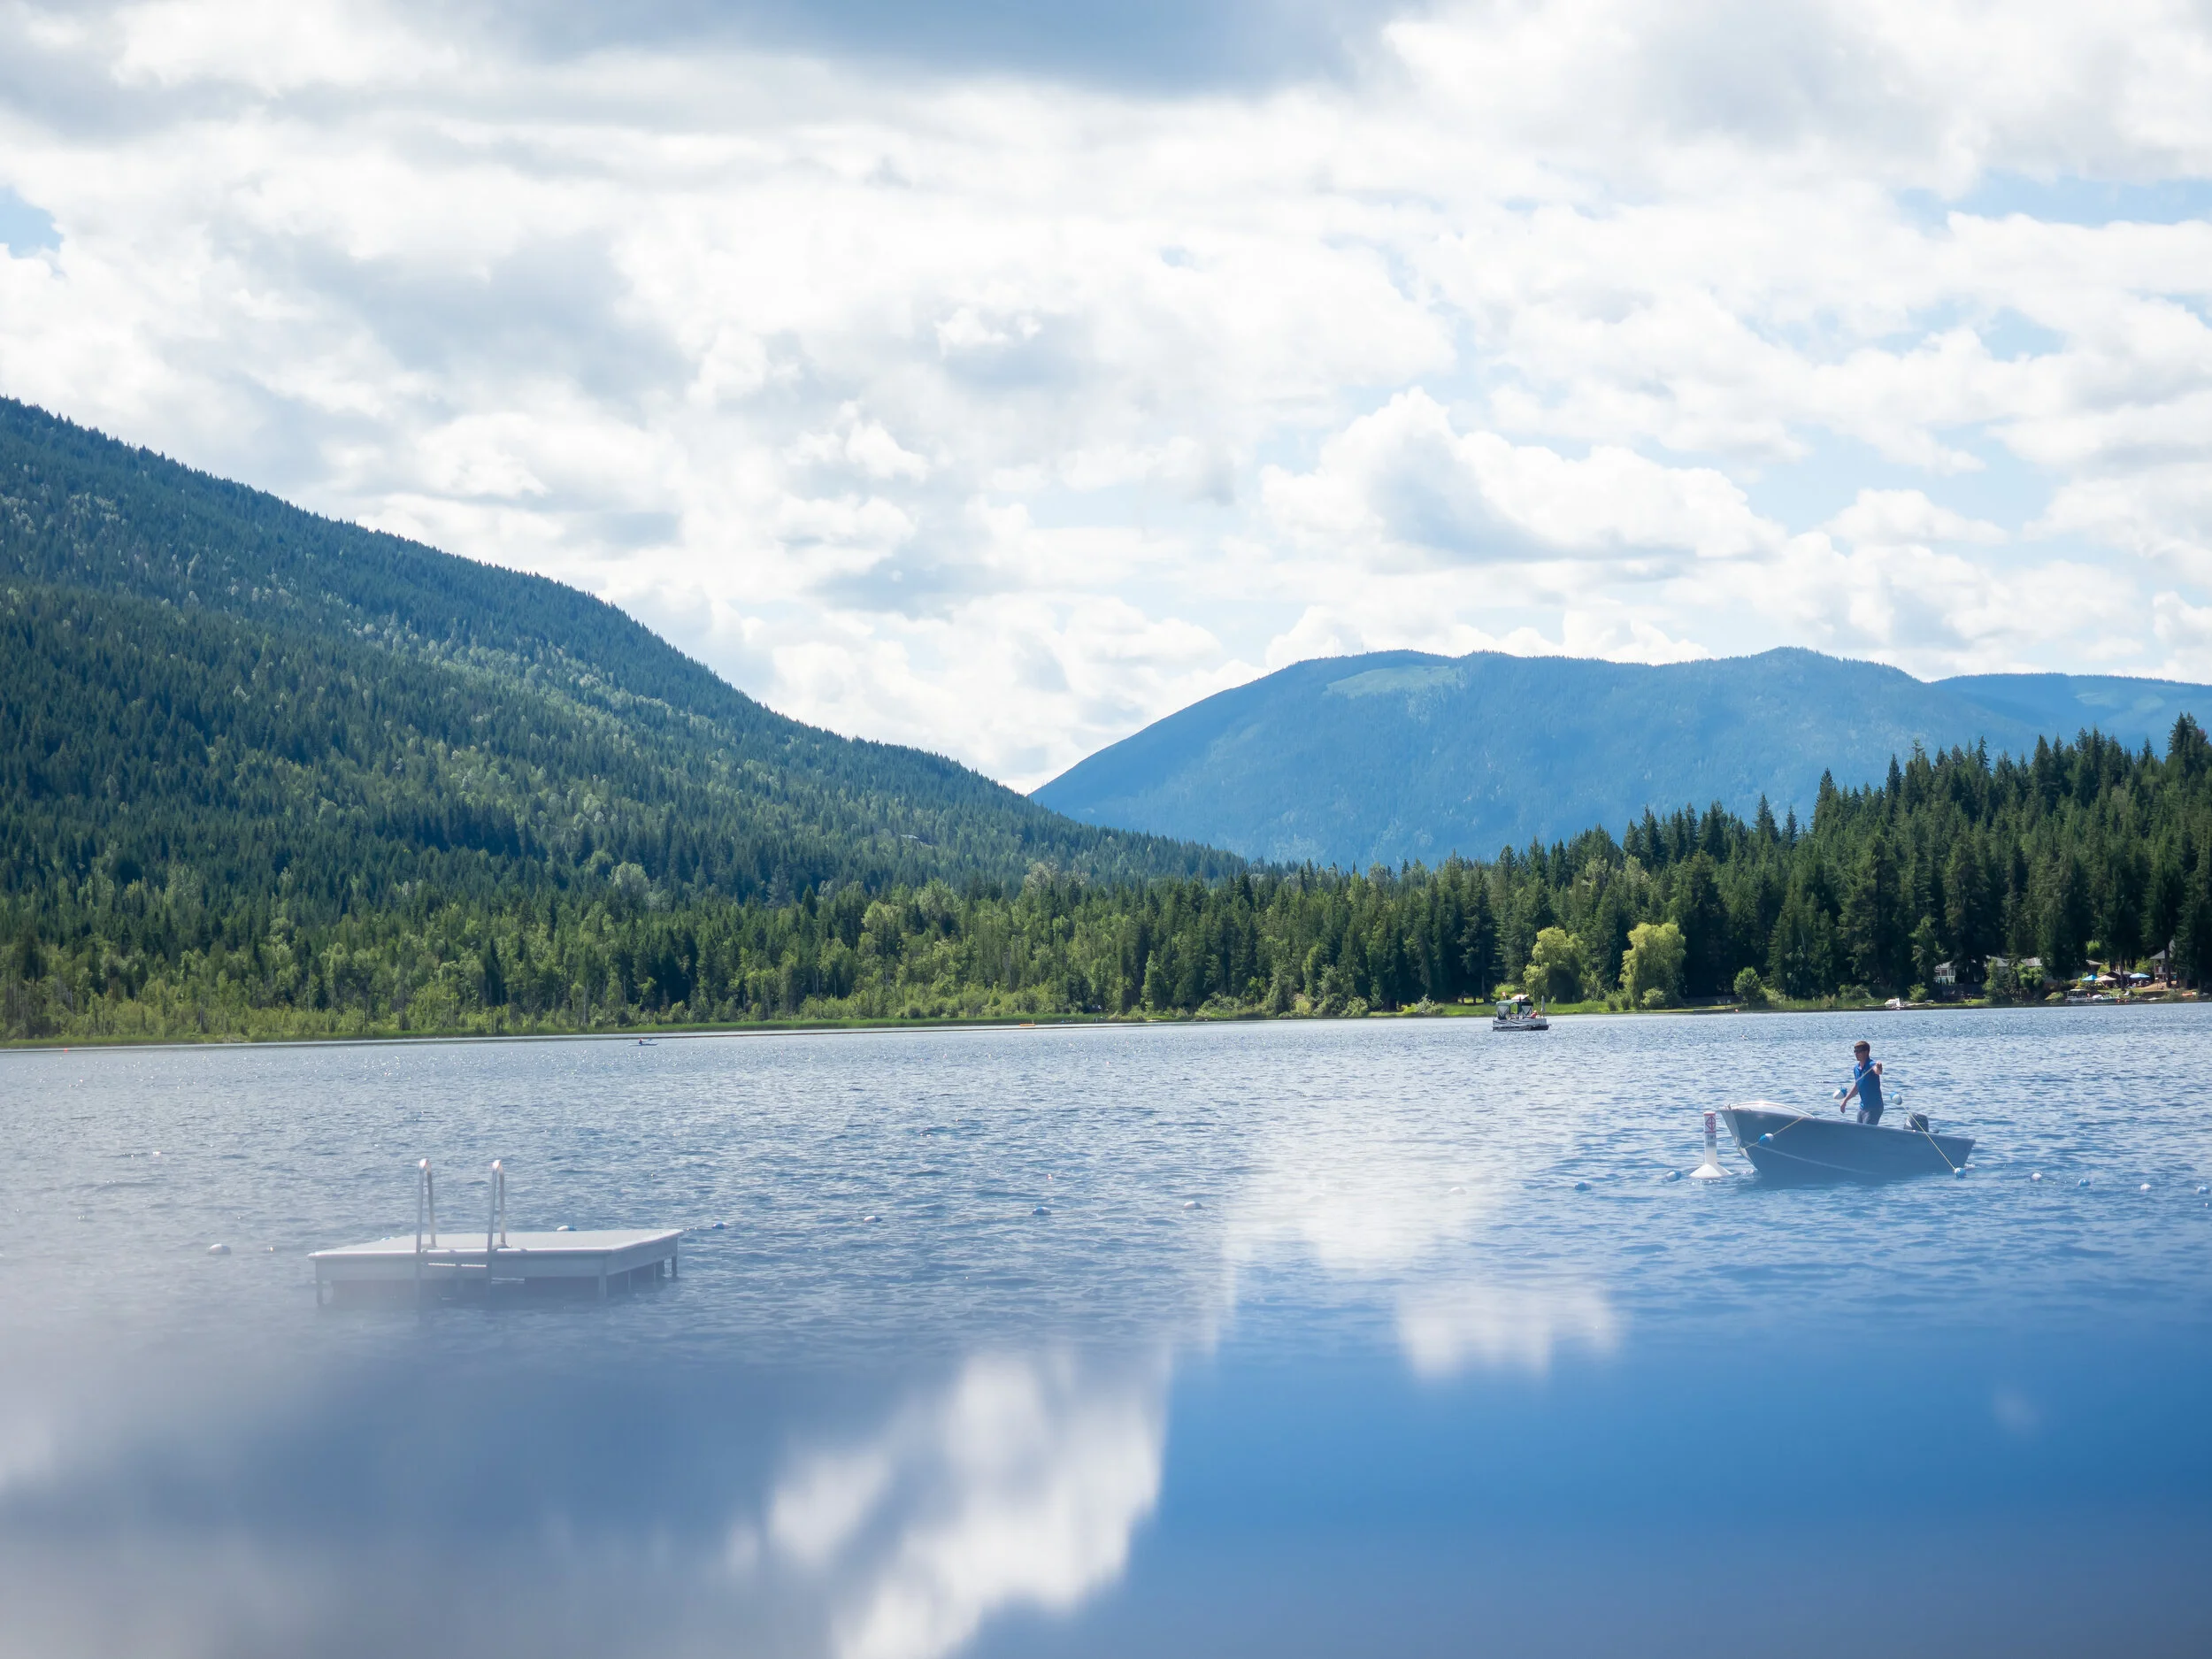
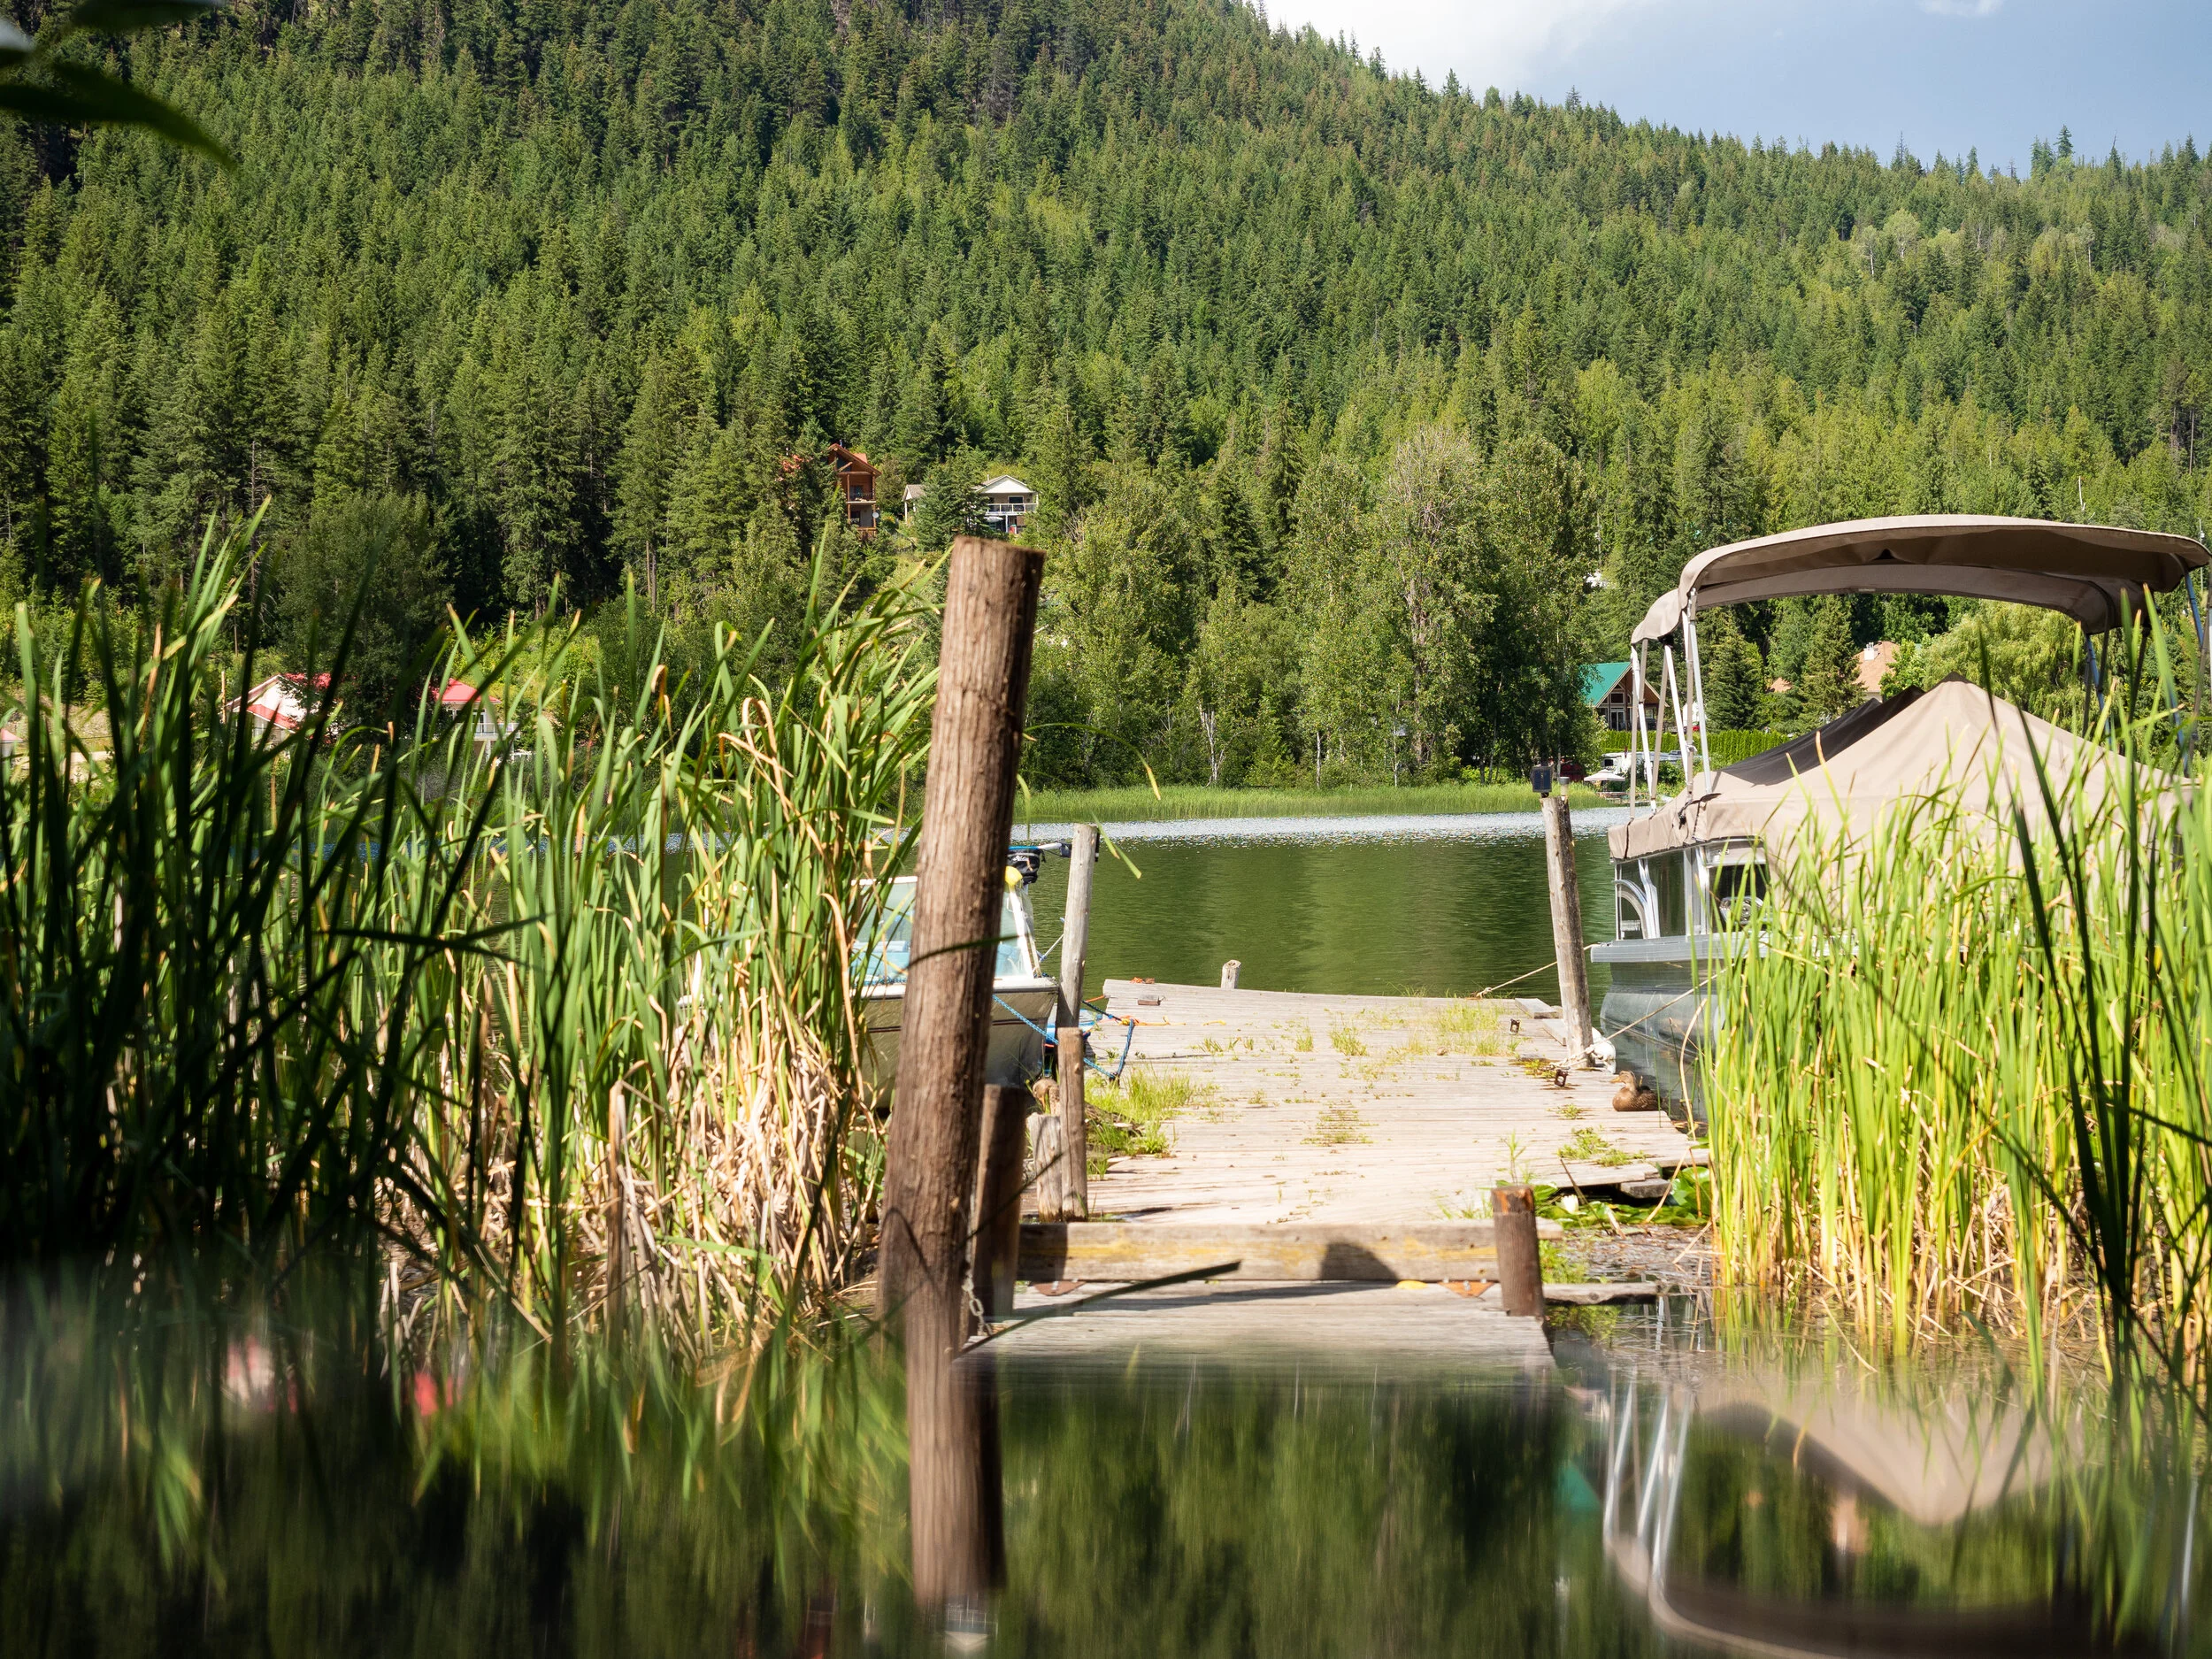
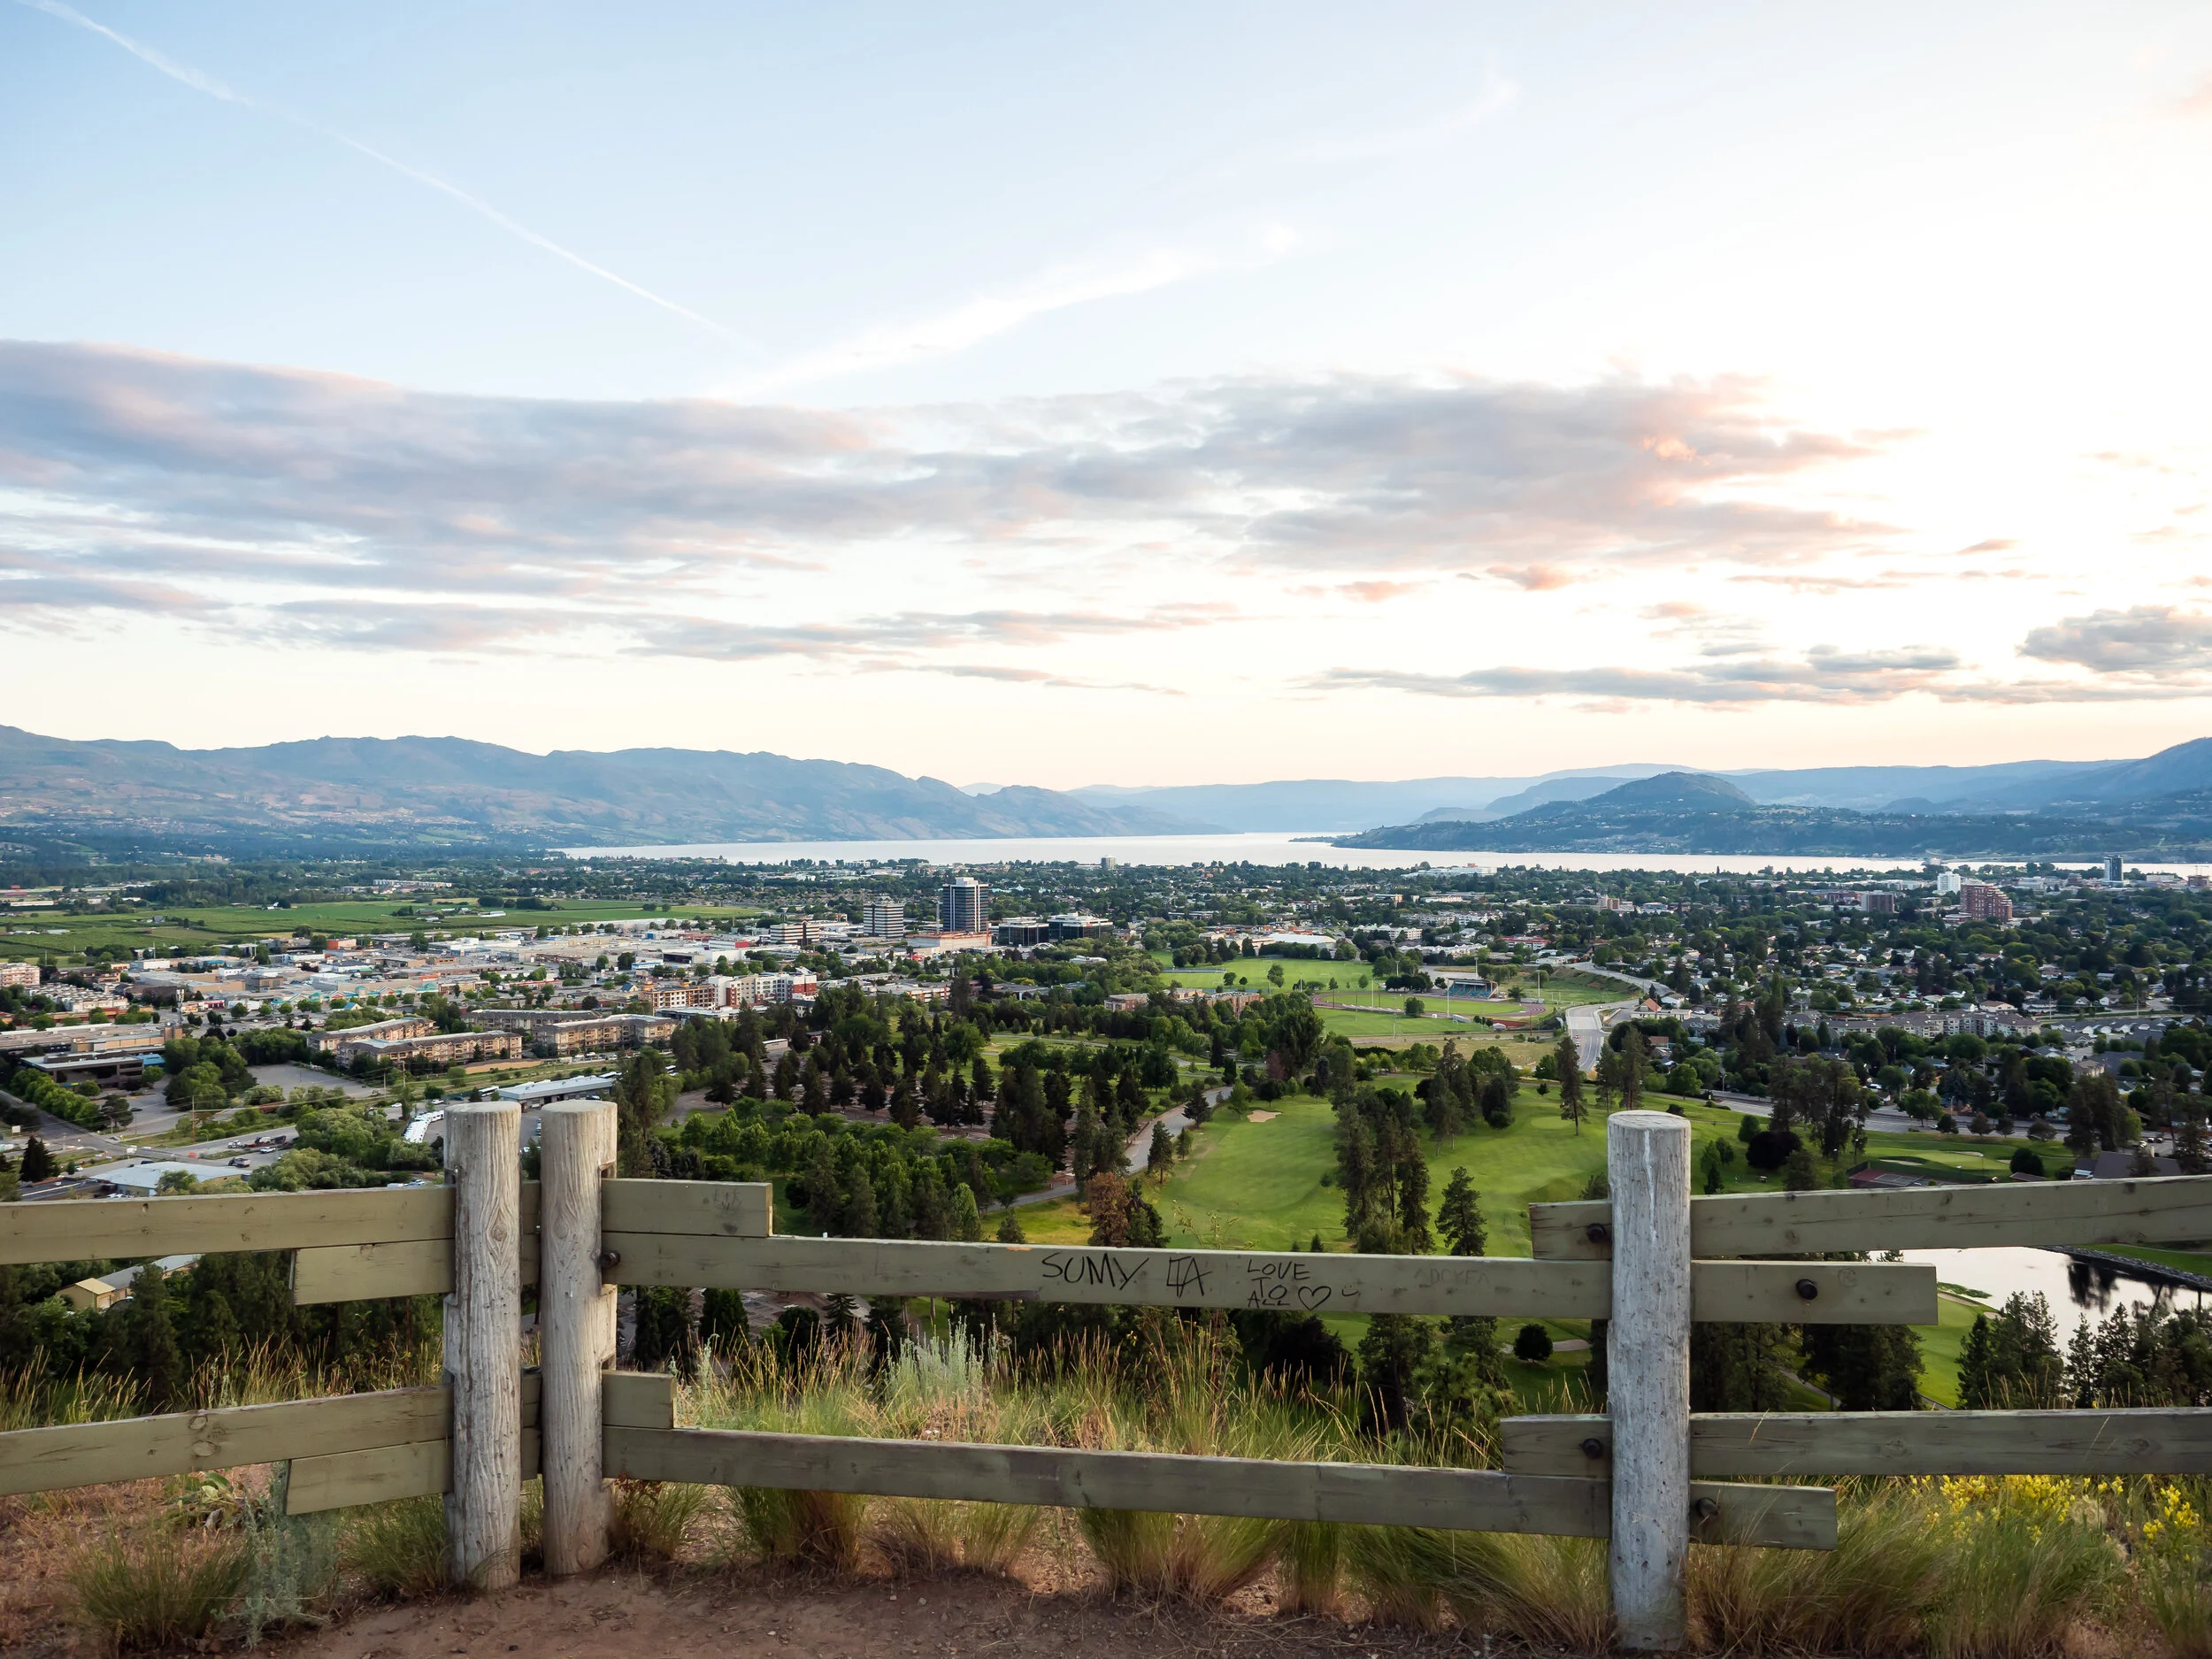
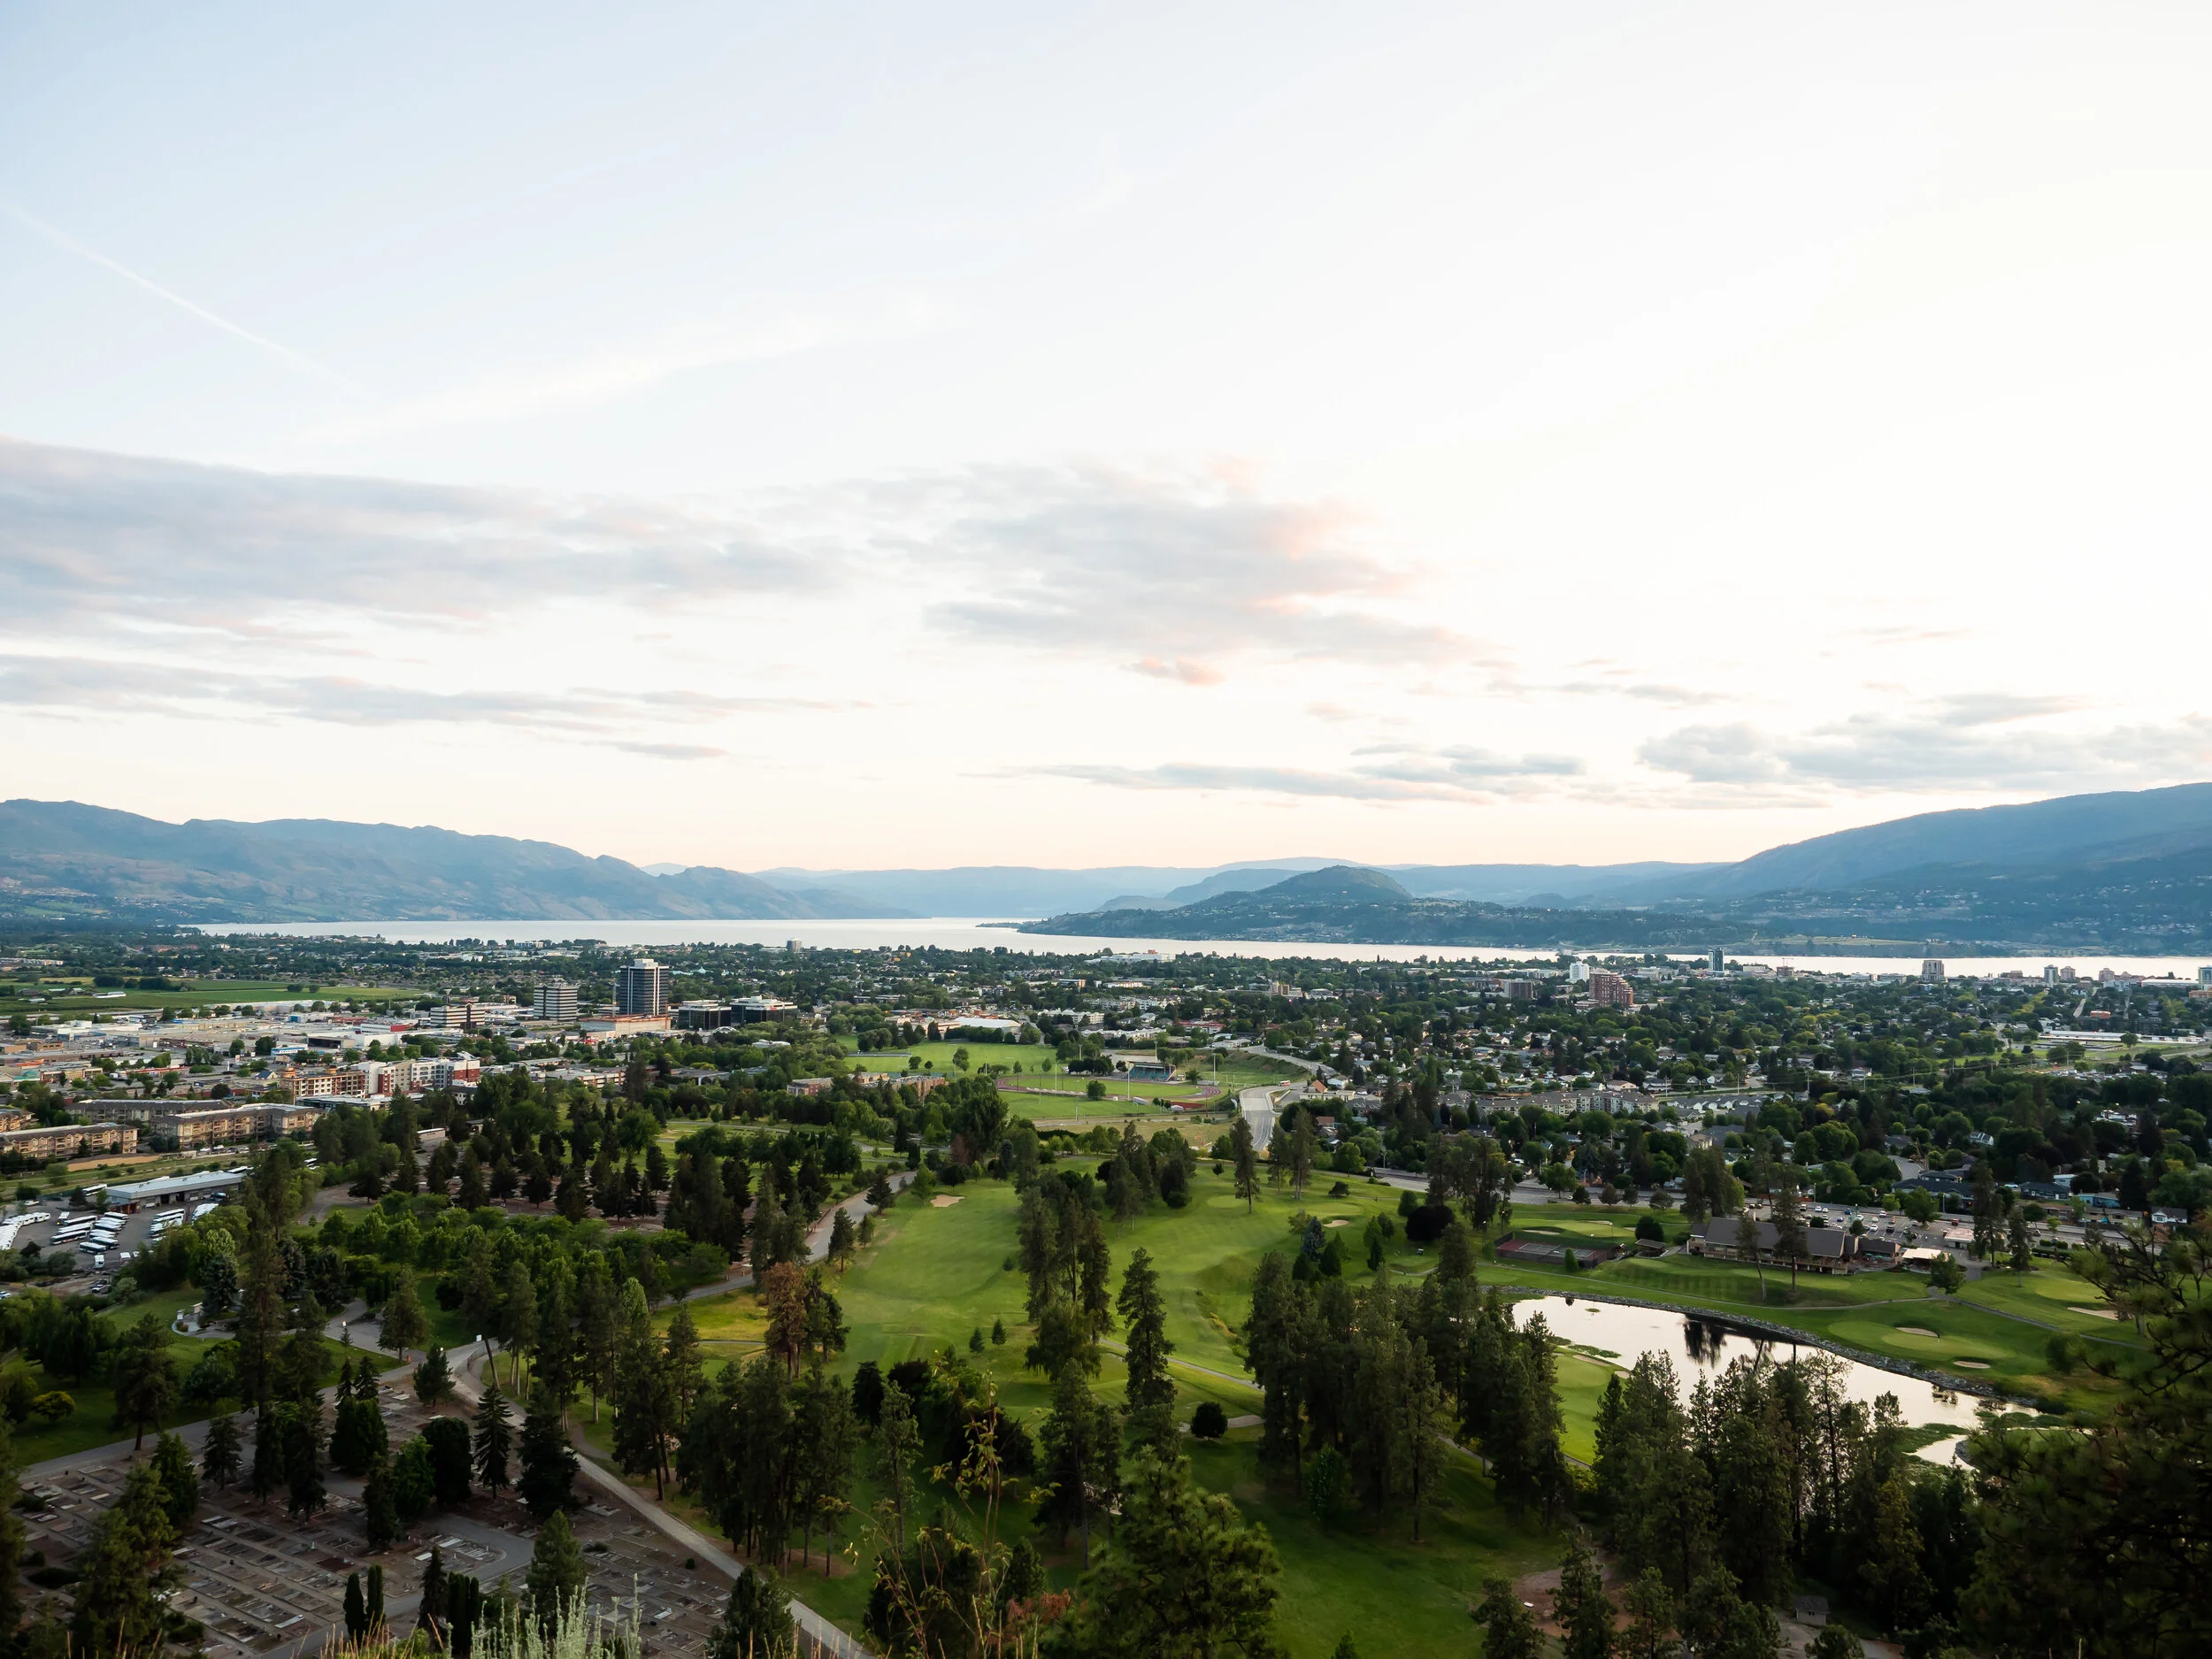
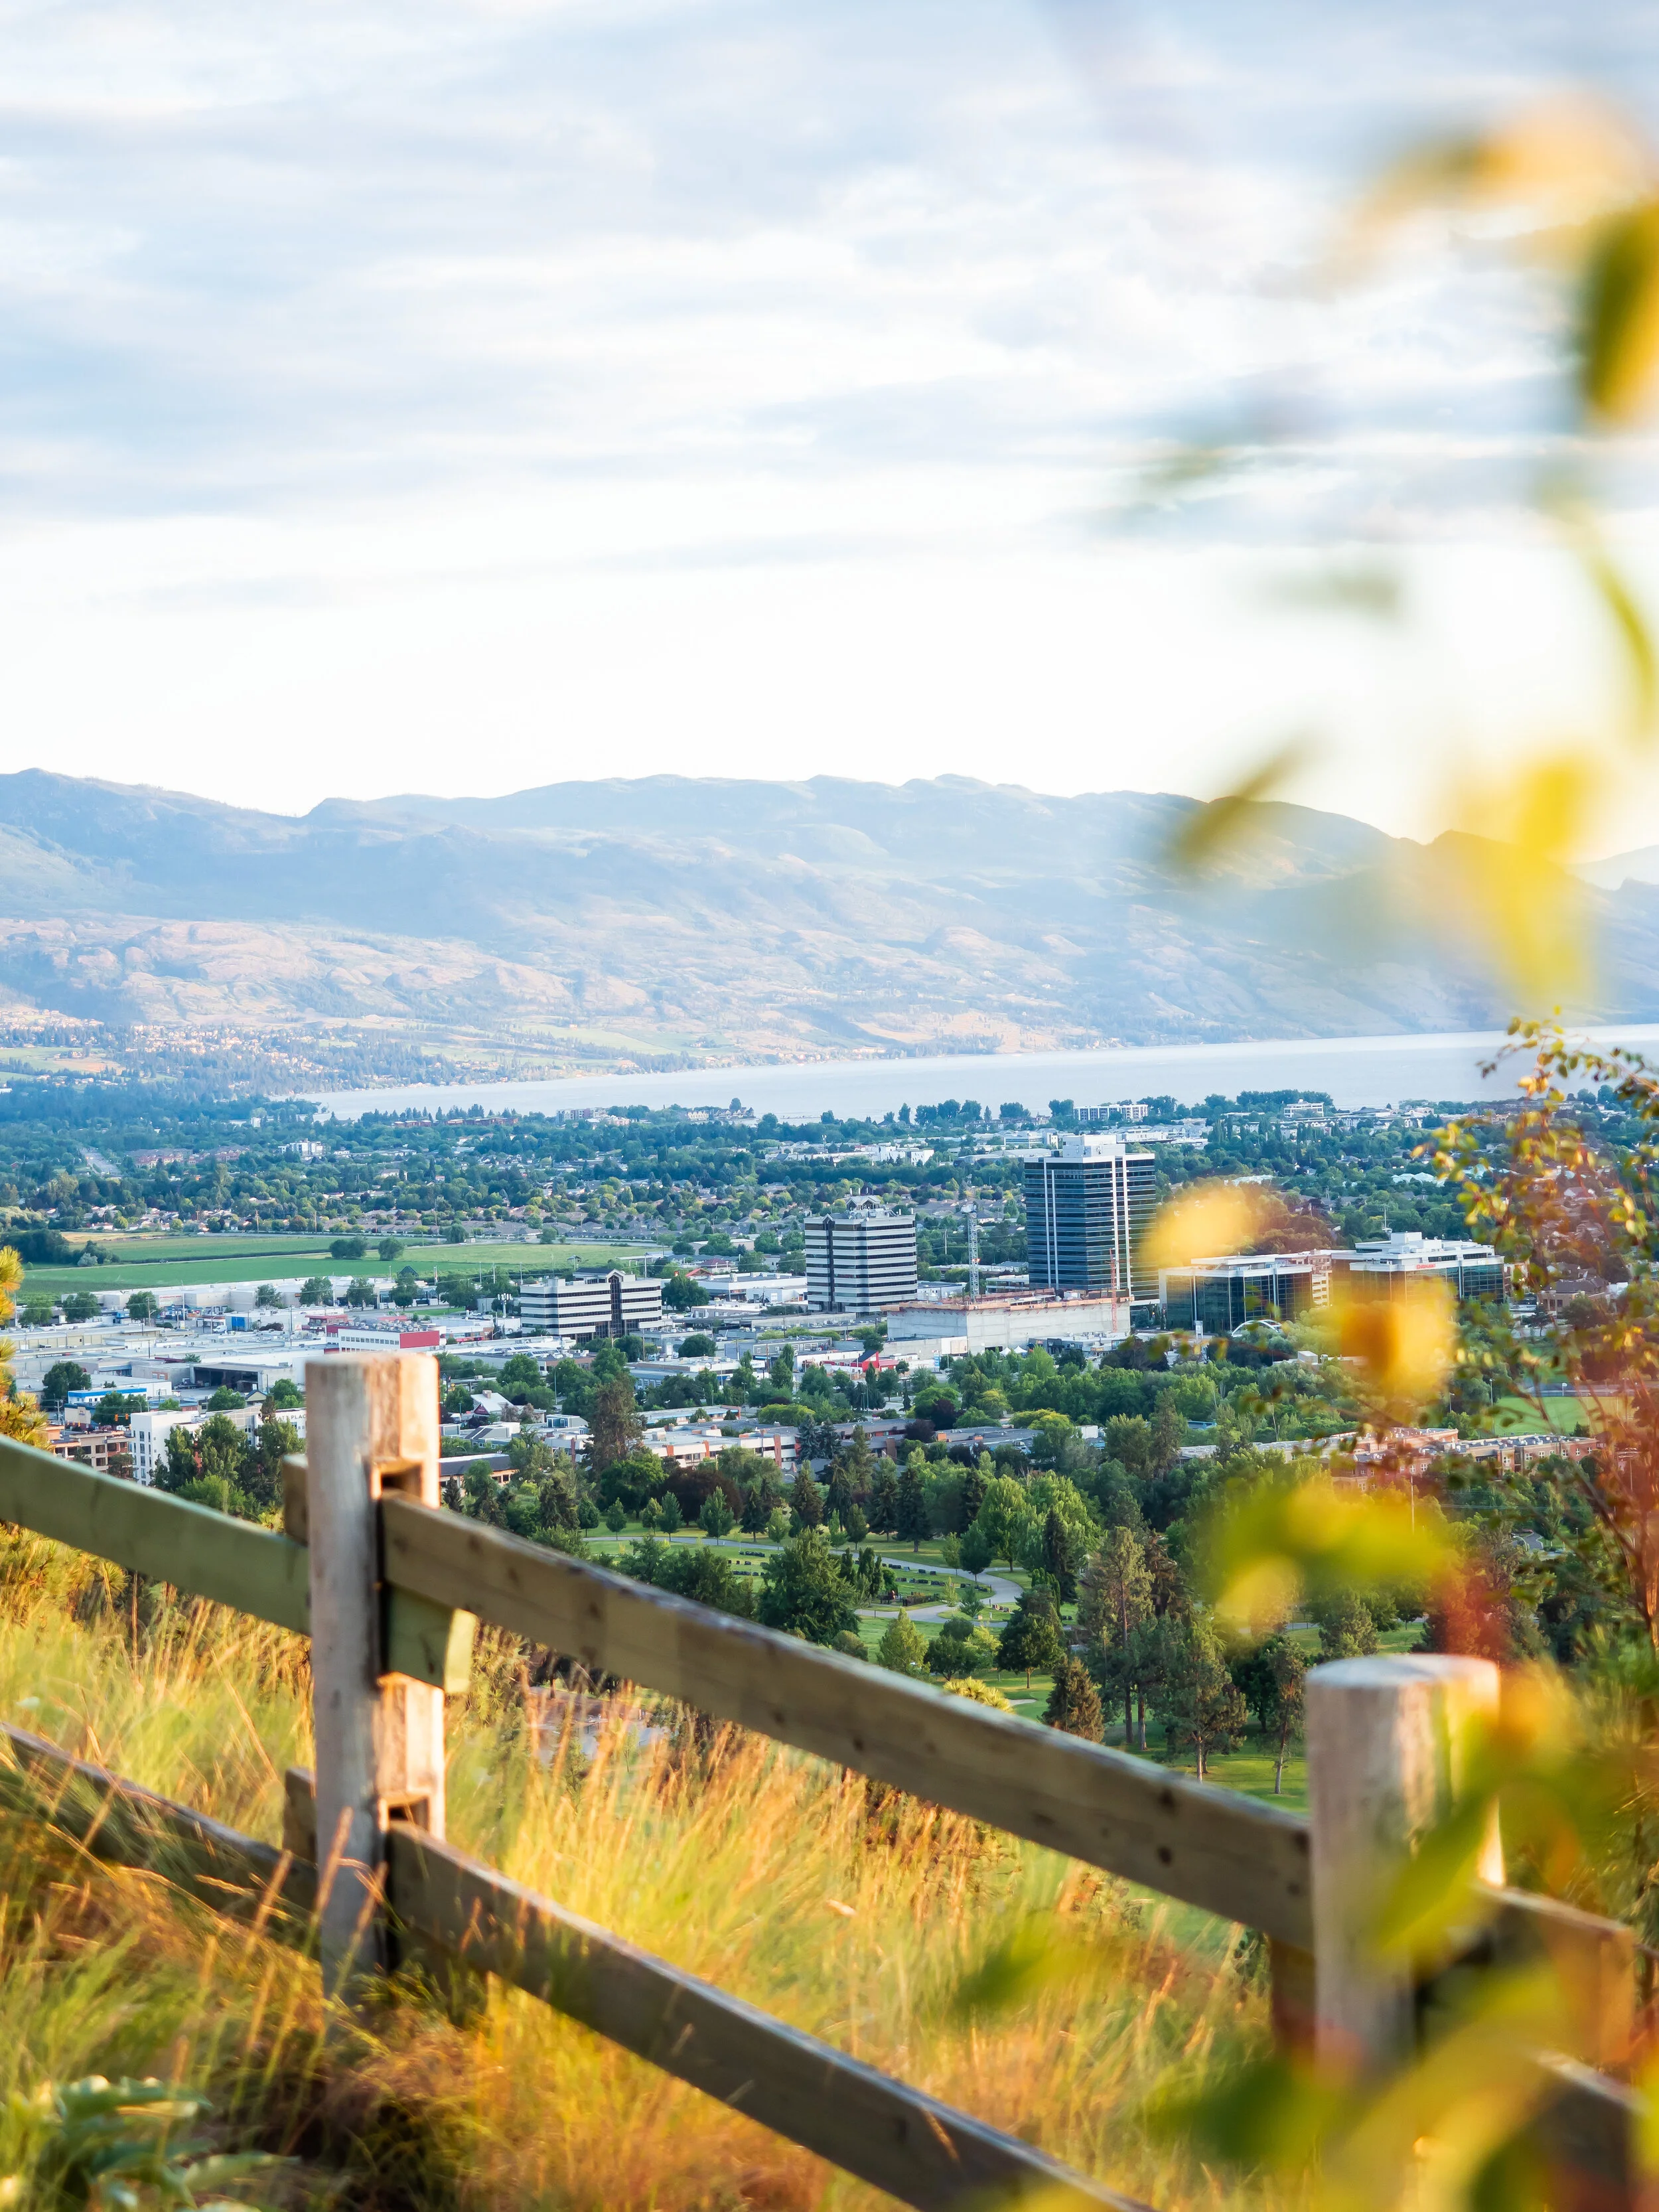
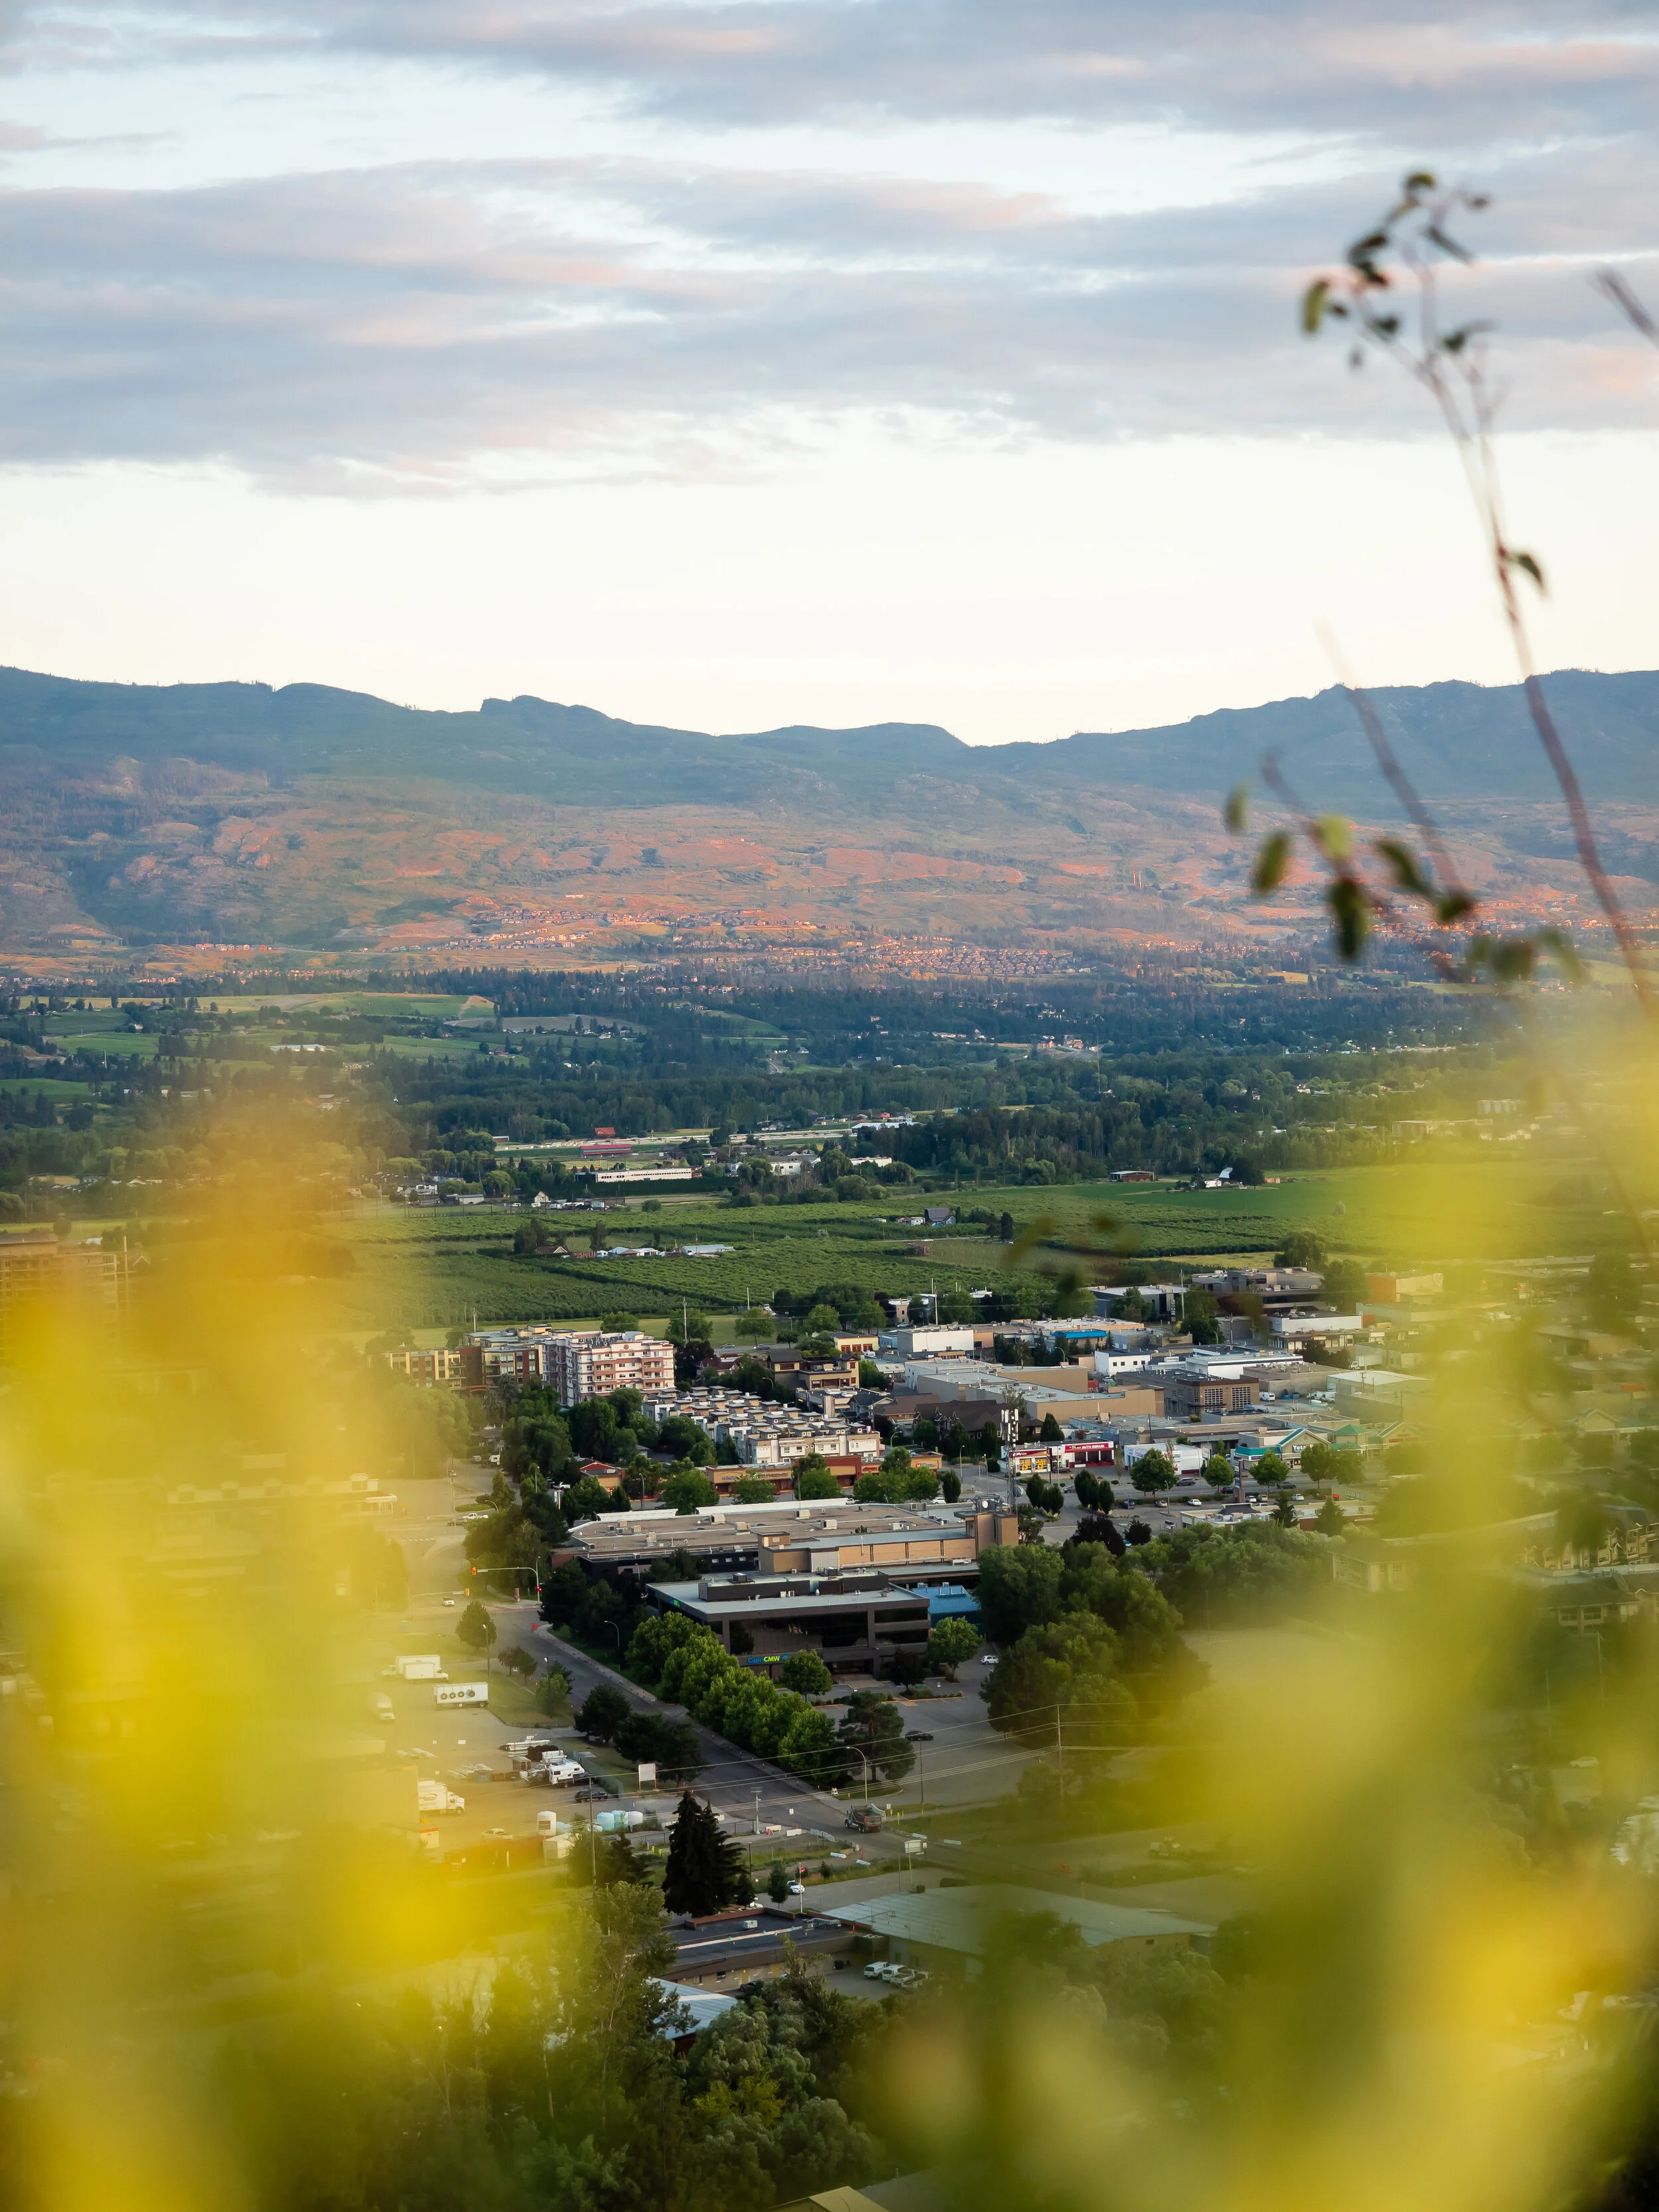
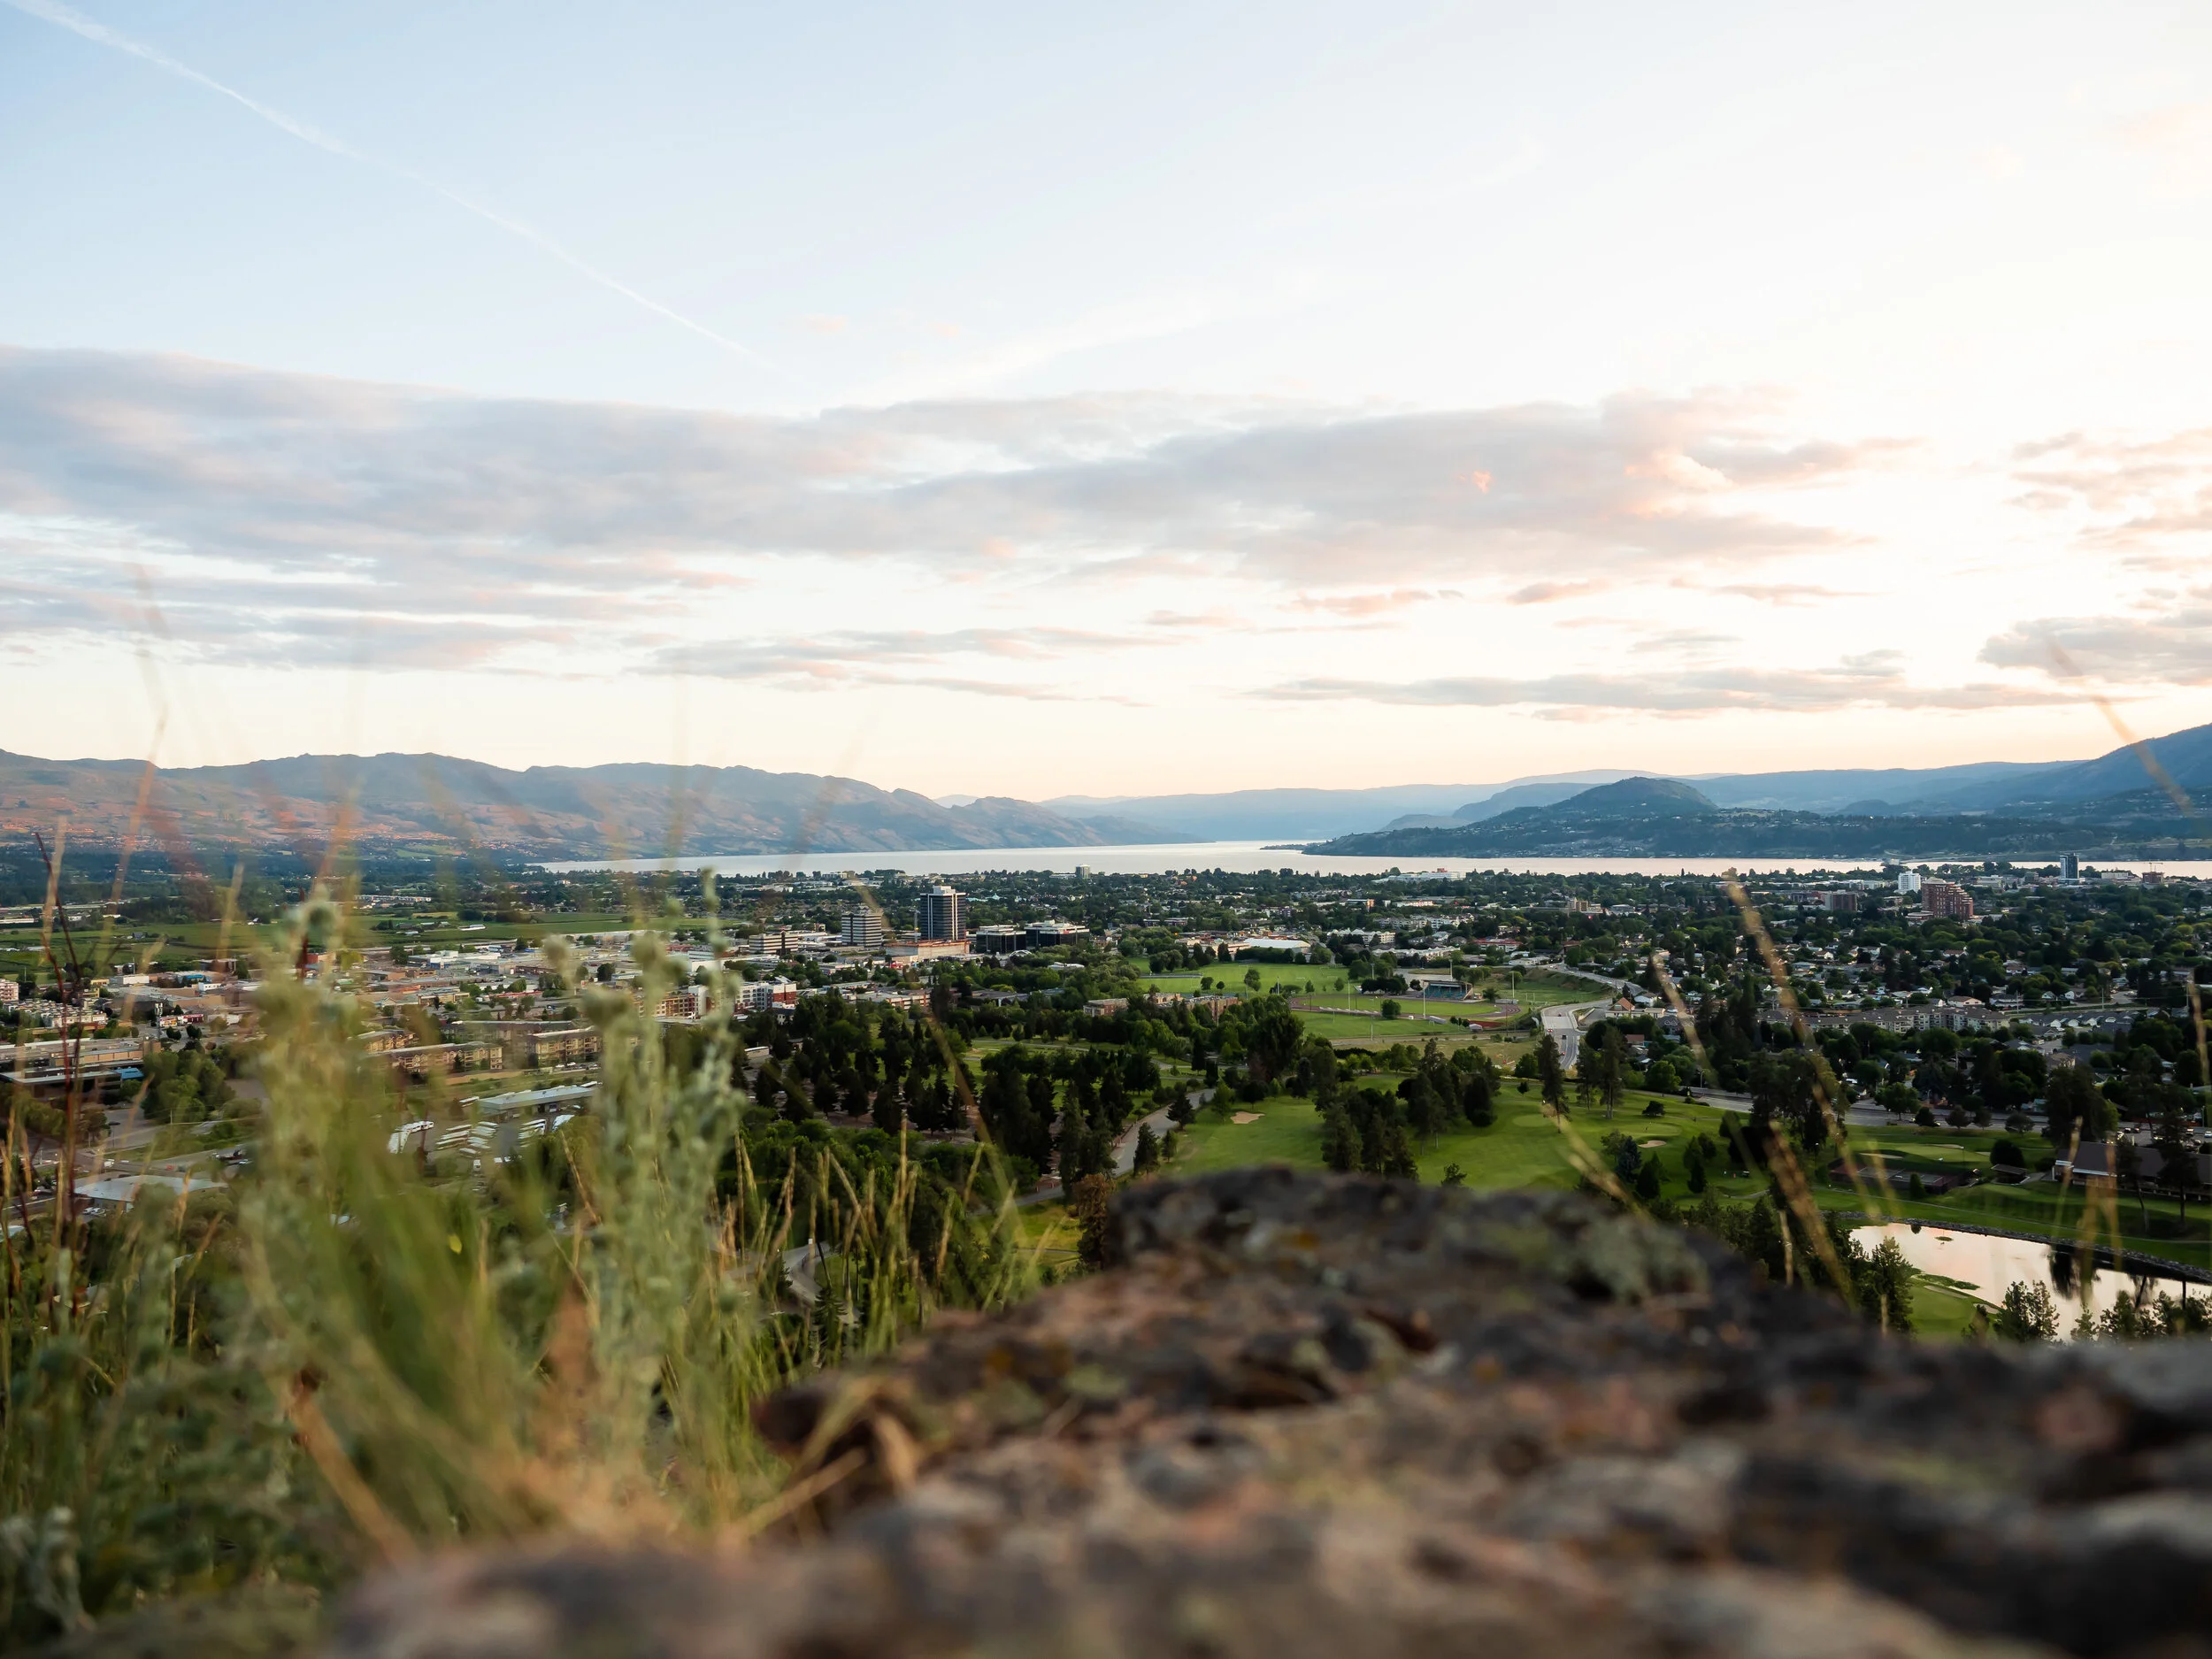
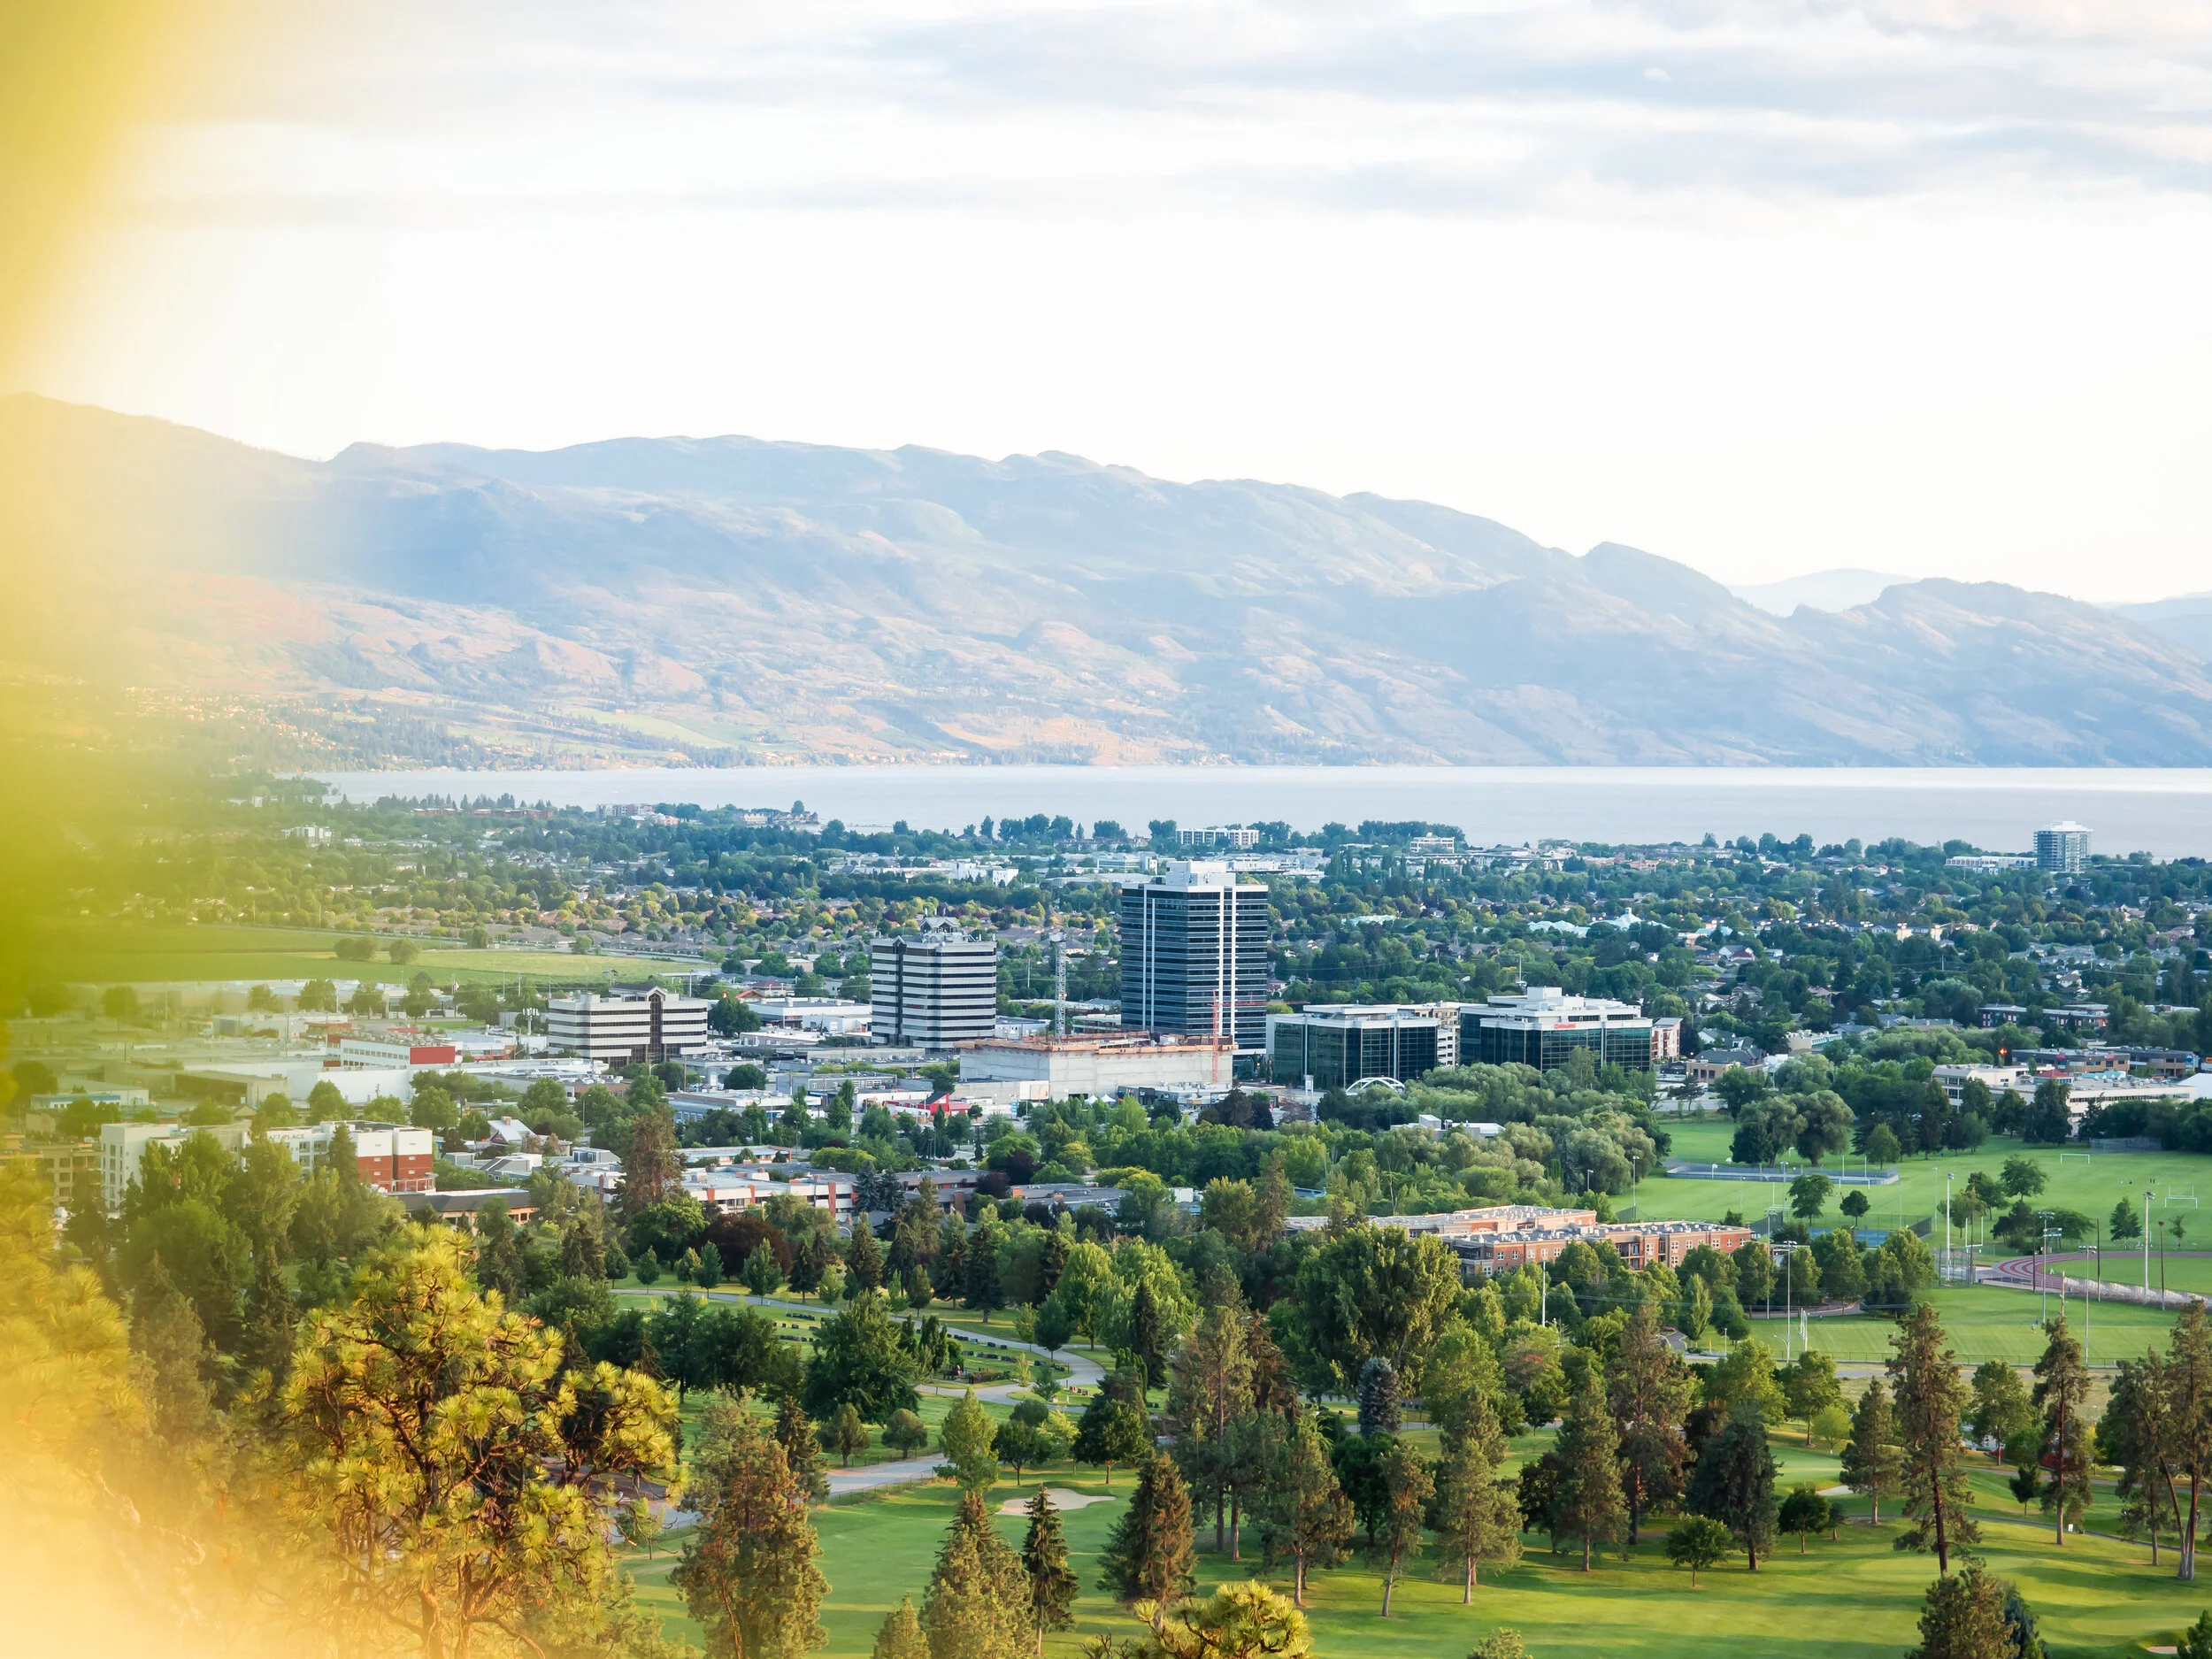
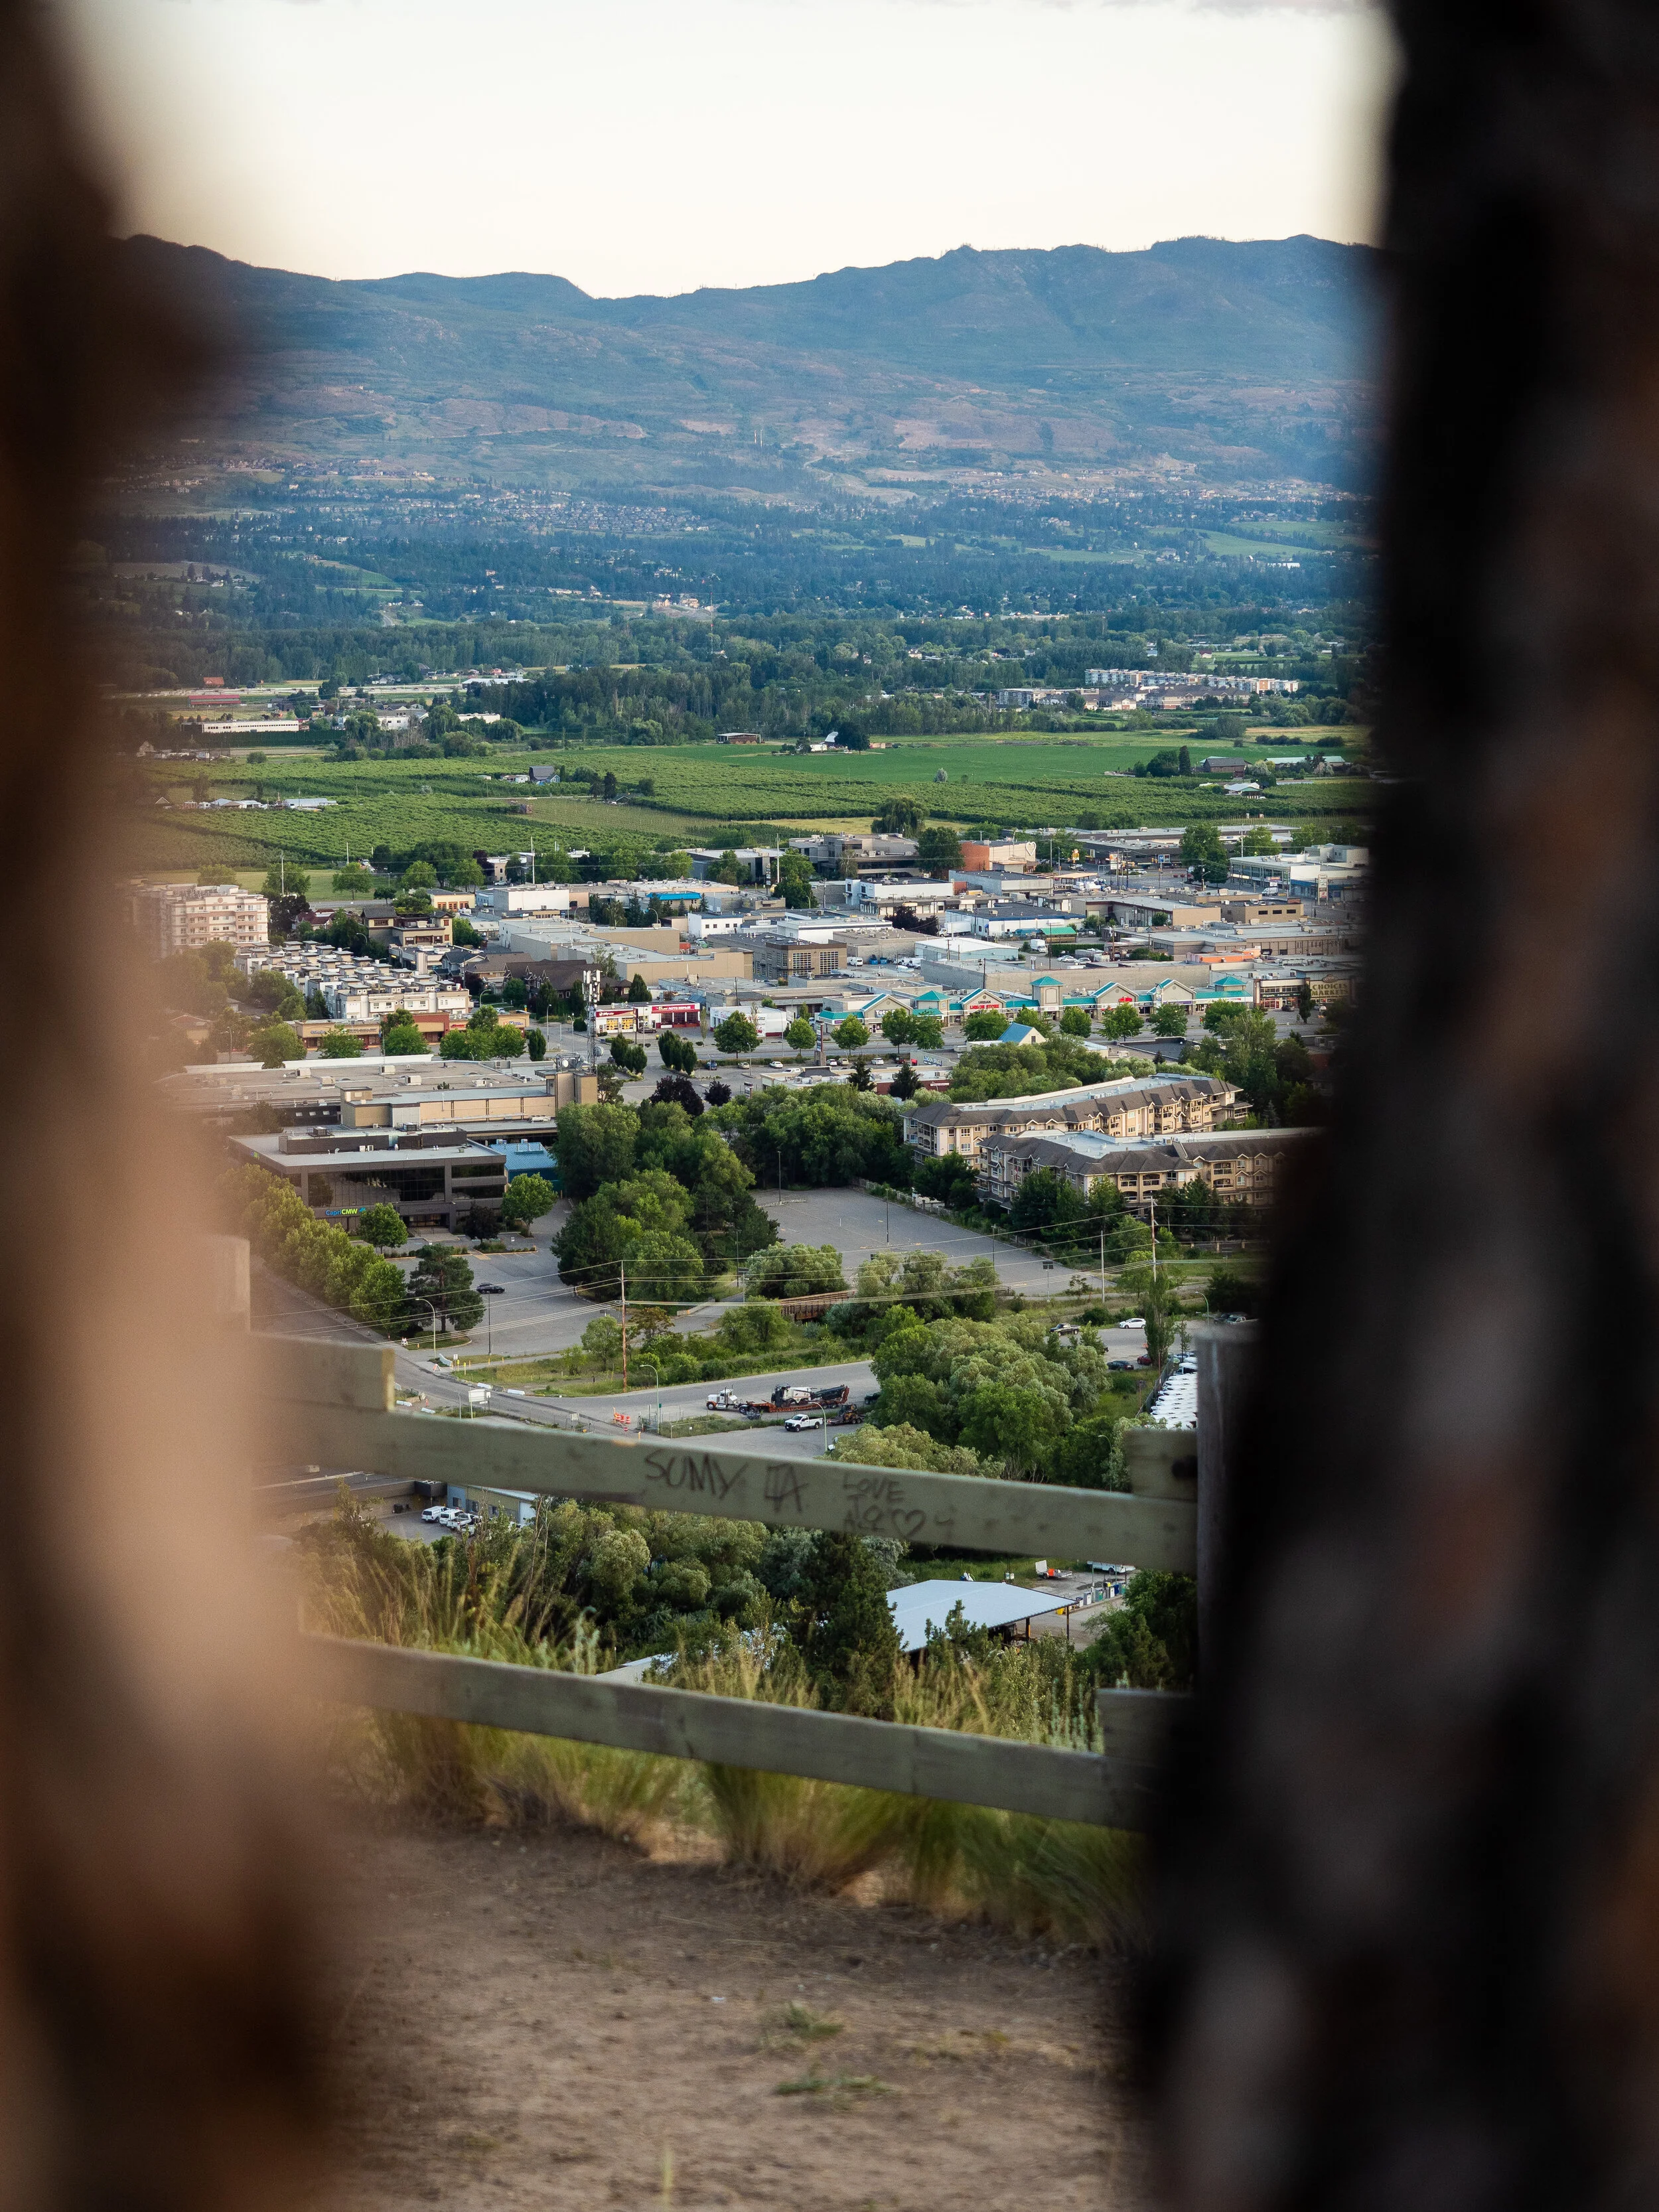
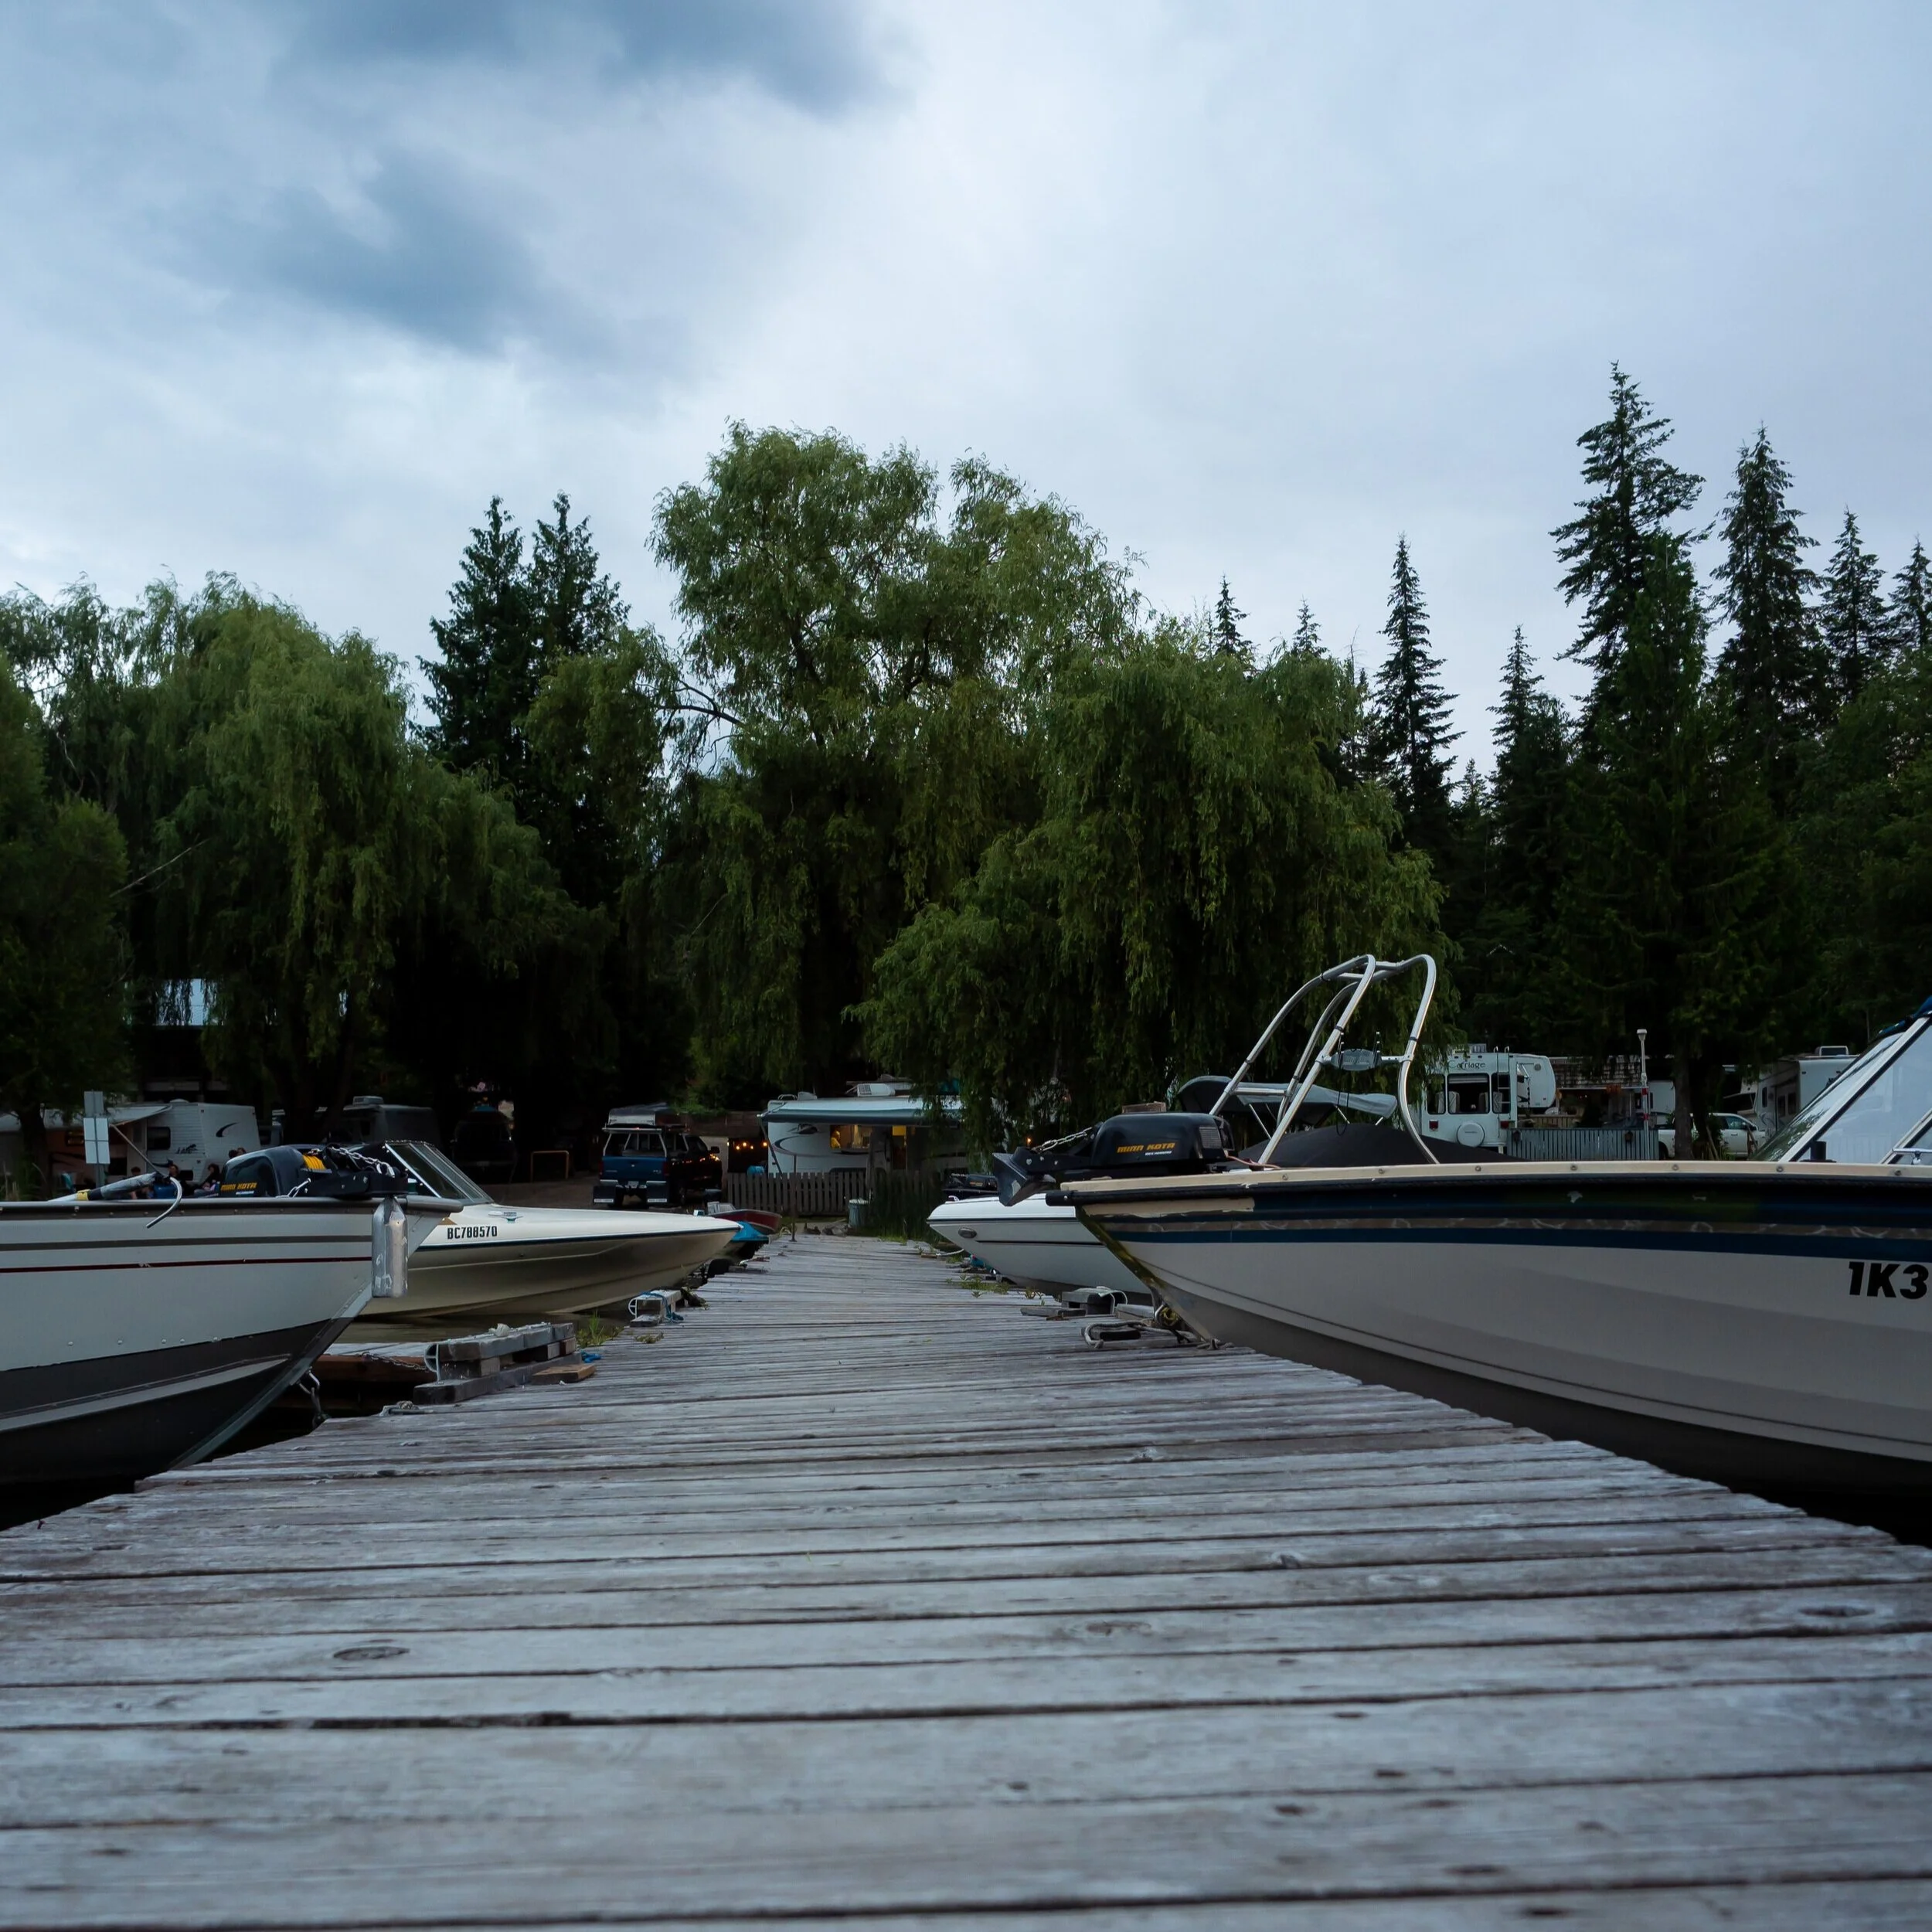
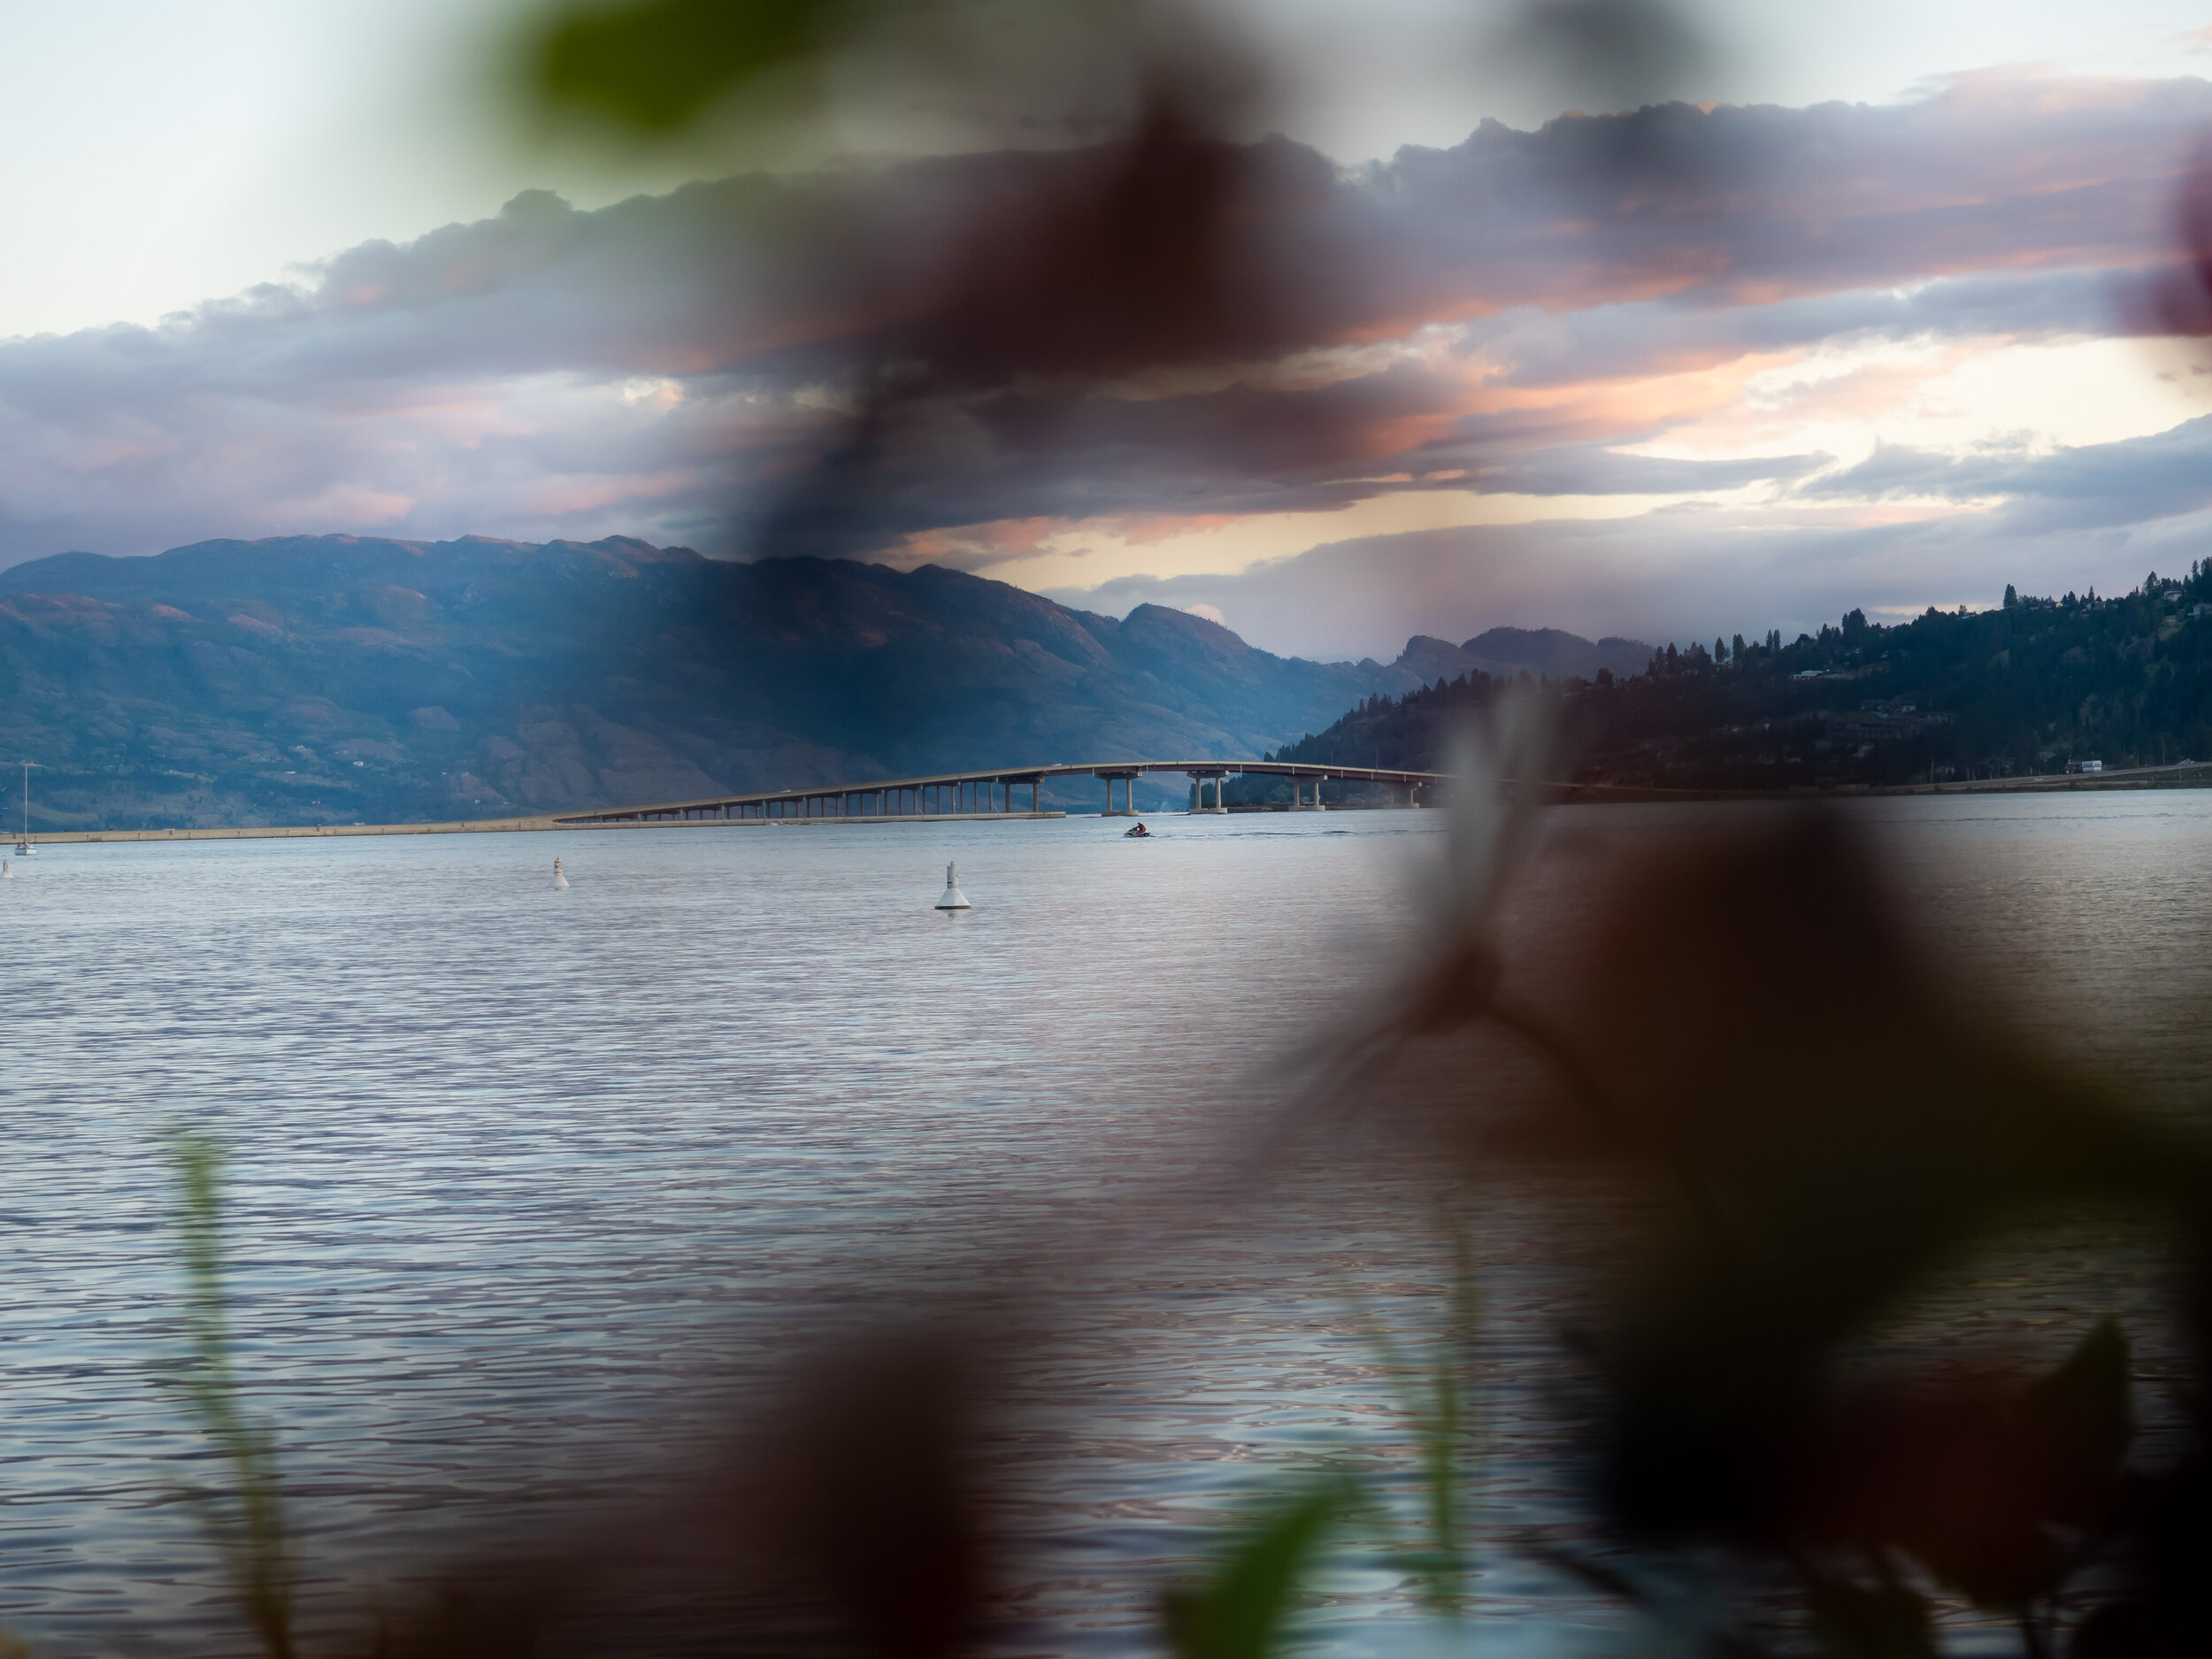
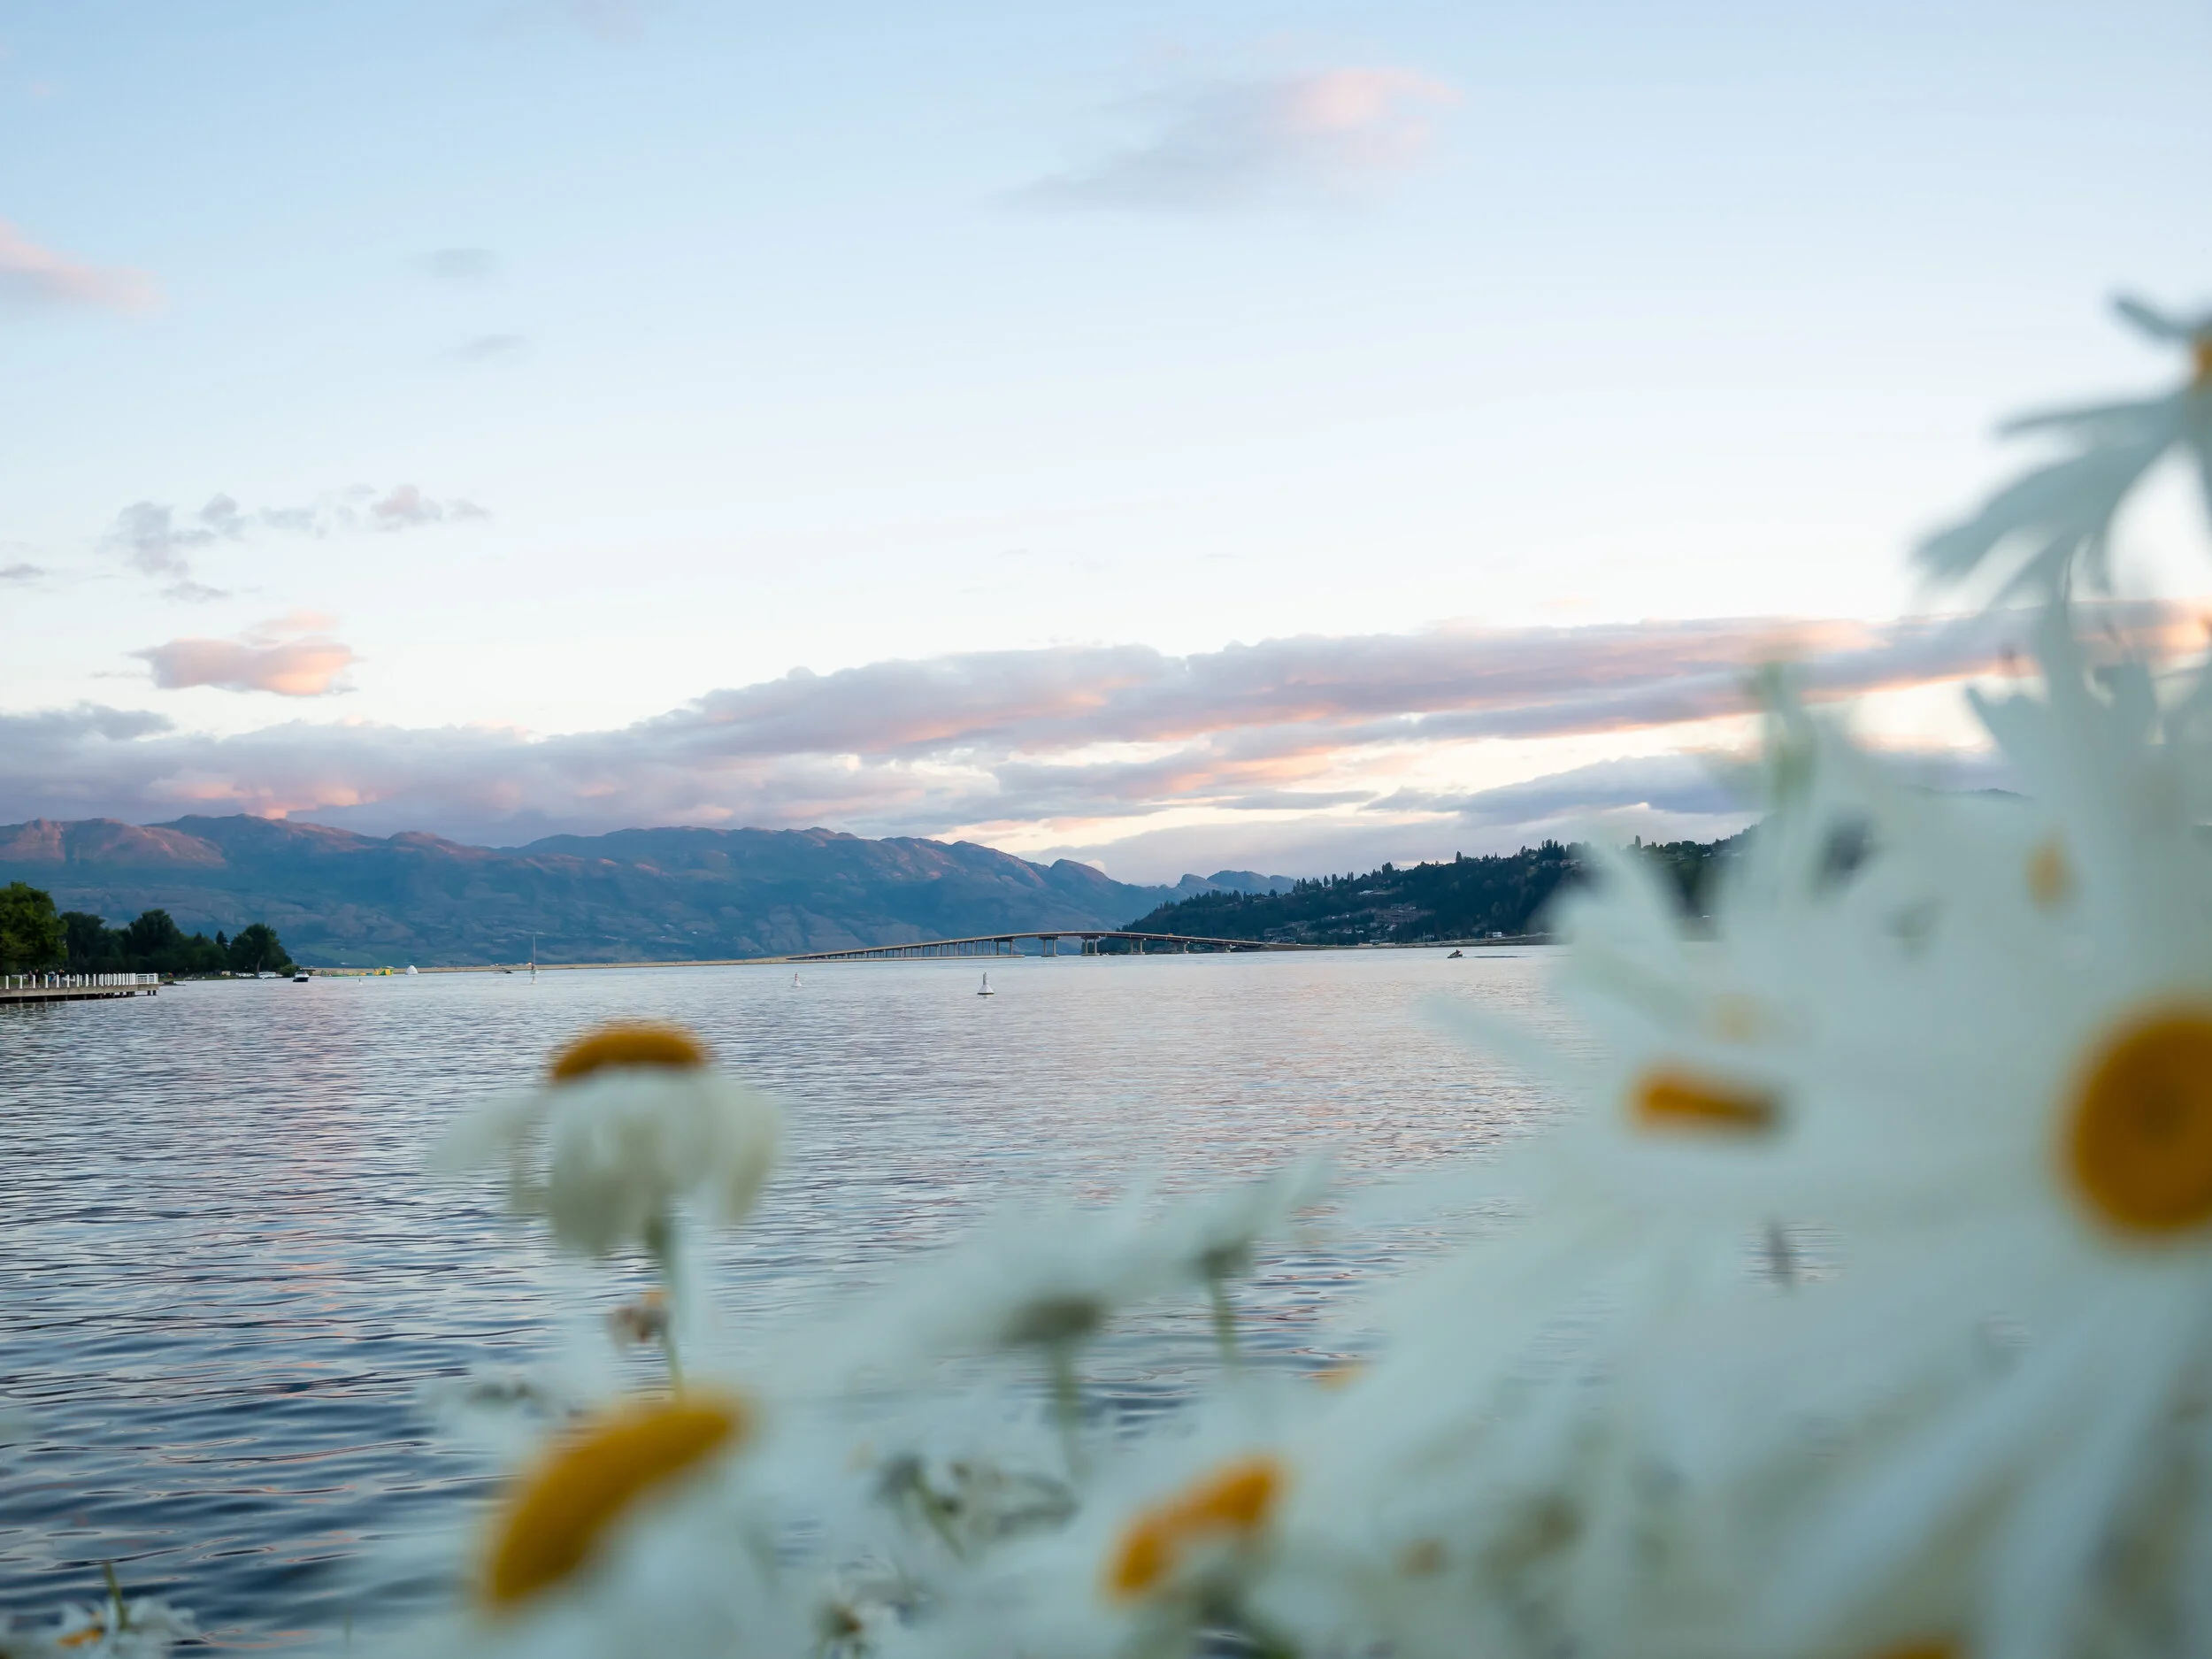
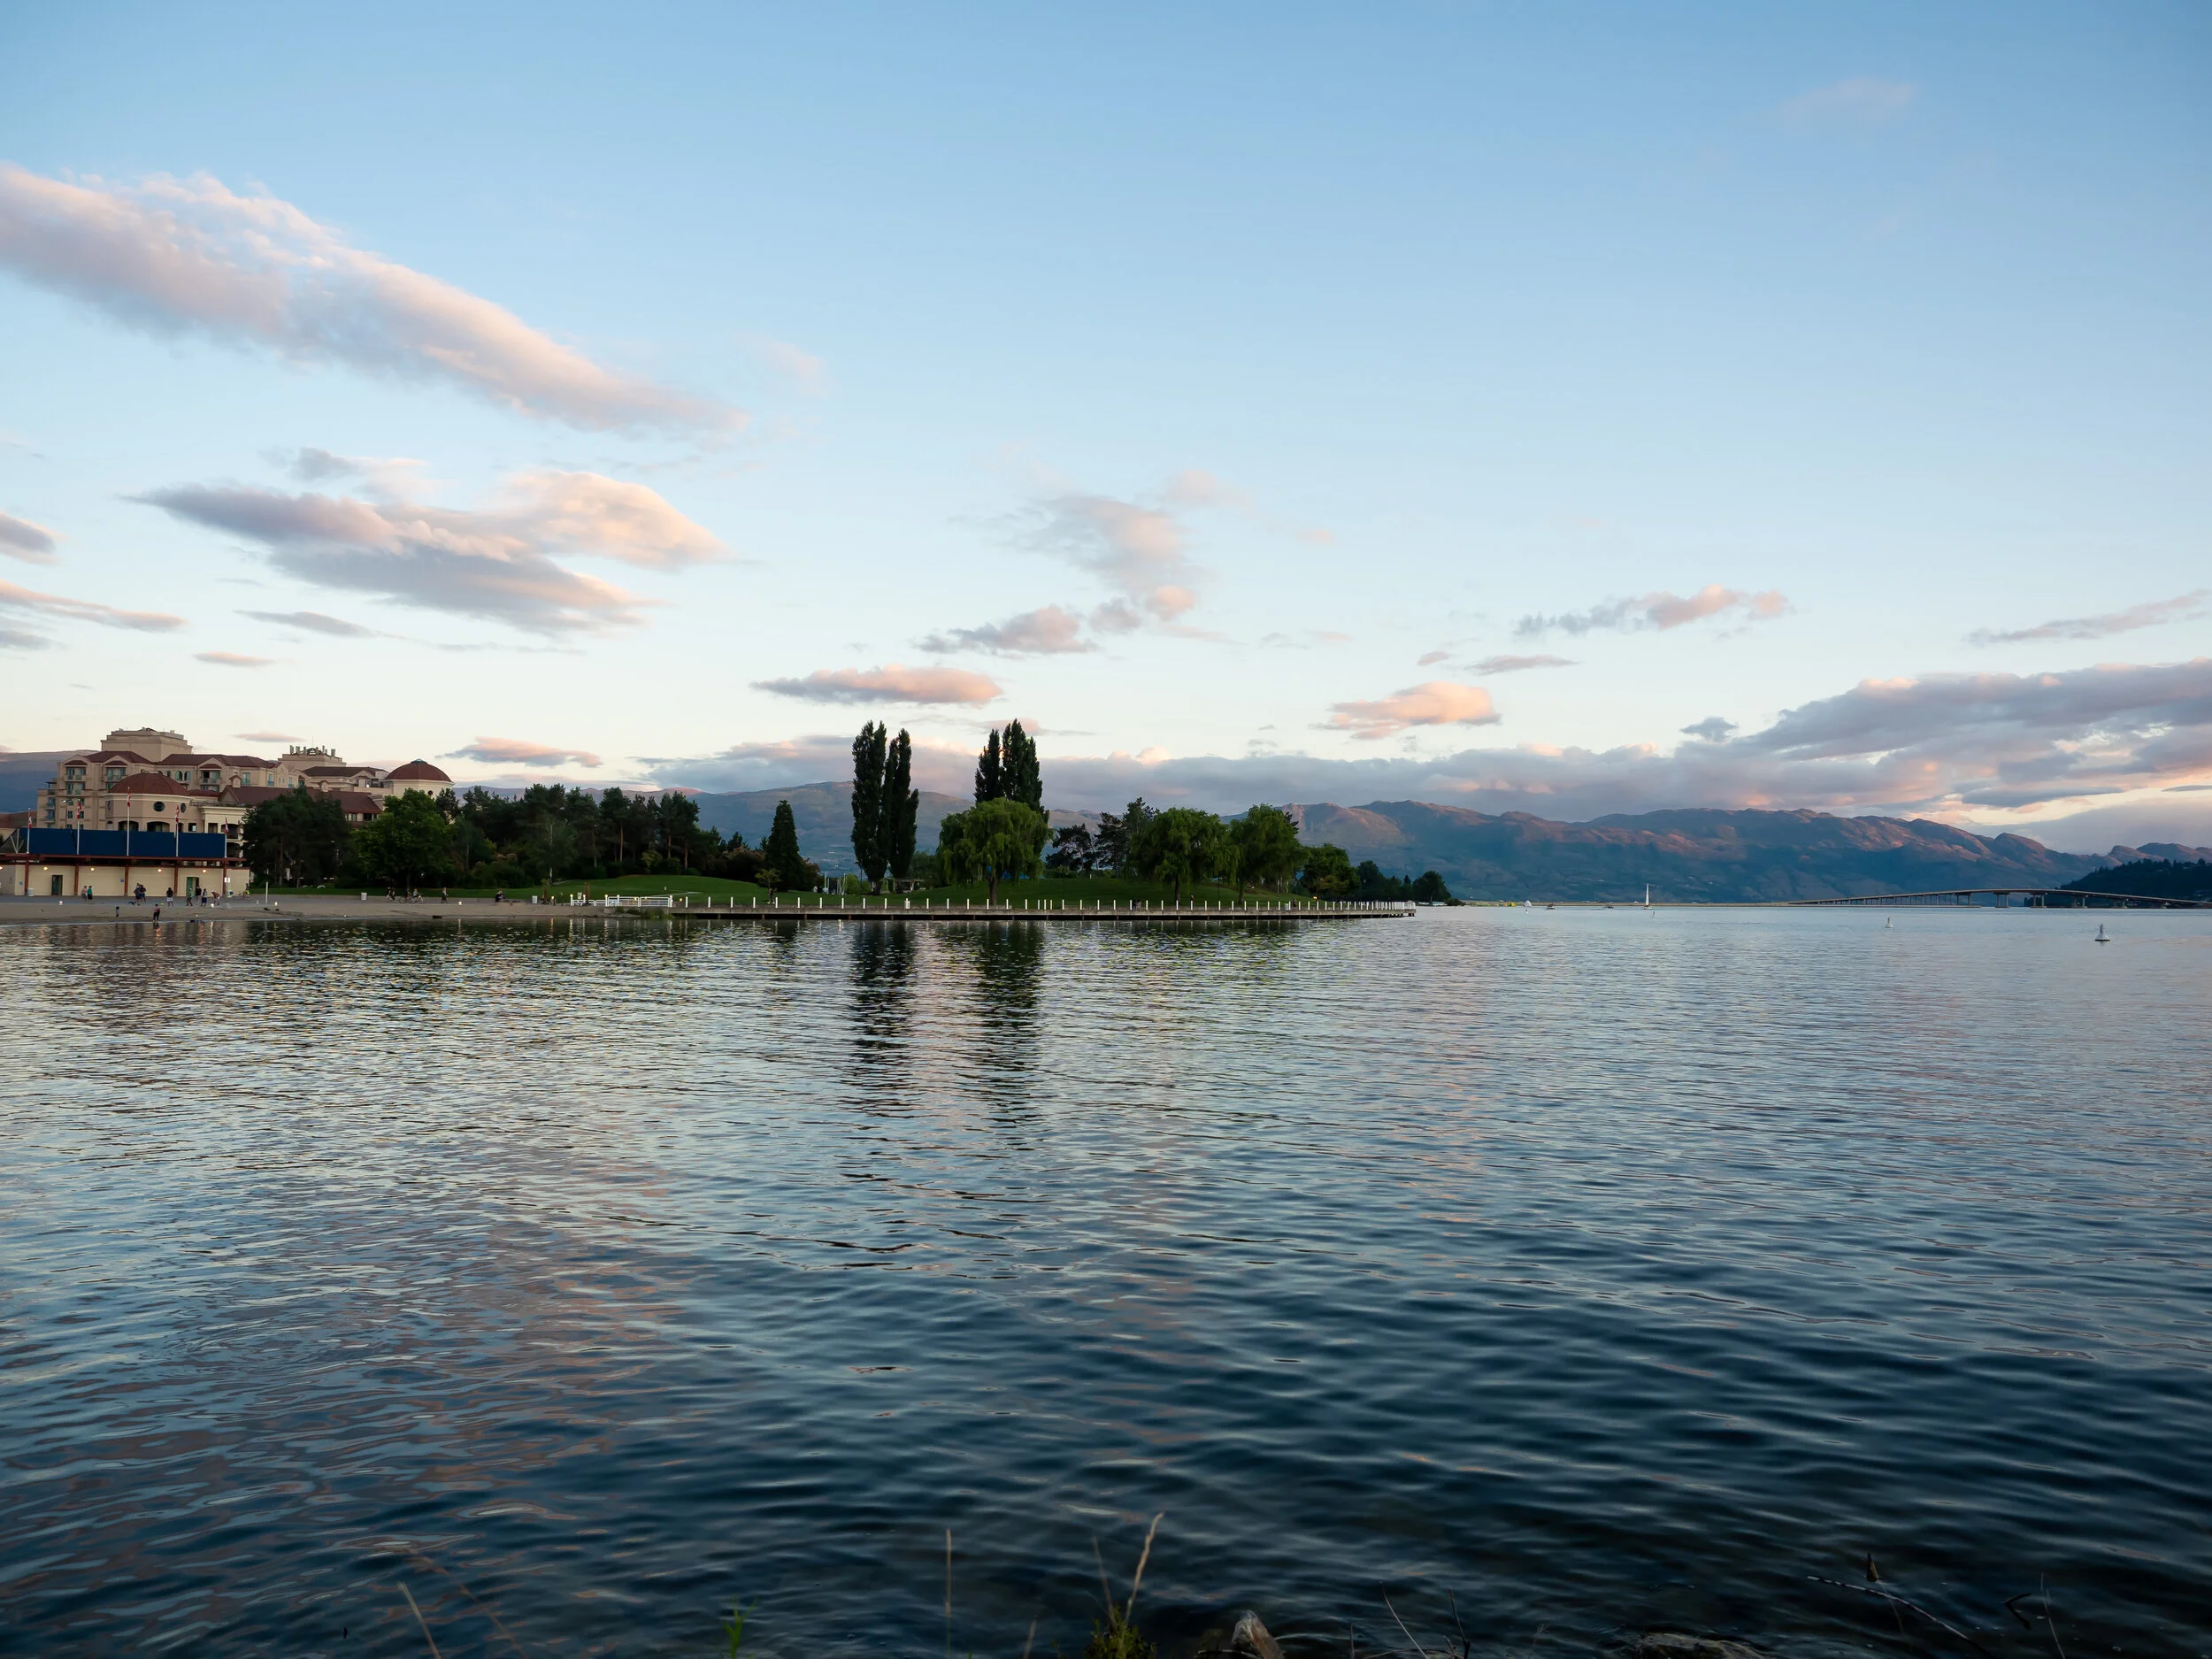
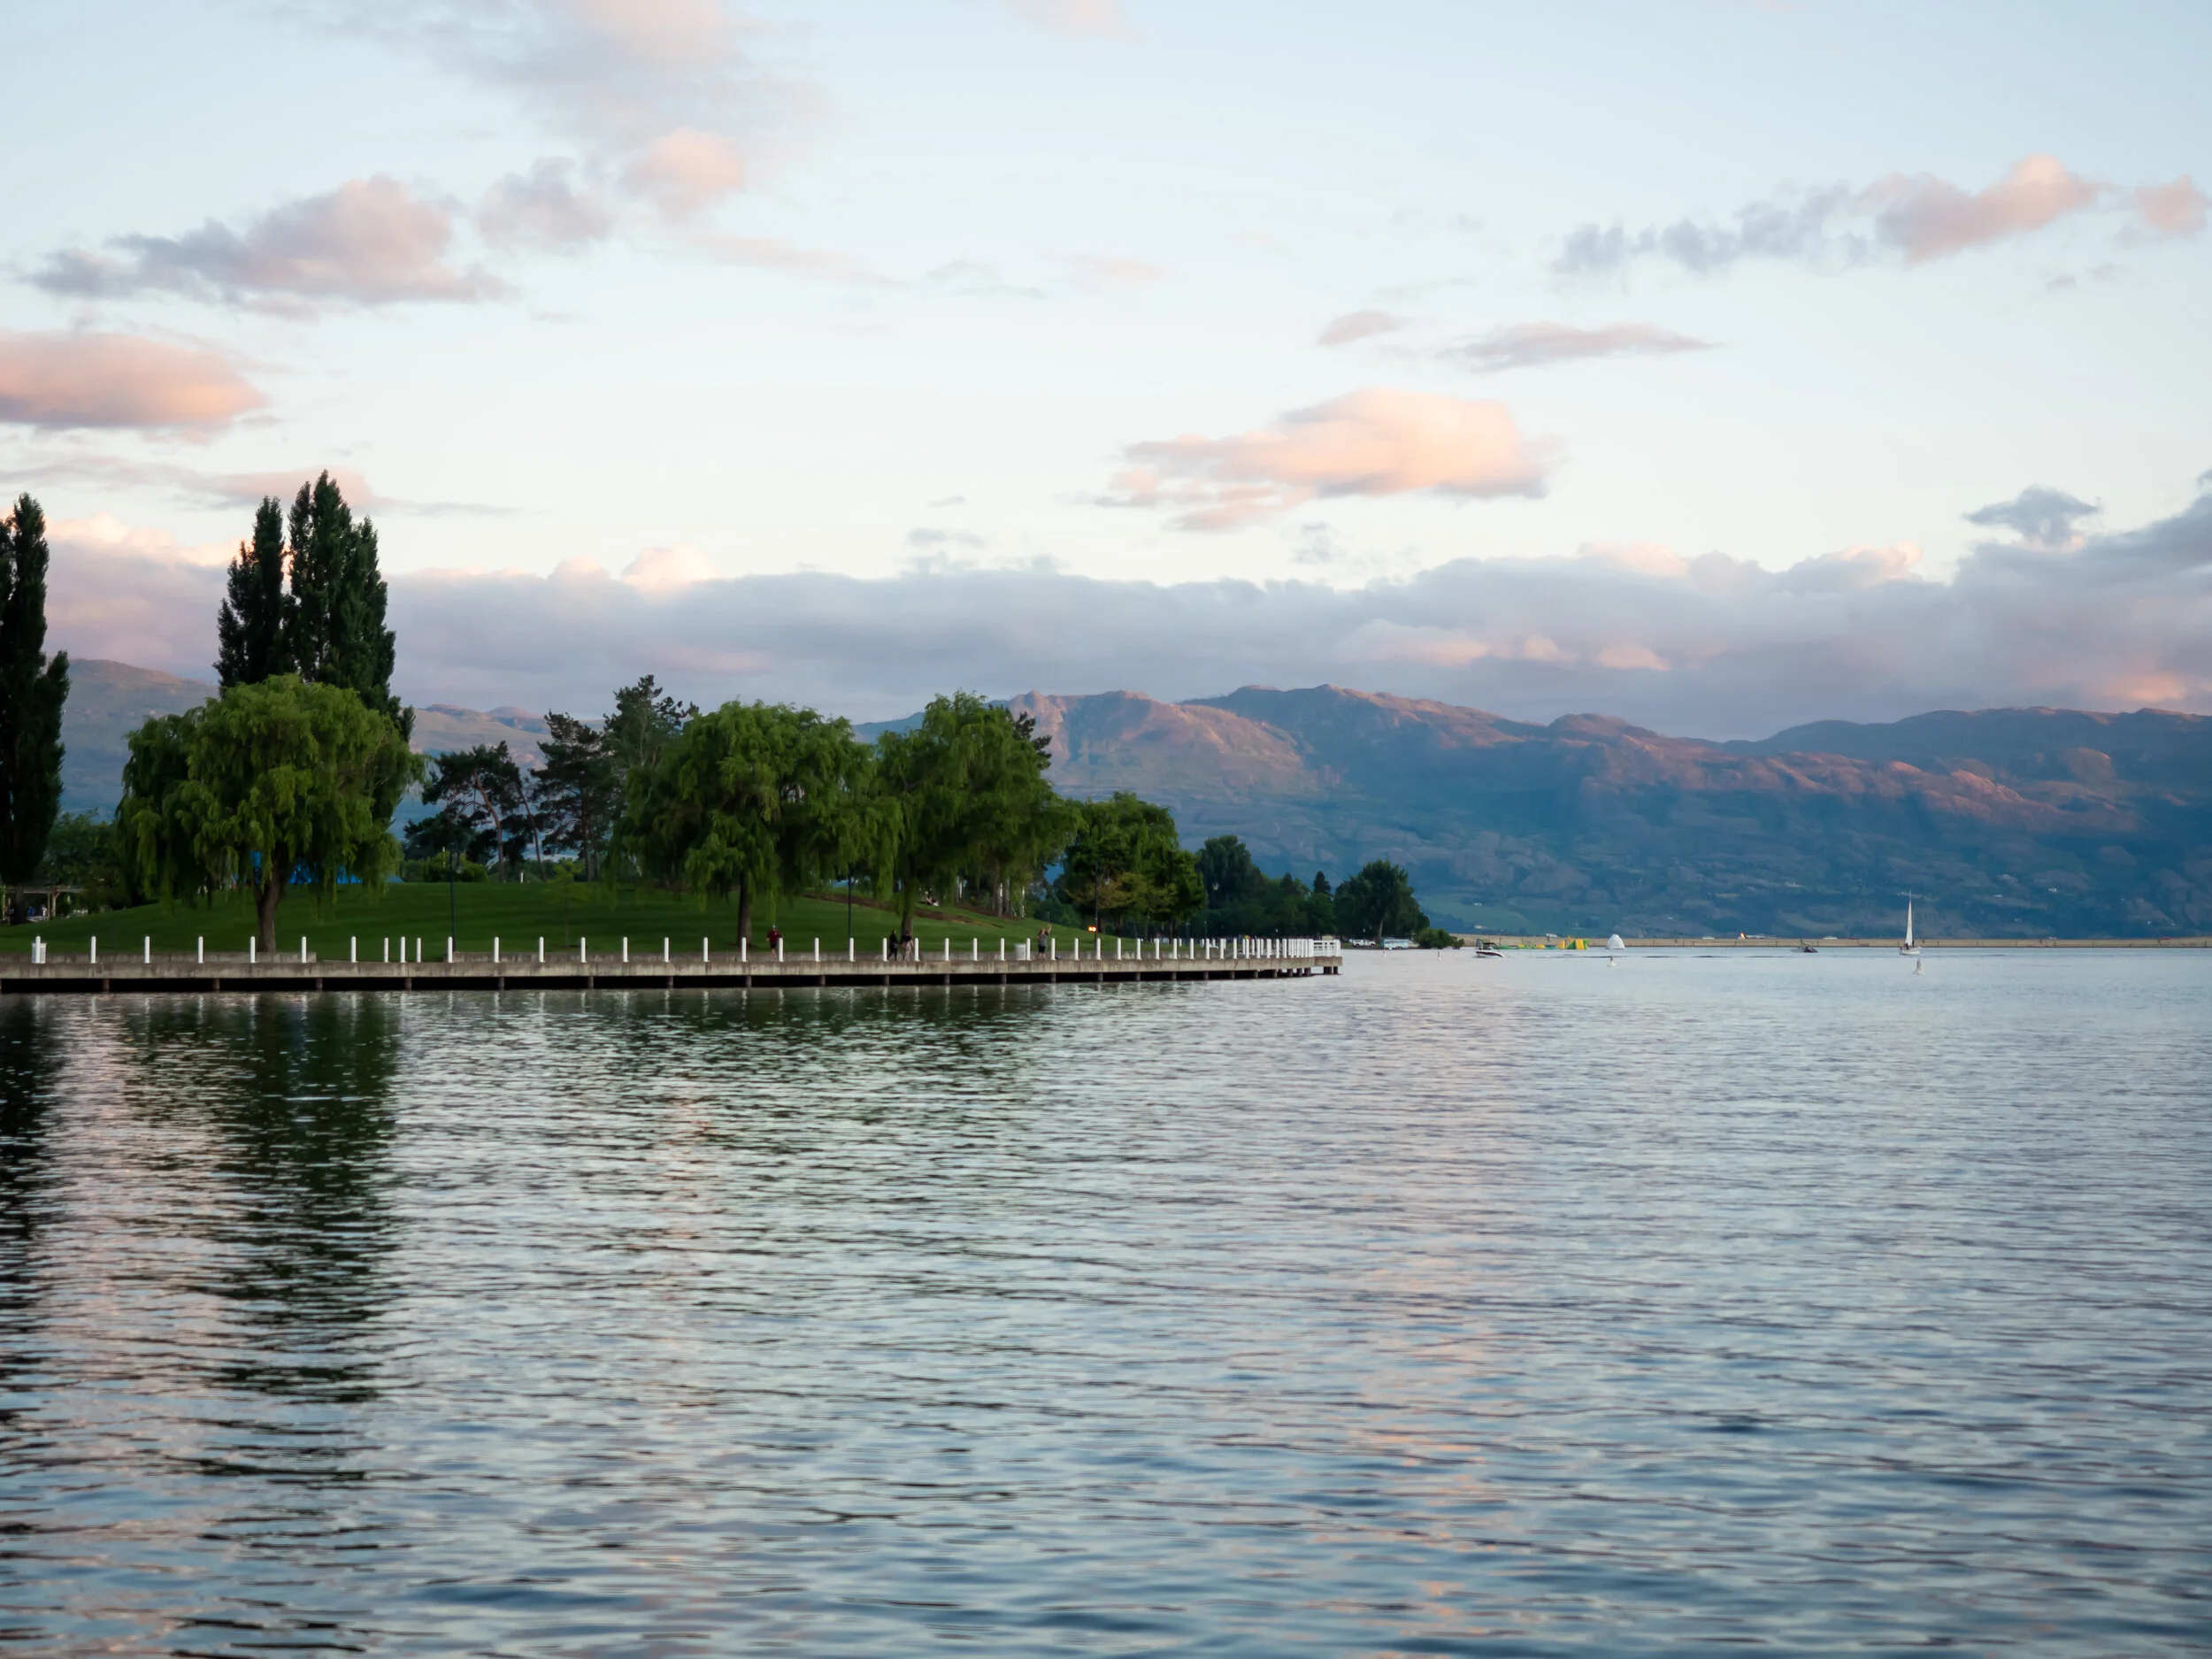
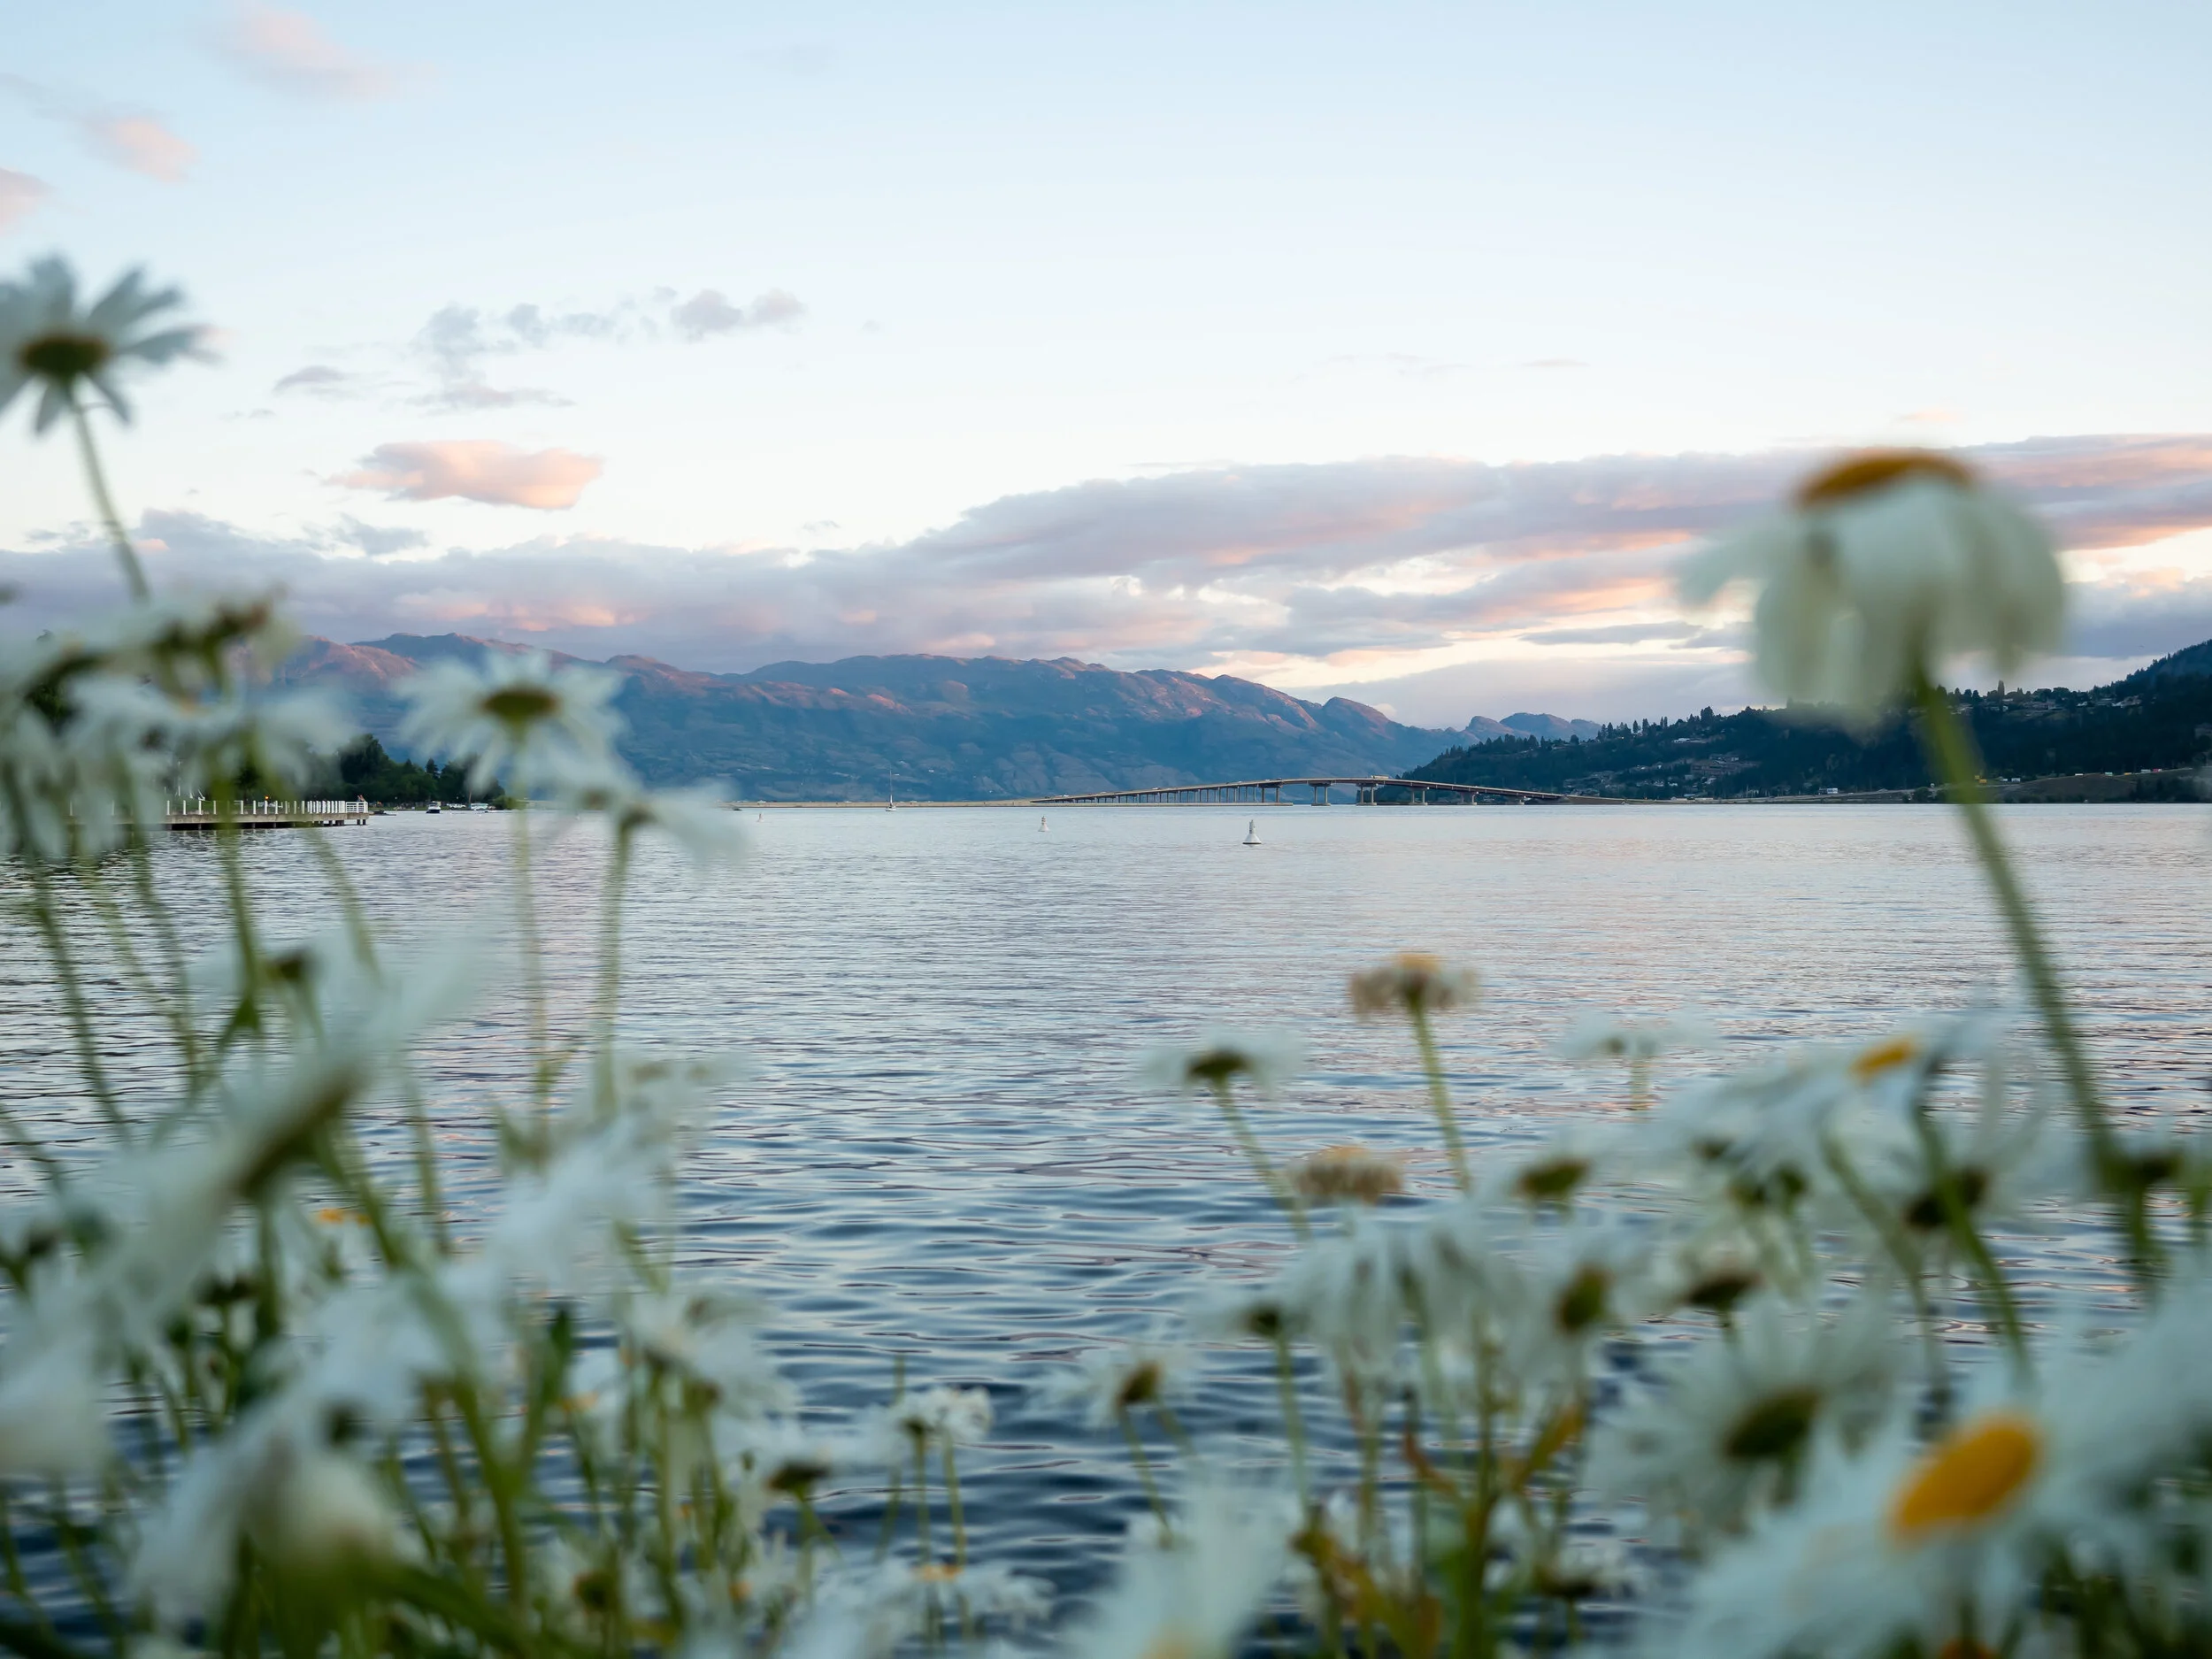
I like using this lens when I am trying to capture something specifically far away and I can’t physically get any closer. For example, if the clouds over the mountains are doing something cool across the Okanagan Lake.
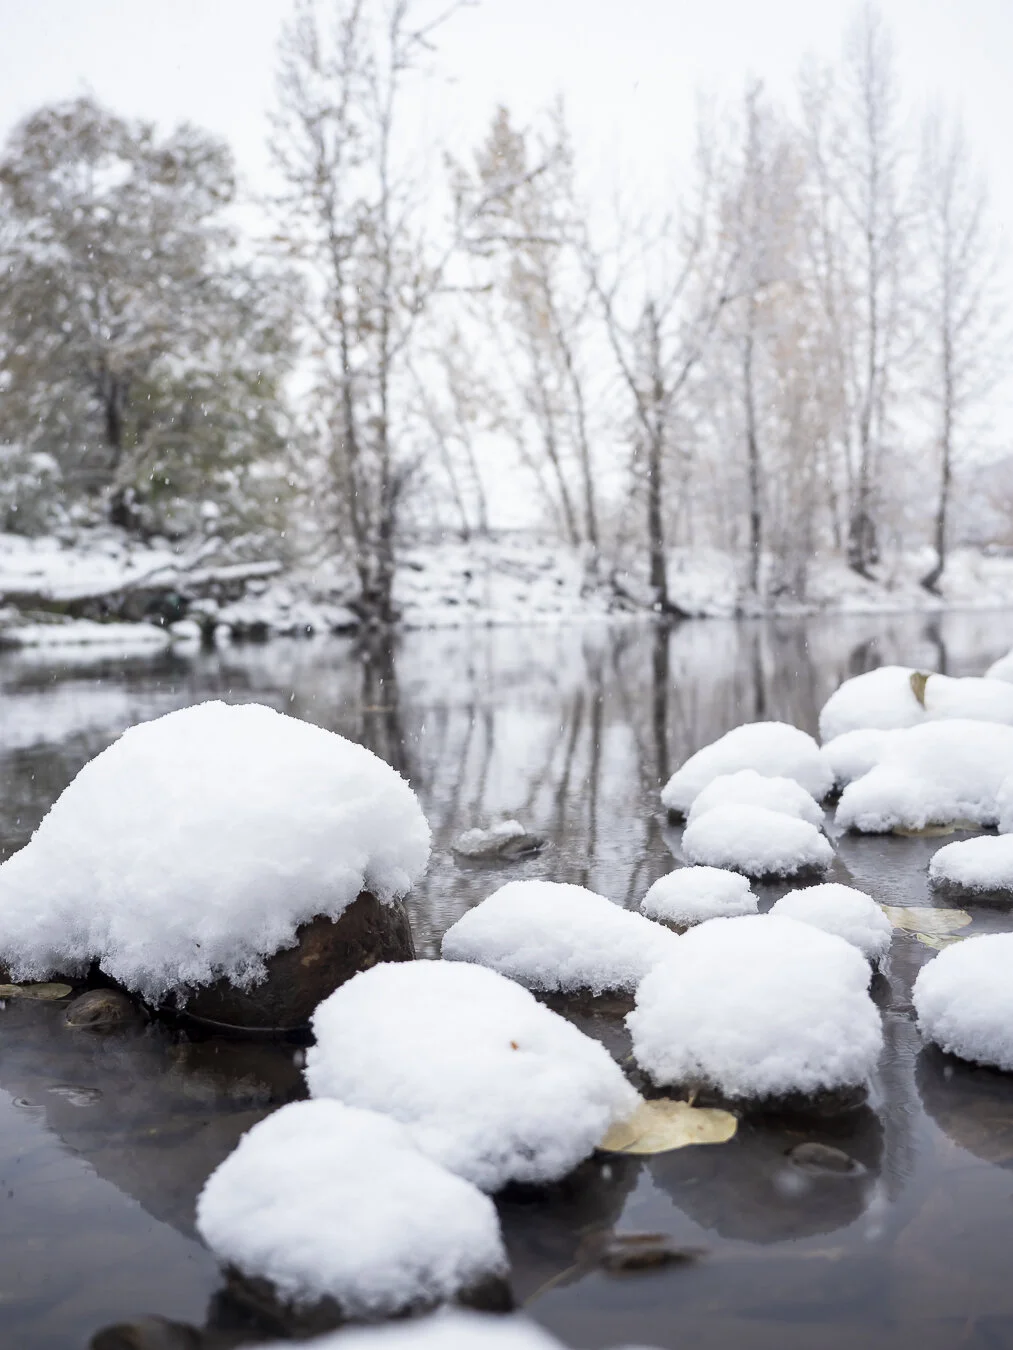
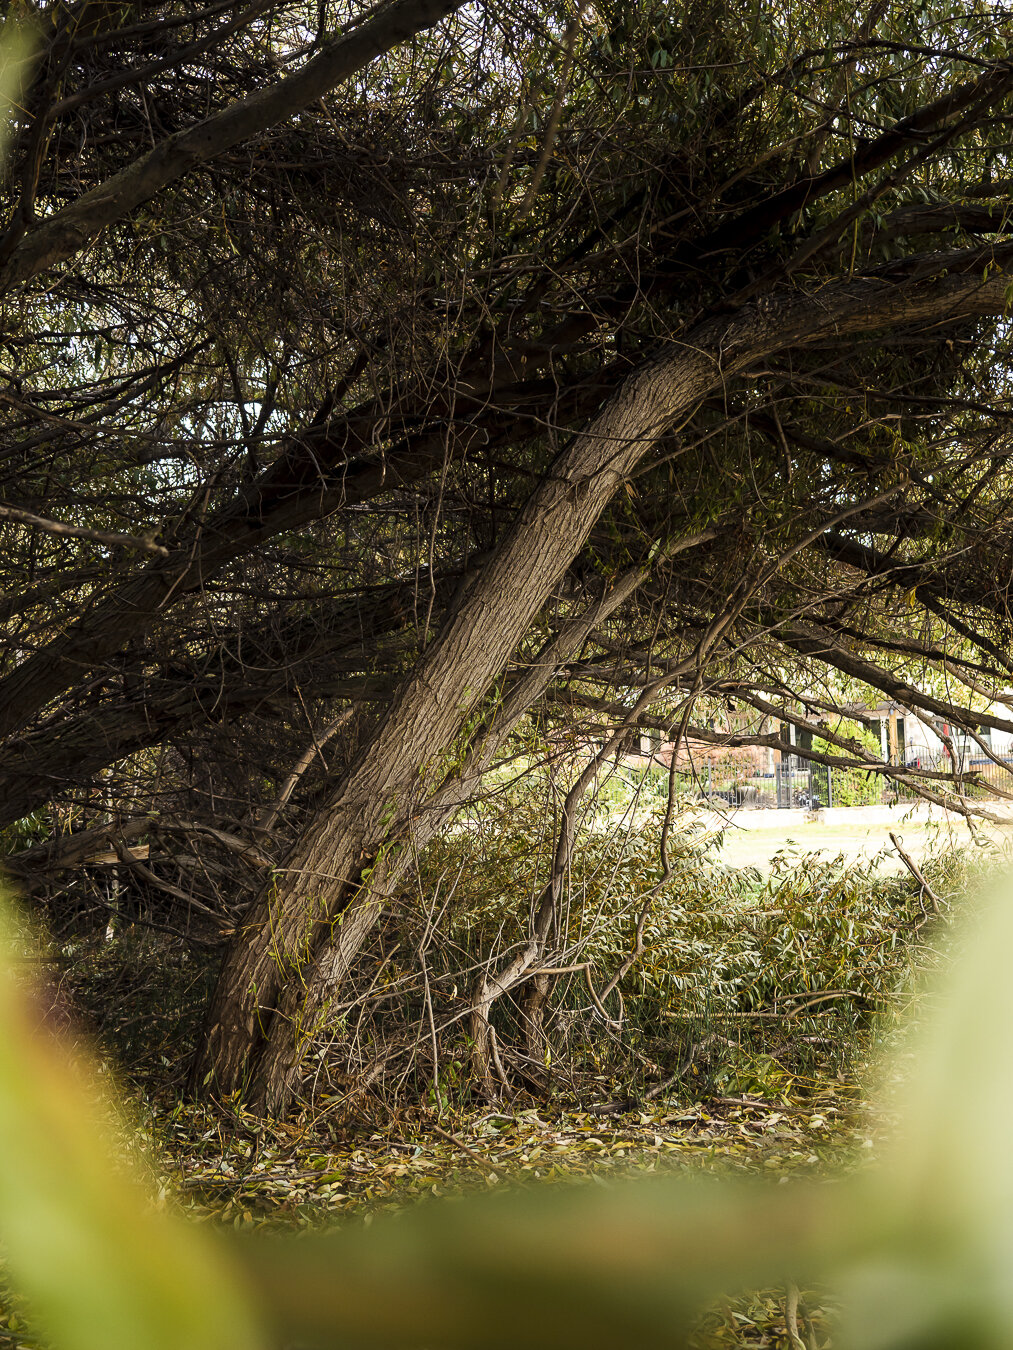
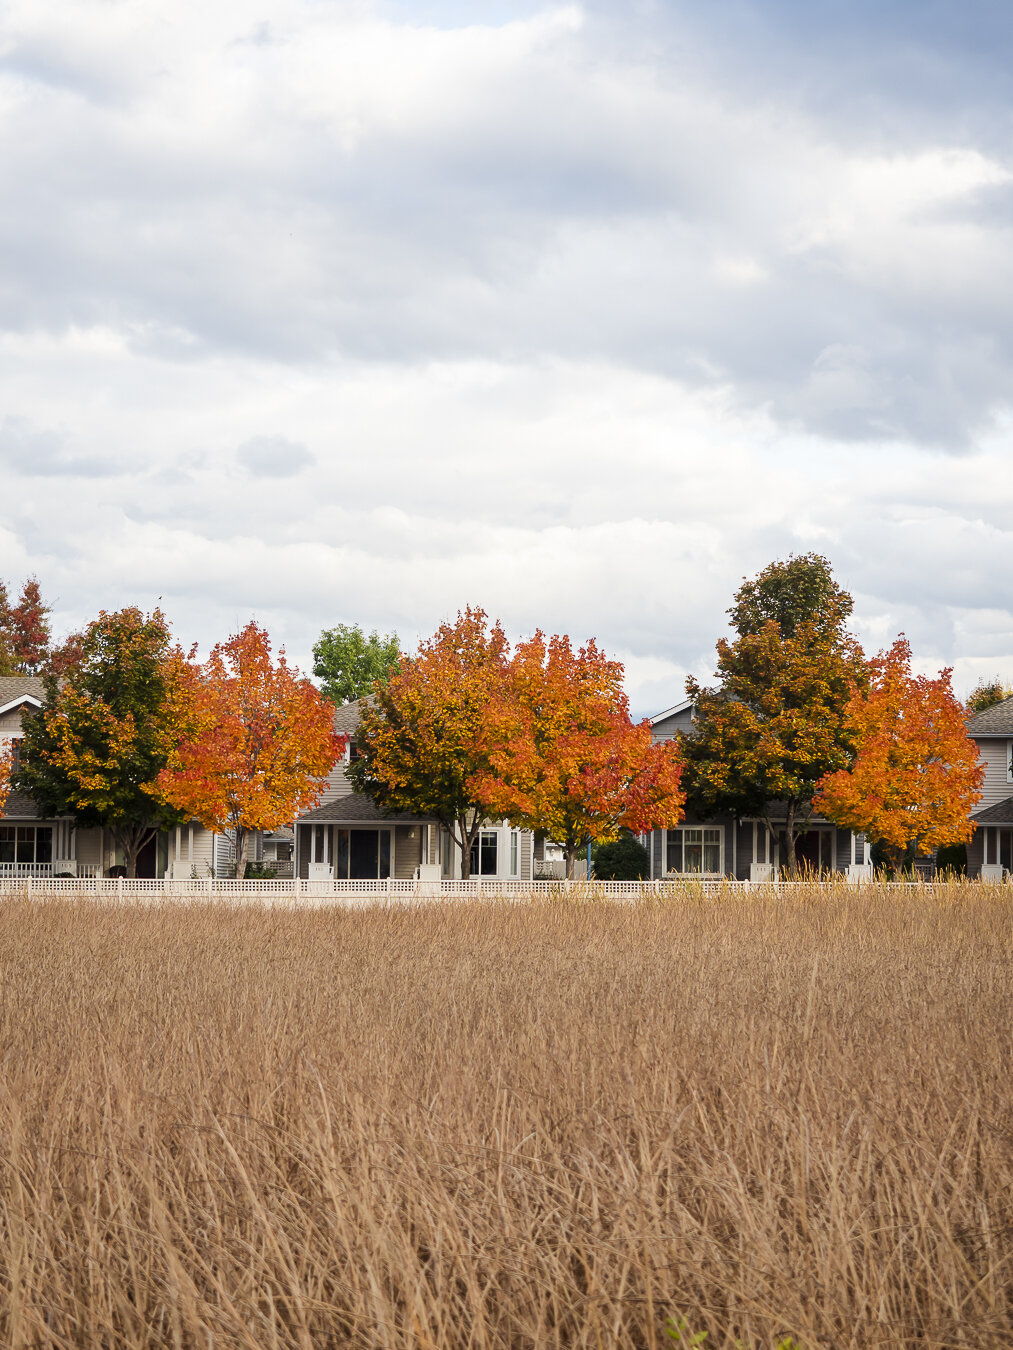
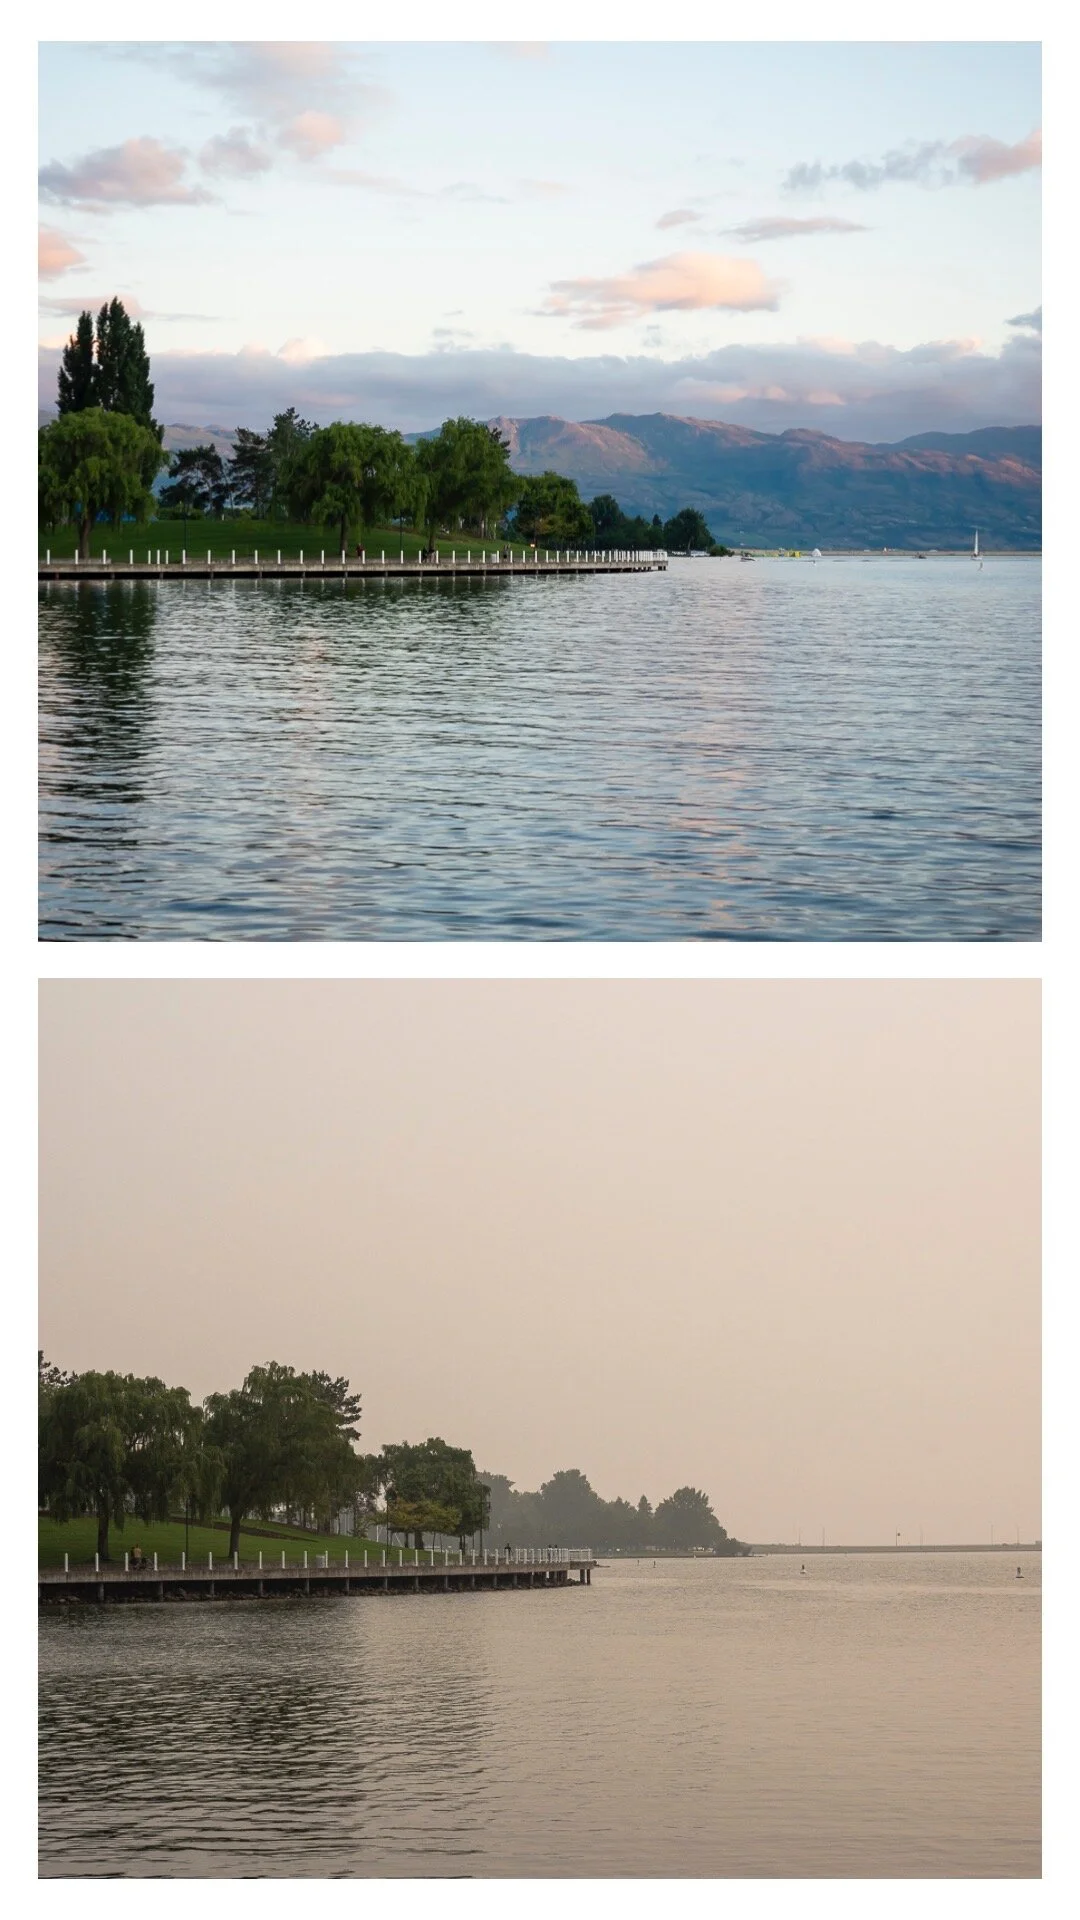
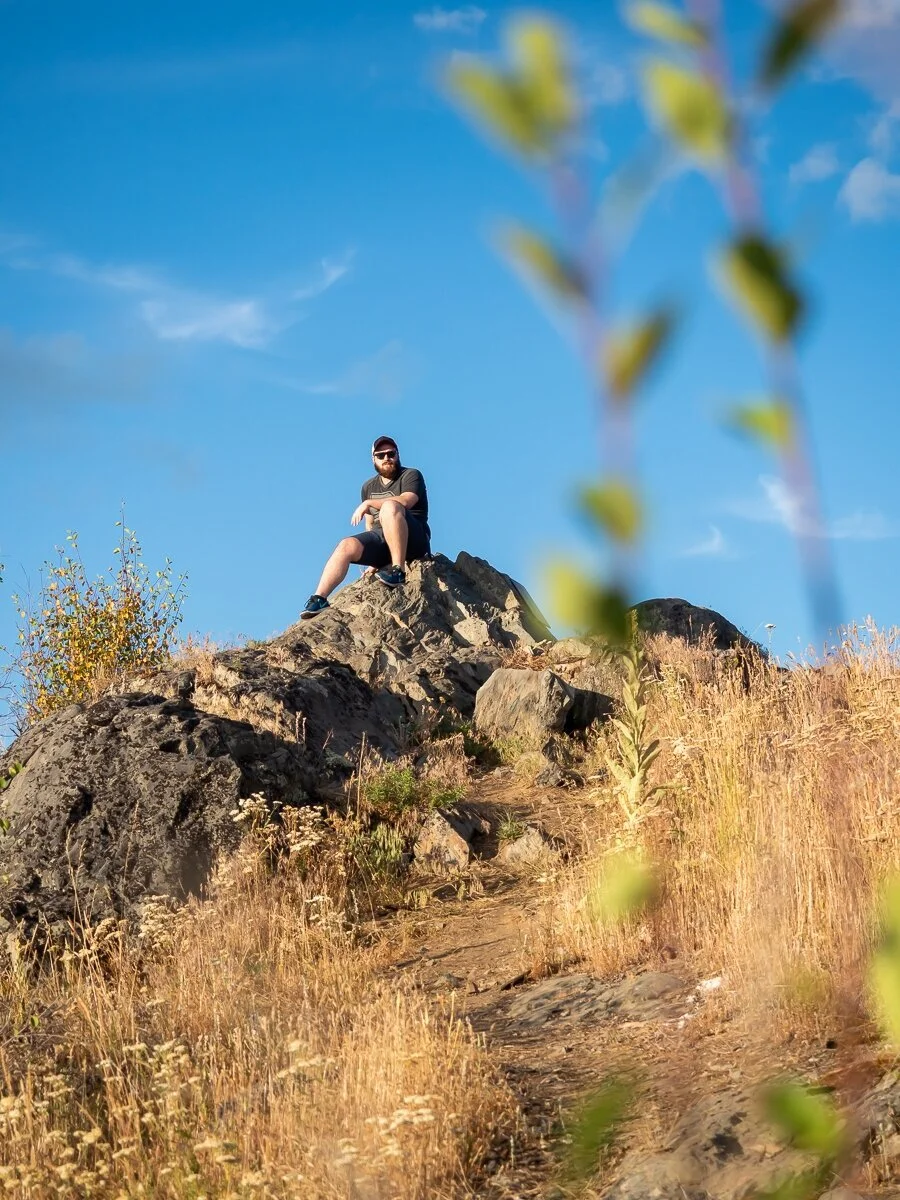
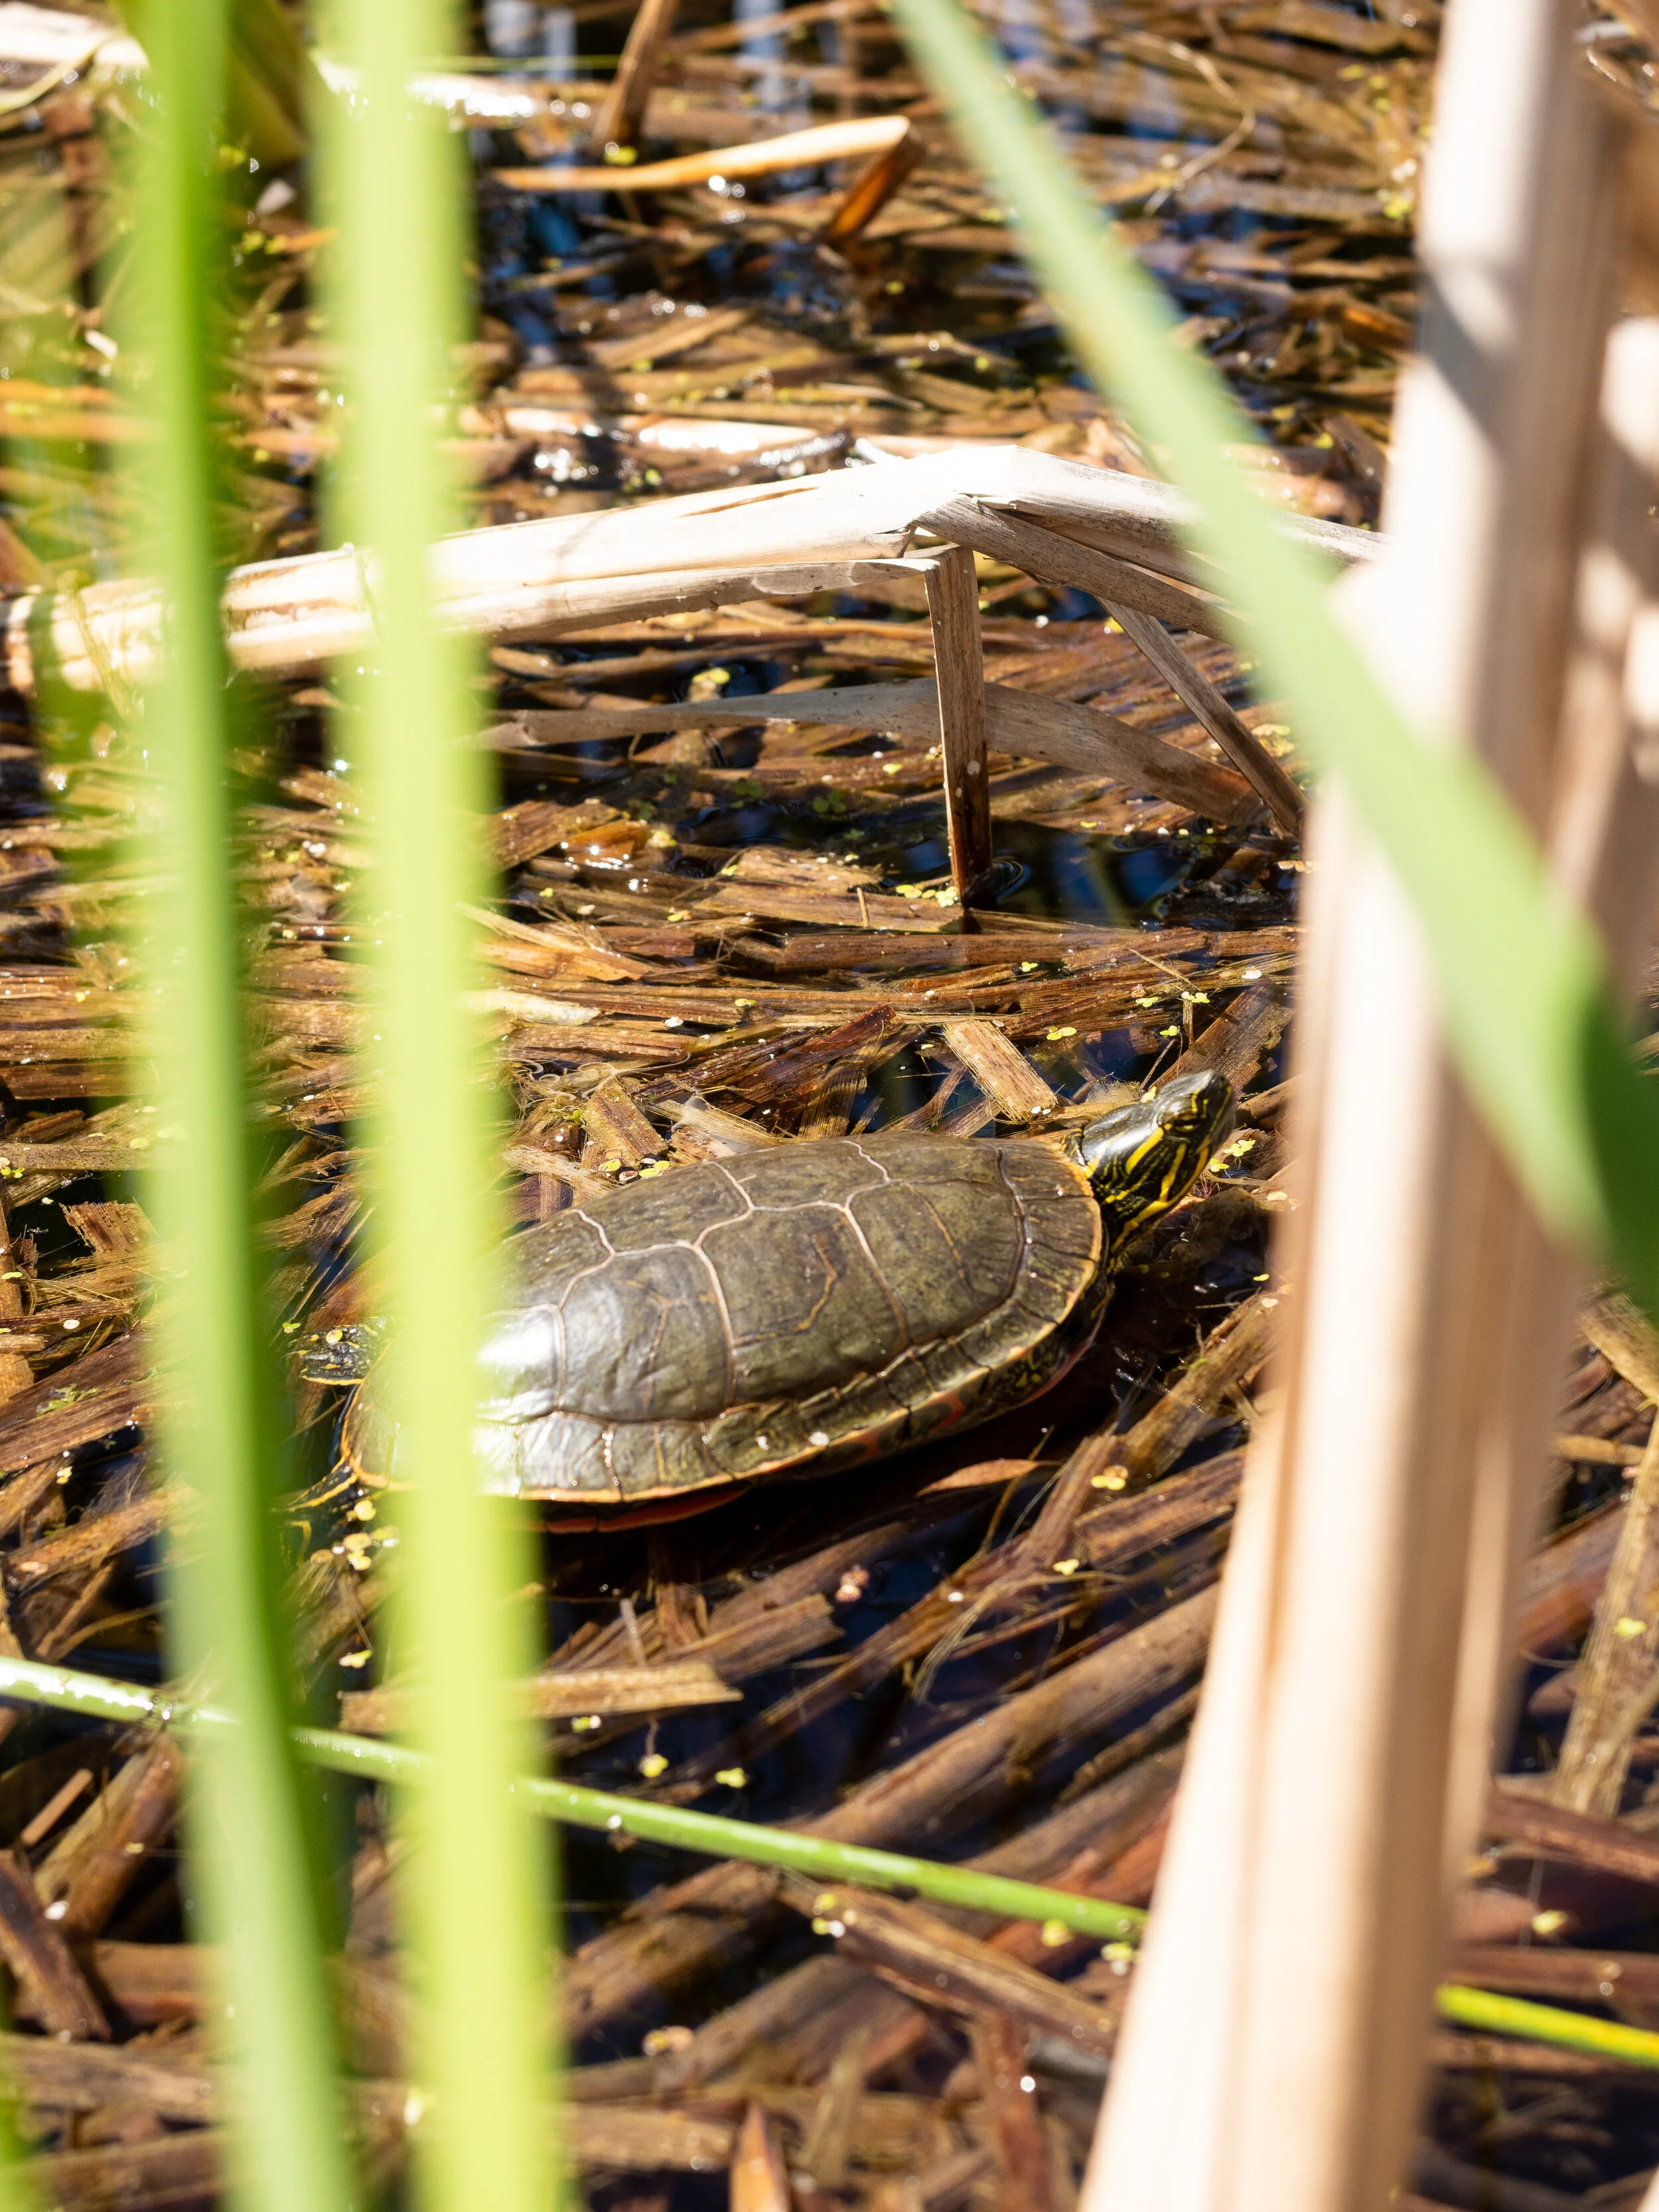
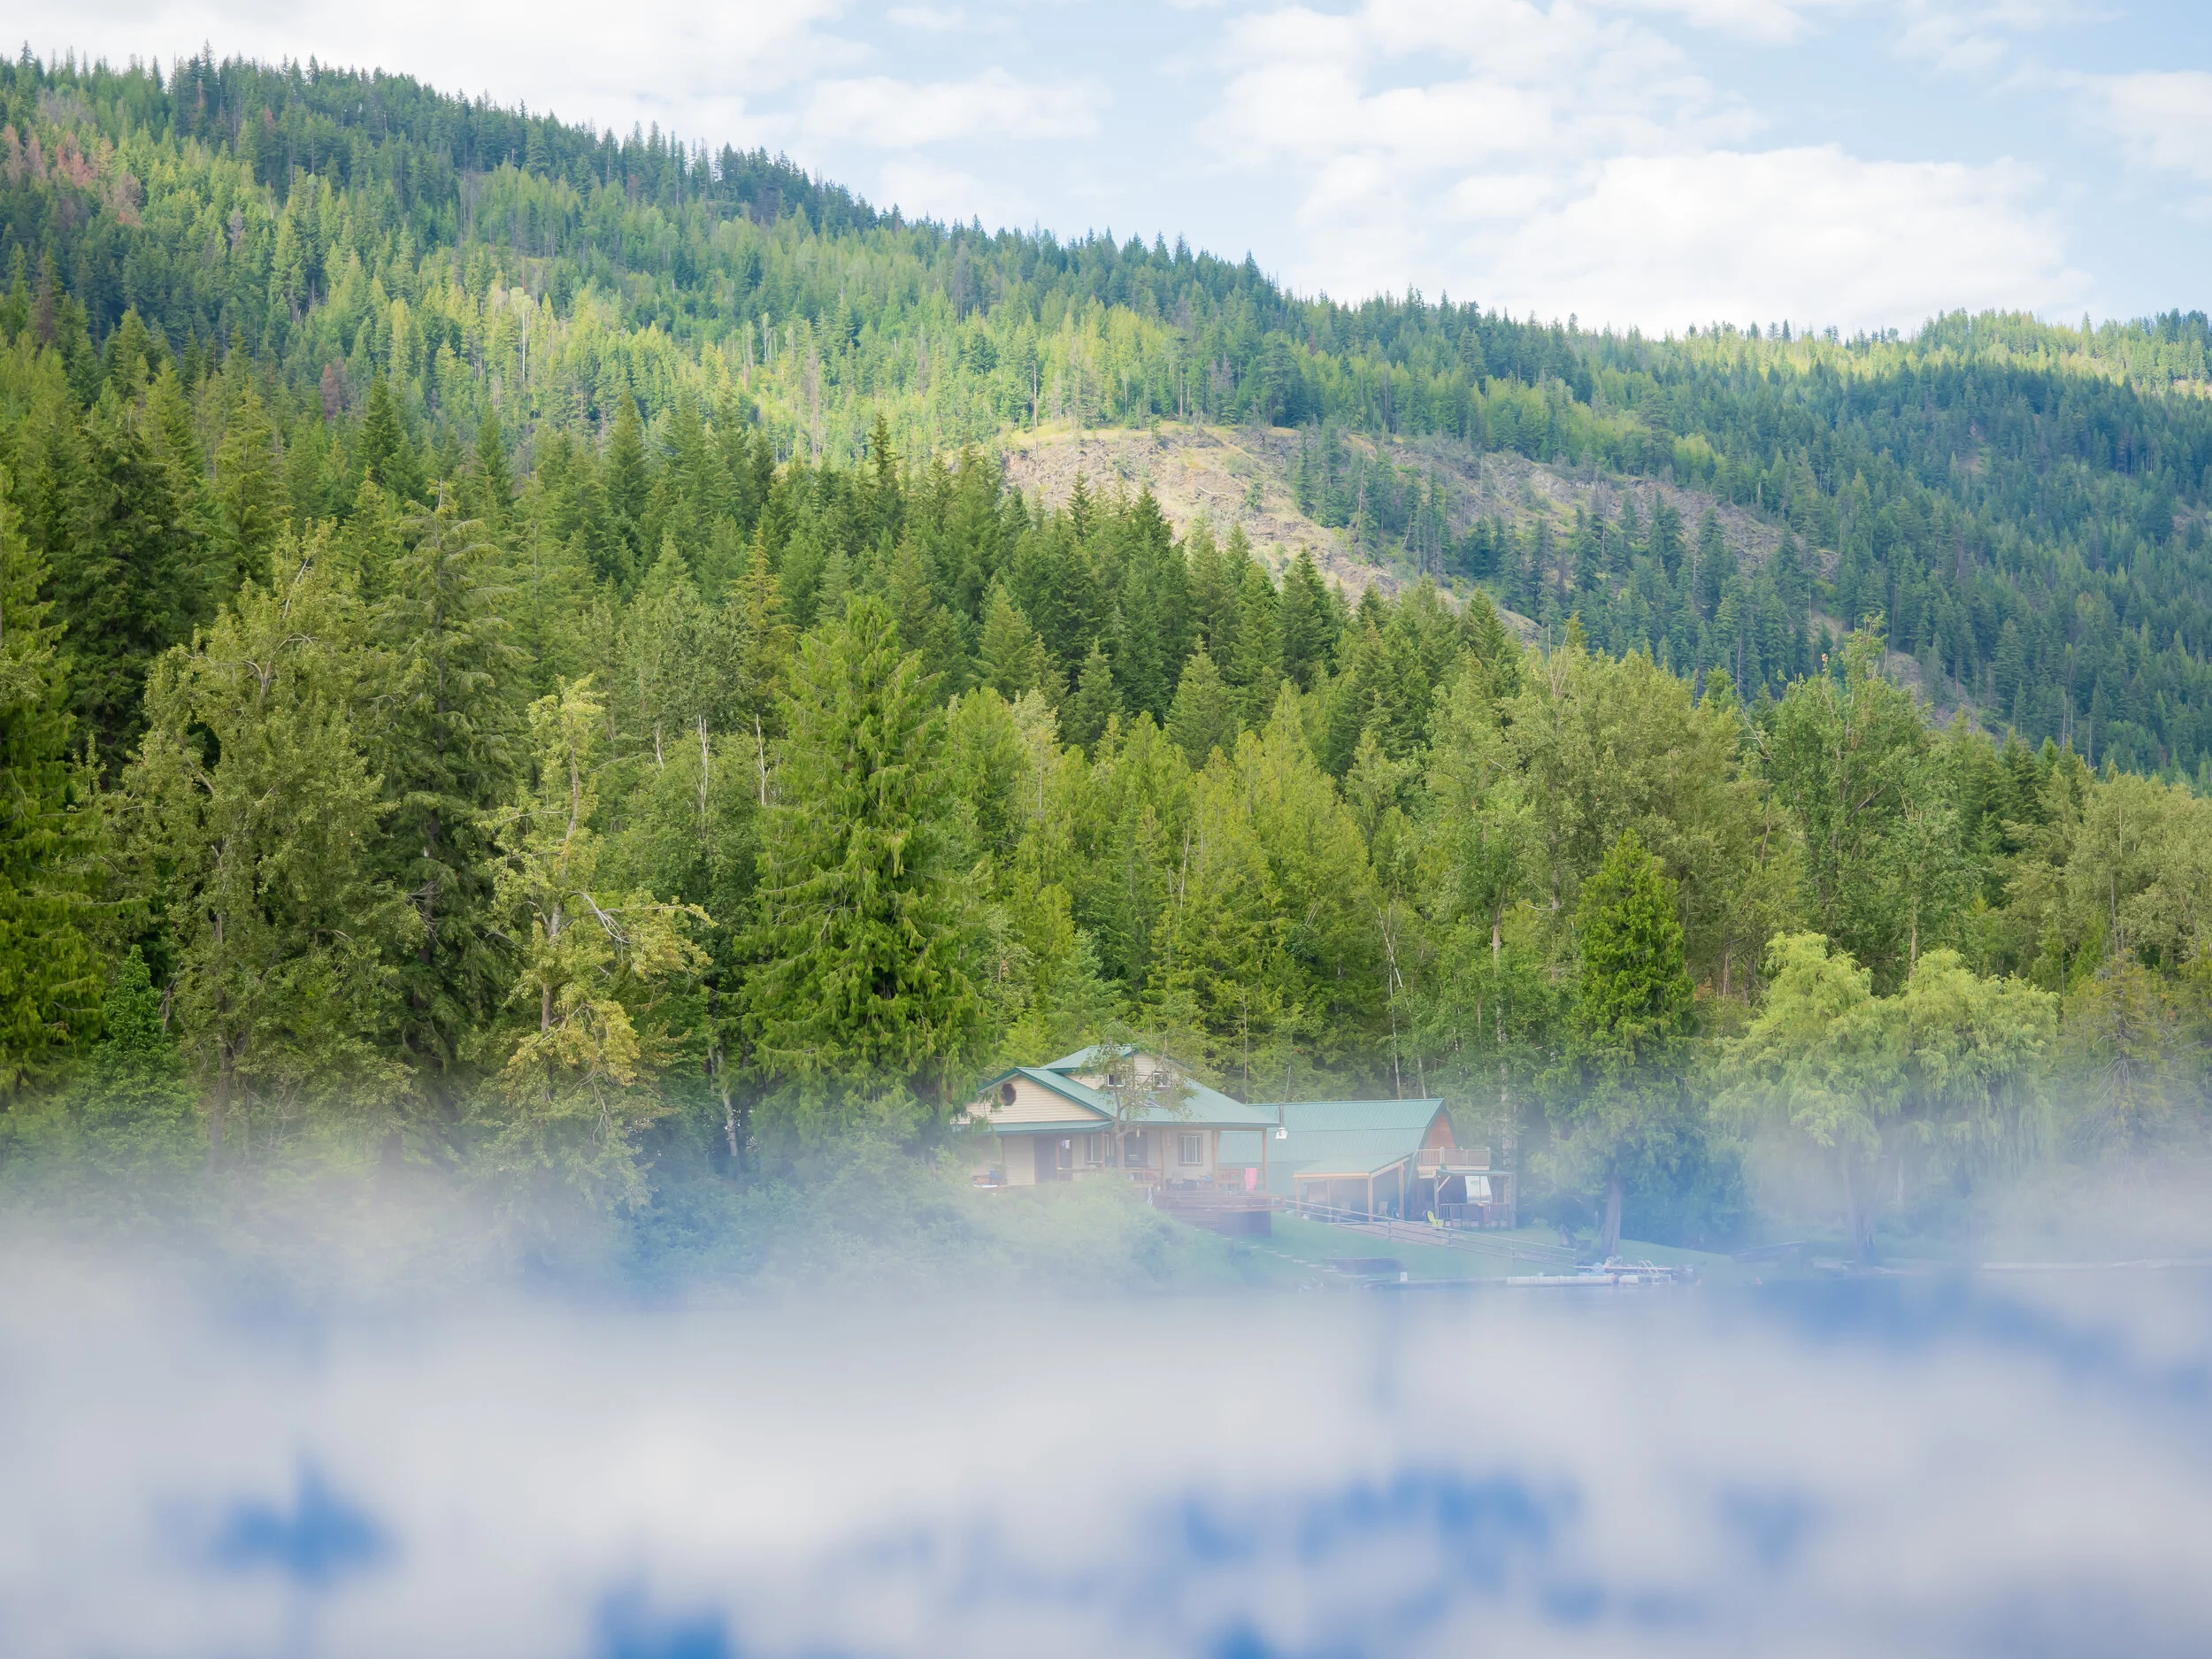
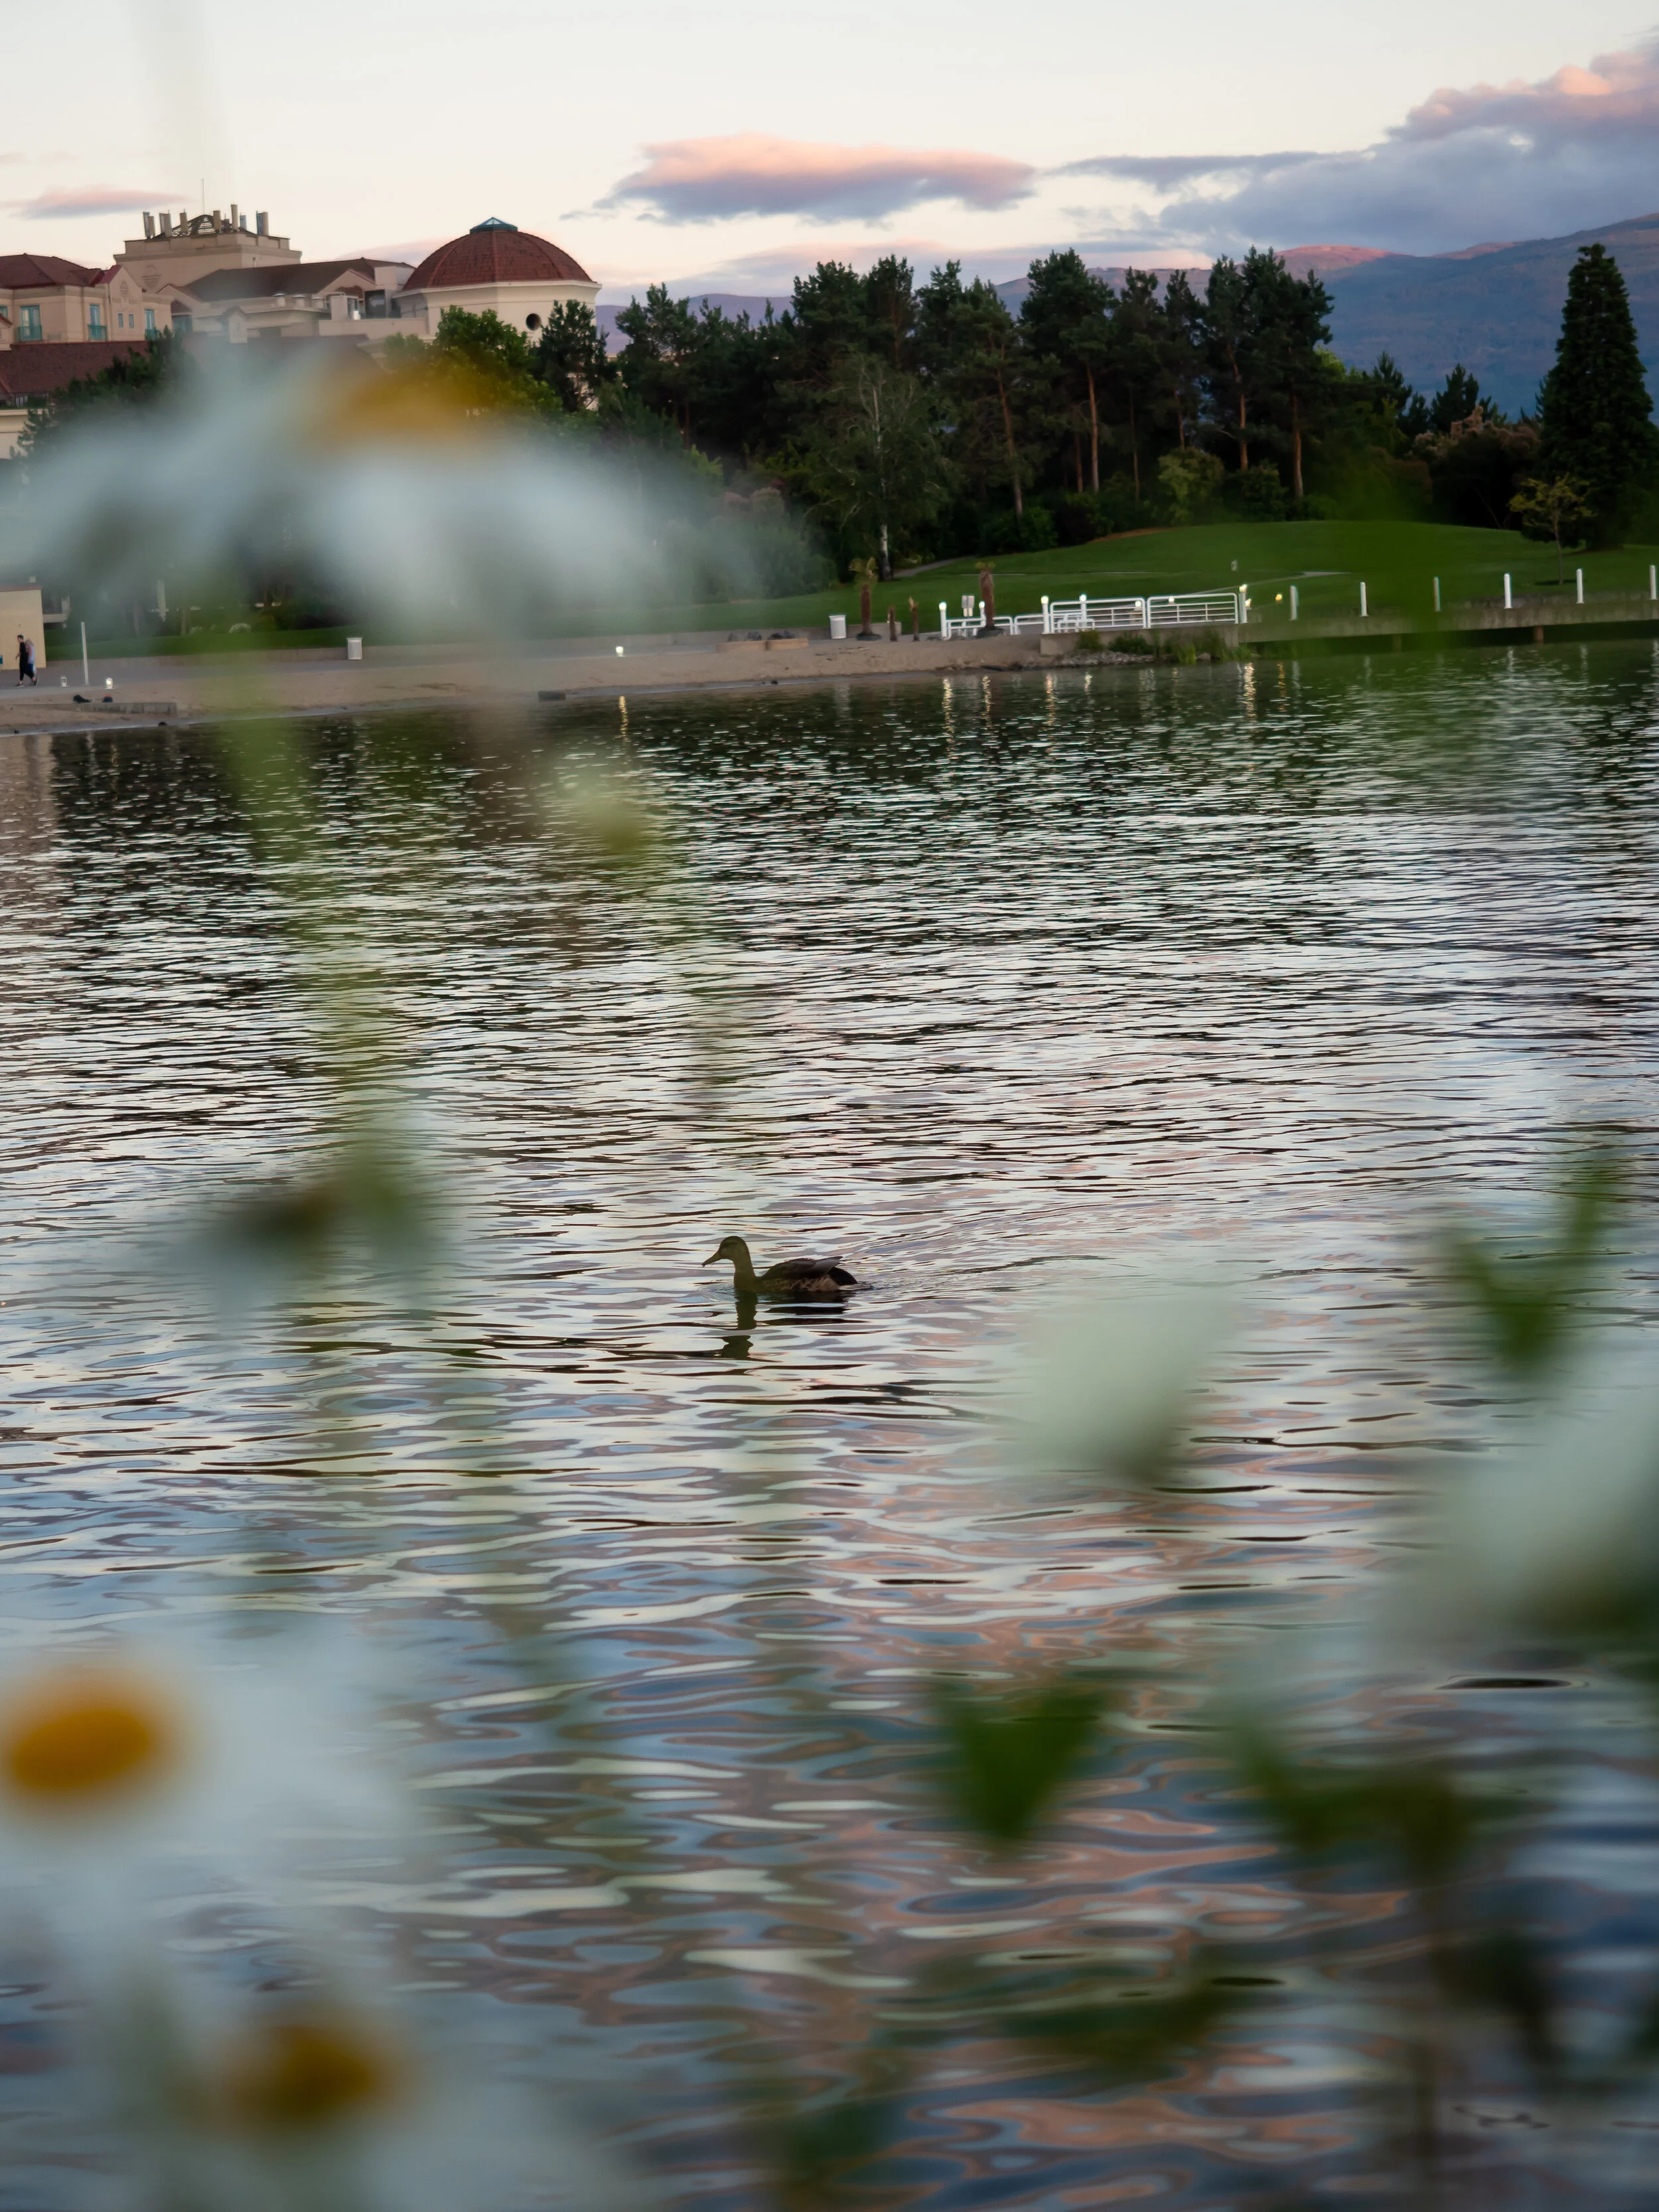
Or when I am trying to capture something in the distance at a longer focal length so it fills the frame quite nicely but I still want to incorporate some foreground interest
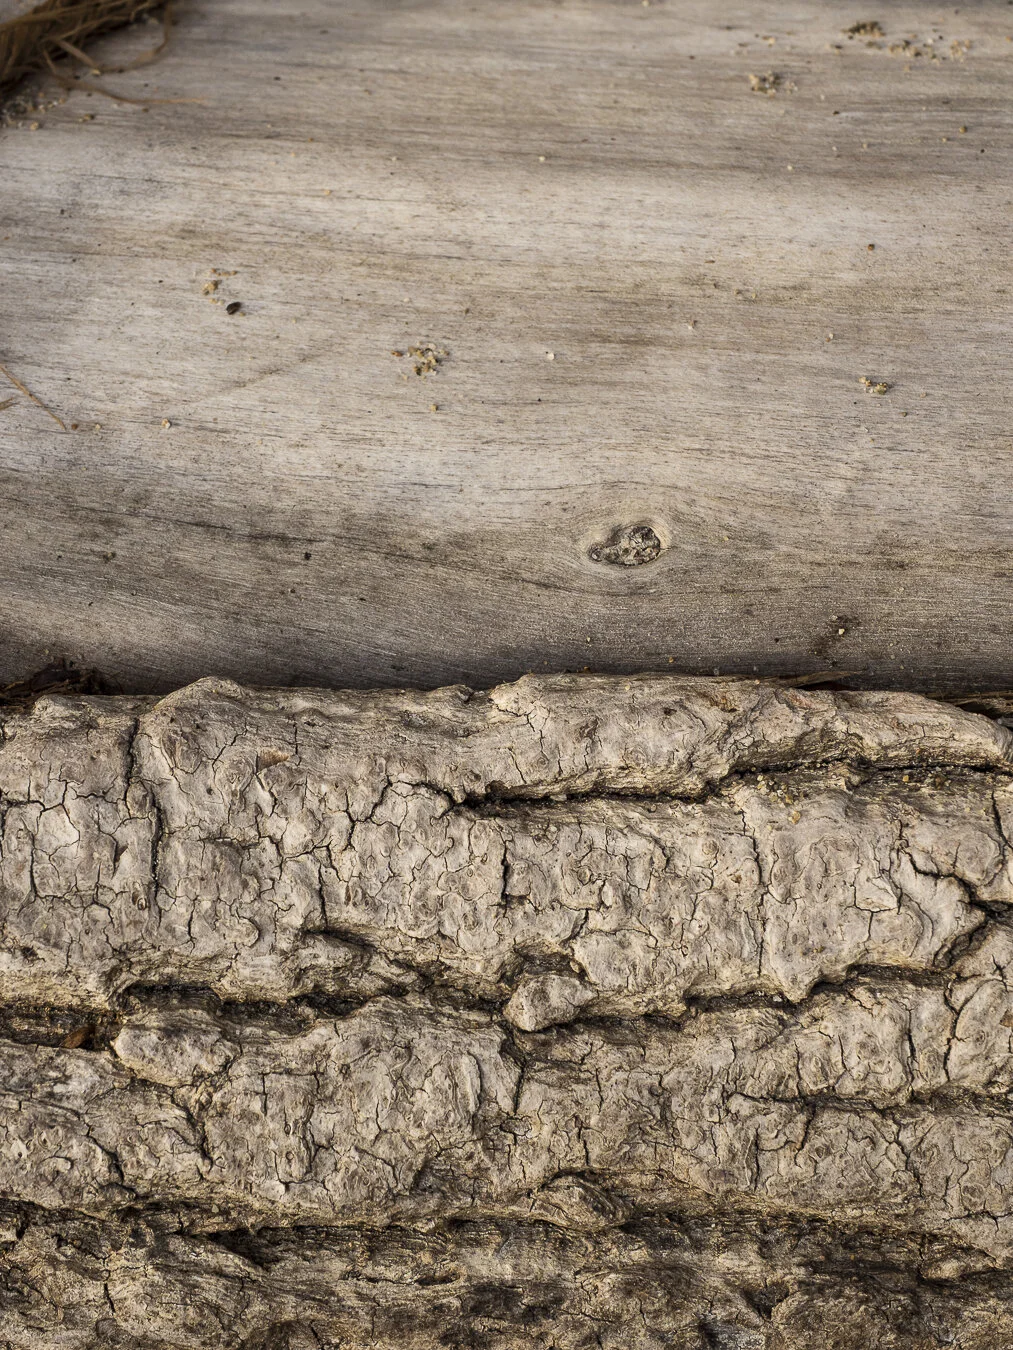
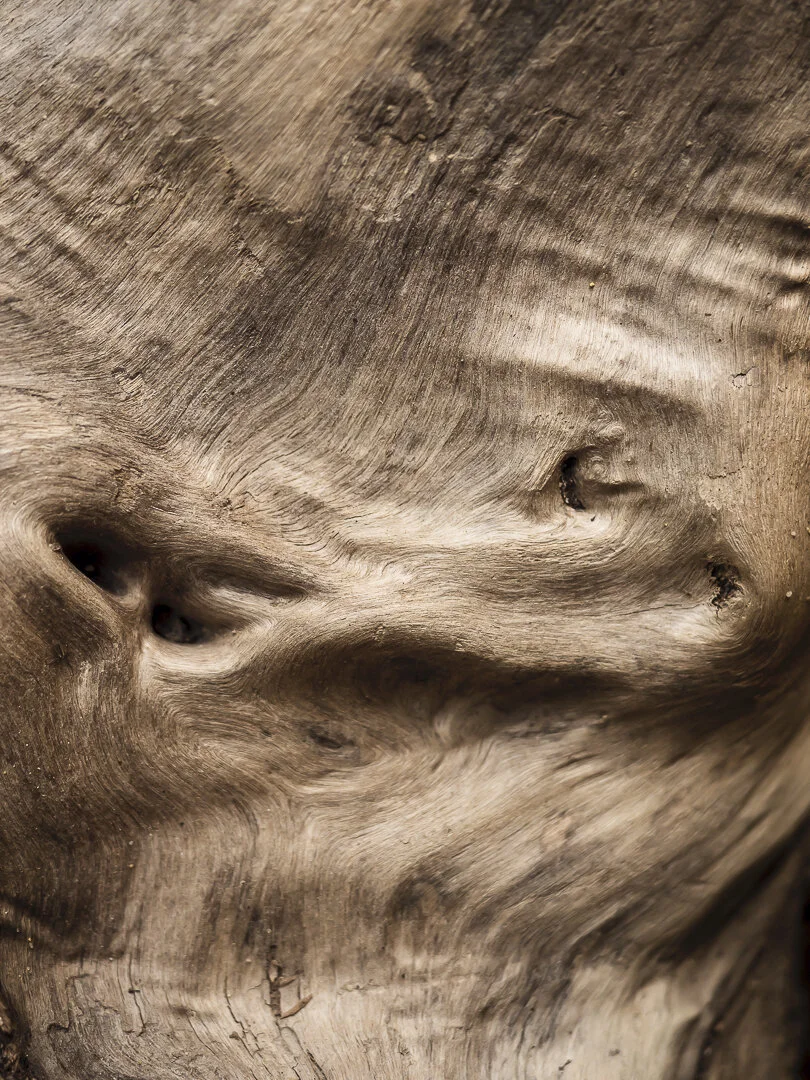
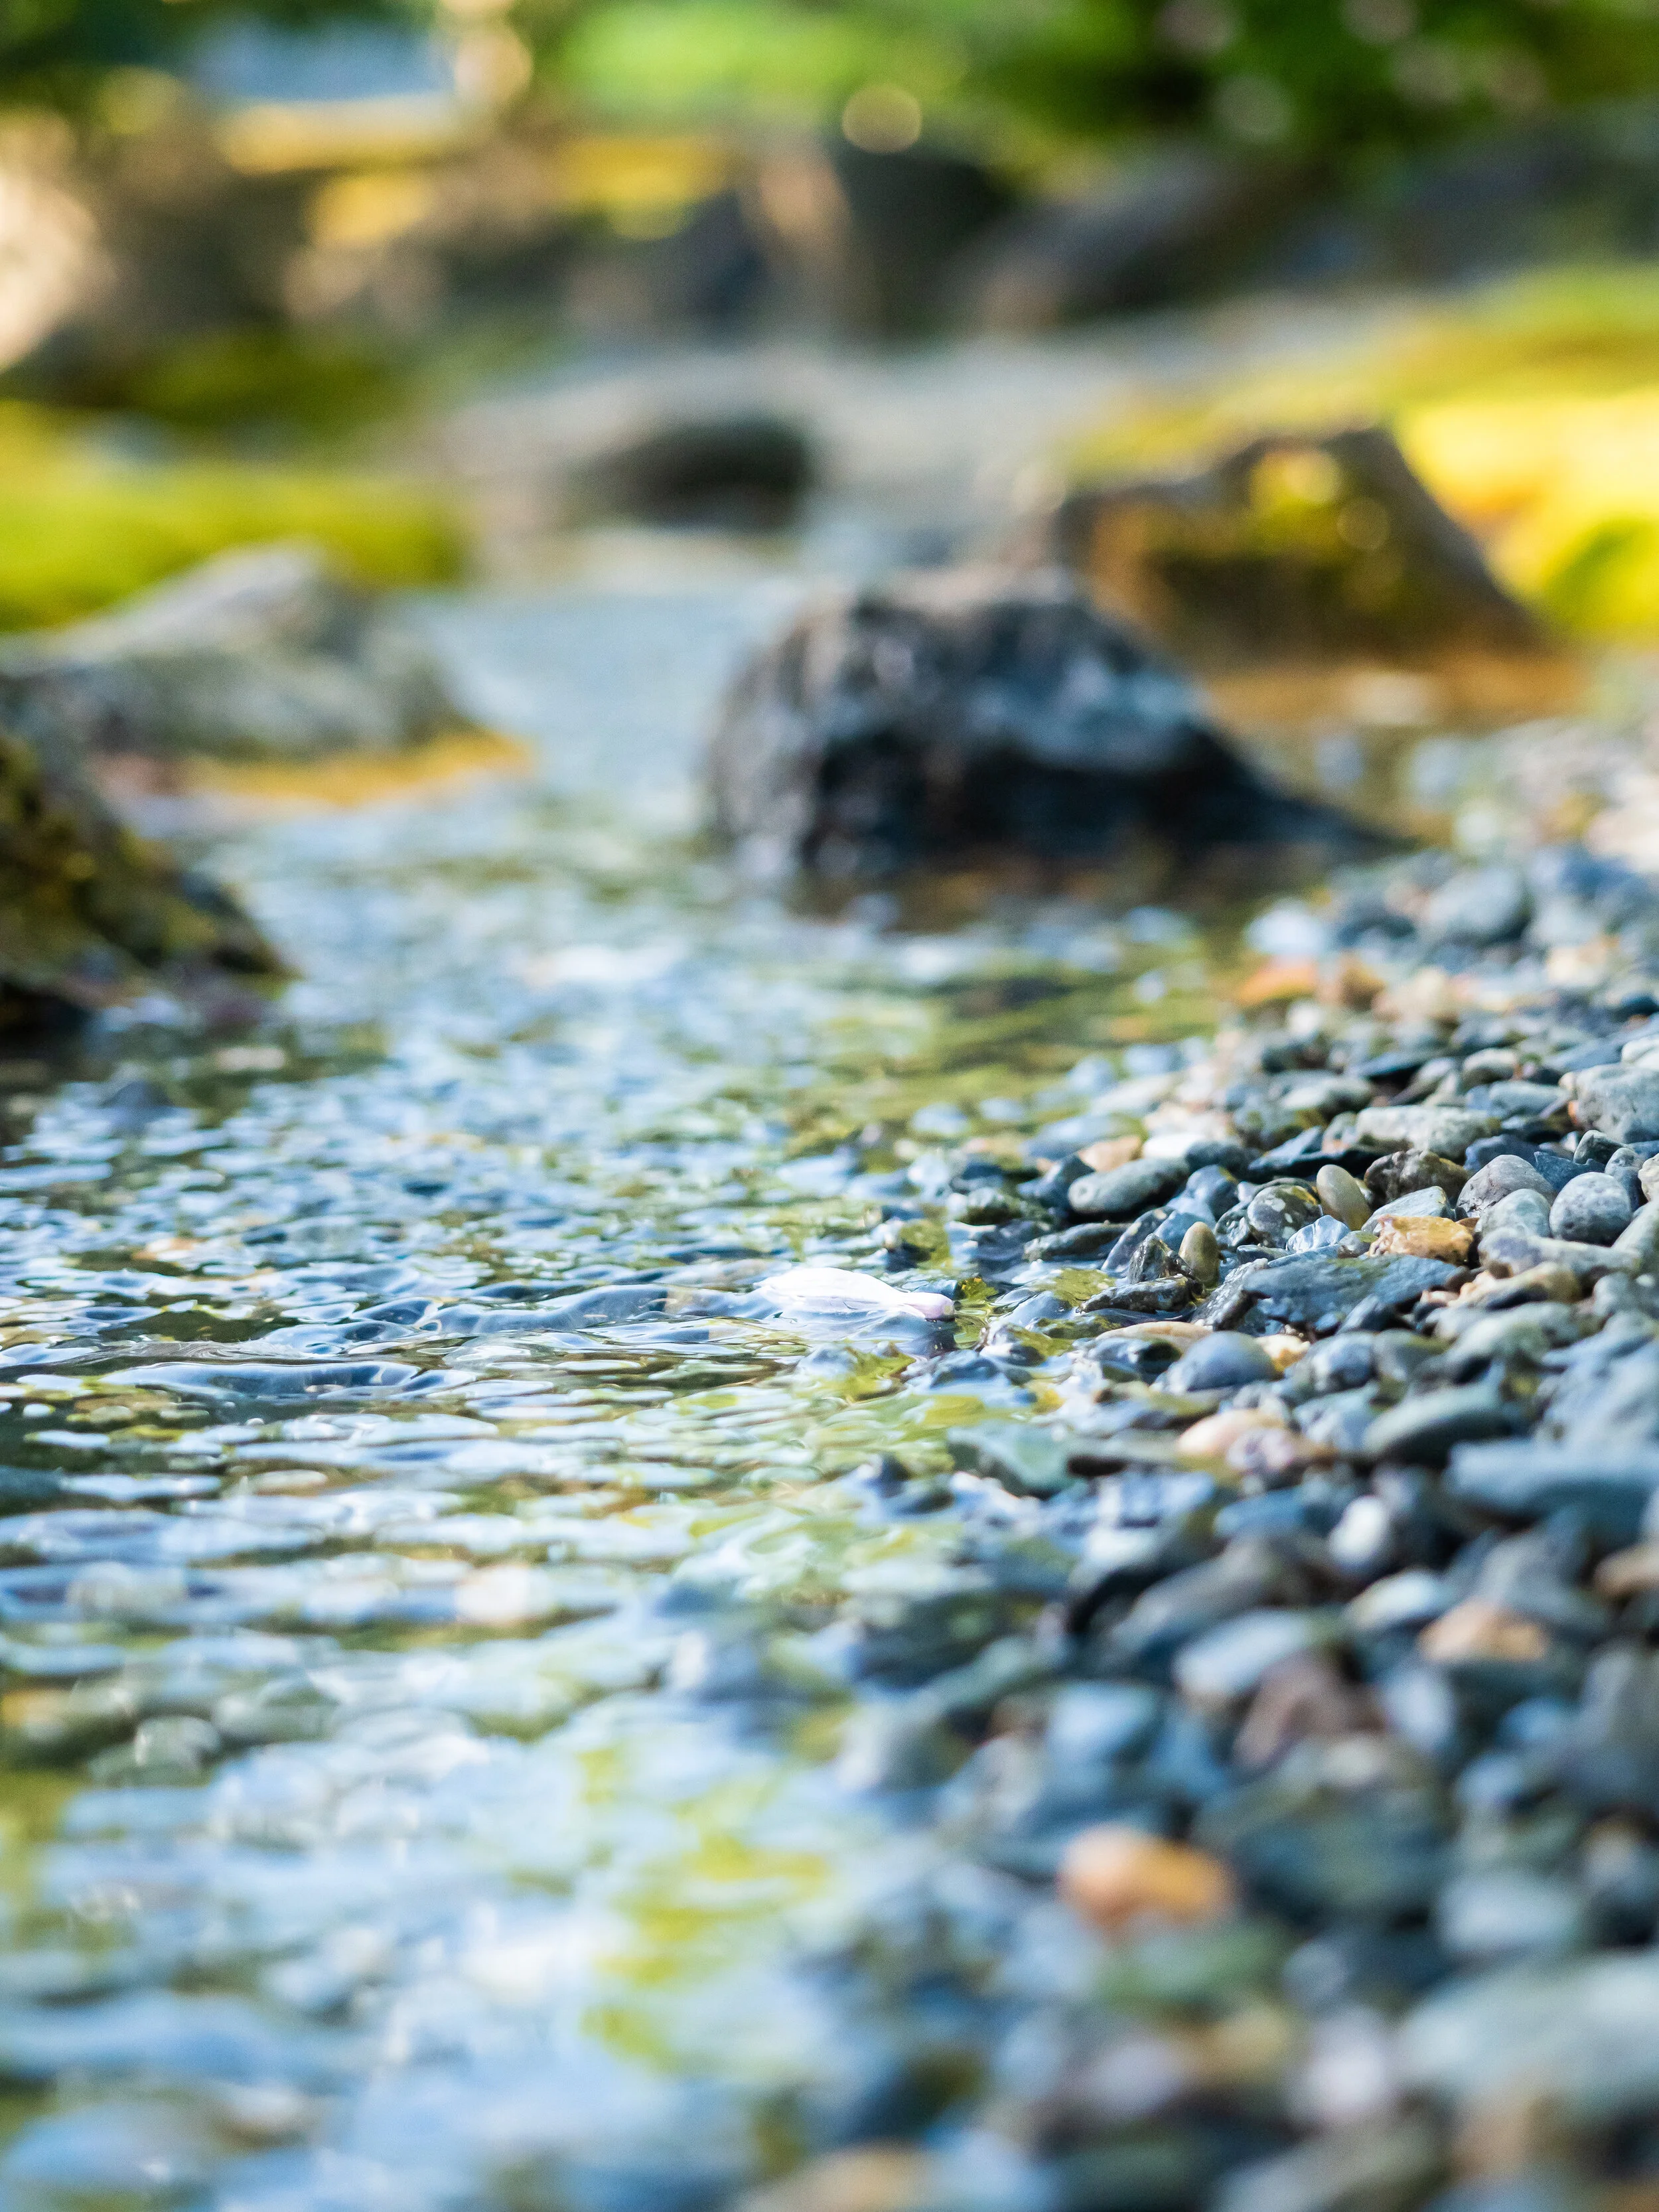
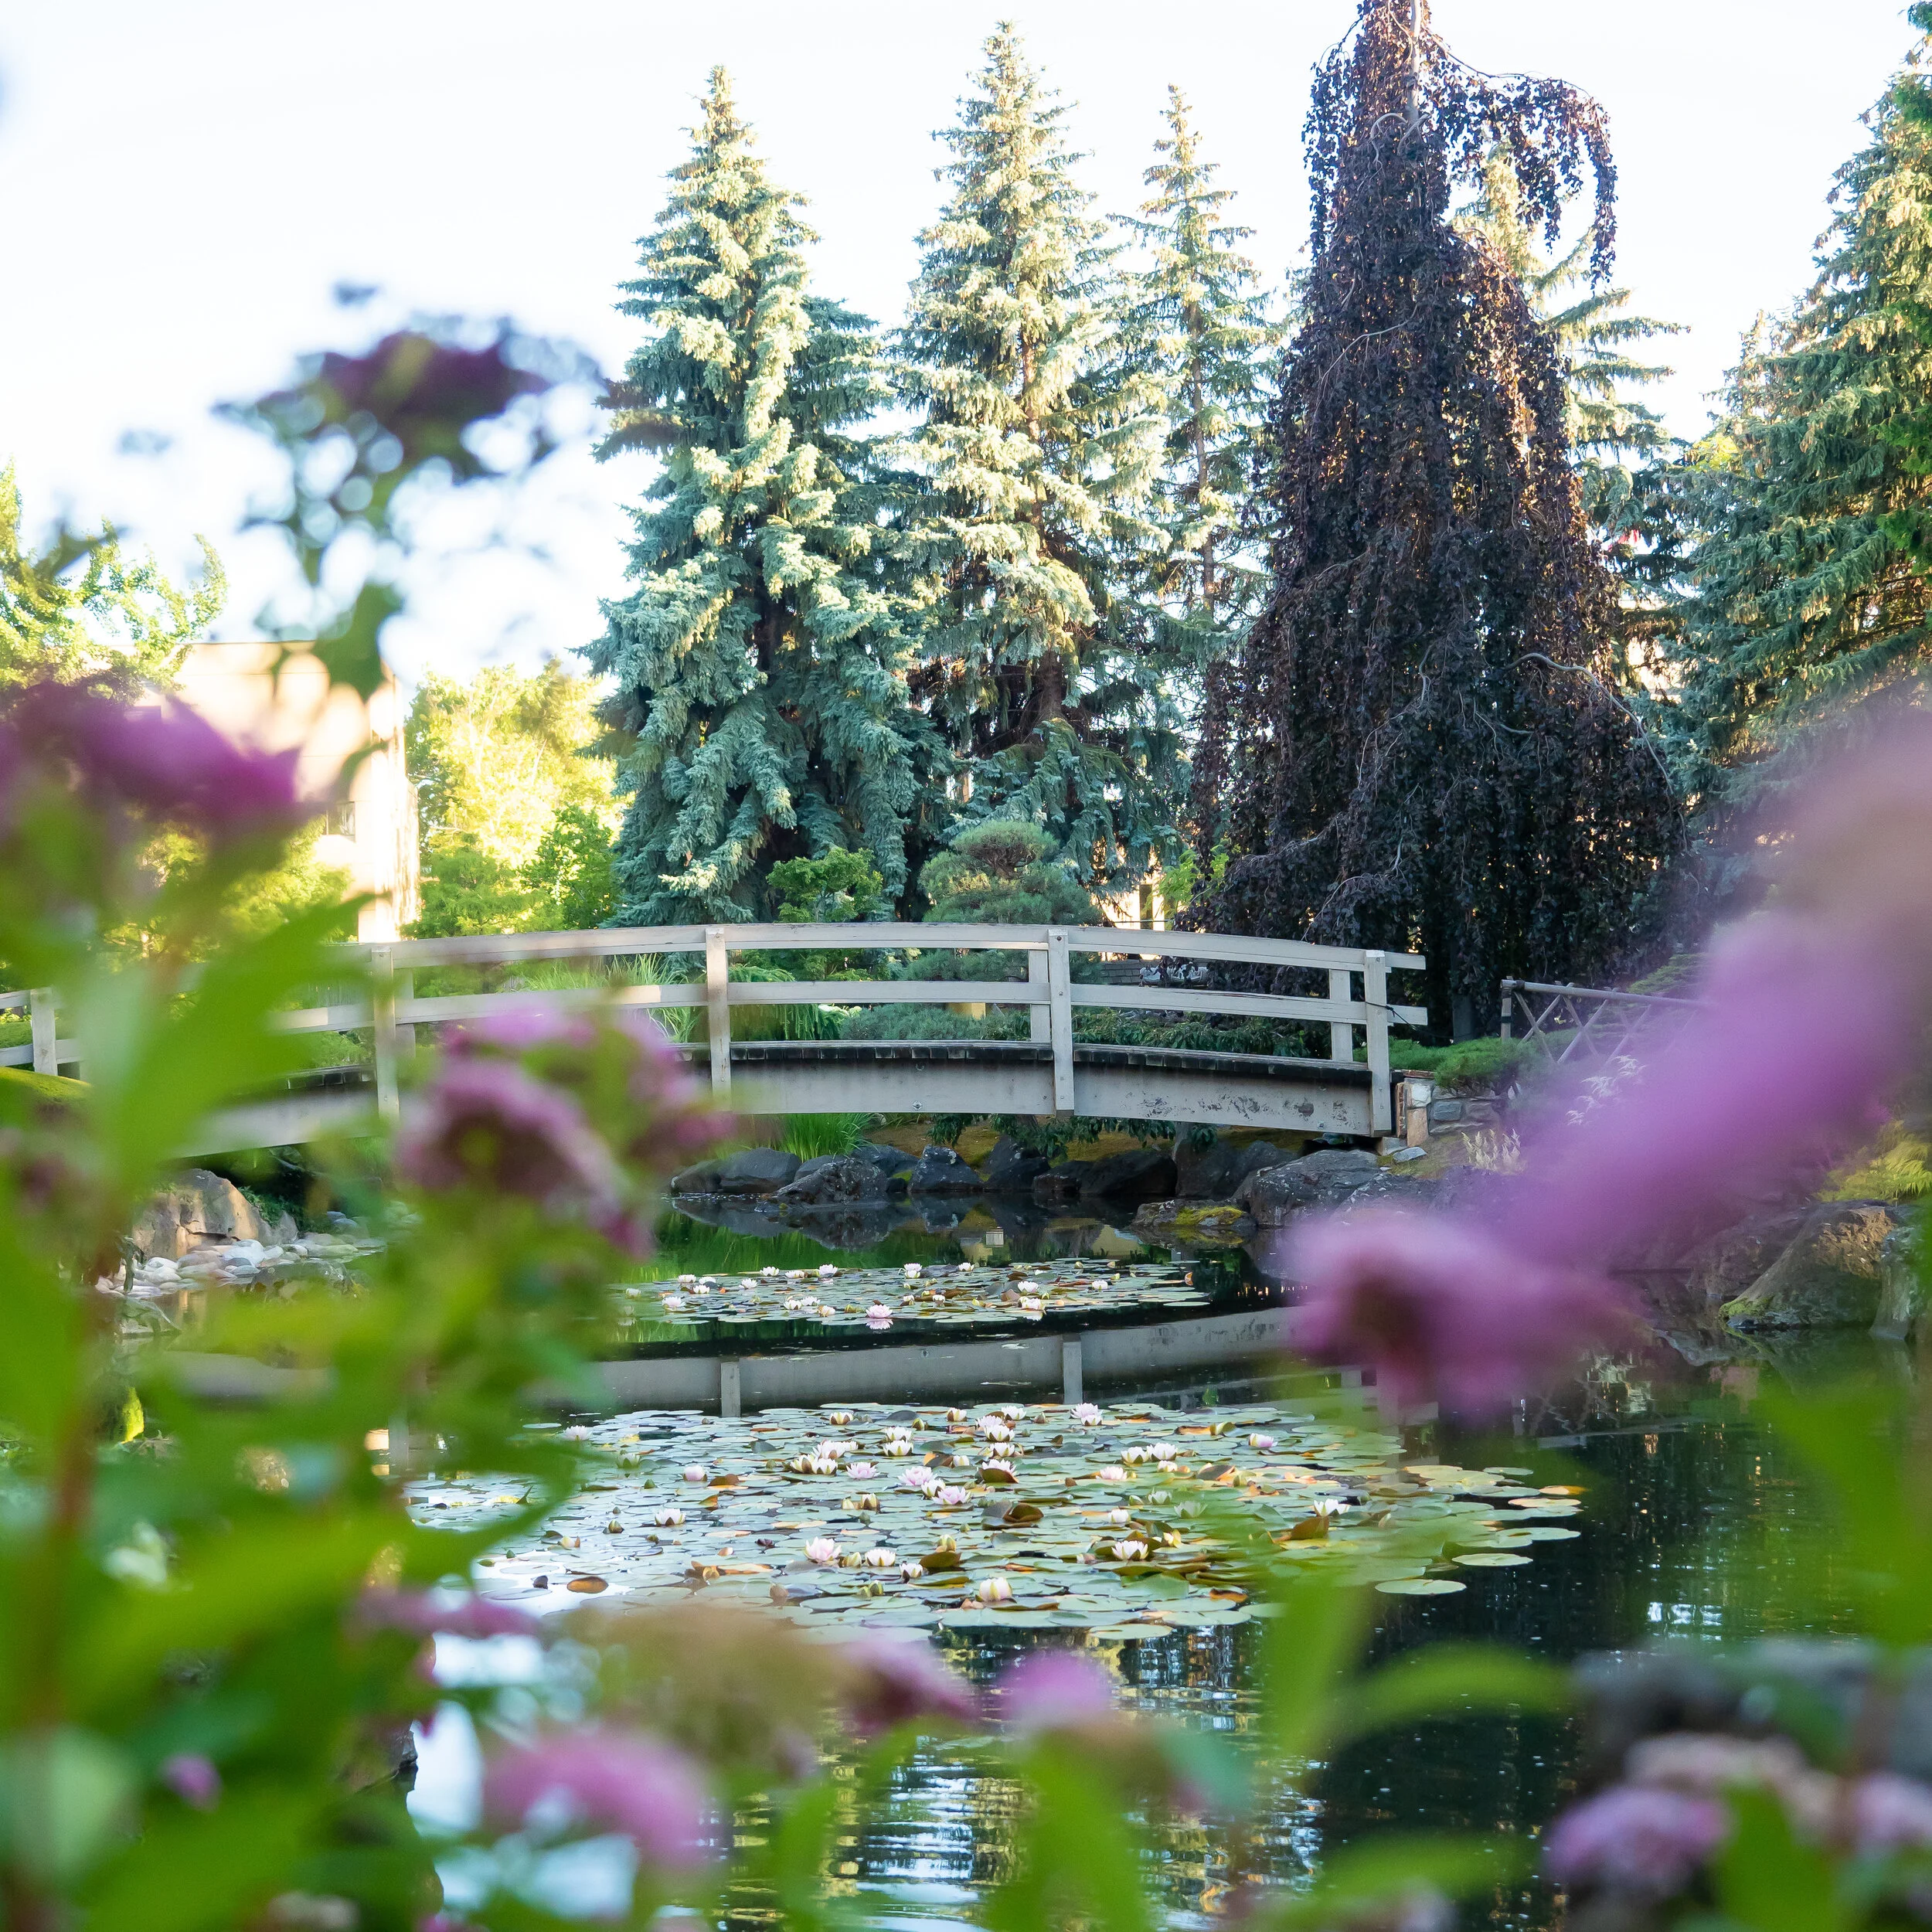
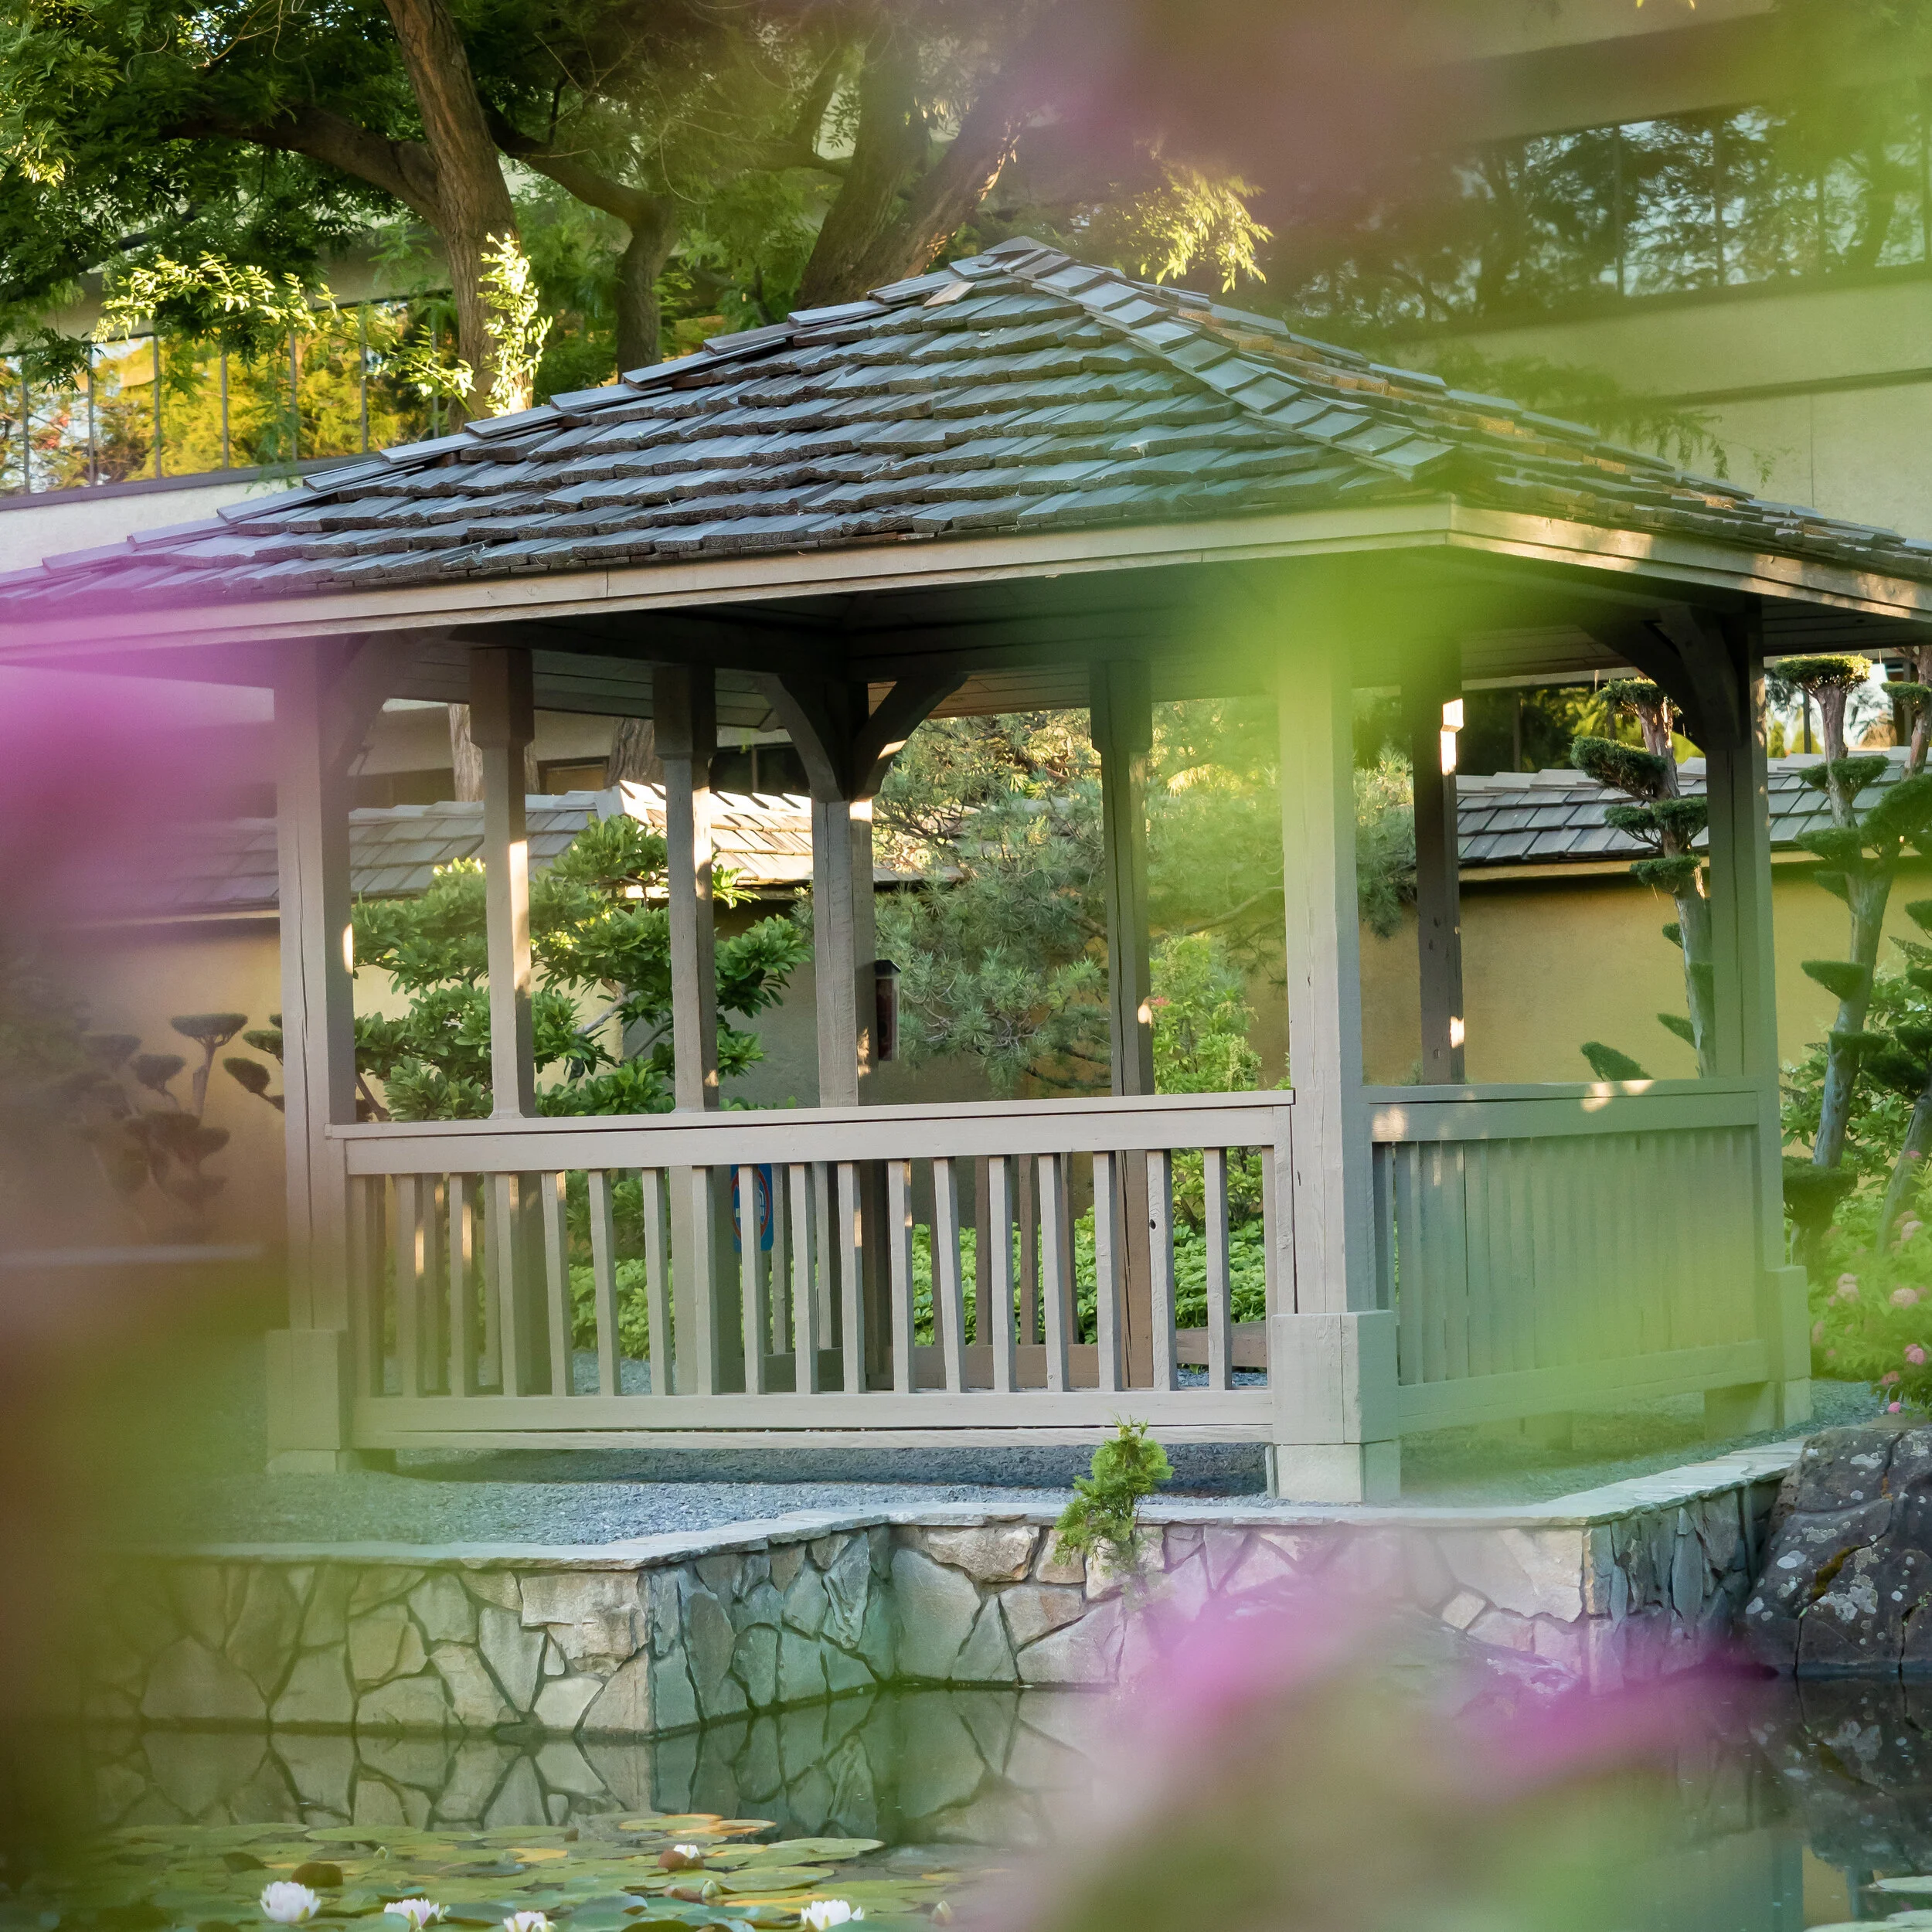
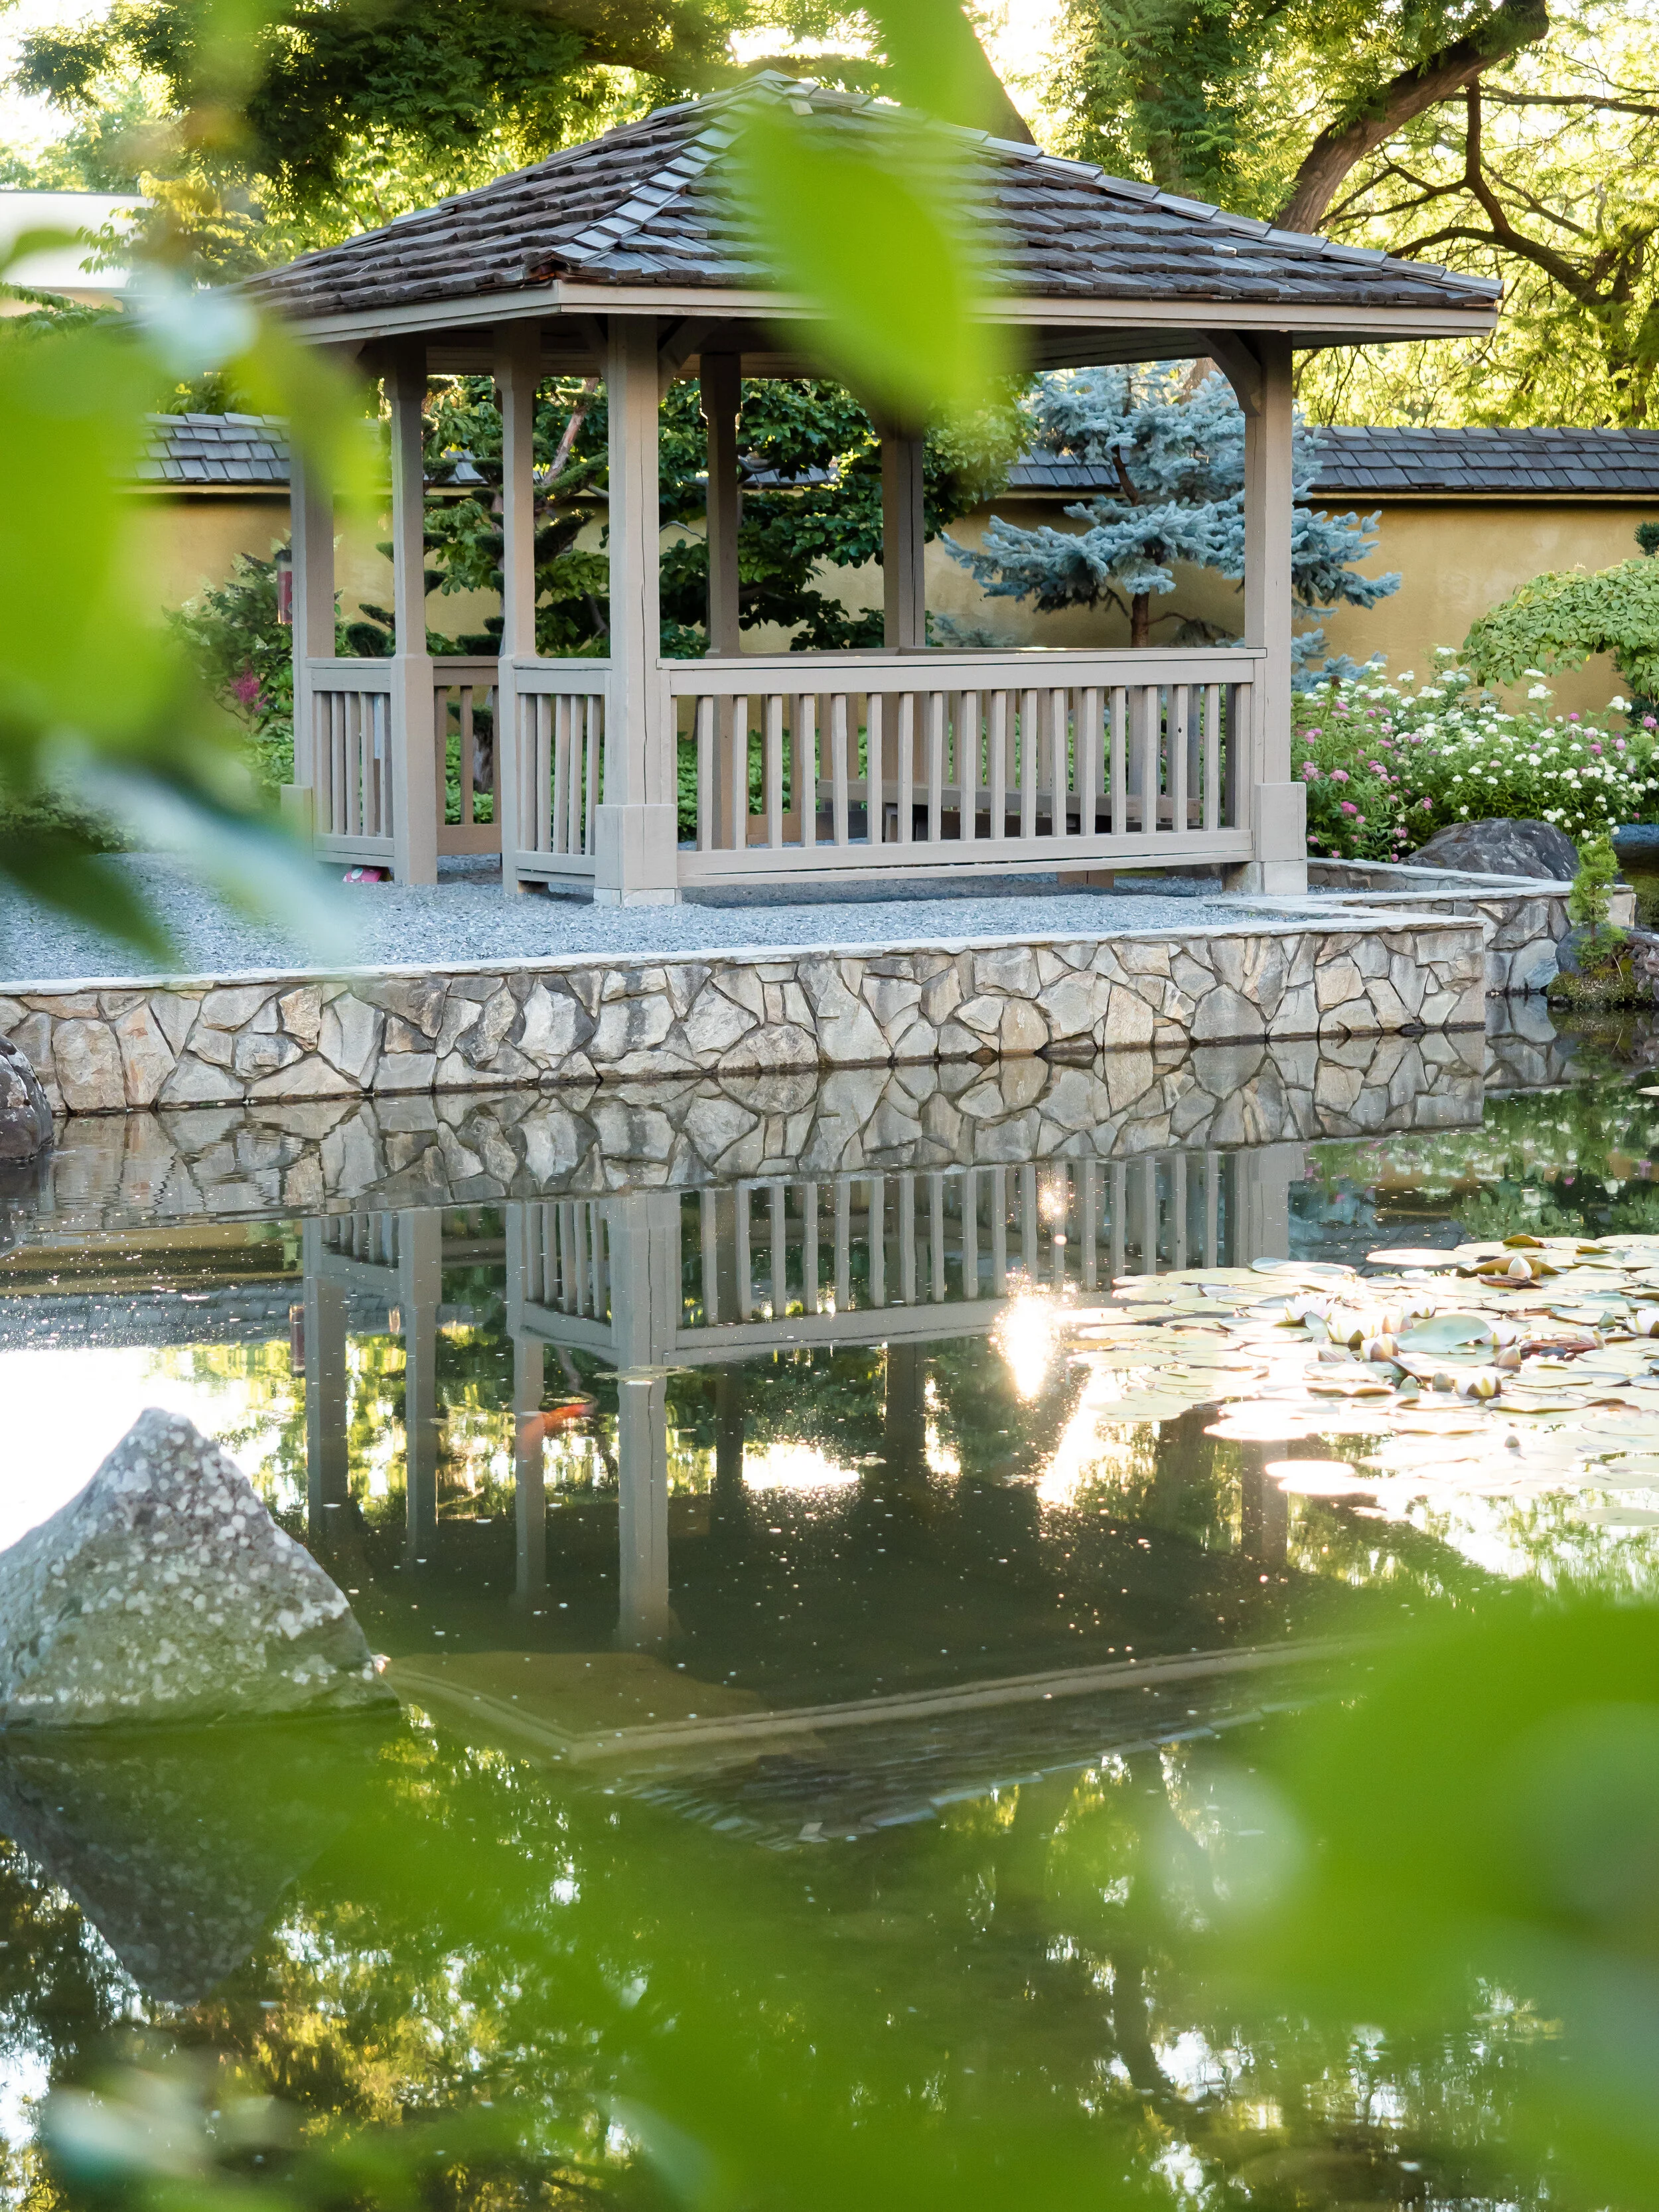
Photos Taken on the 40-150 F2.8 PRO
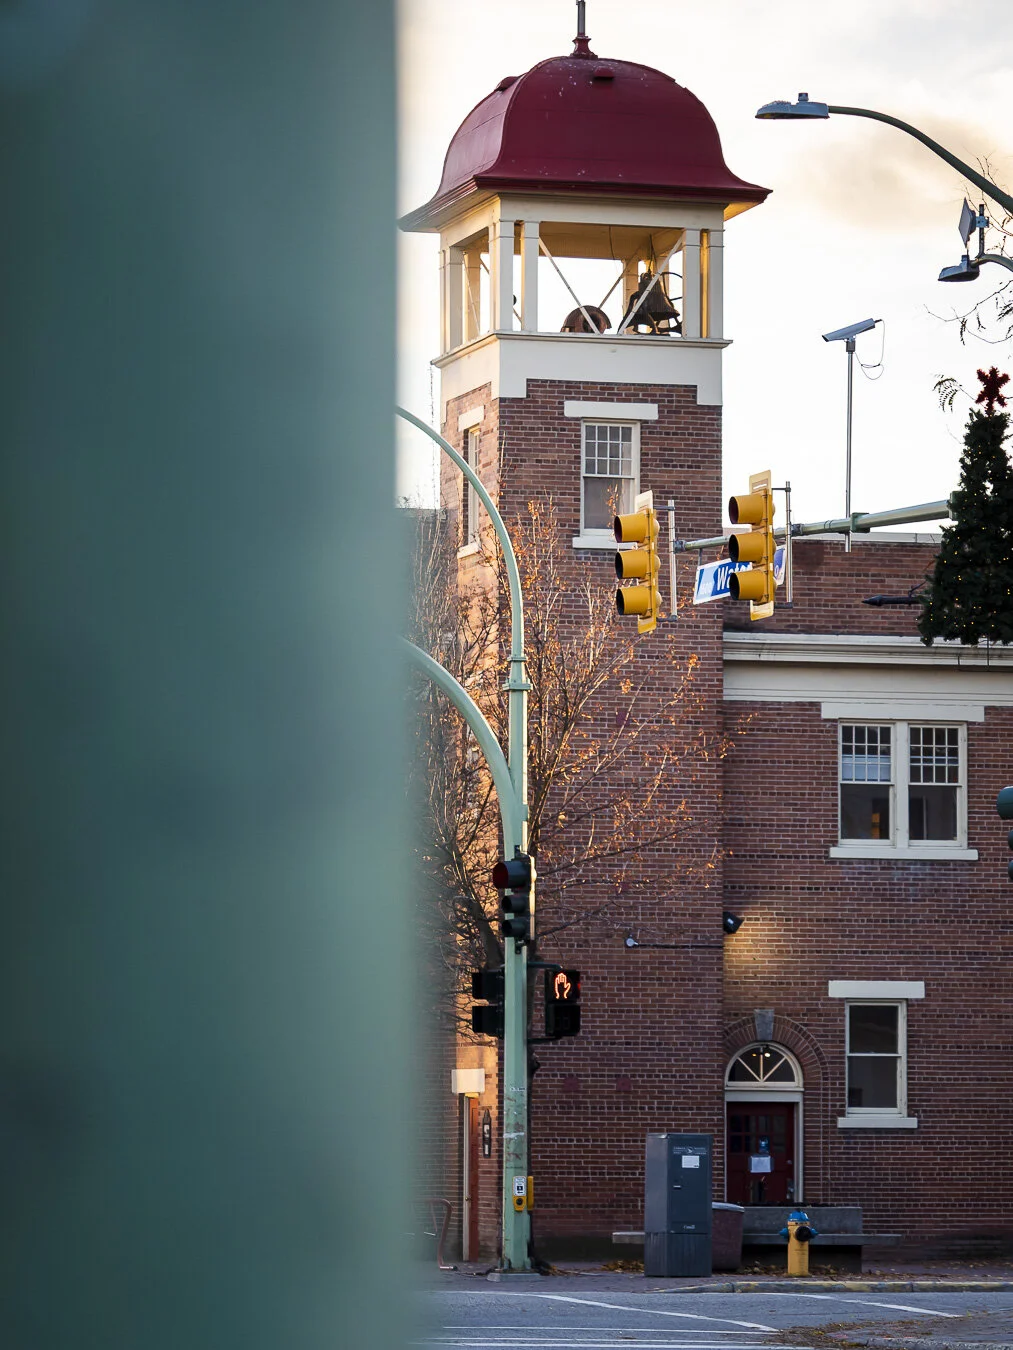
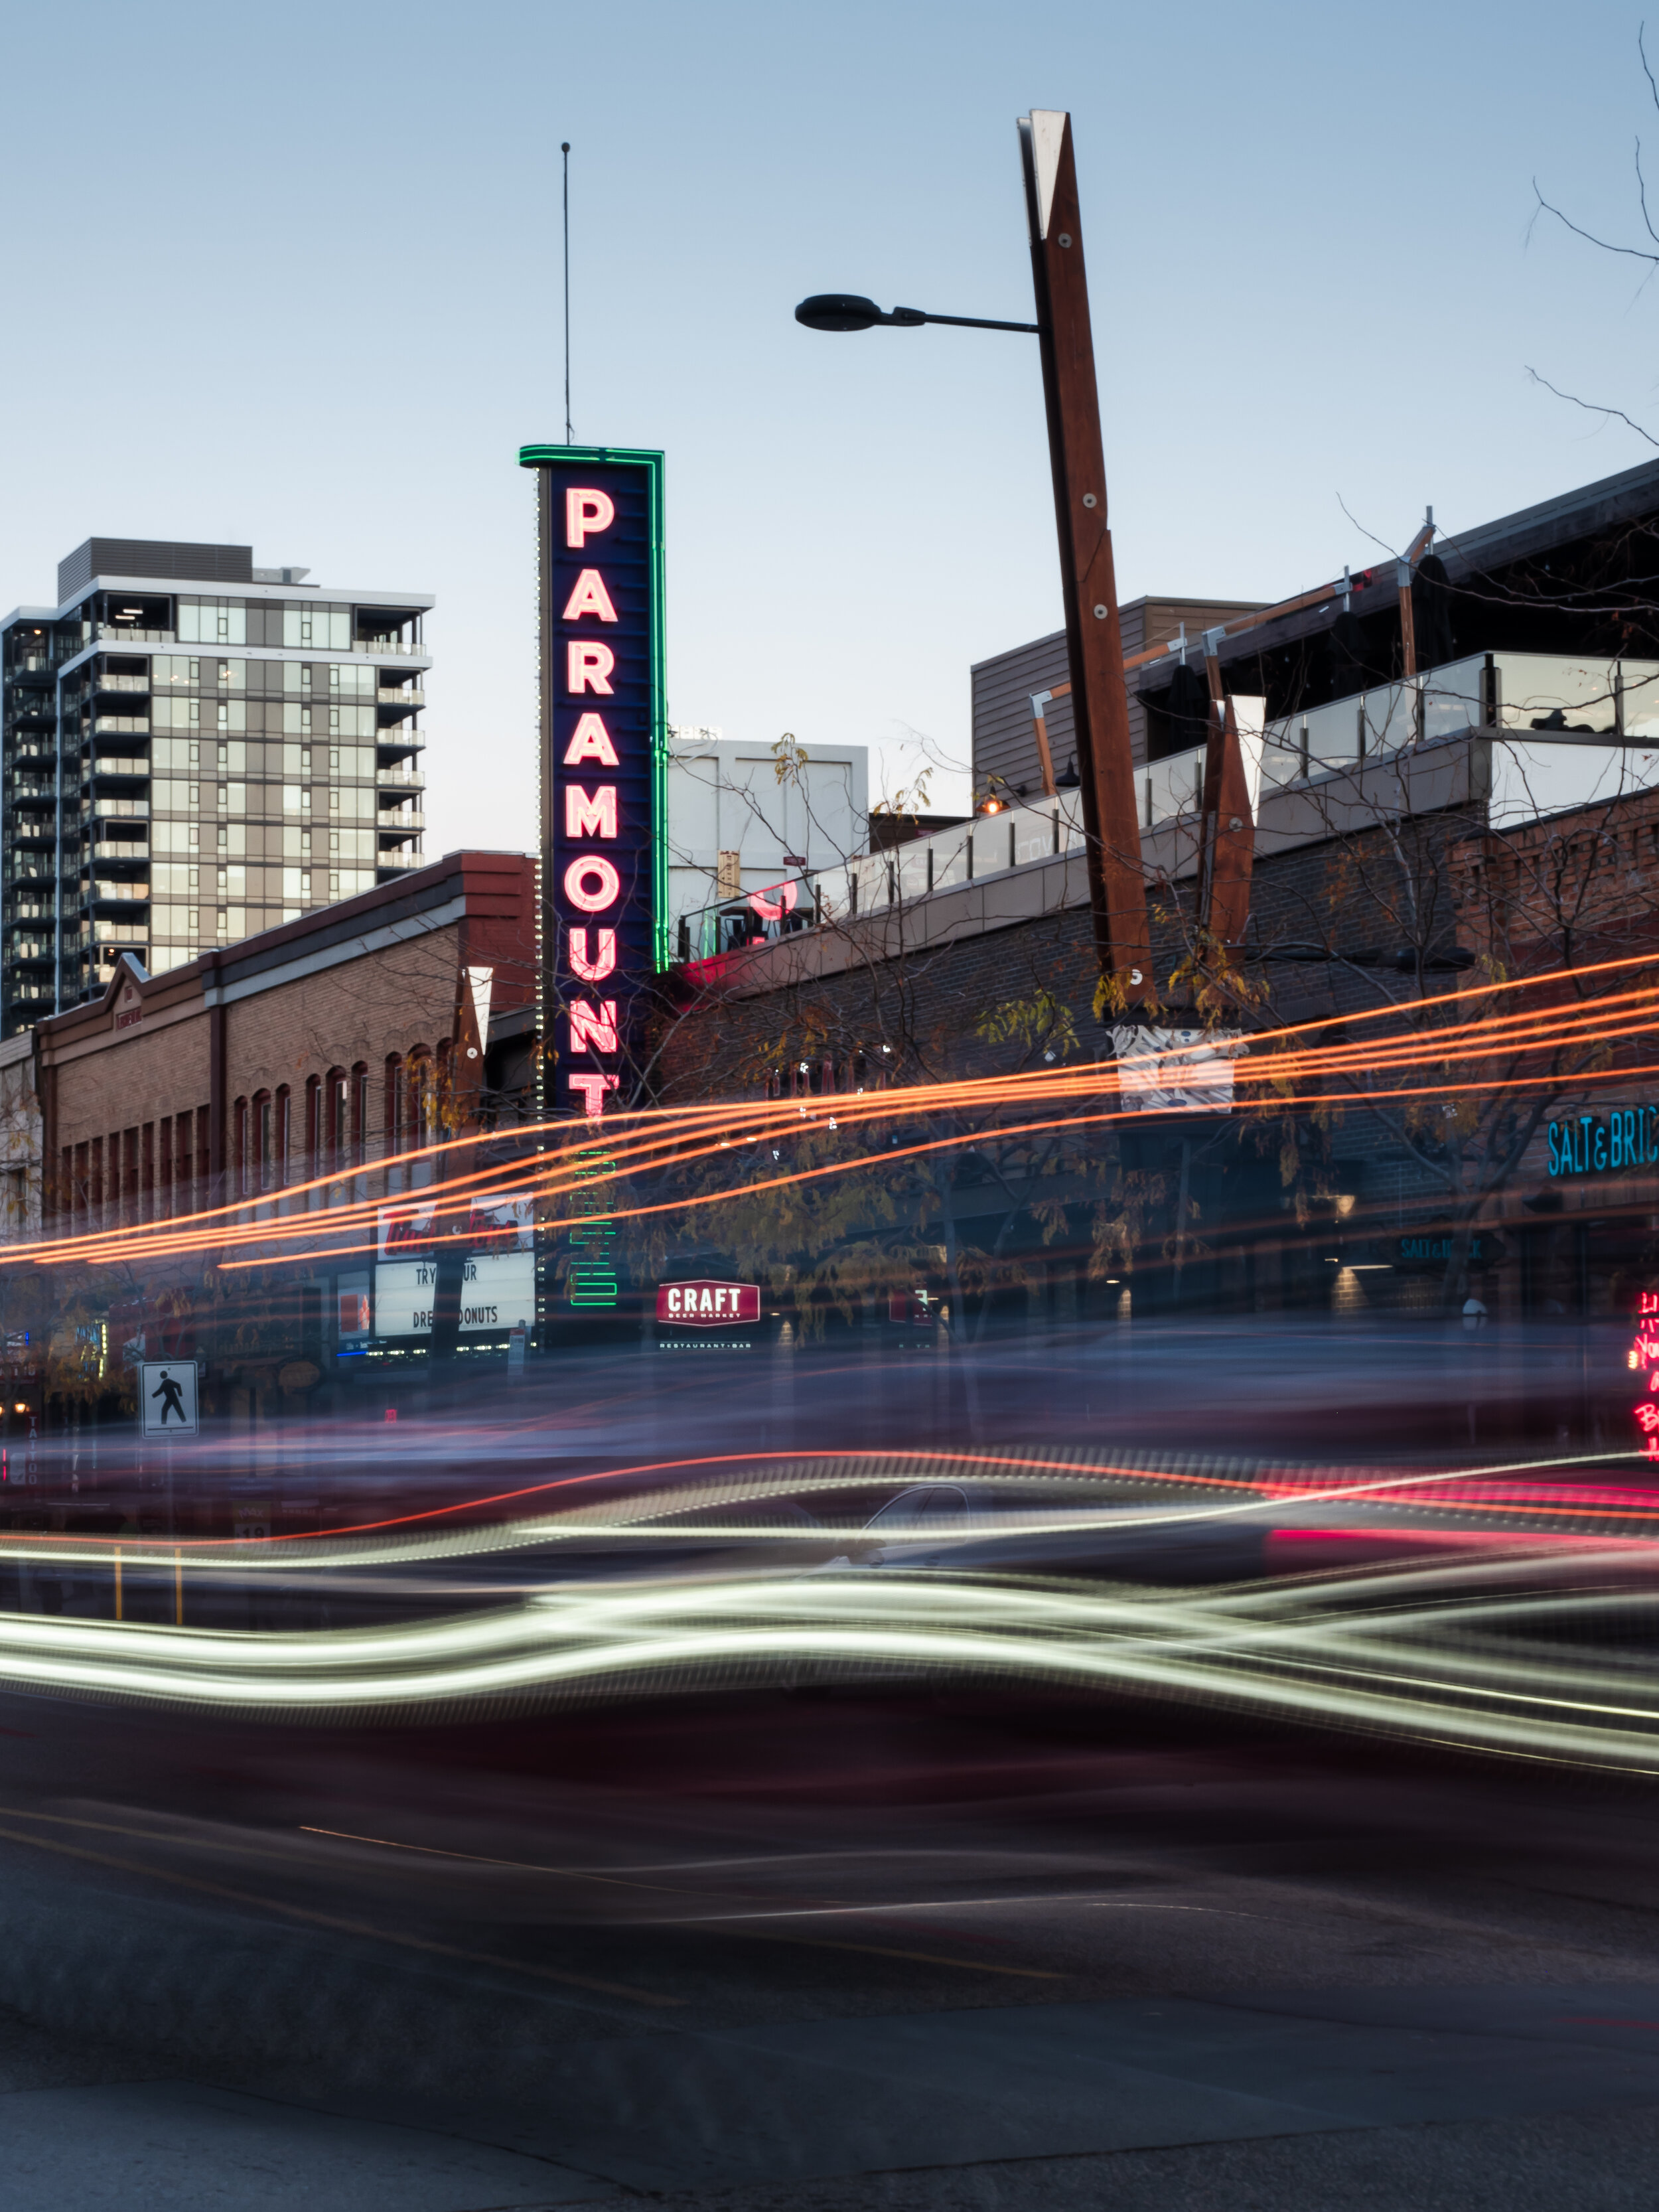
This is a photo of the Kelowna Firehall Downtown - to frame it creatively I used the light post to create some foreground interest.
ISO 200 | f/2.8 | 1/200
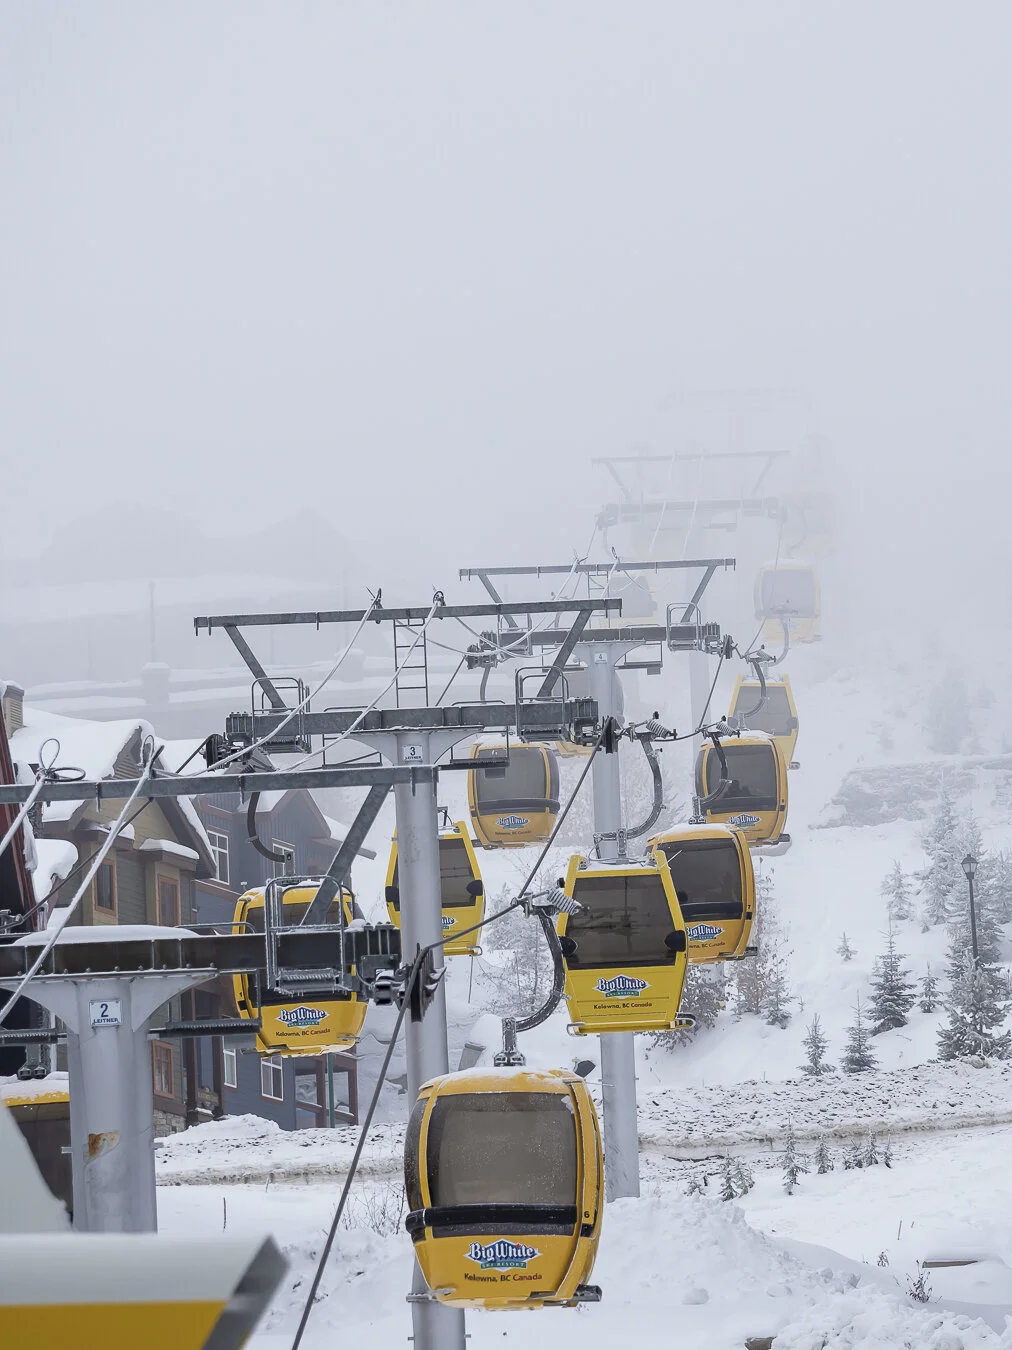
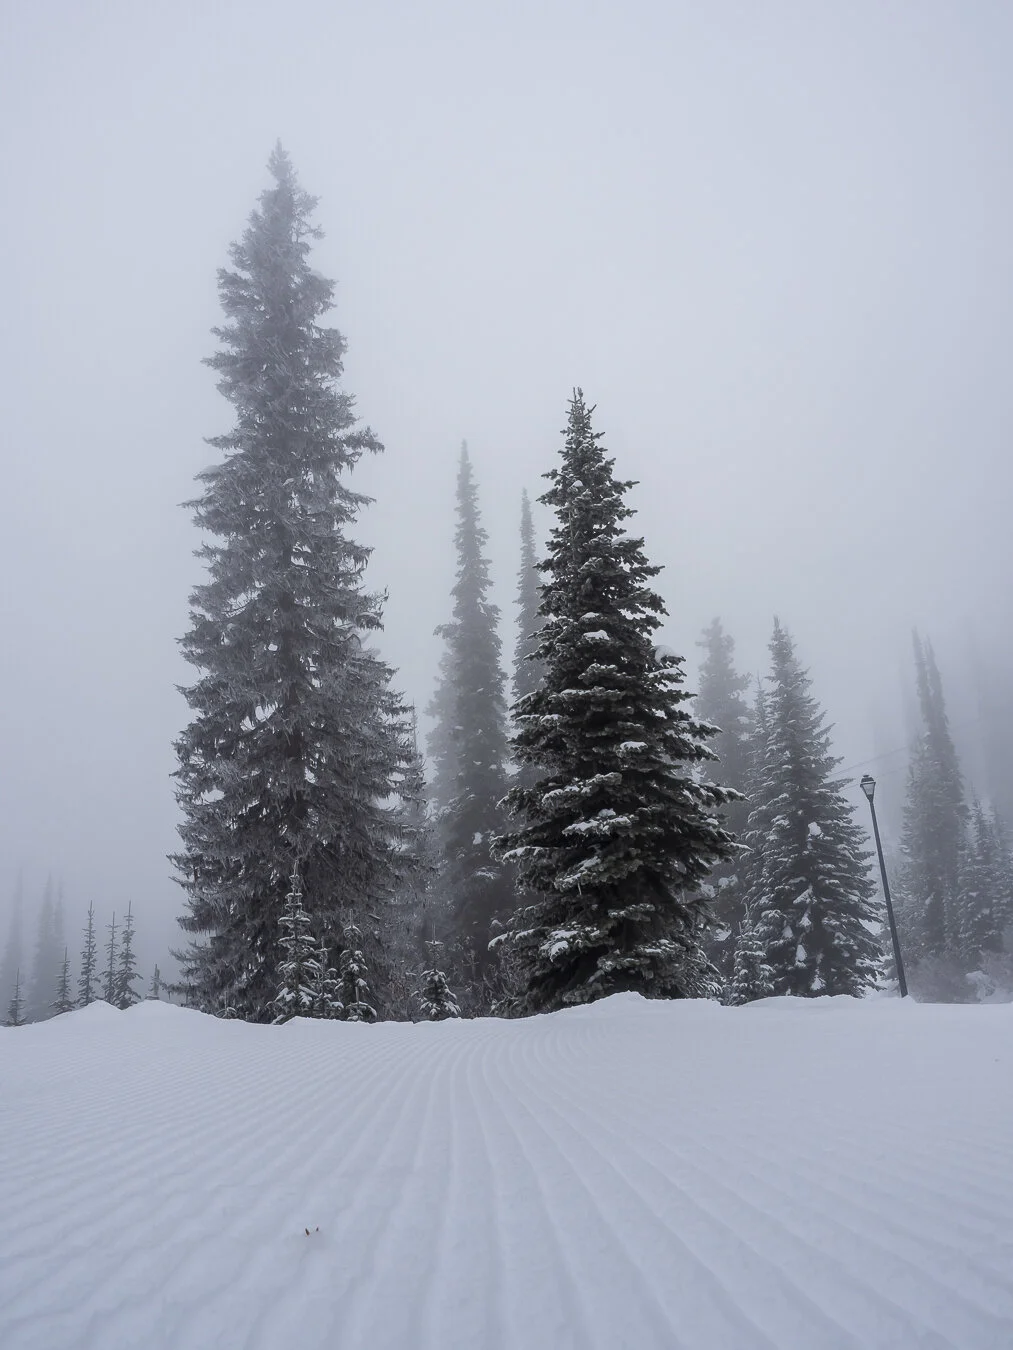
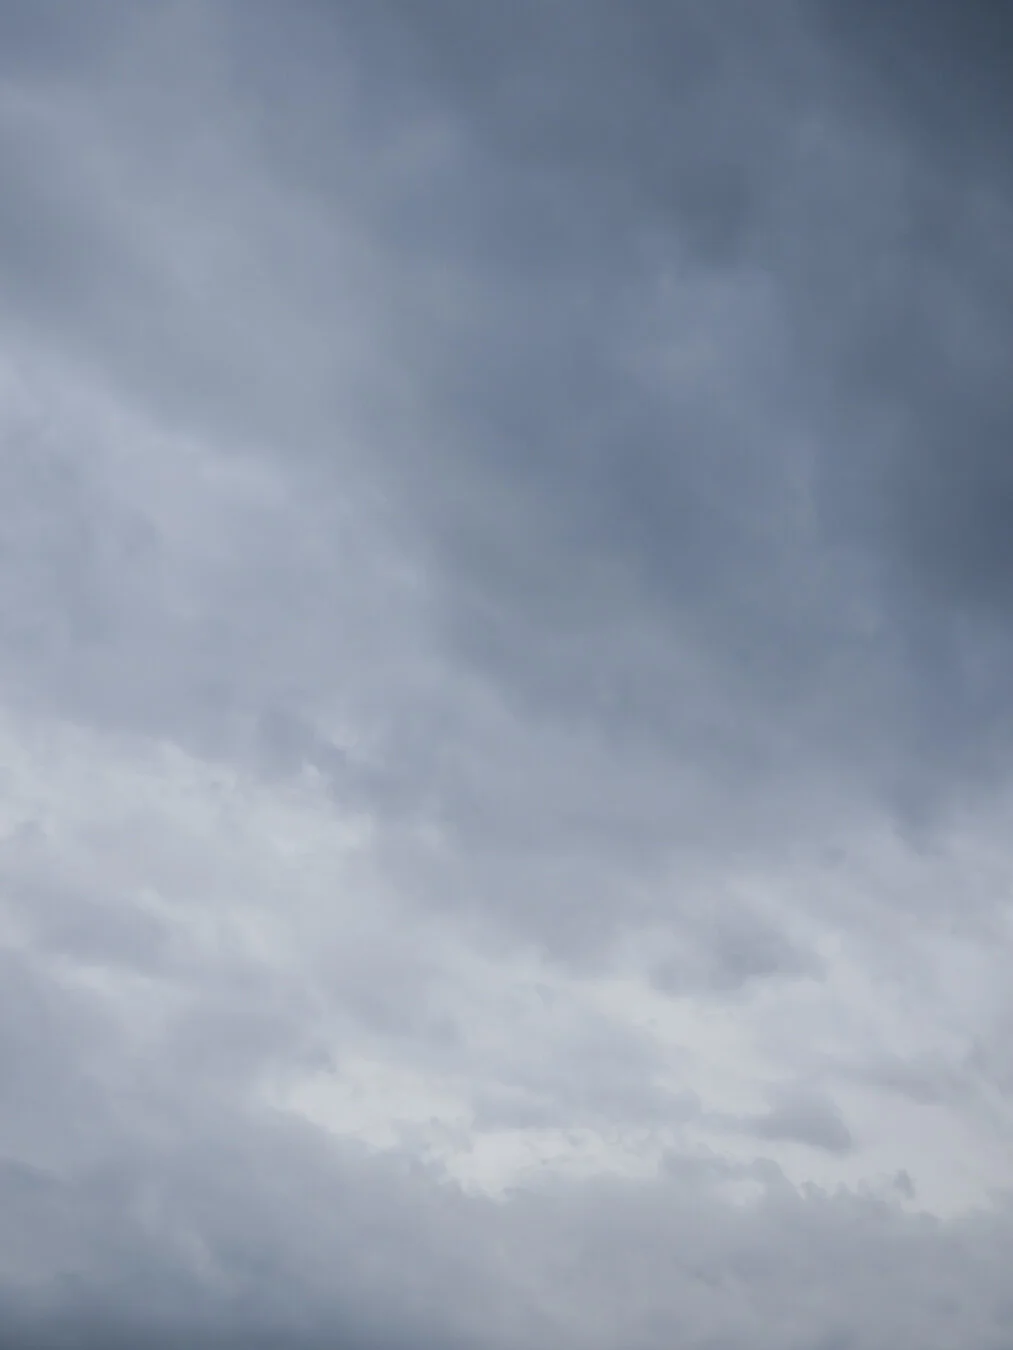
This is a photo of the gondola’s at Big White going up and down - on this day it was particularly foggy so it added interesting dimension and atmosphere to the photo!
ISO 250 | f/3.5 | 1/400
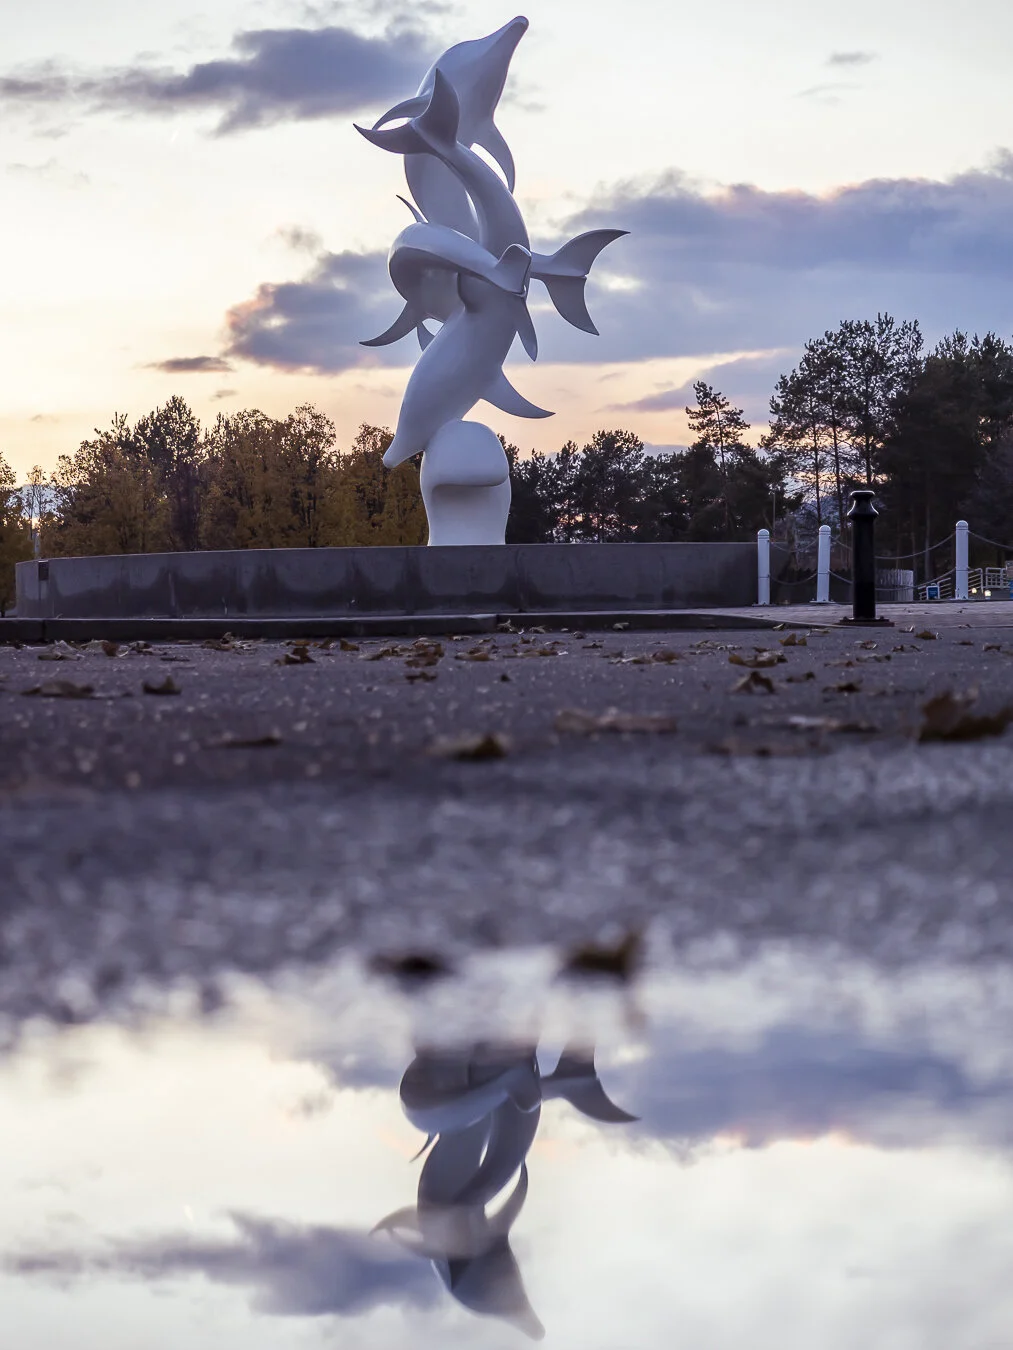
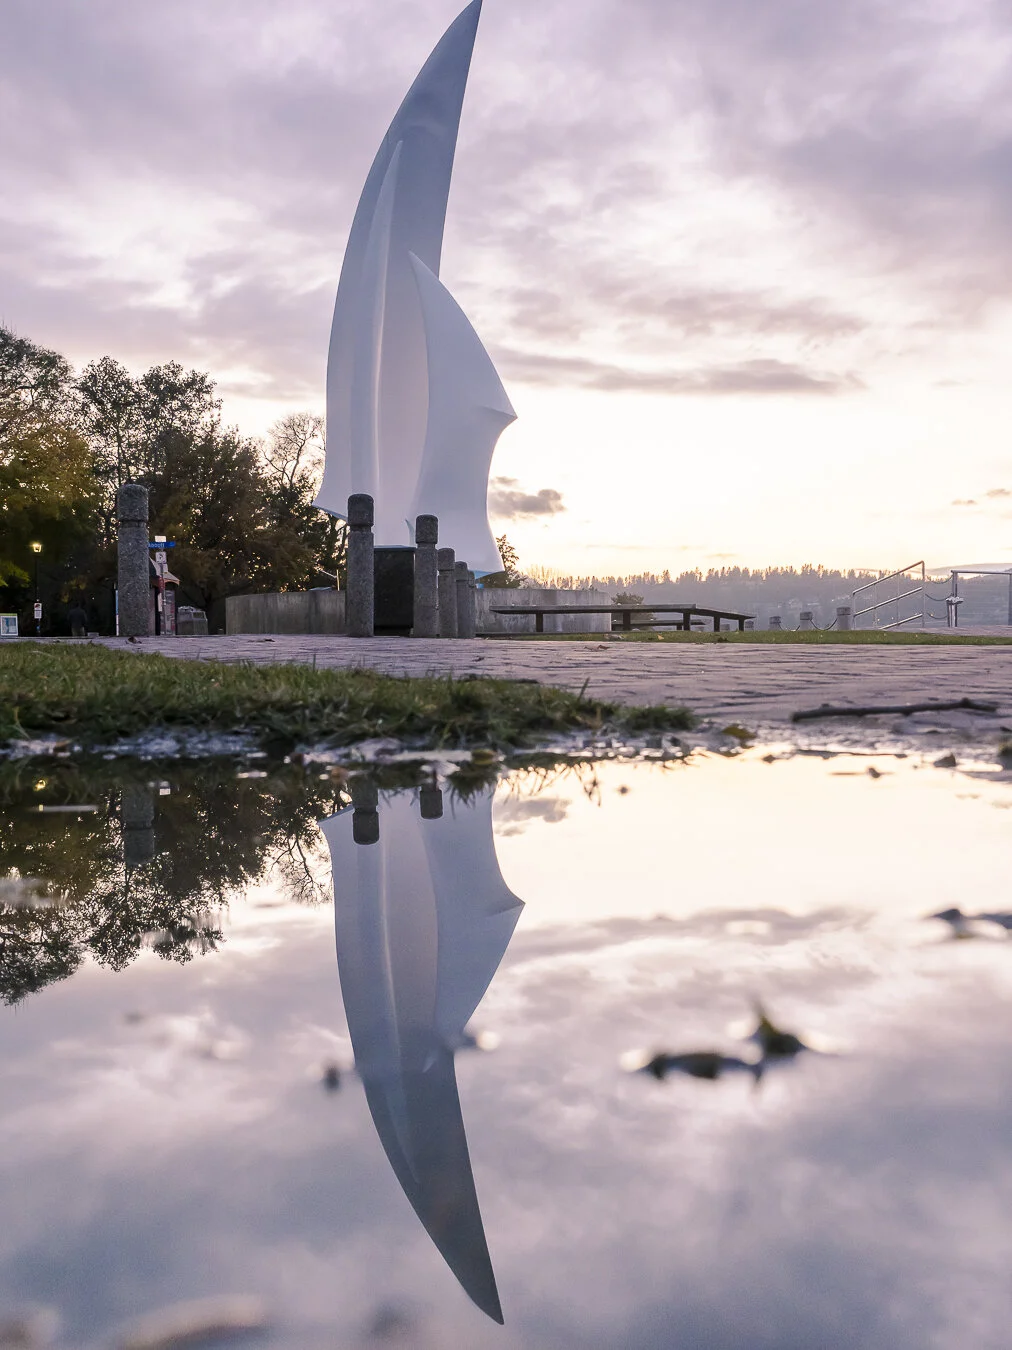
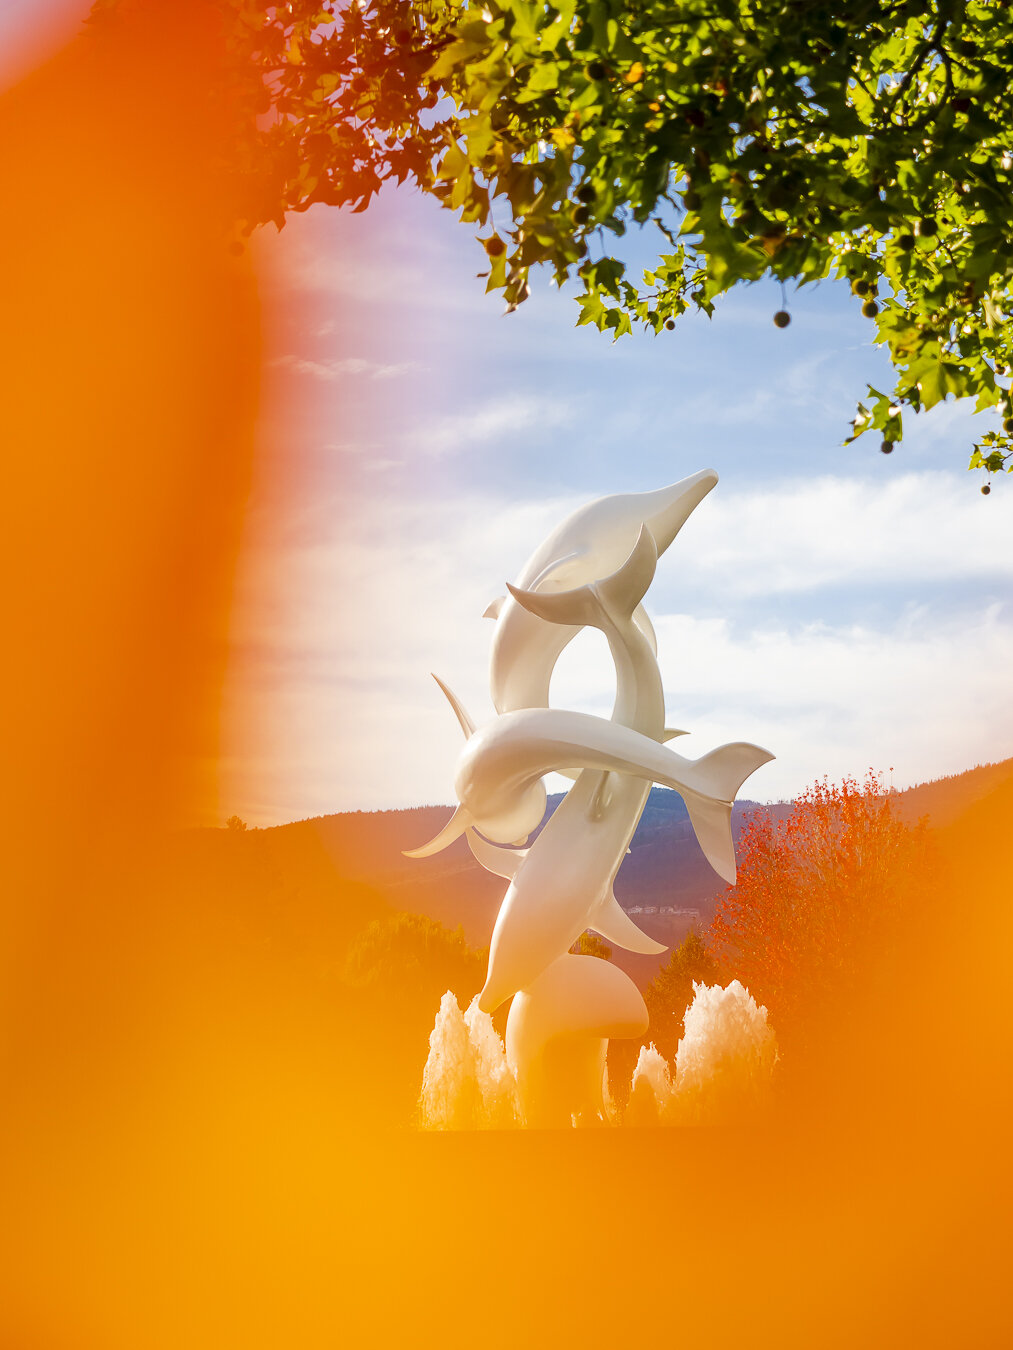
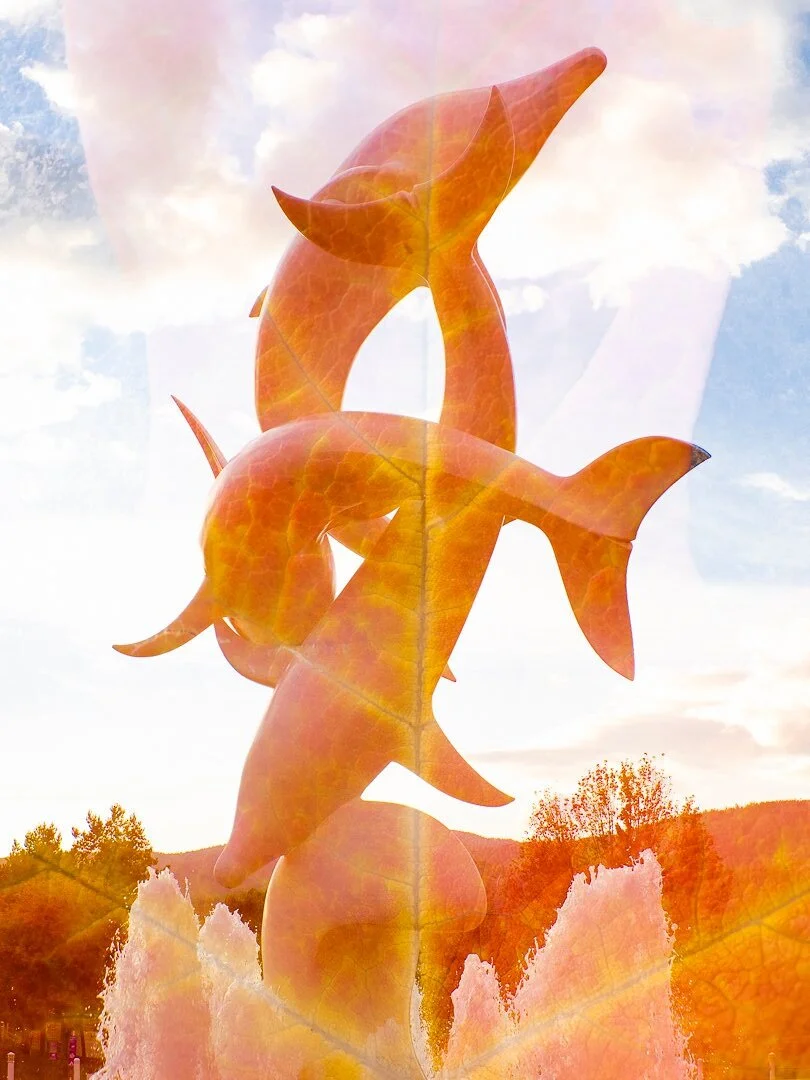
In this photo I created a reflection of the Dolphin Statue at Rhapsody Plaza in Kelowna by using a puddle that was in the middle of the parking lot!
ISO 250 | f/2.8 | 1/400
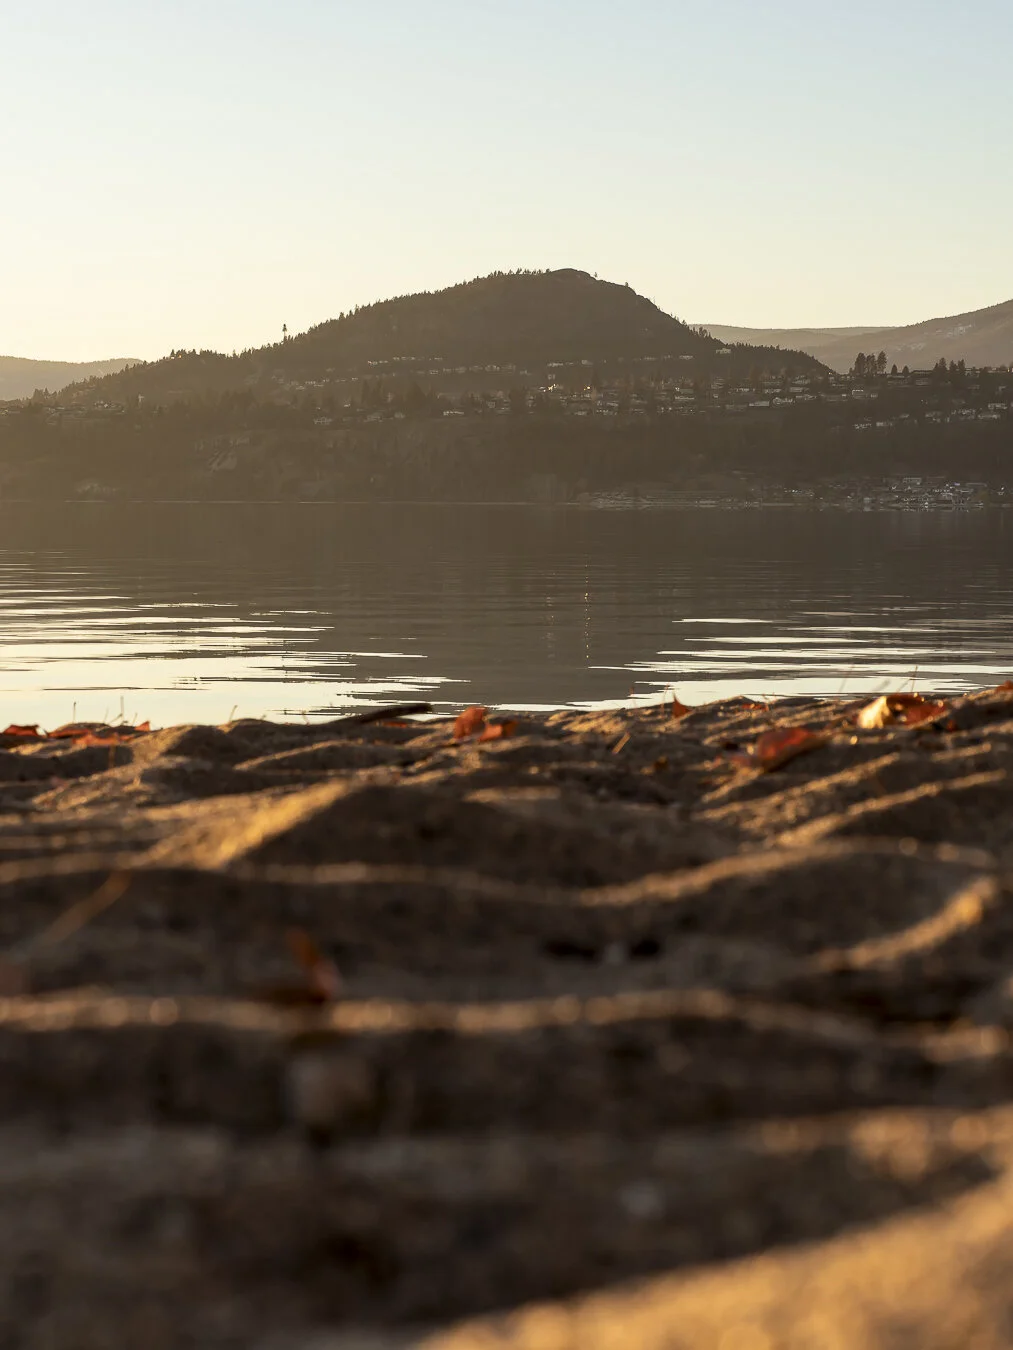
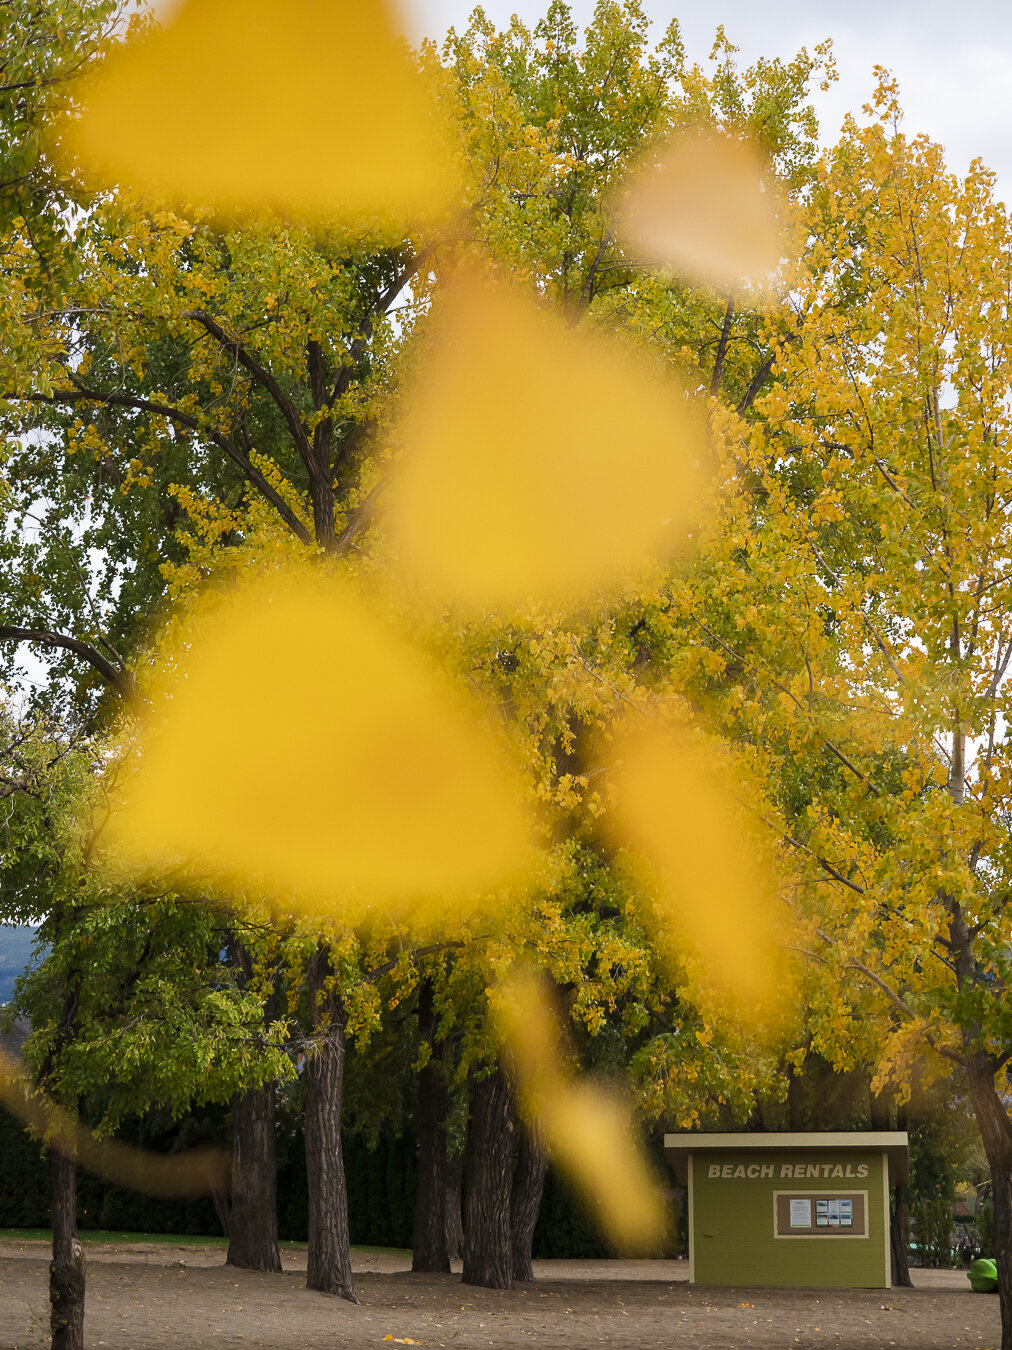
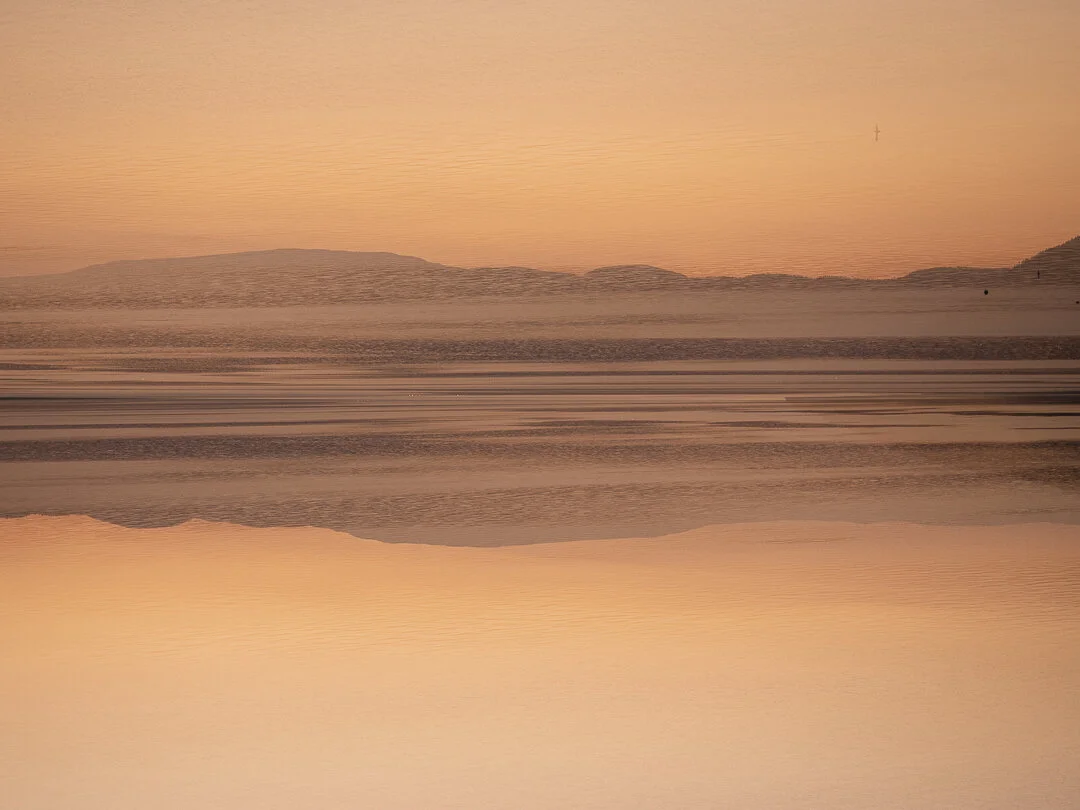
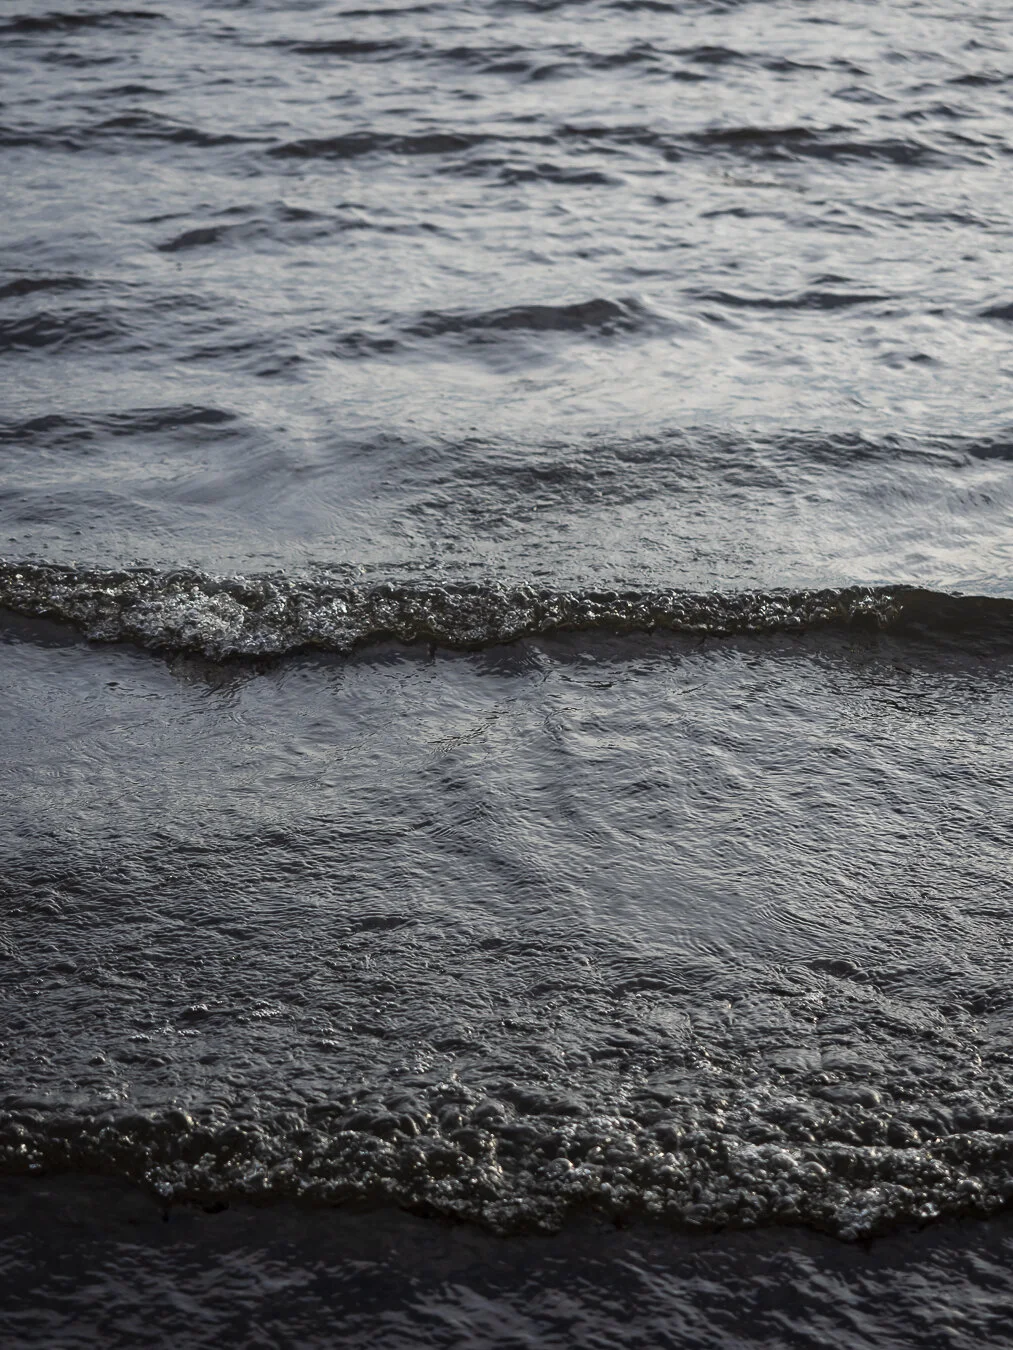
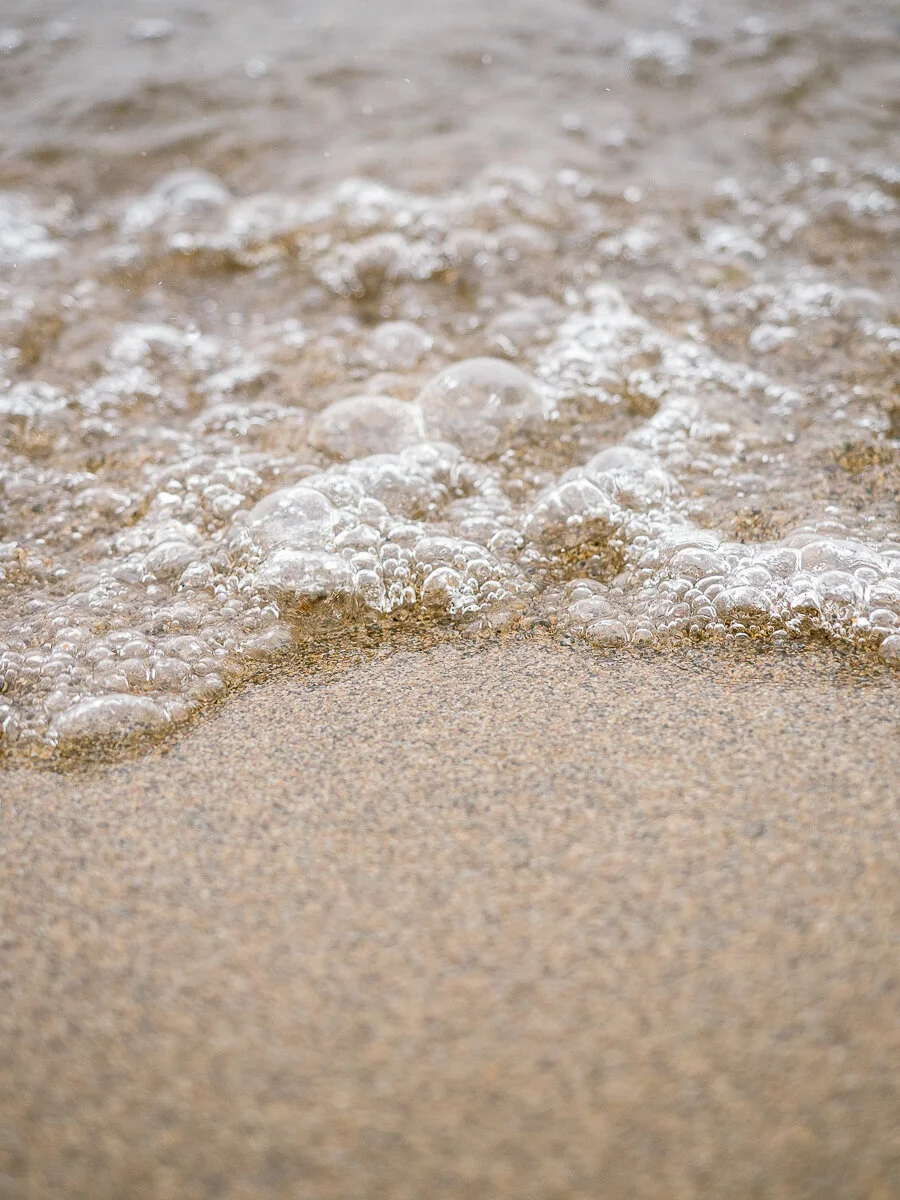
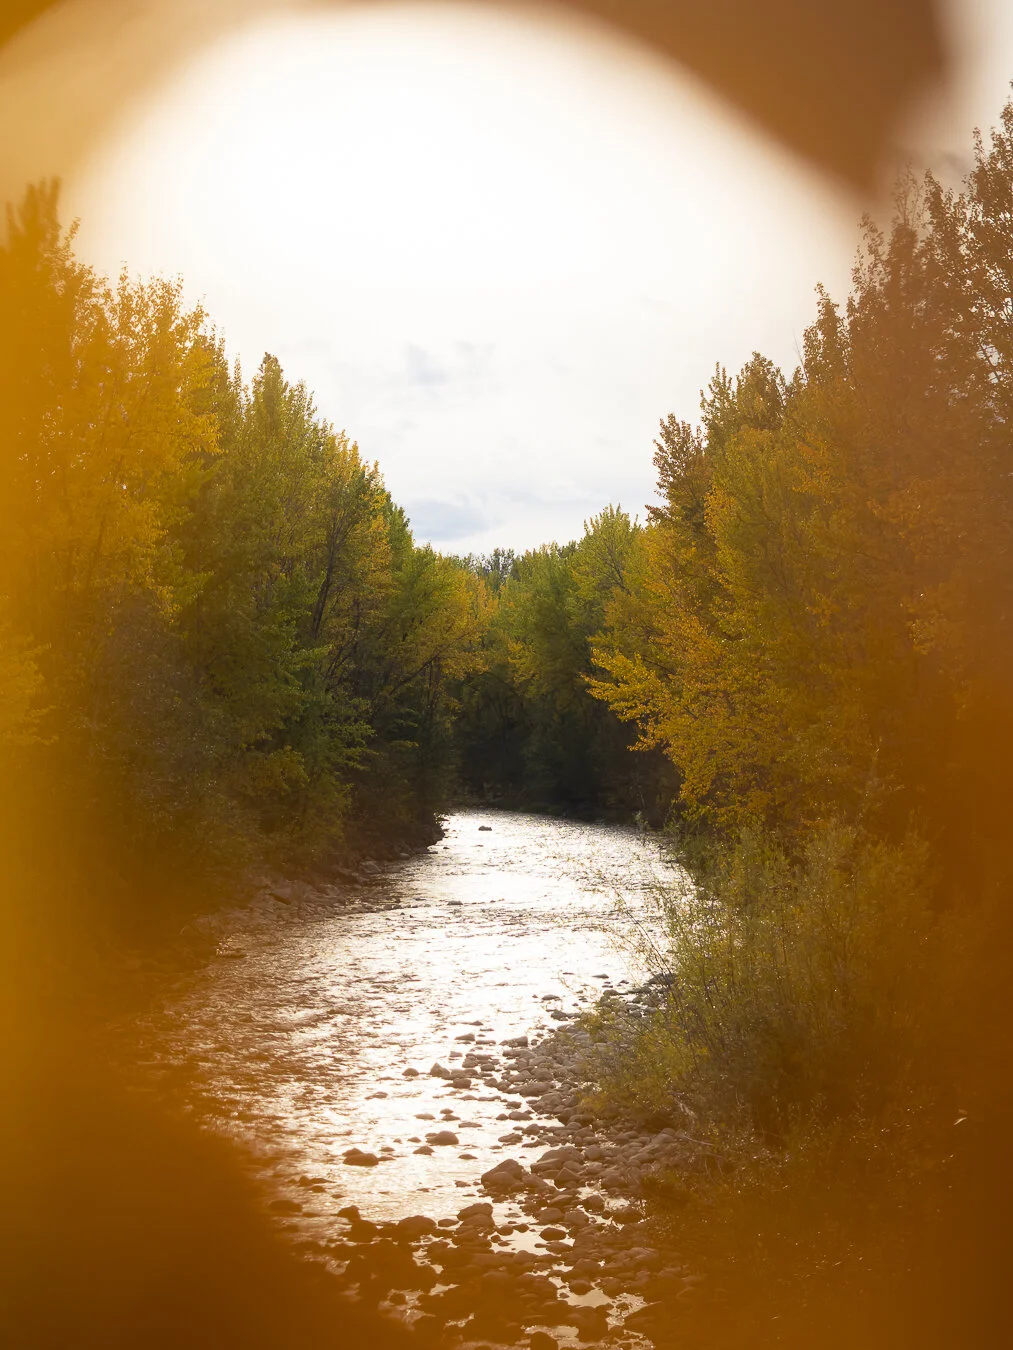
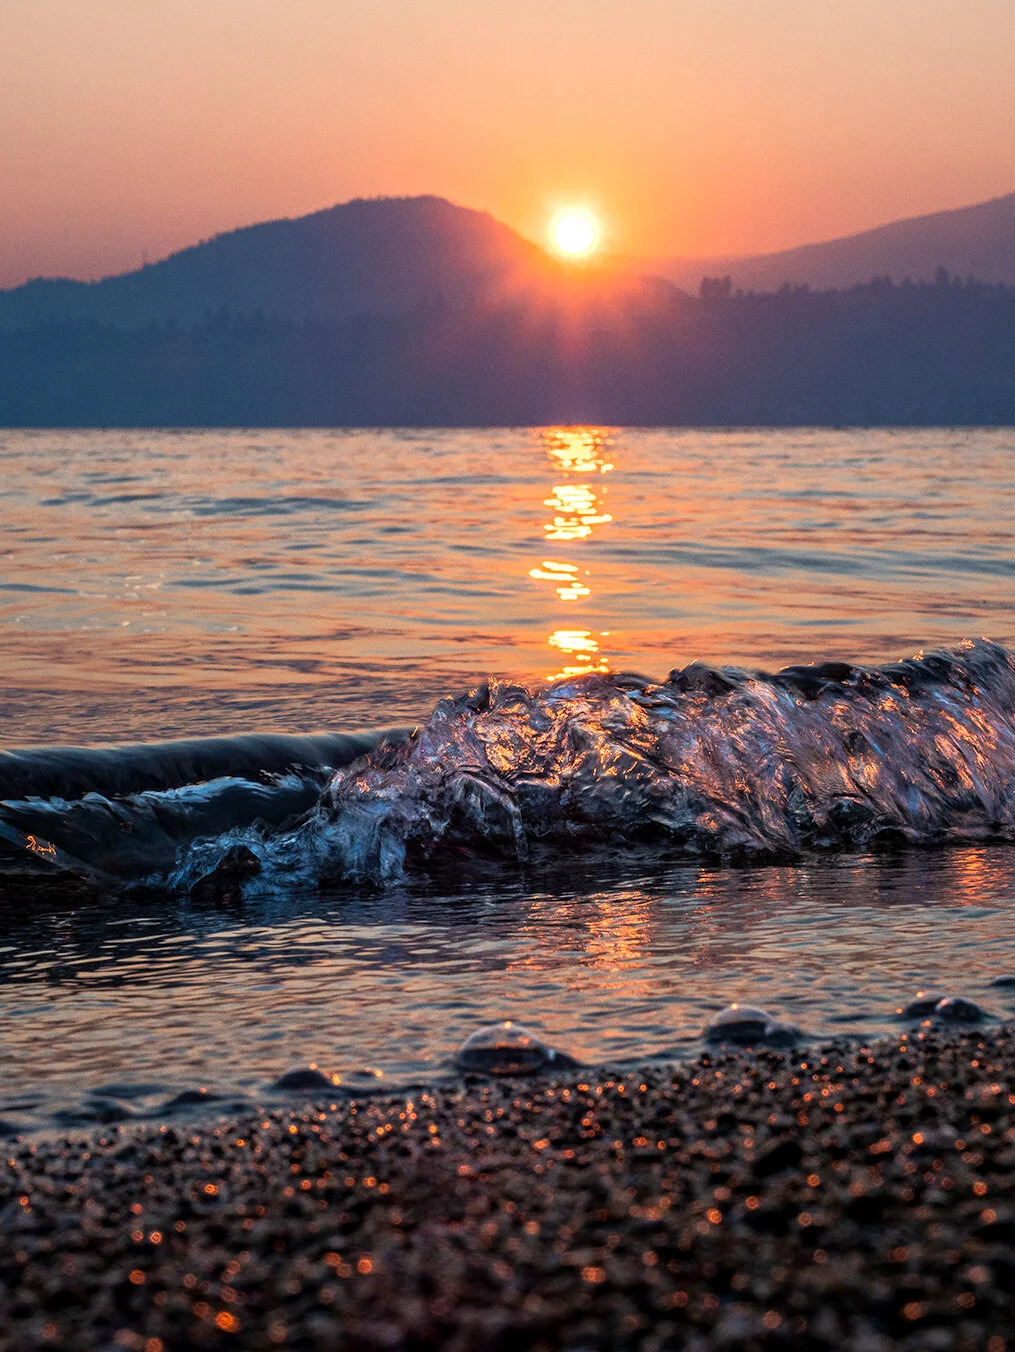
In this photo I fell in love with the light, shadows, and lines of the golden sand at the beach so I decided to get my camera really low to capture the golden peaks!
ISO 64 | f/8 | 1/50
Final Thoughts
The M.Zuiko 40-150mm F/2.8 PRO has been a great lens so far! I can’t wait to take it on many more adventures!