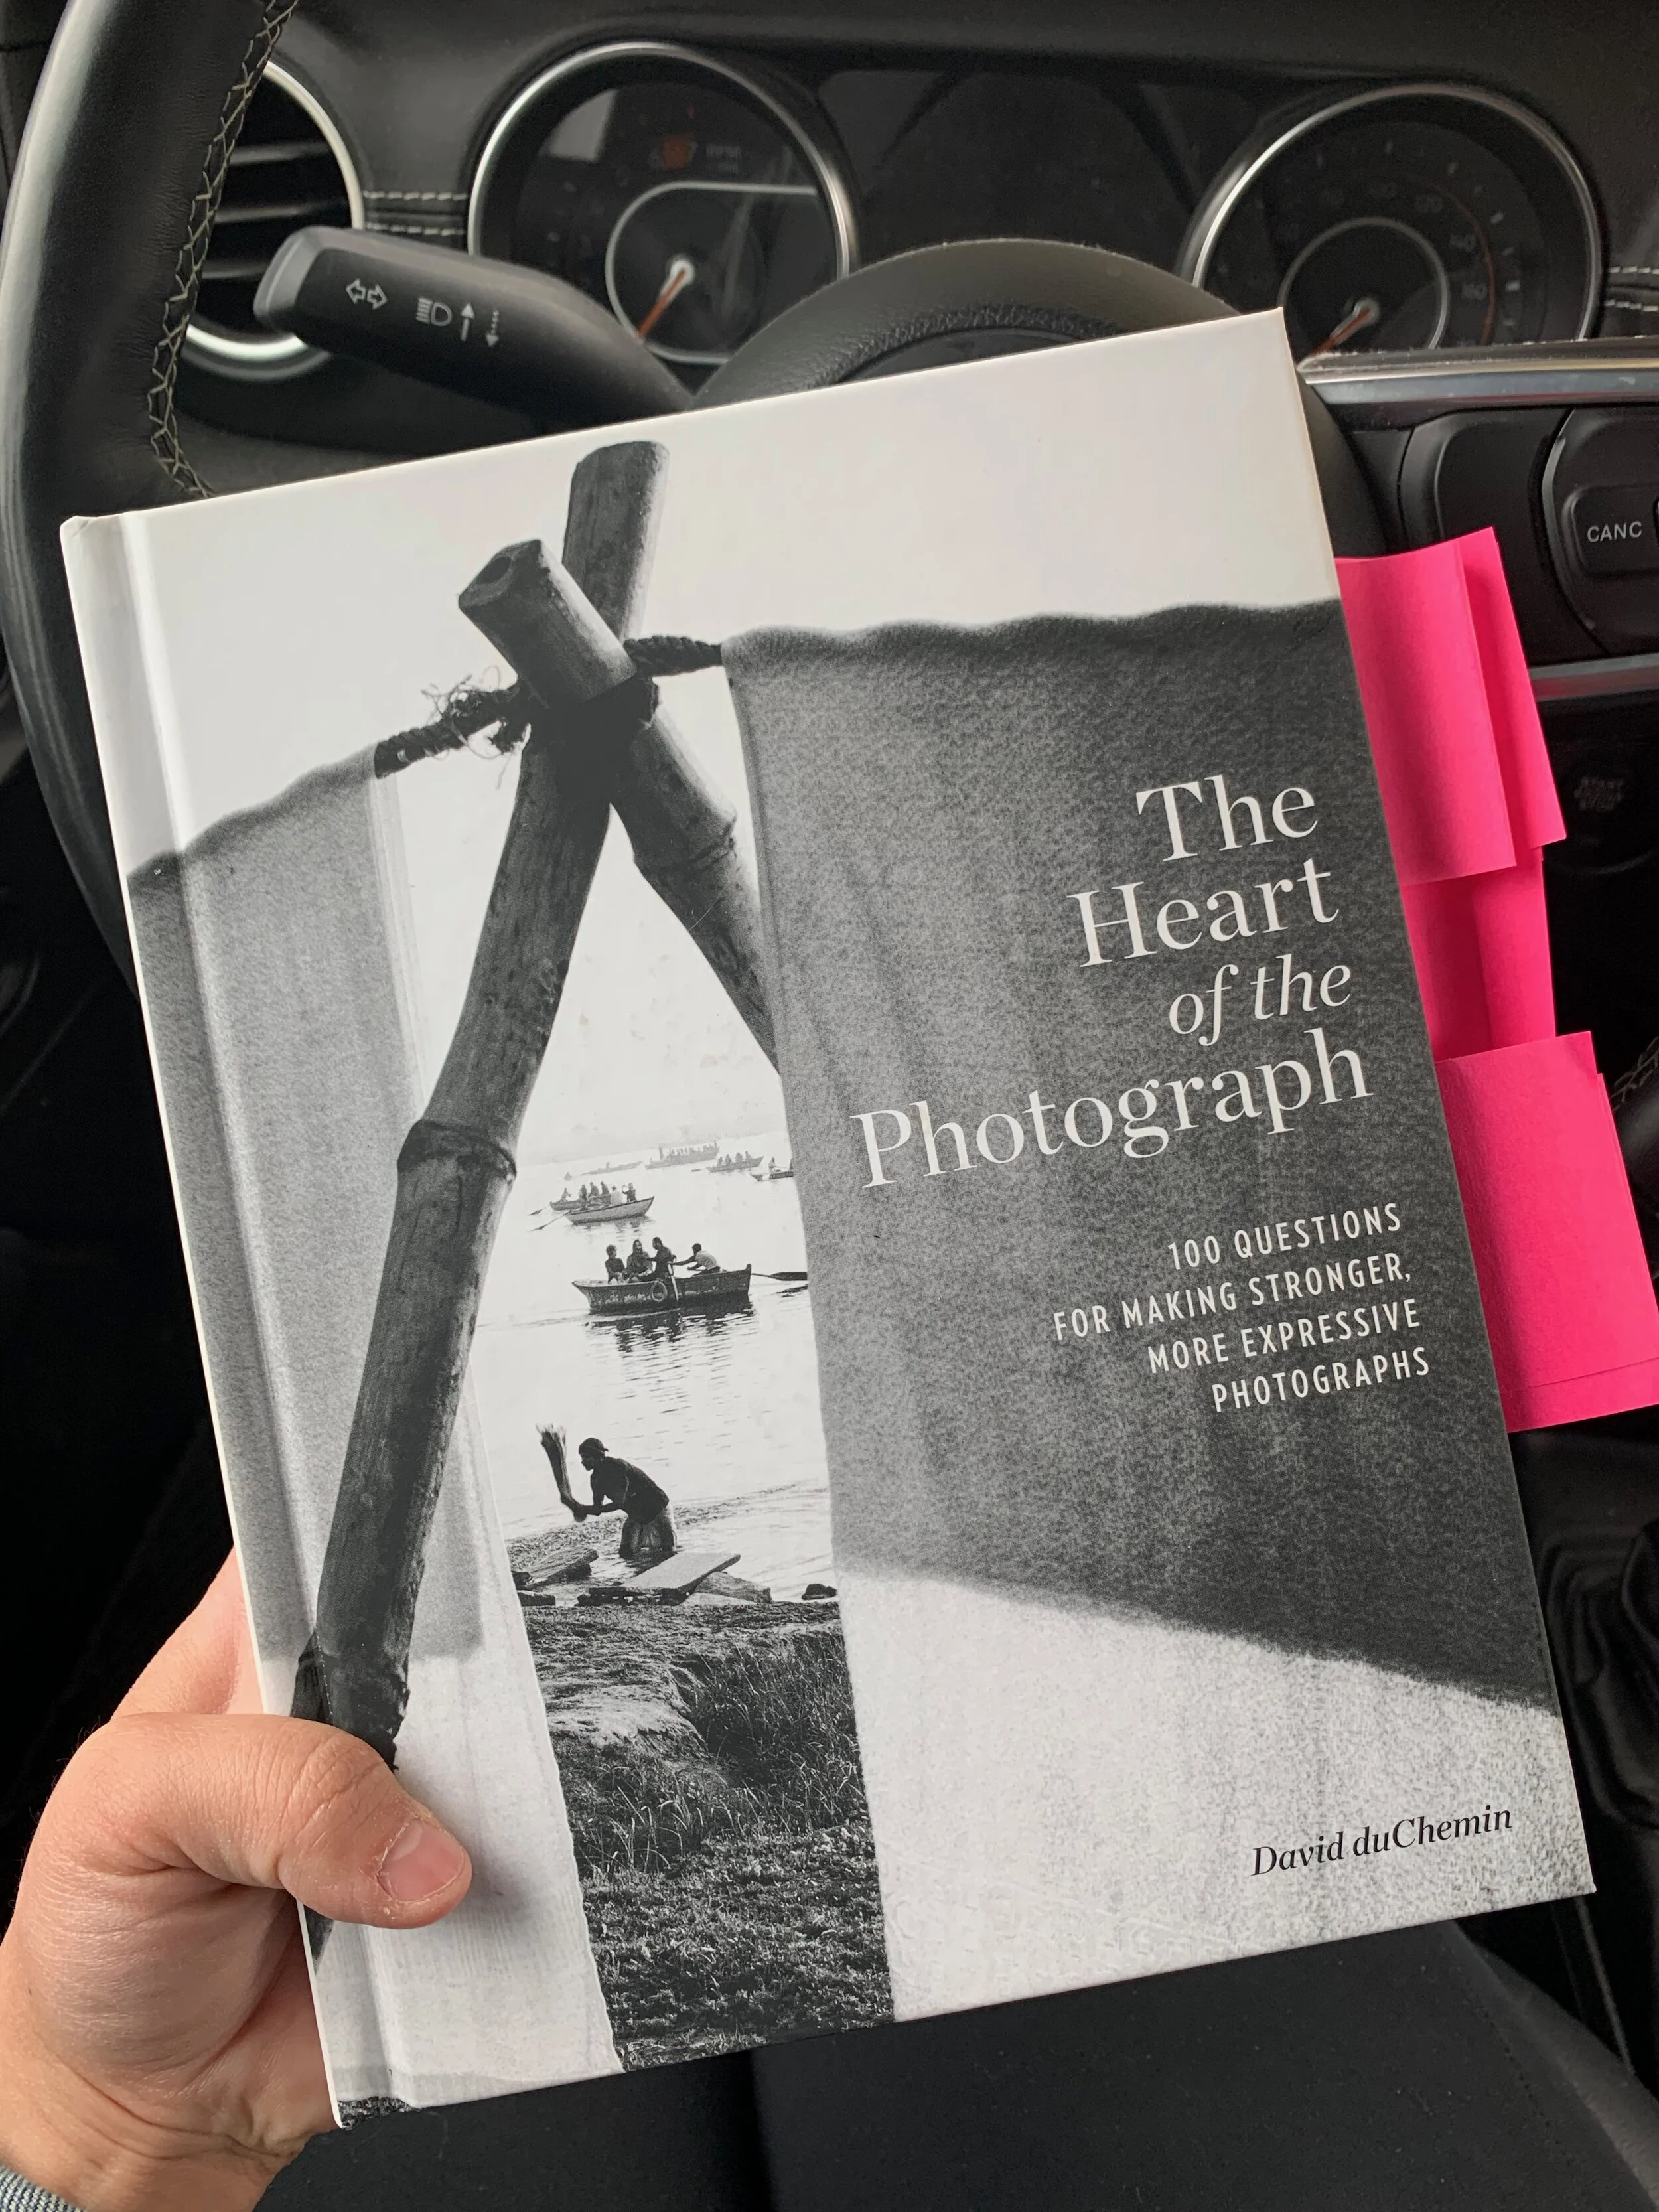
If you signed up for my monthly newsletter you will know that I loved and raved about this book that I read in April called The Heart of the Photograph by David Duchemin. It’s an amazing book and I highly recommend if you haven’t read it yet, to!
However, I realized shortly after beginning this book that I knew I wanted to take this slow and really implement what I was learning into my photography. So I started doing this photography exercise that allowed me to reflect what I was learning and improve my photography, bit by bit.
I have read articles, books, watched YouTube videos, listened to podcasts and done online photography courses all around taking more impactful, intentional and meaningful photos but nothing has resonated with me like David’s book.
Overview of The Heart of the Photograph
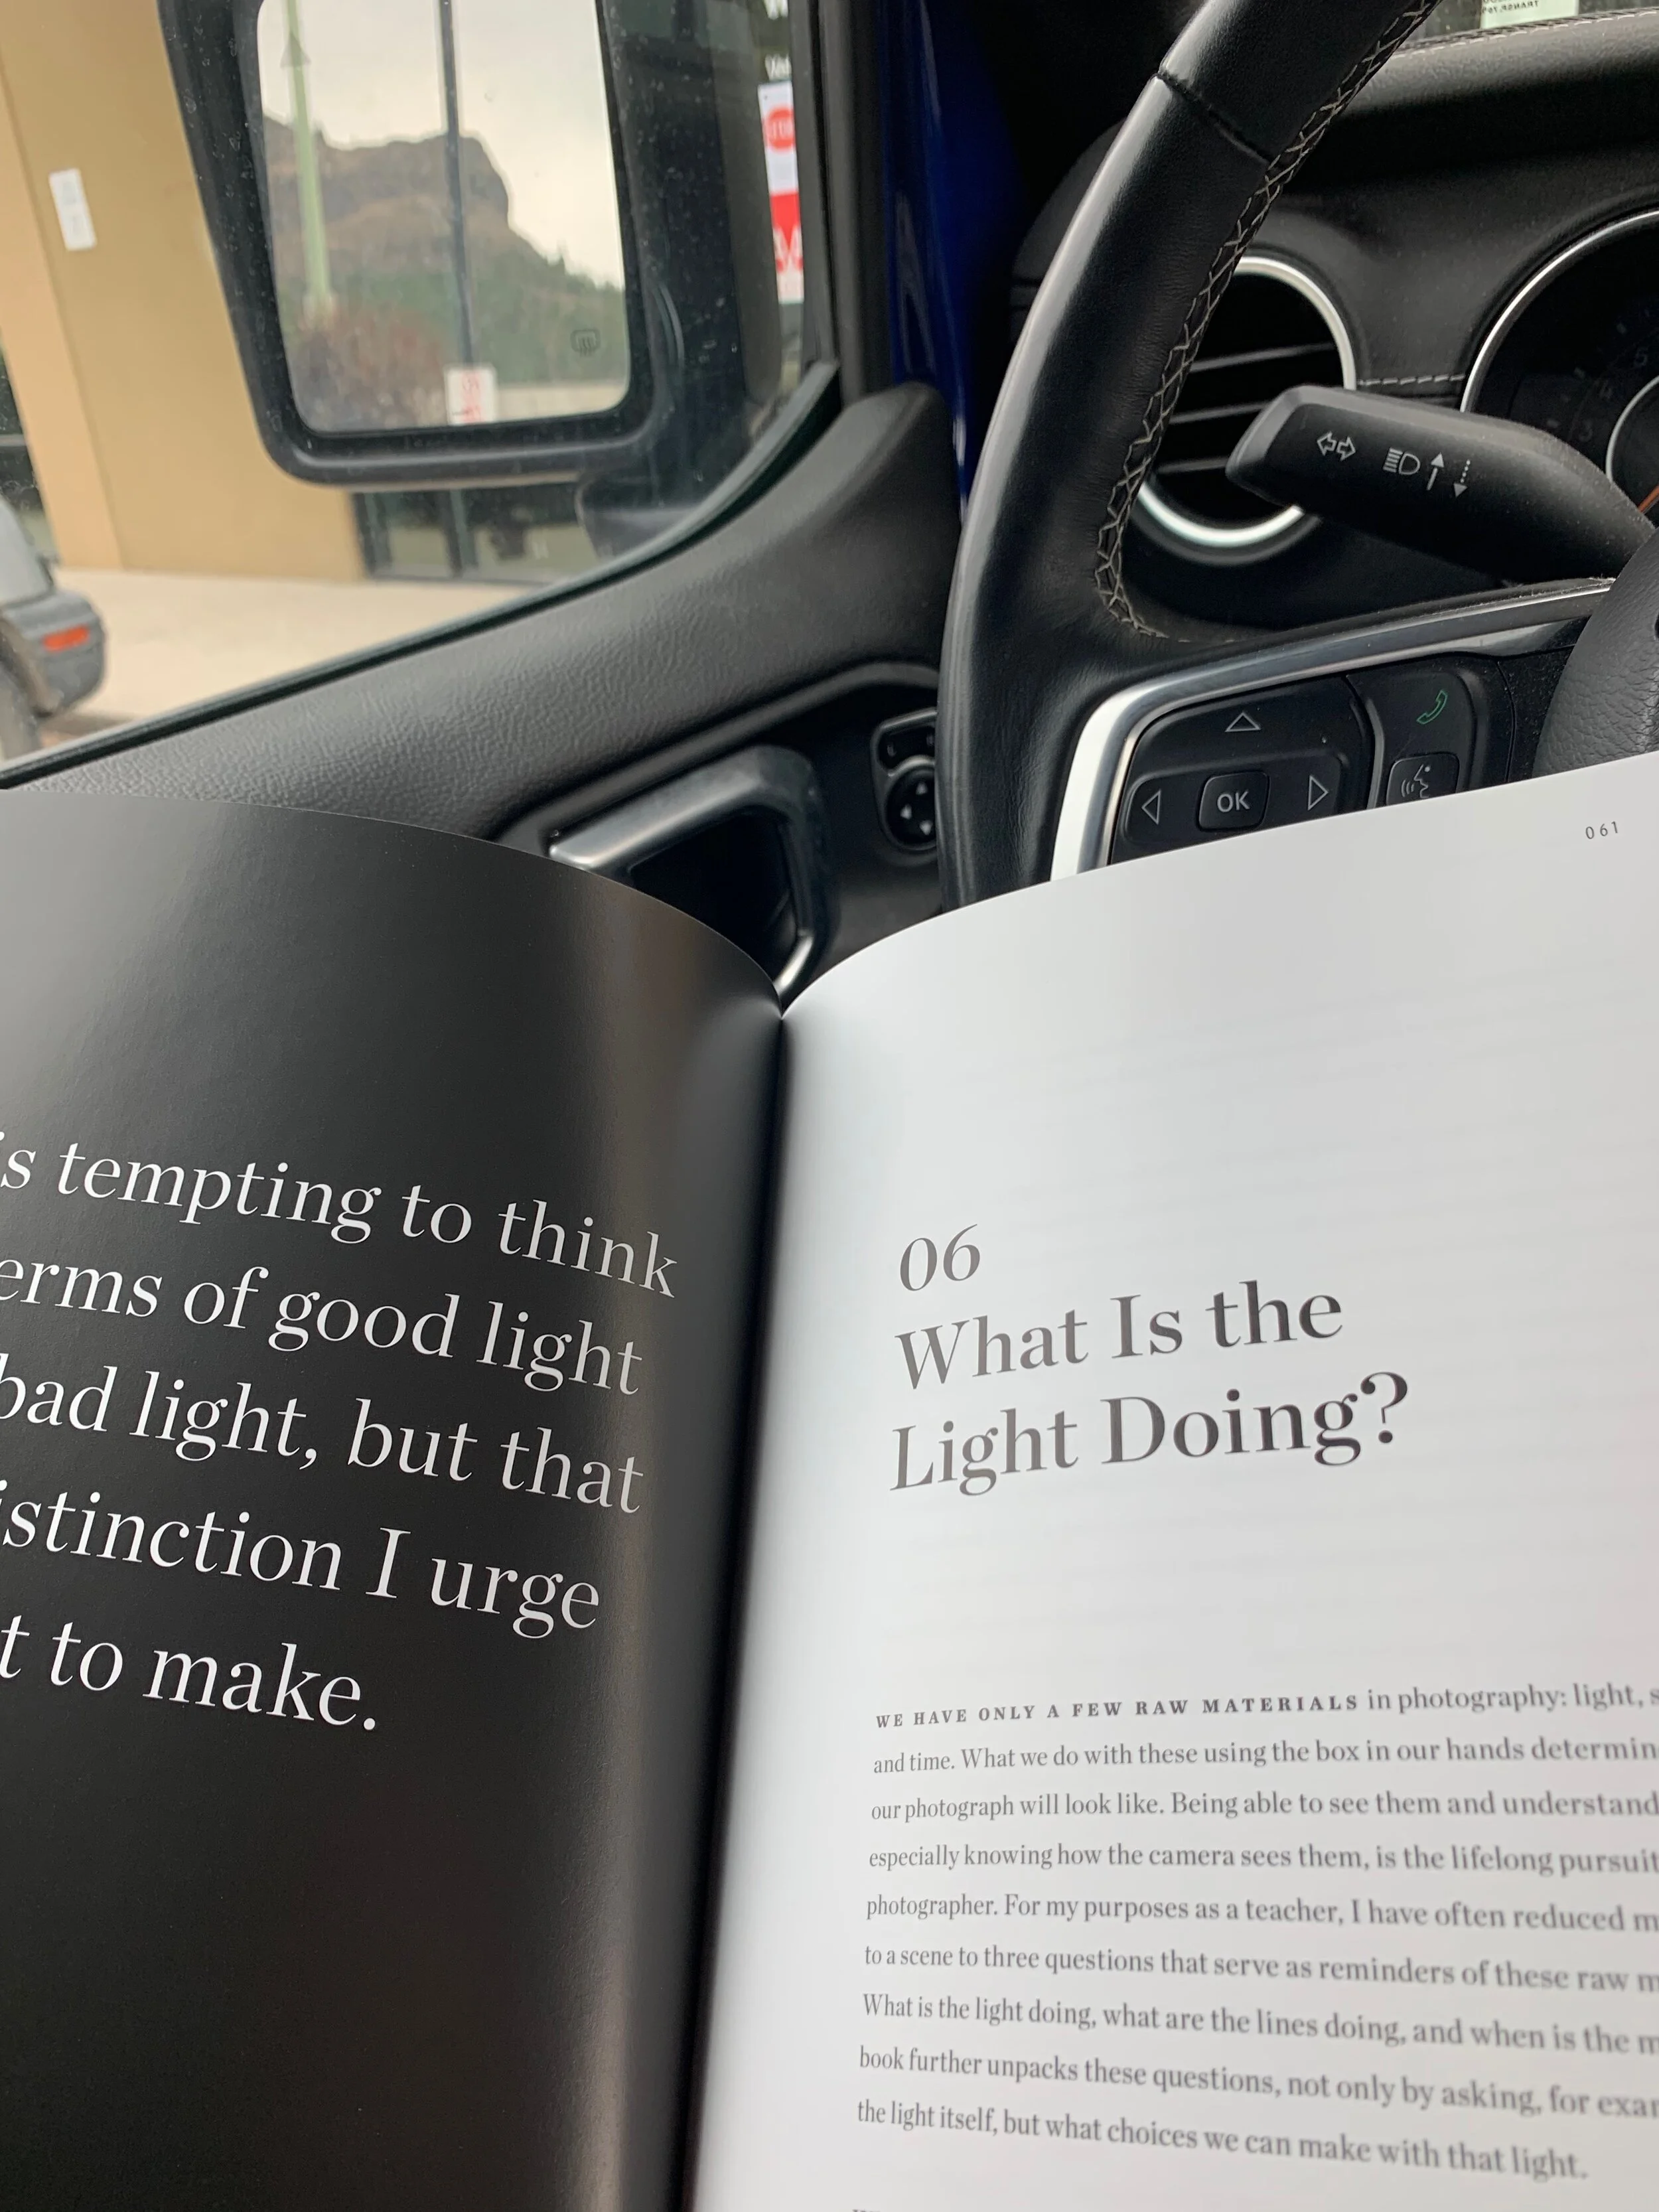
In order for this exercise to make any sense I’m going to give you a brief overview of what this book is about that I love so much. The premise behind David’s book is to venture away from asking if a photo is good or bad and instead ask better questions. He sets this book up into chapters that delve into different photography elements - subject, colour, contrast, shadows and lines, point of view, etc.,
David does this amazing job of taking you through what your subject is and things to consider in giving it it’s best expression.
The Exercise
The exercise that I started doing shortly after beginning this book and something I continue to do is a reflection and analysis of my own work framed around David’s teachings.
In Milanote (you can use any note taking software or paper and pen) I do the following:
Pull my photo onto the board
Write a short description about the photoshoot (what I was doing, why, where I was at, etc.,)
Reflect on what my subject was?
Reflect on what I was trying to say/express?
Reflect on what elements of the photograph give it it’s best expression and what I missed?
I keep this reflection and exercise fairly brief in order to keep it sustainable as a practice. I also don’t worry about if it flows, if it’s well written, if it will make sense to others because this is for my own personal development in photography so it doesn’t matter as long as it makes sense to me.
Example #1 - “Yee, I am the one that connects”
To give you a better idea on how this exercise works for me here is two examples. The first one is a landscape photography example.
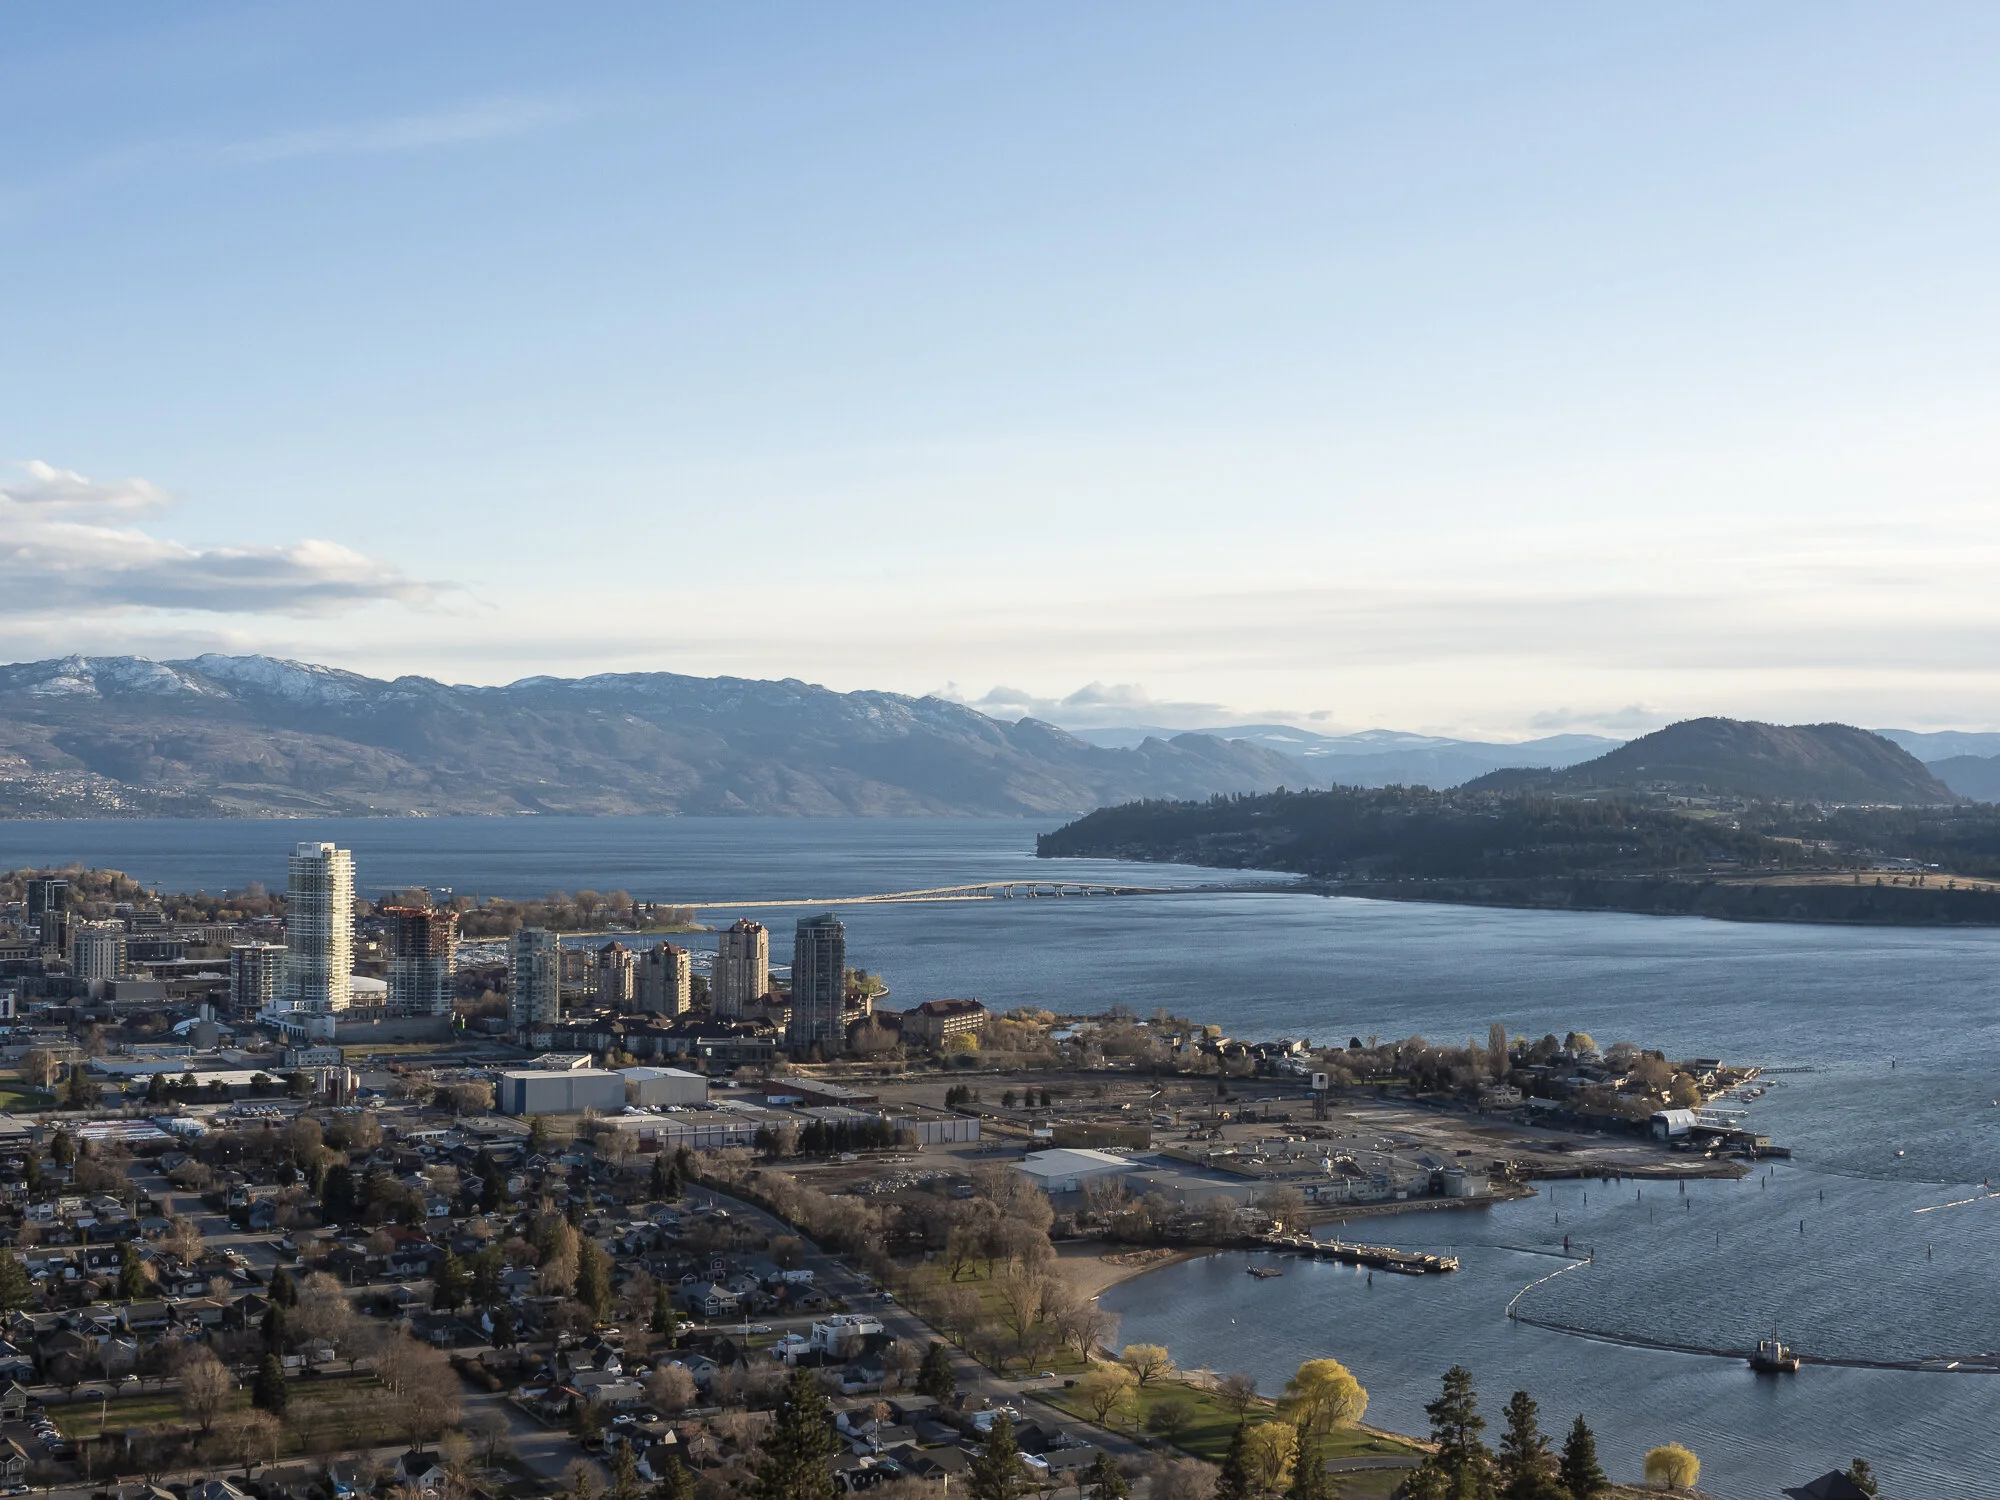
“Exploration: Ever since we've entered into Spring in the Okanagan I've loved going on hikes. On this day Max and I did an evening hike to Knox Mountain for sunset. He hiked the whole Knox Mountain while I meandered up the hill. At several points throughout the hike we were granted beautiful views of the valley beneath. I of course stopped at every viewpoint to photograph the view. In this scene I noticed the land masses - Kelowna, West Kelowna and the bridge that connects the two. All I could think about when I looked out was the bridge - yee, I am the one that connects.
Subject: The main subject in this photo is actually the bridge that spans over the lake and connects the two lands - Kelowna and West Kelowna.
What was I trying to express? In this photo I was trying to express the meaning of the bridge - yee, I am the one that connects.
What does this photo need to give my subject (the bridge) it's best expression? I think the element that gives the bridge its best expression is the land masses within the image. I had tried different focal lengths and when I took away some of the land mass on either side the bridge, even though became more of the frame lost its power. The bridge connects the land and so the land masses I felt was important here. The light and colour does help contribute to the mood of the photo for the season we are in but I think this photo could operate very well in black and white. The POV of being far away helps as well emphasize the power and importance of the bridge connecting the land. I chose a horizontal orientation because I needed the land masses on either side and the bridge spans horizontal so to the eye horizontal flowed better.”
Exercise #2 - “You shall not pass…”
Example #2 is a wildlife/bird photography example.
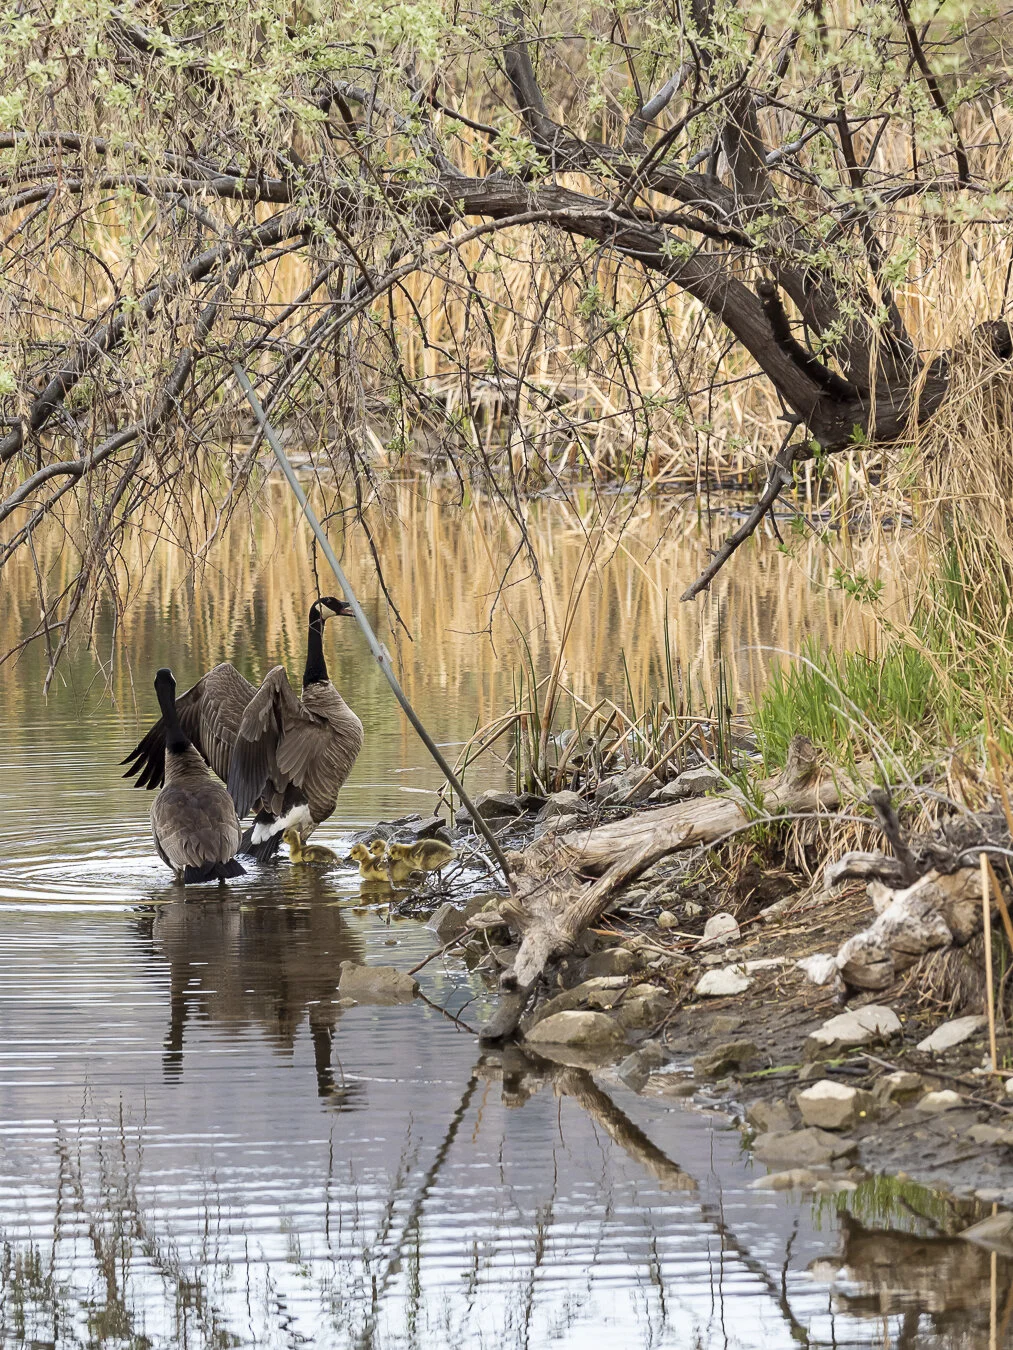
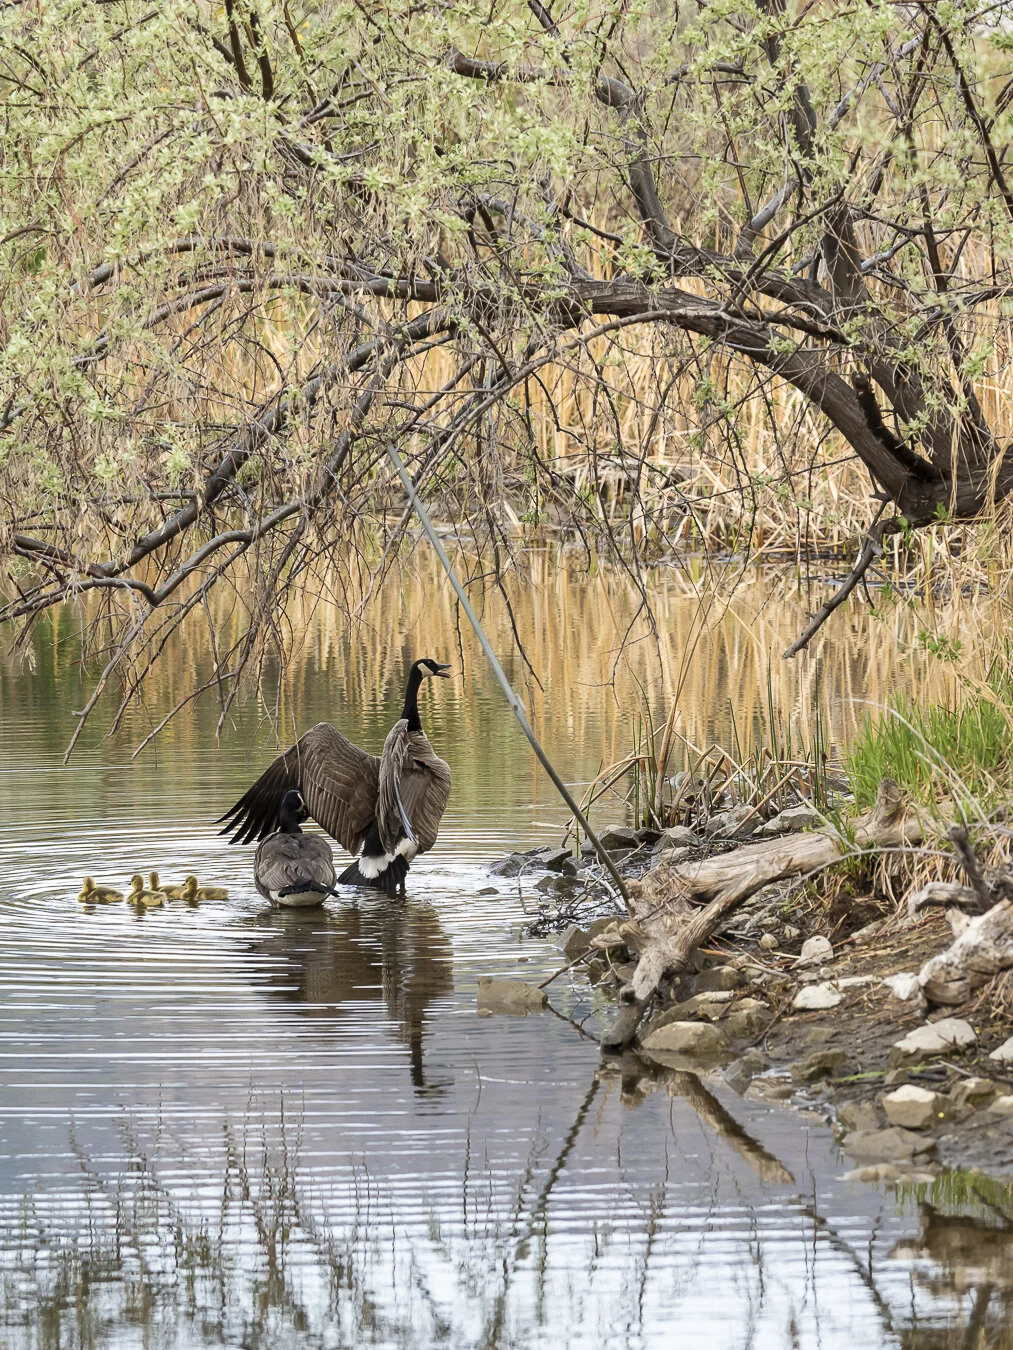
“Exploration: On this day I had gone out again for a sunrise morning session. I had visited a different park at sunrise but not much bird activity was happening so I left and came to this park. After about an hour of waiting the park exploded with activity - one of which was I got to see my first set of goslings of the season! They were so yellow, fluffy and cute. I followed them as best as I could as they went up the river and at one point the one started going crazy - flapping its wings, being really loud. I couldn't tell you if it was the male or female. But the parent started flapping its wings, getting really loud and you can see it's wings are stretched out before the other parent with the goslings in the back...I was trying to figure out what was wrong. I then realized that they were being on the defensive from two raccoons that were in the park earlier.
Subject: The subject in this photo was the mystery behind what is the parent goose defending its family against.
What was I trying to express: In this photo I was trying to capture the commotion of what I was seeing and hearing - the one Goose had this aggressive posture and was being really loud and looked like it was defending its family against something.
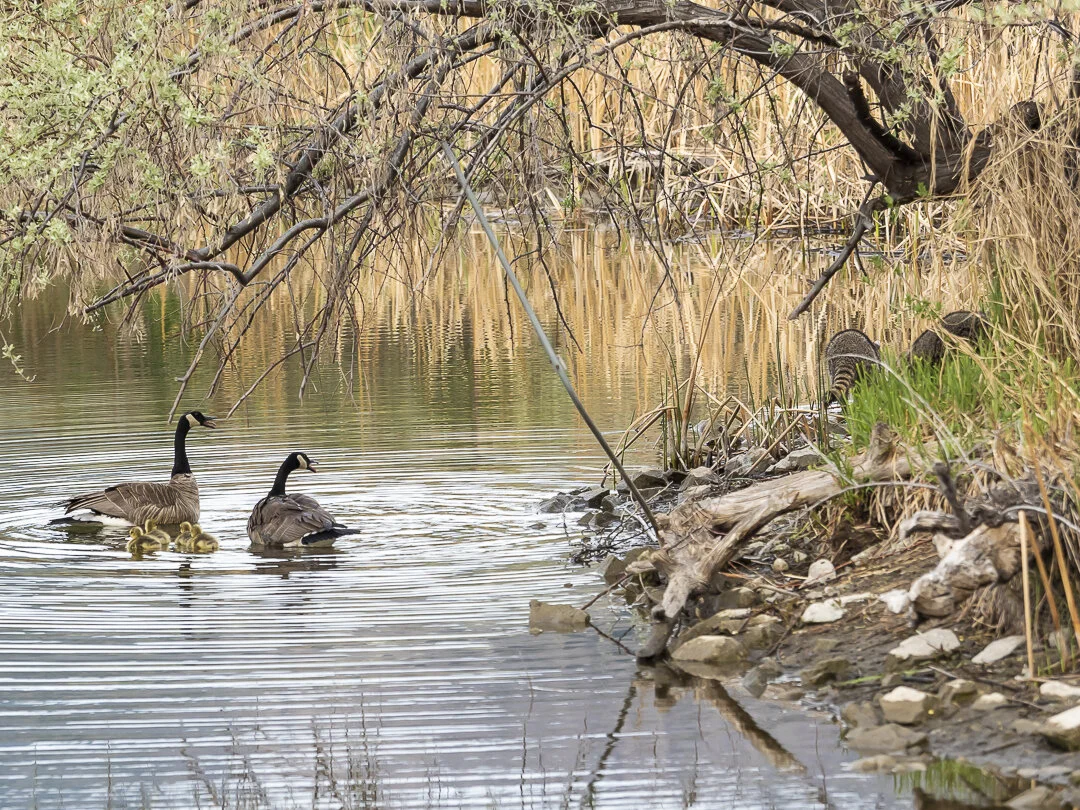
What does this photo need to give my subject it's best expression: I took a number of photos of this encounter and this one (far right) stood out to me as my favourite and the best expression of what was happening. In the previous photo the set up was off - the goslings were still on the shore, the one parent was starting to take its stance but it just didn't feel right. In the photo after I had taken an horizontal that included the threat to the goslings but the parents had gotten into the water, dividing the threat from the goslings, still being loud and I liked this photo too but the first one just had more of the jigsaw that I was after - the mystery of what the geese were reacting to, the aggressive stance of one of the parent protecting its babies, the goslings in the back separated and as far away from the threat. I would have loved to get a lower POV but I was limited by where I was standing, it would have been better if I had a horizontal orientation but in the moment I hadn't thought to switch my orientation direction.”
Final Thoughts
The purpose of this photography exercise was to really take the lessons and teaching in David’s book and really implement it in my photography to improve my photography. The idea is that through this micro-habit, through this consistent practice of analyzing my own photography, recognizing what expresses a subject well and what I missed will help through time really improve my photography.
If you read David’s book then you know that good and bad is very subjective - what is good to the audience might differ to the photographer. What is good or bad to one person might be completely different to another because so much of photography is subjective.
I have found that being really intentional, impactful and meaningful with my photography is much easier with still subjects like flowers, trees, plants, landscapes where I can take my time to figure out what my subject is, what my camera settings should be, how to frame my subject, what I should do, etc., However, I have found since doing a lot more wildlife/bird photography that this process is much harder because you need to be so quick to capture the fleeting moment.
Hopefully with practice and time I will get better!
I really hope you found this reflection on my photography exercise helpful and maybe give it a try at home!
Happy Photographing!
Beautifully Wander | Robynne Ikesaka