Welcome to WEEK THREE of the Autumn/Halloween Create with Me Series! Today we are creating a cinemagraph for the first time!
What is a Cinemagraph?
A cinemagraph is a still photograph where a minor and repeated movement occurs. It’s a wonderful way to add a little movement to your still photos!
What Interested Me About Cinemagraphs
What initially interested me about cinemagraphs was the creativity behind it - cinemagraph makes a still image more interesting and eye catching and it was a photography technique that I hadn’t tried yet!
Taking the Video
To create a cinemagraph you need to first take a short video clip. For my first cinemagraph I did a simple tea pouring one. I knew beforehand that getting a consistent tea pour would make the post-processing easier so I made sure to keep the tea pour consistent at one point and to hold the kettle as still but as natural as I could.
Once I was happy with a clip I brought the clips onto my computer and did the next step - video post processing in Lightroom.
Video Post-Processing in Lightroom
This step of post-processing in Lightroom is optional after you have filmed your clips but I prefer to give a few adjustments to my clip. However, within Lightroom Classic you can’t edit a video but there’s a hack that I’ve used in the past:
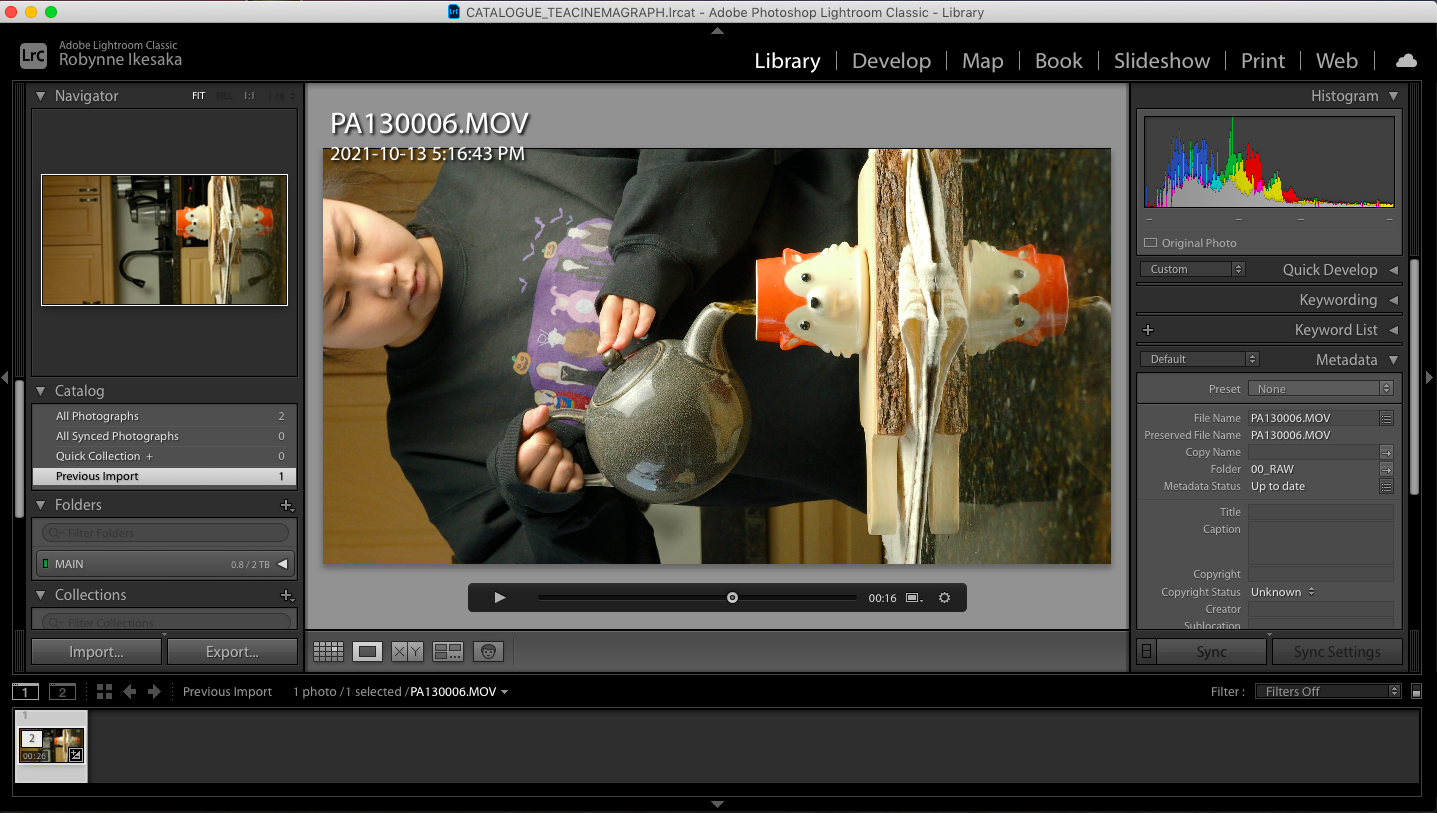
Load your video clip into Lightroom
Scrub through the video and find a frame that captures majority of what you’re looking to edit (for me it was a frame that had me pouring the tea)
4. Hit the ‘Capture Frame’ button at the bottom (this will create a screenshot of your video that you can edit in Lightroom)
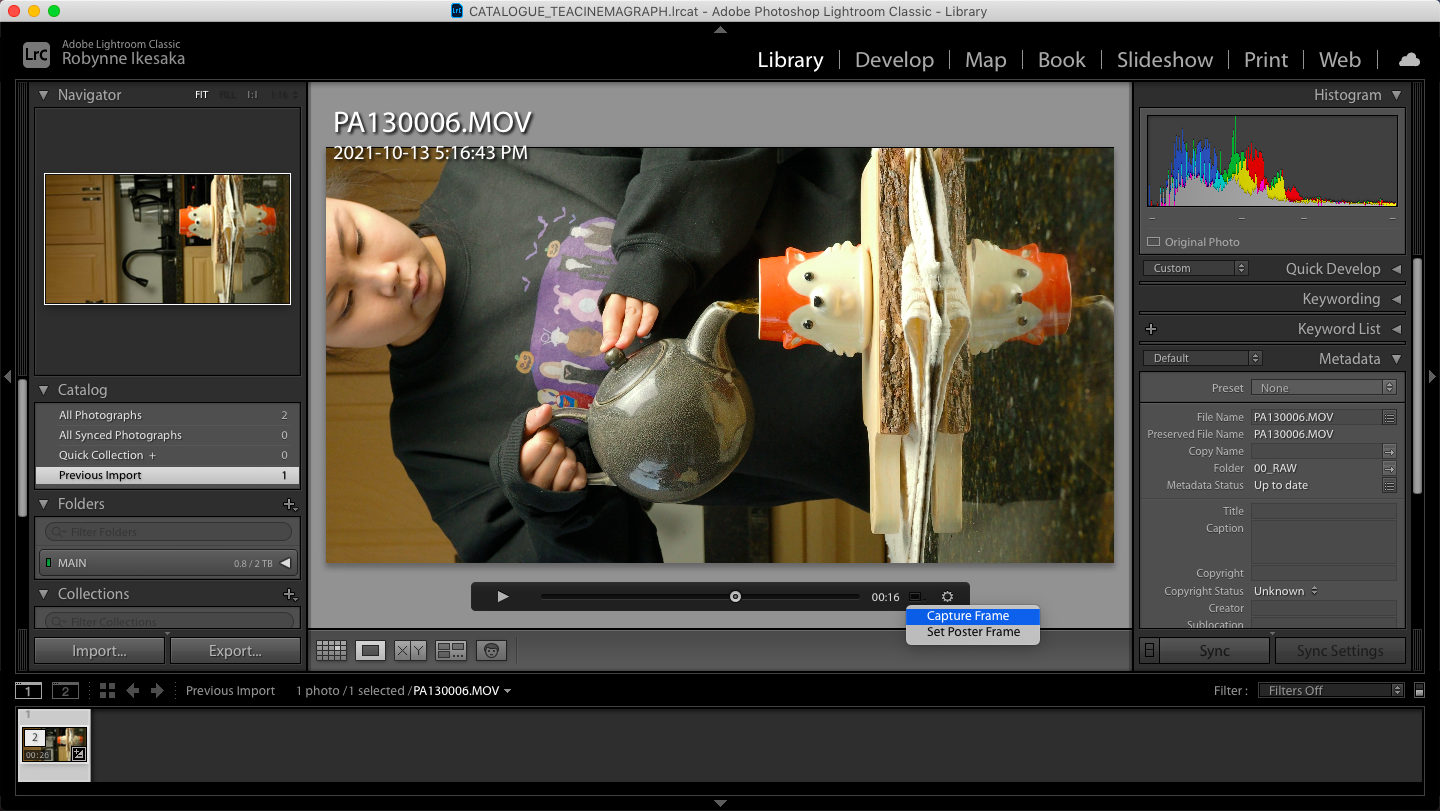
5. Edit your screenshot photo

6. Sync your photo to the video file (note: not all your edits will sync only a few minor adjustments)
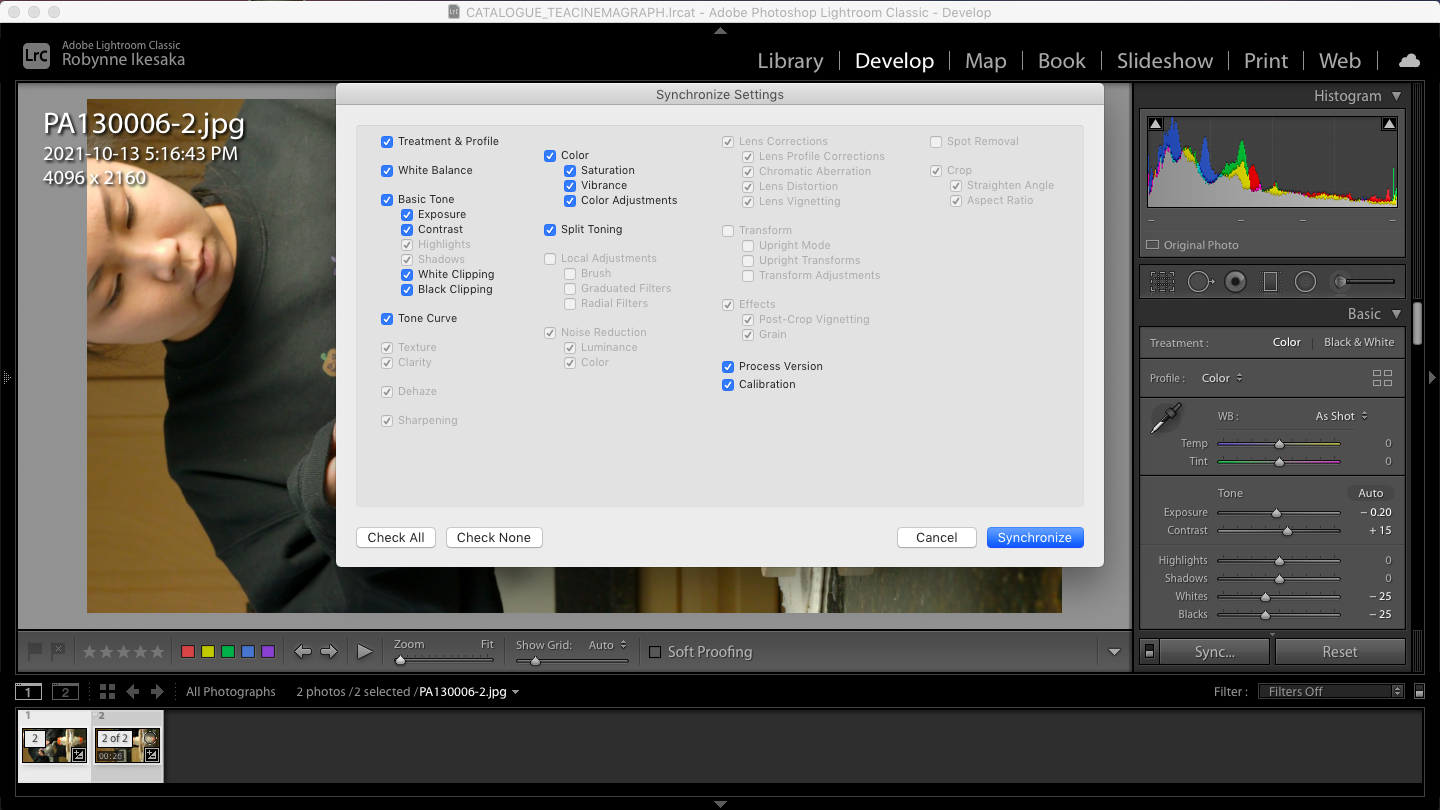
7. Export to your desired location
Pulling Together in Photoshop
The final step is pulling your cinemagraph together in Photoshop:
Pull your edited video clip into Photoshop
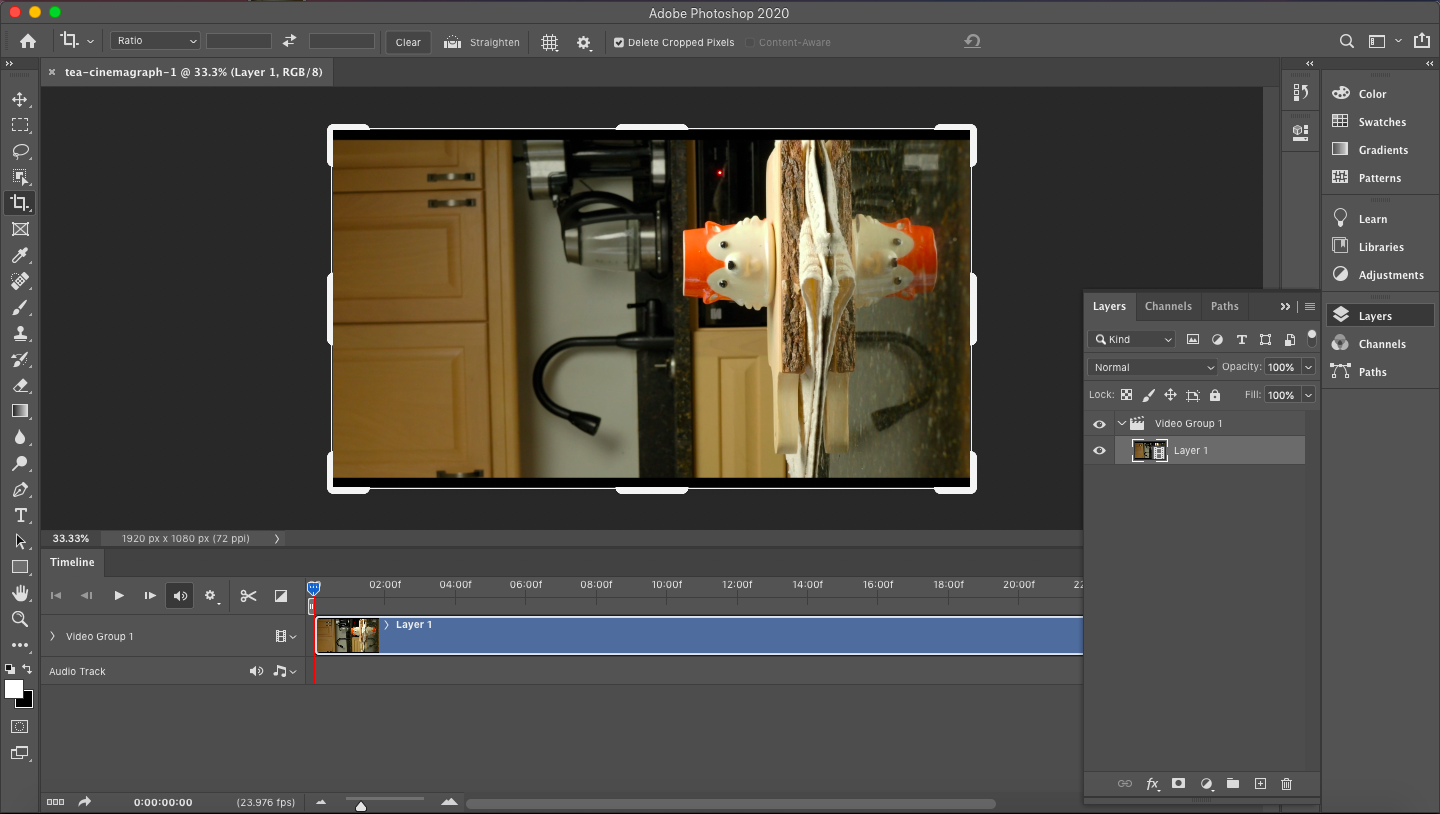
2. Cut your clip down to make it more manageable to work with
3. Scrub through the video to find a short area of the clip that is consistent and cut it down (for me it was part of the clip where my tea spout wasn’t rising or lowering and my tea stream was consistent)

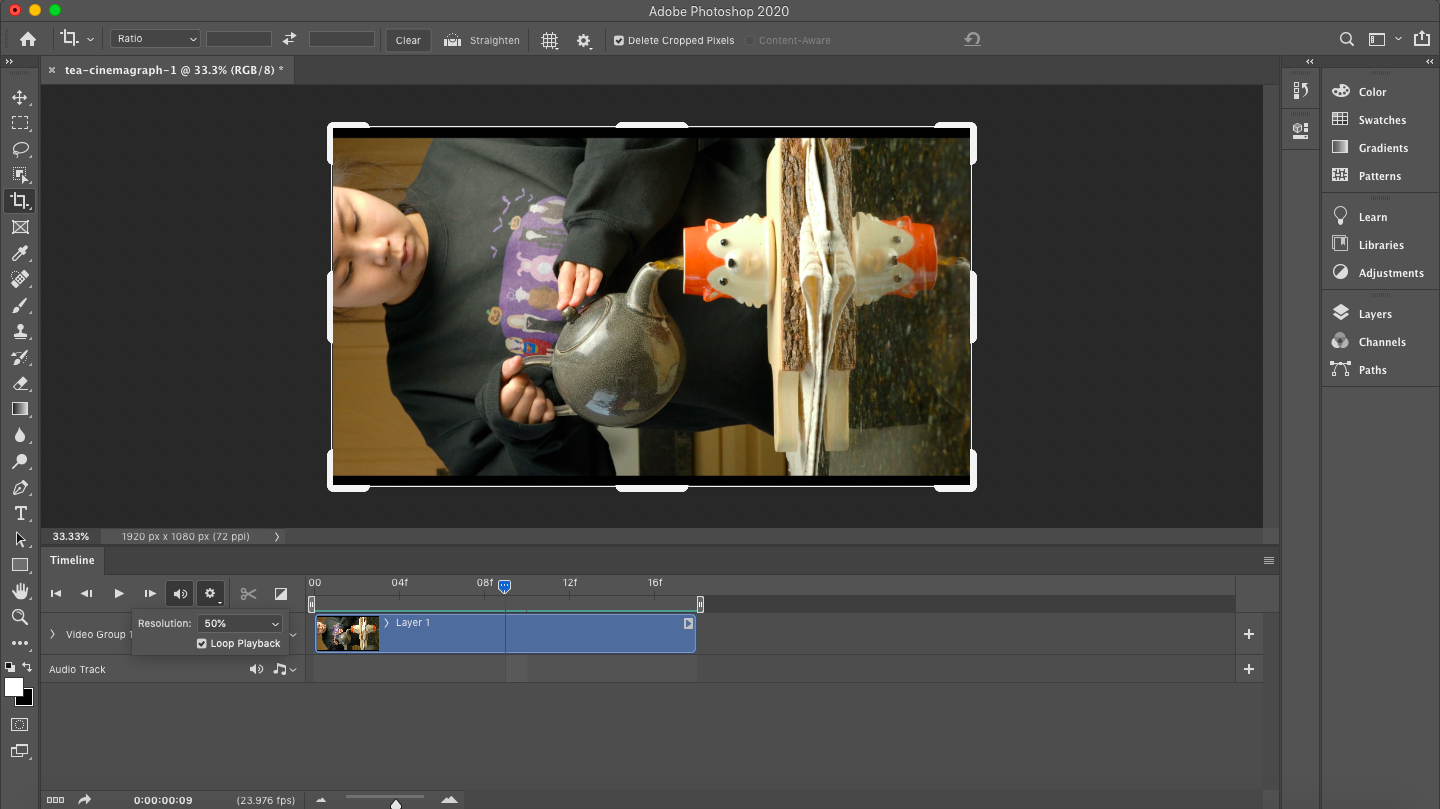
4. Hit the gear icon and make sure that “Loop Playback” is on
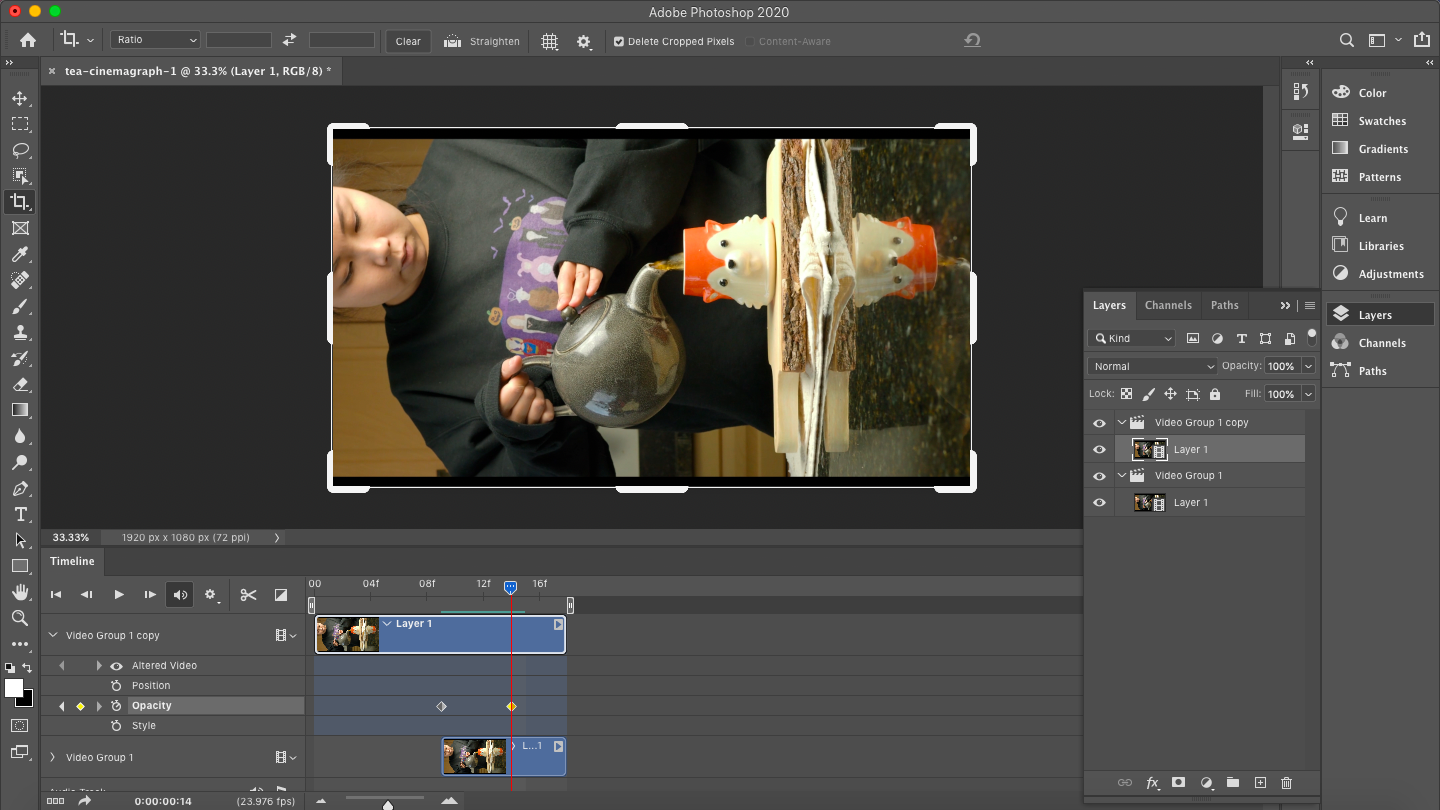
5. Open your layer tab and create another layer of the clip by dragging ‘Video Group 1’ over the ‘Add Layer’ button at the bottom (square with the plus sign in the middle)
6. Drag the second clip over so the beginning of the second clip begins at the end of the first clip

7. Drag the beginning of the clip over to the left

8. Drag the end of the second clip over to the left so the both ends match

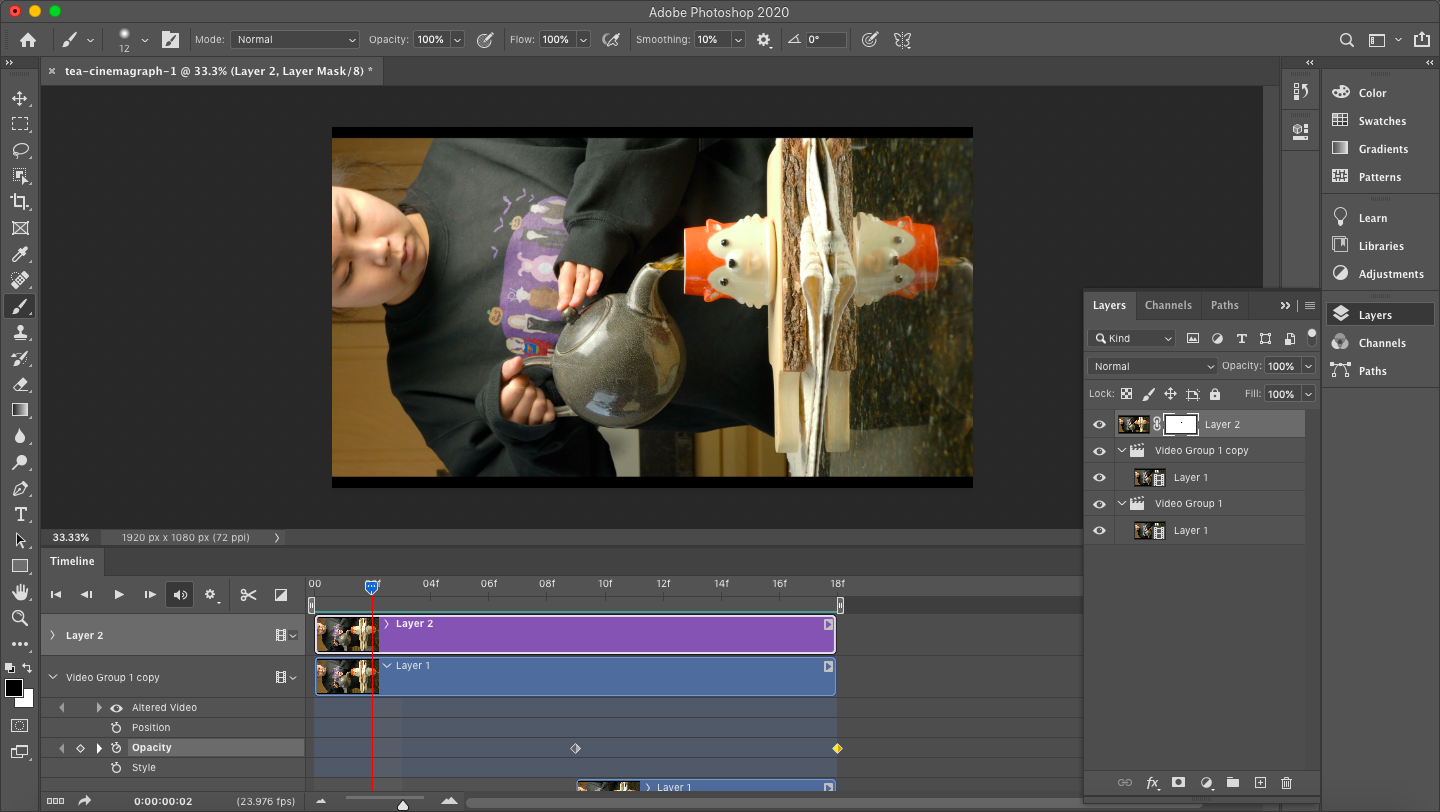
9. Over by your clips hit the down arrow and hit “opacity”


10. Select another part of your clip and hit “opacity” again
11. In your layers tab make sure the “opacity” is set to 0%
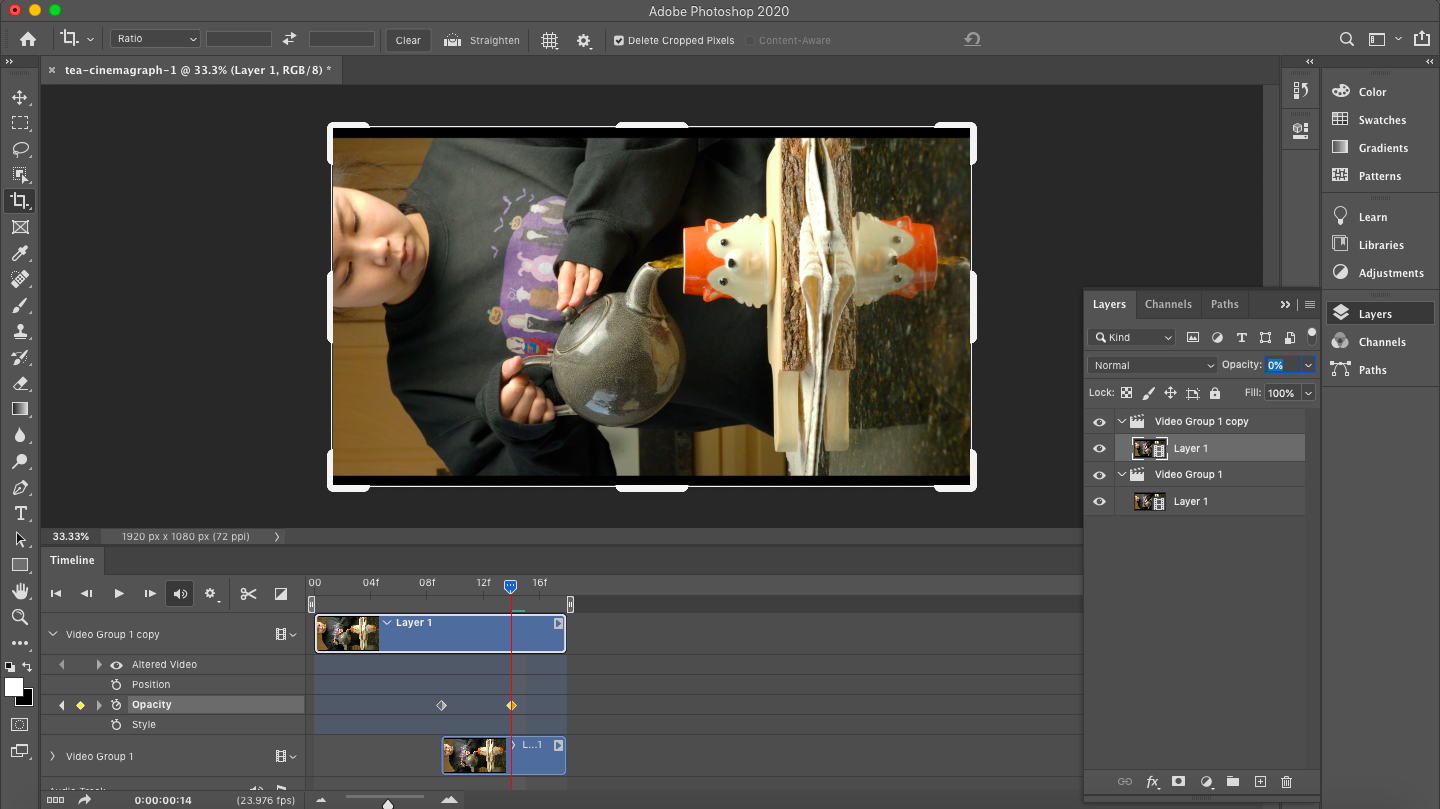
12. Then move the second opacity marker to the end of the clip

13. To eliminate any slight movement you or your subject is making create another layer on top of your video files by hitting ctrl + option + shift + e

14. Select the layer you just created in the layer tab and create a mask (square icon at the bottom with a circle in the middle)
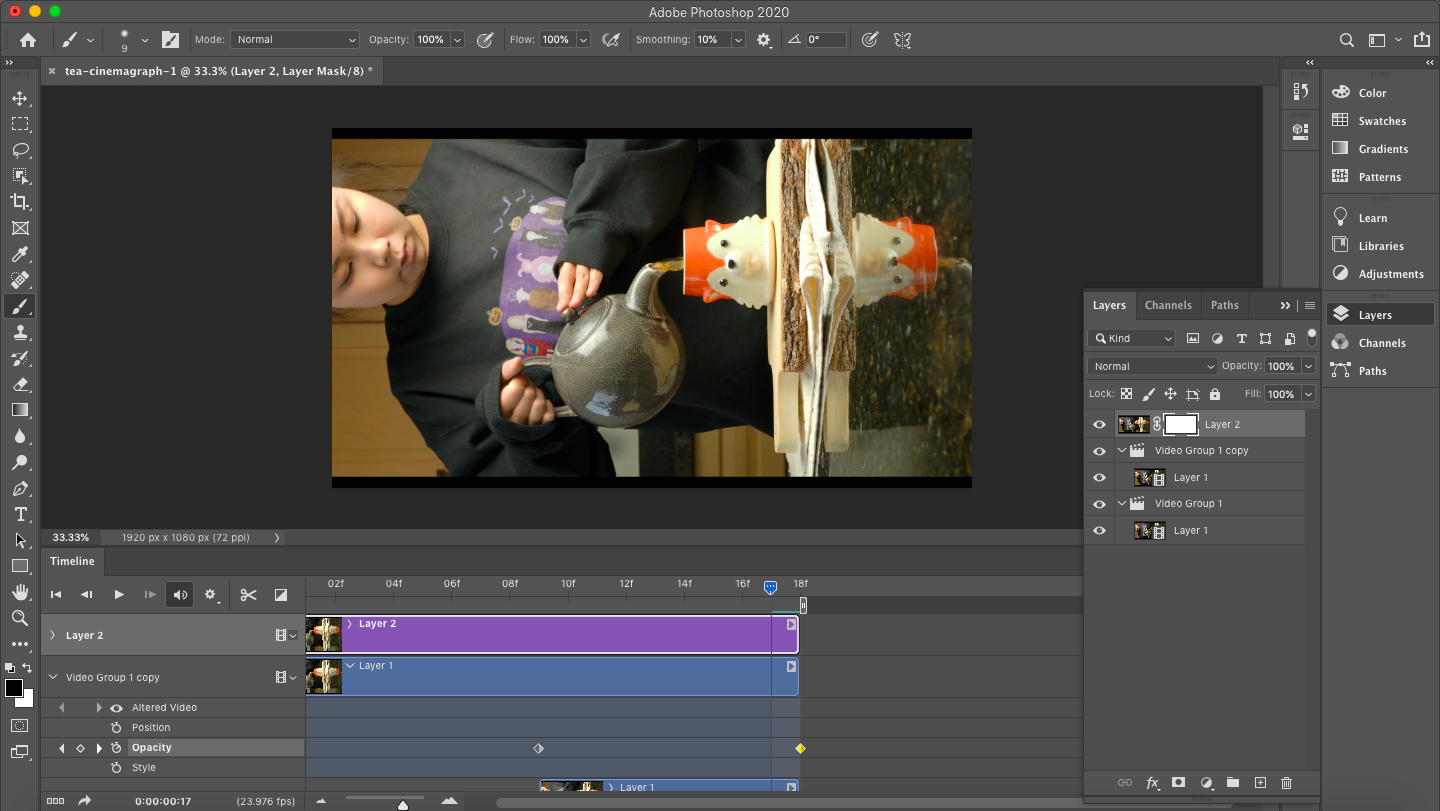
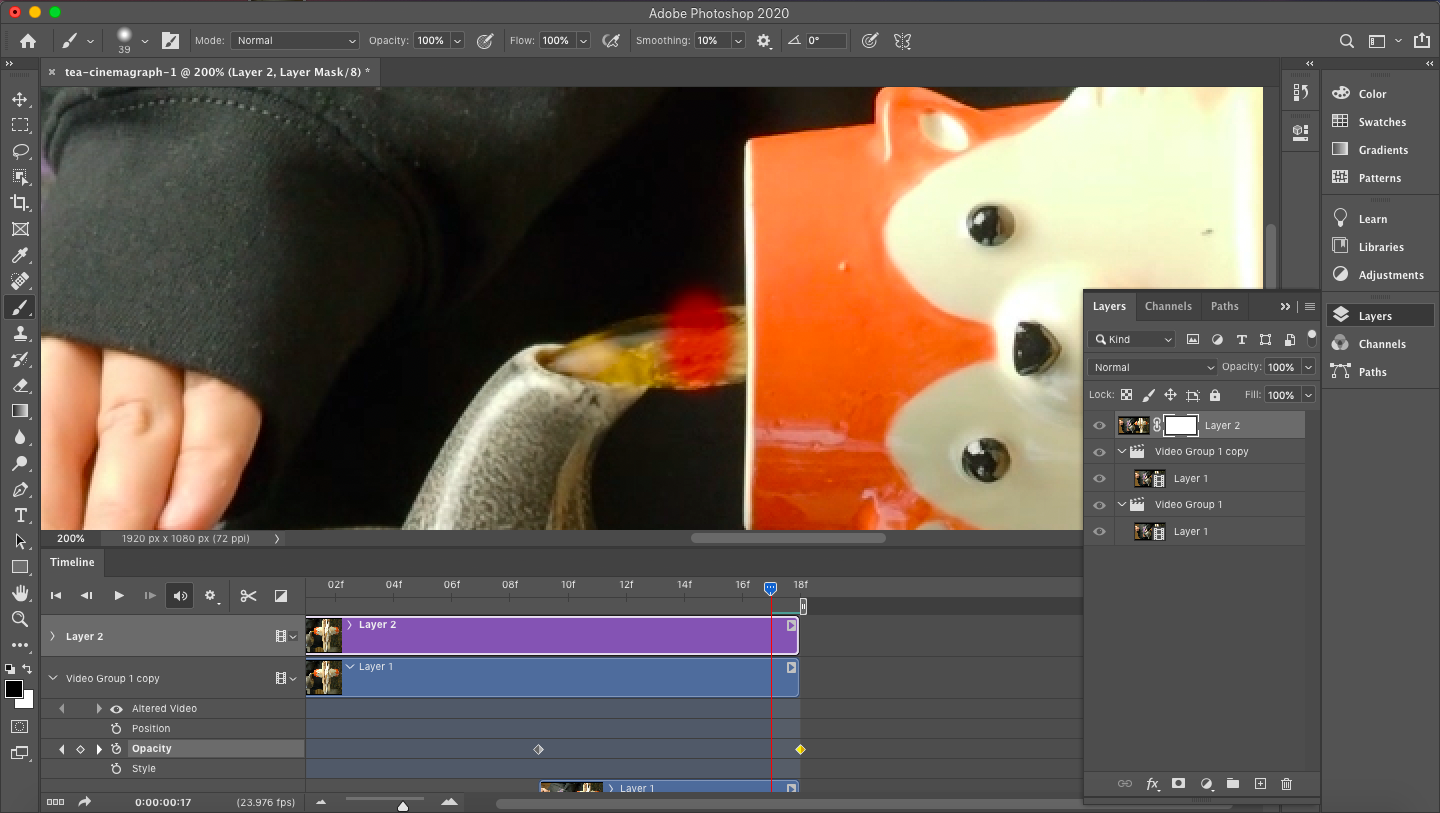
15. Making sure your brush and color black is on and brush over your movement area (for this one it’s my tea stream)
To see what you are brushing hit the slash key under your delete key on your keyboard
16. Rewatch a few times to make sure you’re happy with the cinemagraph
Your Final Product
Voila, we just created a cinemagraph! I hope this inspires you to create a cinemagraph of your own!