CREATE WITH ME

Autumn Photography Vlog | Getting Outdoors, Fall Photography with Olympus 40-150, Create with Me

Welcome to WEEK FOUR of our Autumn/Halloween Create with Me Series! In todays episode we’re getting outside to do some autumn photography at one of my favourite local beaches in Kelowna.

Captured on our Trip

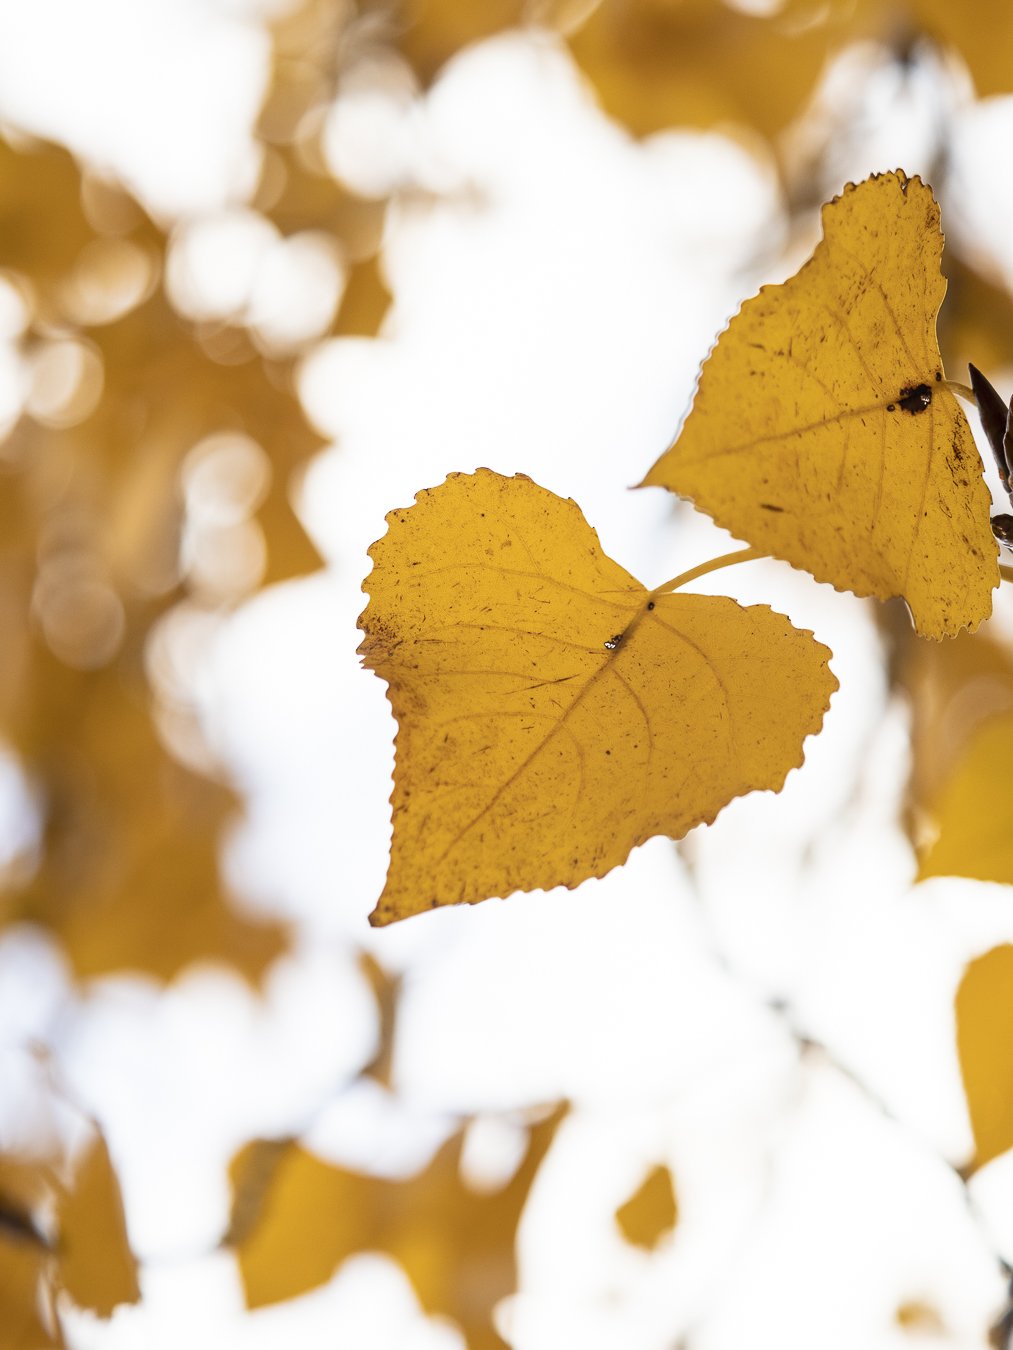
For this photo I tried to find a single leaf in the gap of autumn leaves on a tree at Gyro Beach.

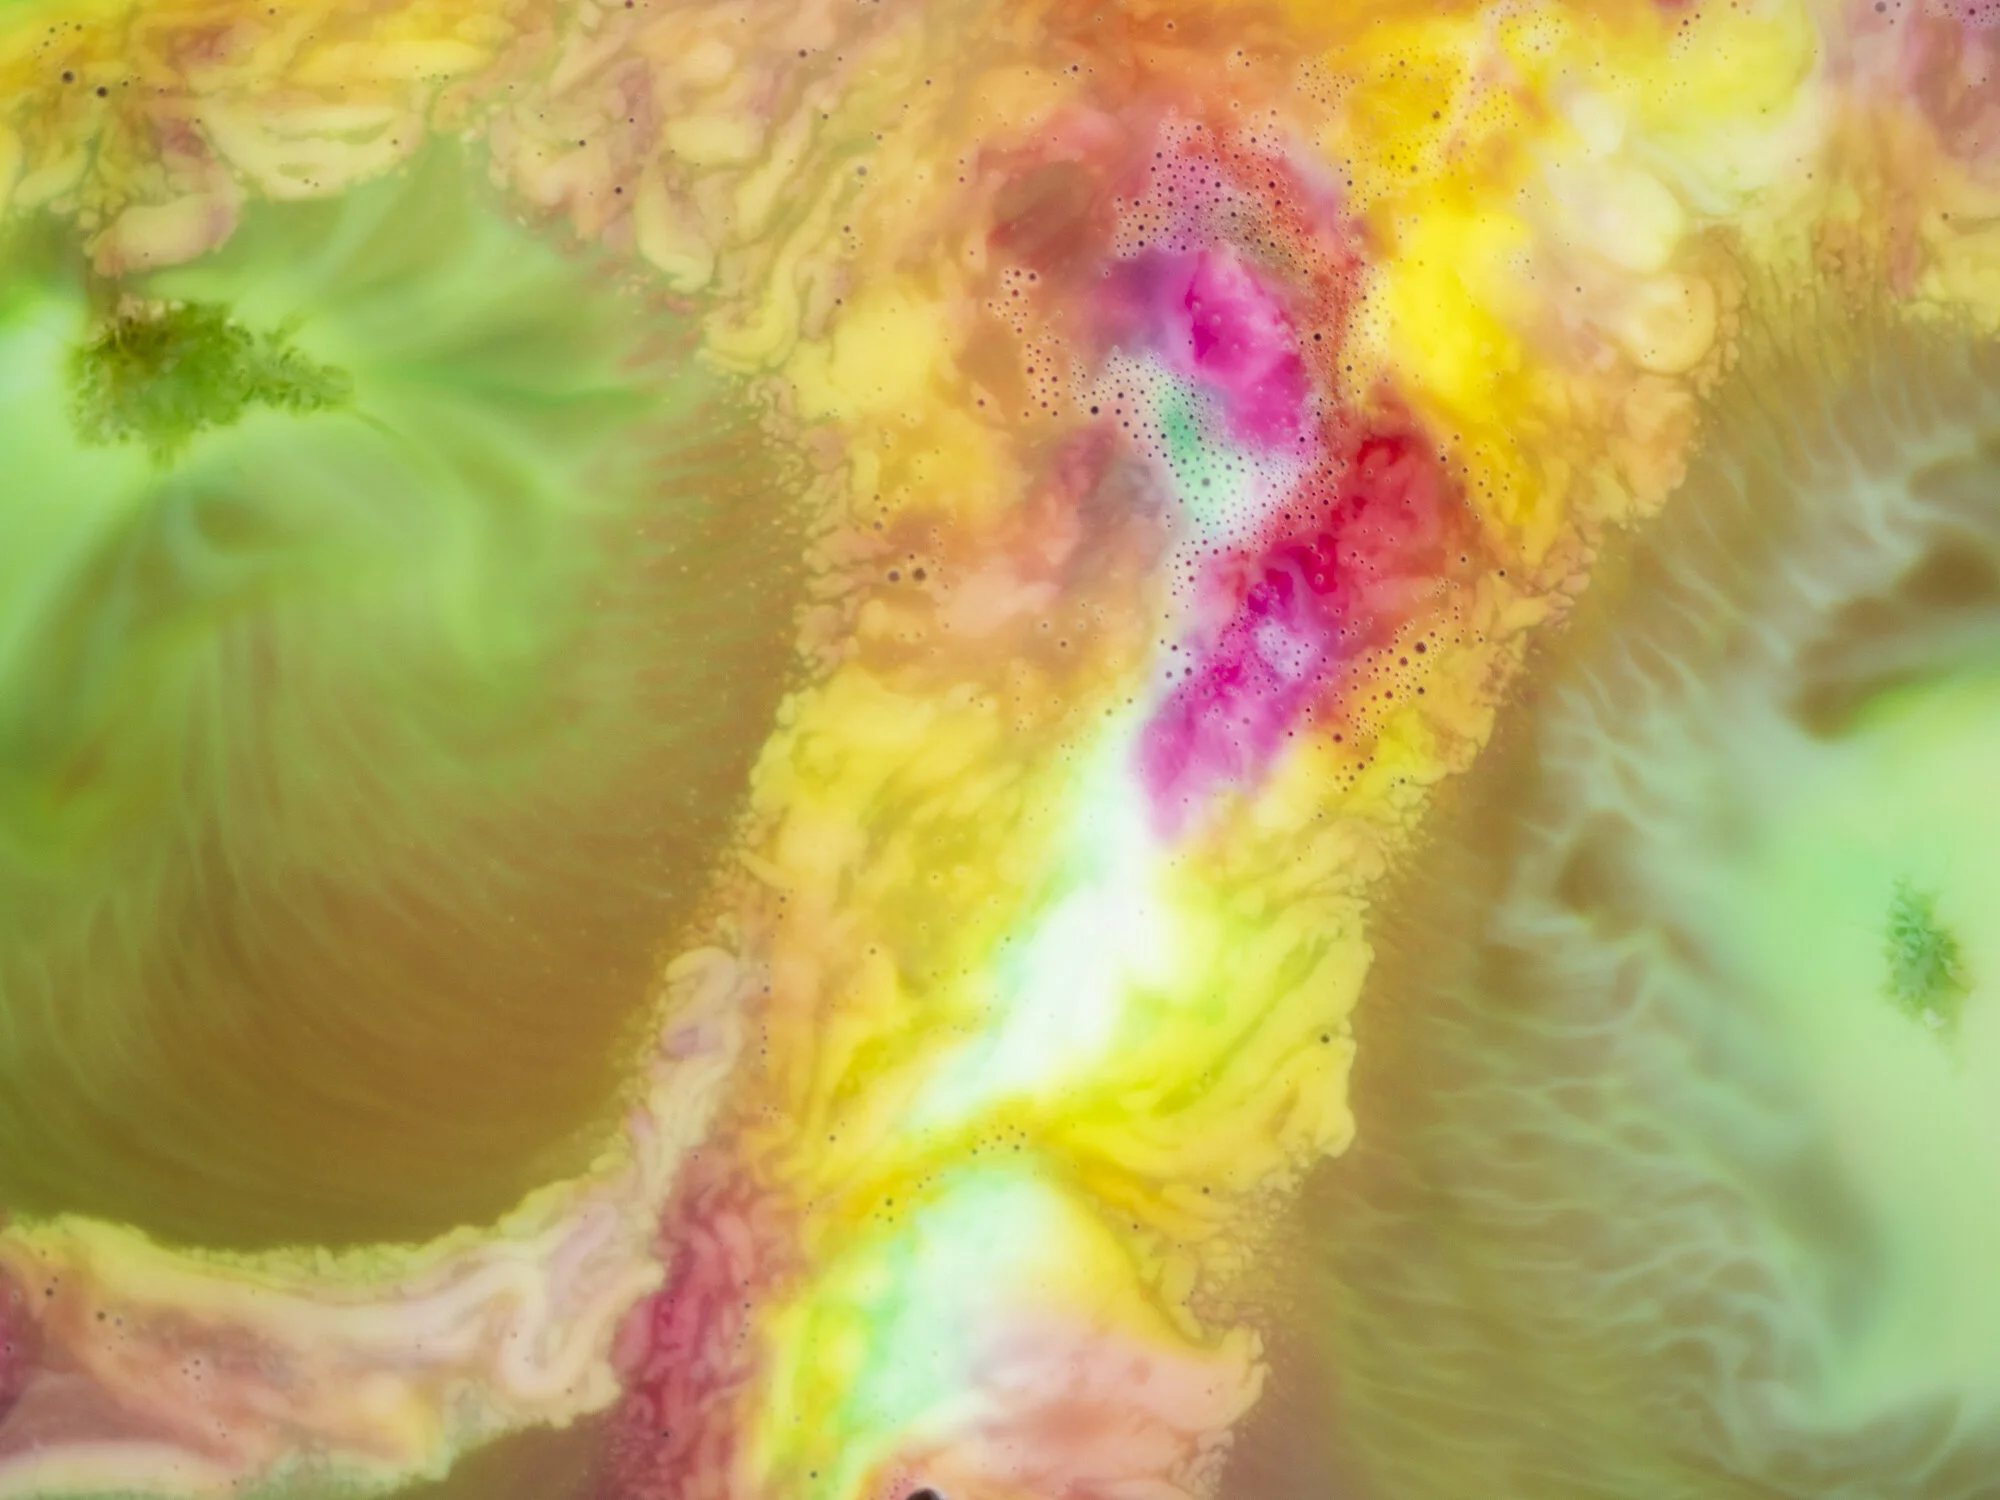
One of my favourite parts of Gyro Beach is the beach rental hut. In this particular photo I picked up a brand full of autumn leaves off the ground, held it up to my camera and shot through the leaves to create this beautiful foreground blur.

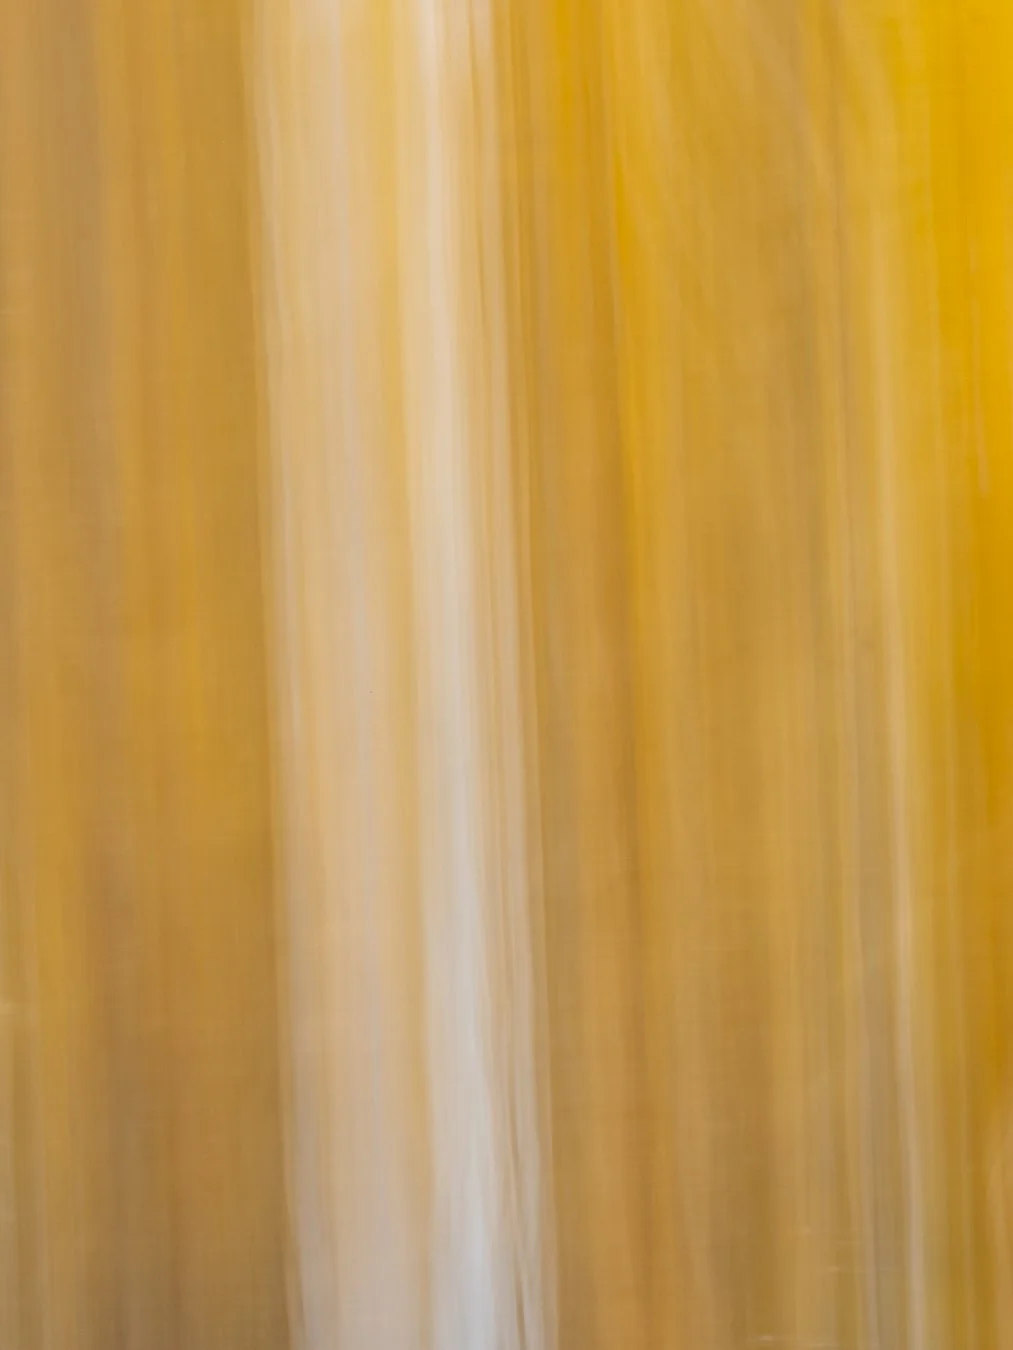
To given your autumn photography a twist you could try some panning or Intentional Camera Movement. For this I slowed my shutter speed, and panned vertical with the grain of the wood tree and autumn leaves to create this vertical pan.

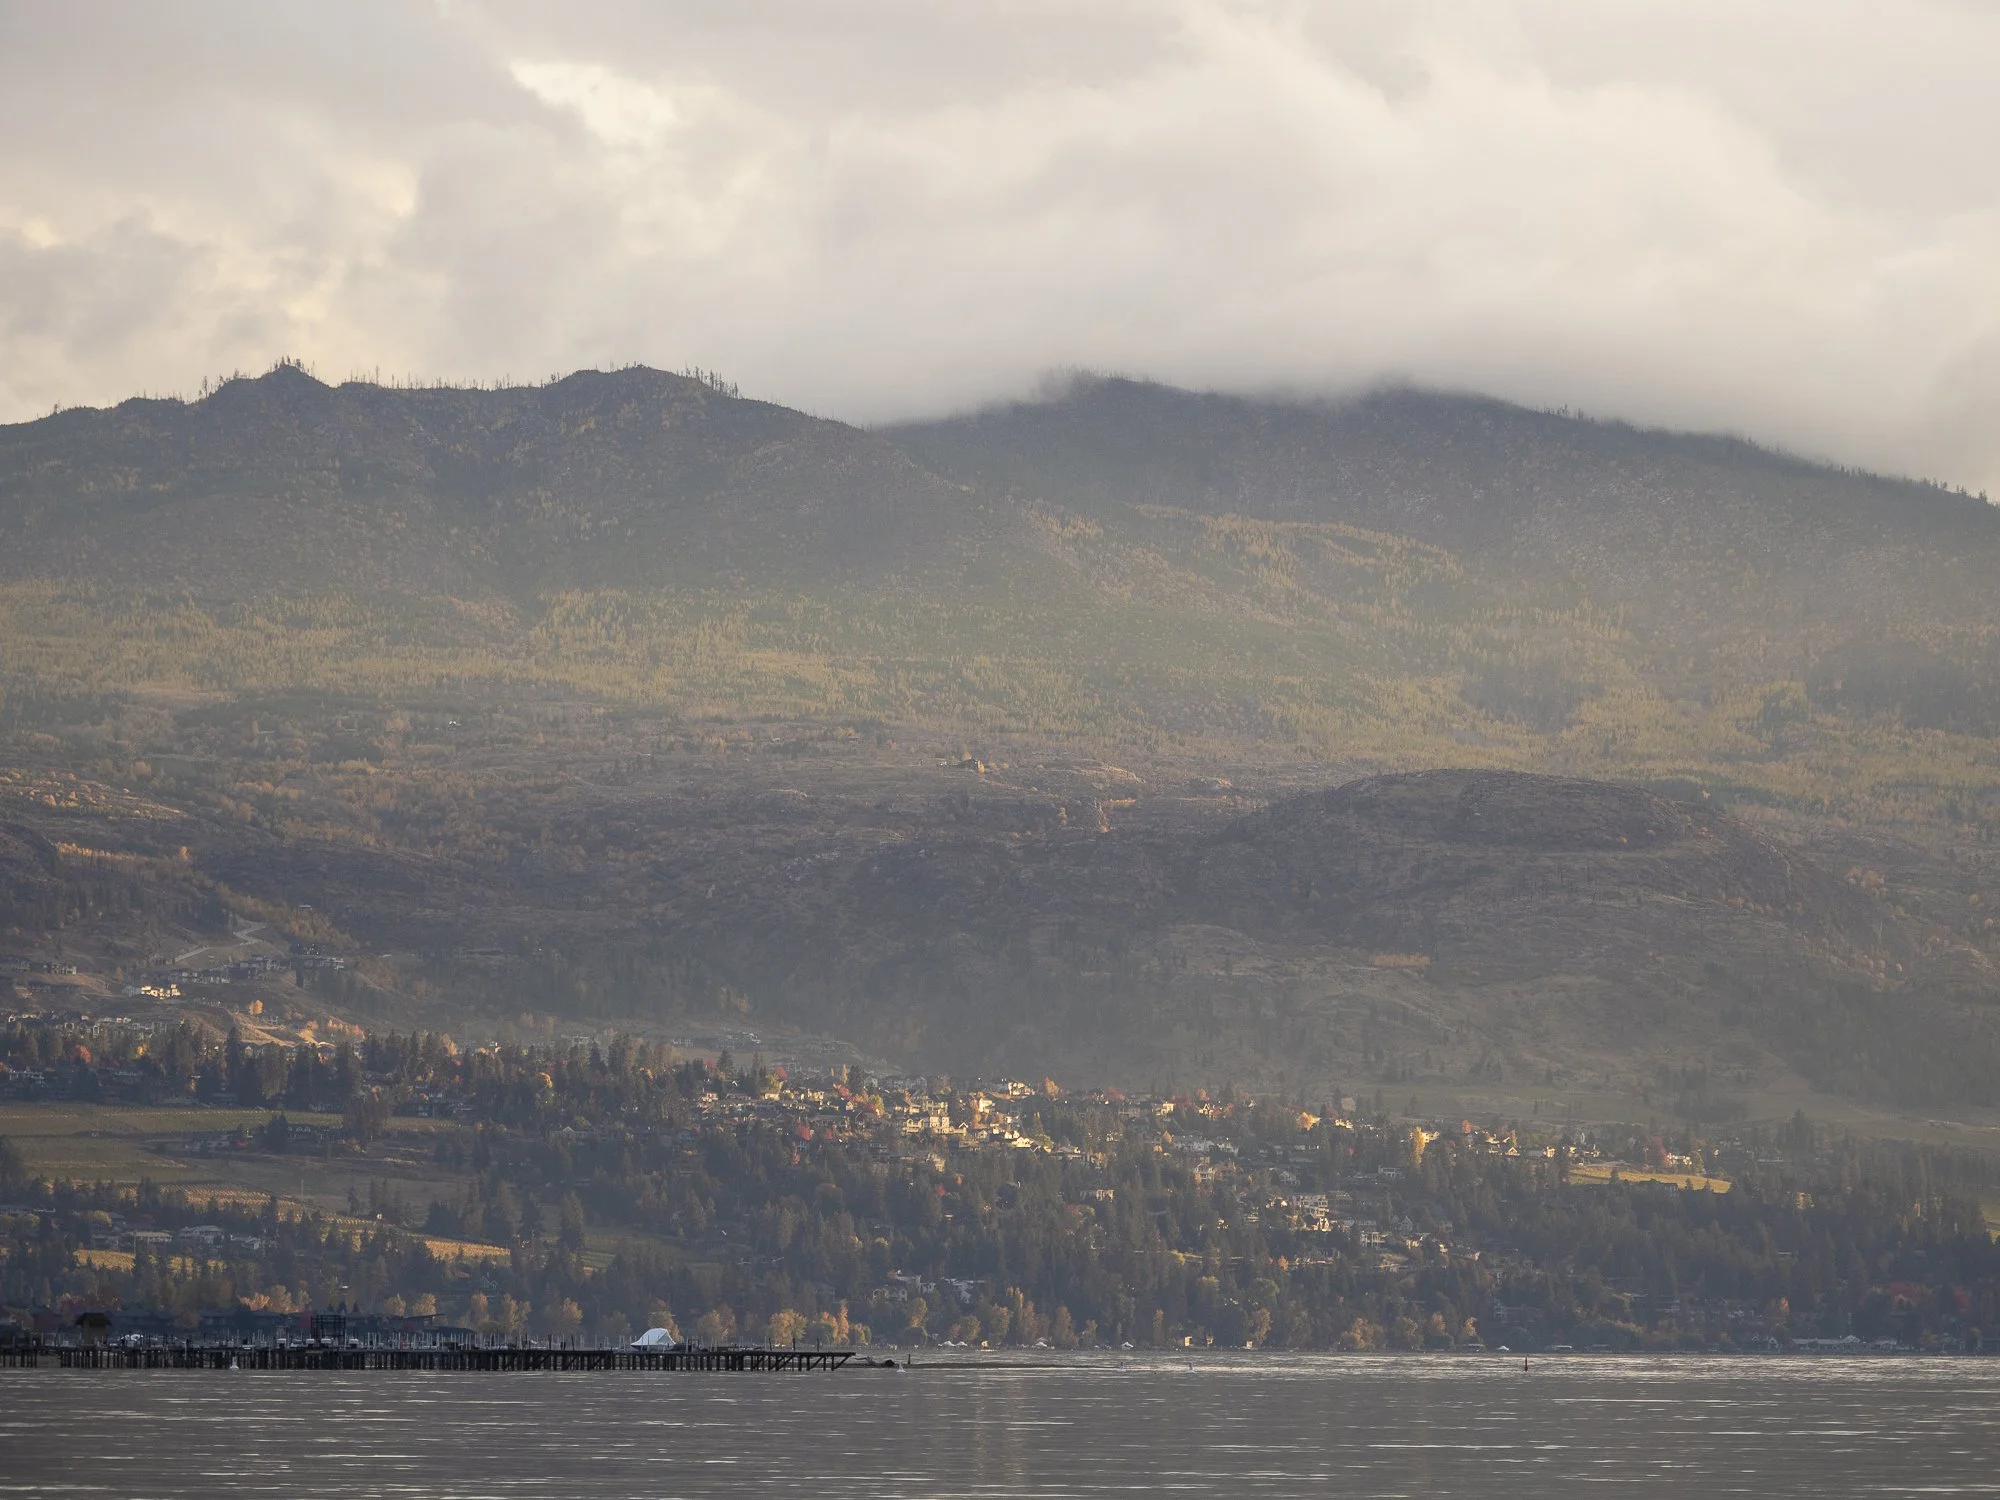
The beautiful part of autumn that I always find interesting is when the sun peaks from behind the clouds and spotlights a part of the landscape in a beautiful glow. I loved the hints of red and orange in the landscape when this happened.

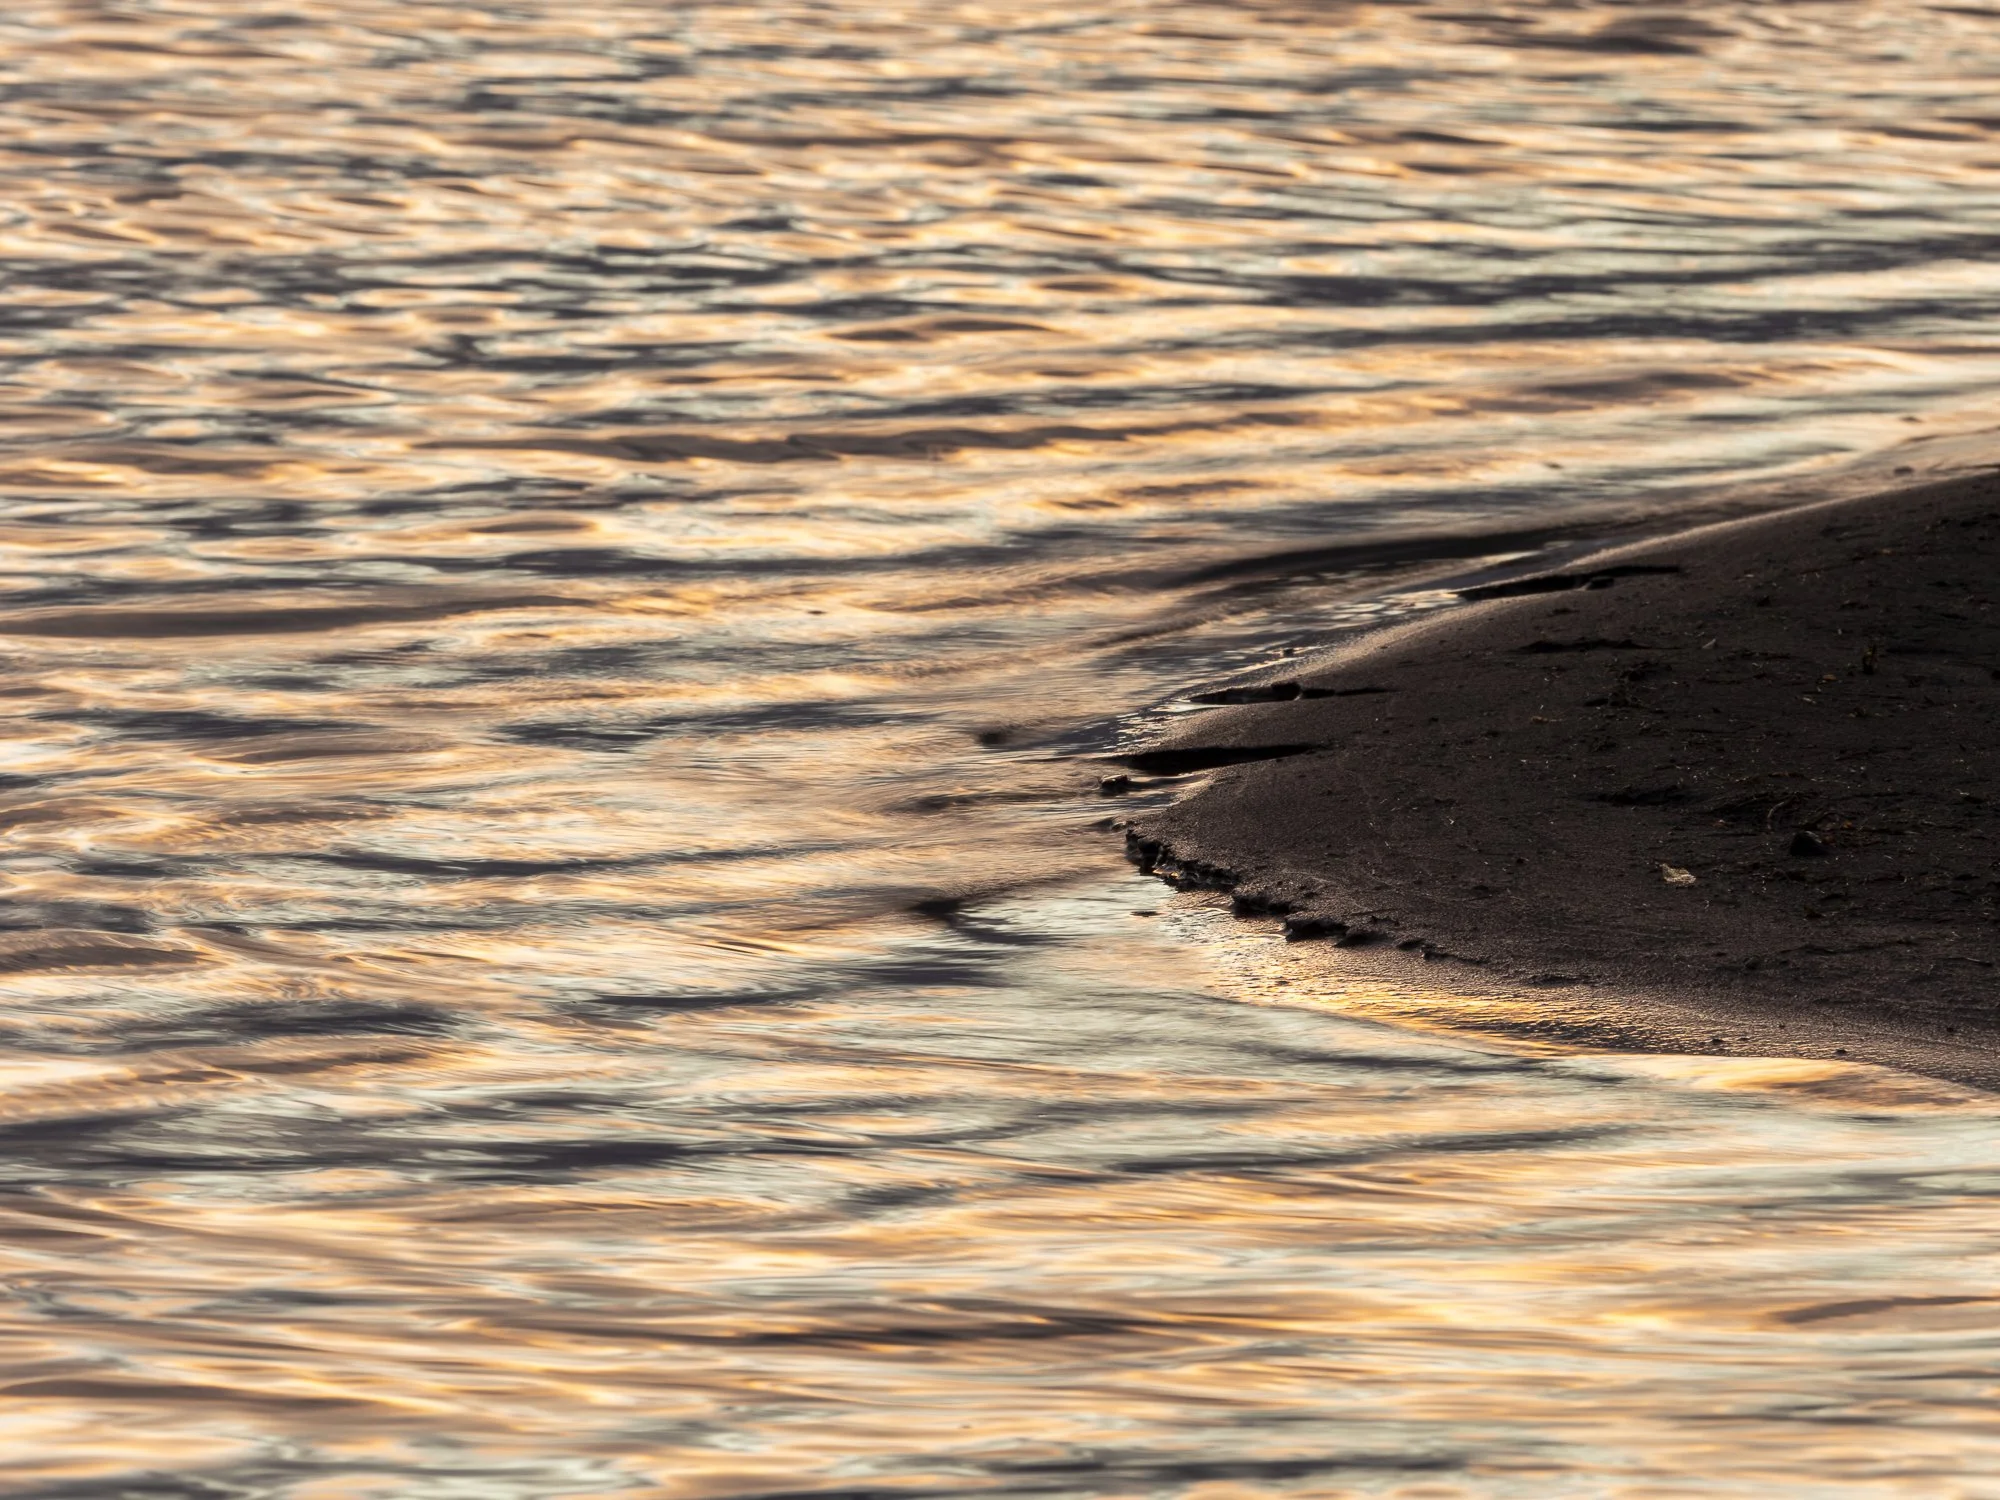
I found these sand bars at Rotary Beach interesting. Both Rotary and Gyro are fairly low beaches in that in the summer you can walk for a long time before it gets deep. I loved how the sunset radiated against the lake. For this photo I slowed my shutter speed to create a more buttery lake vibe.

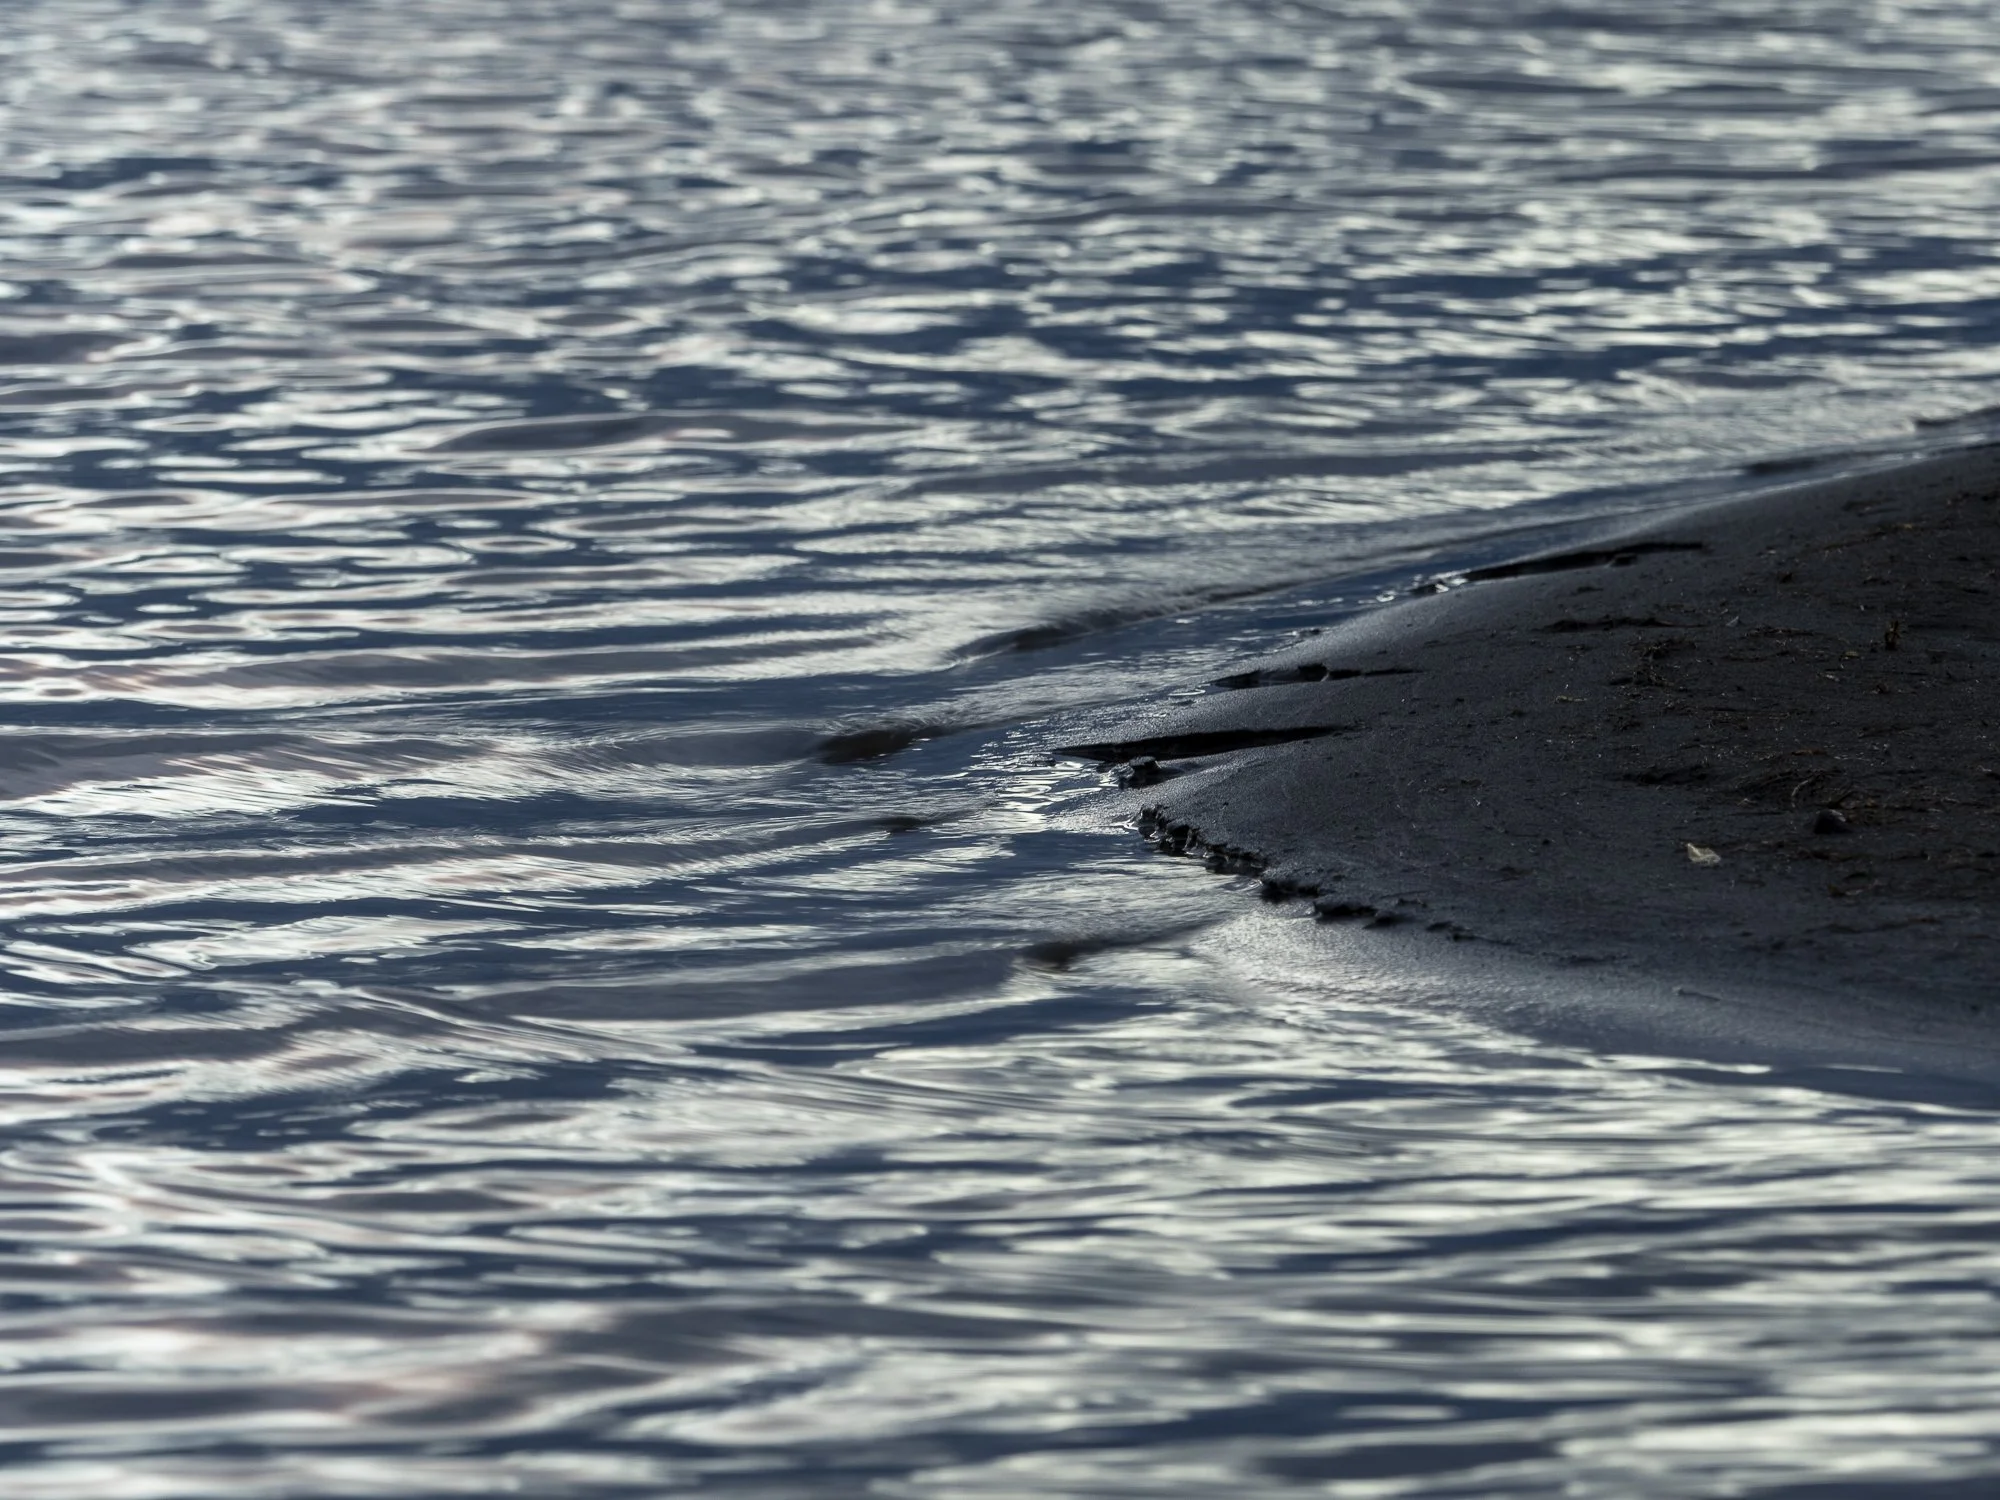
This is the exact same sand bar at Rotary Beach. However, this photo was taken shortly after the sun had set and we were entering into blue hour.


I hope you’re out enjoying some autumn photography!

Beautifully Wander | Robynne Ikesaka

Adding Motion to Your Photograph ft. Cinemagraphs | Autumn/Halloween Inspired Create with Me

Welcome to WEEK THREE of the Autumn/Halloween Create with Me Series! Today we are creating a cinemagraph for the first time!

What is a Cinemagraph?

A cinemagraph is a still photograph where a minor and repeated movement occurs. It’s a wonderful way to add a little movement to your still photos!

What Interested Me About Cinemagraphs

What initially interested me about cinemagraphs was the creativity behind it - cinemagraph makes a still image more interesting and eye catching and it was a photography technique that I hadn’t tried yet!

Taking the Video

To create a cinemagraph you need to first take a short video clip. For my first cinemagraph I did a simple tea pouring one. I knew beforehand that getting a consistent tea pour would make the post-processing easier so I made sure to keep the tea pour consistent at one point and to hold the kettle as still but as natural as I could.

Once I was happy with a clip I brought the clips onto my computer and did the next step - video post processing in Lightroom.

Video Post-Processing in Lightroom

This step of post-processing in Lightroom is optional after you have filmed your clips but I prefer to give a few adjustments to my clip. However, within Lightroom Classic you can’t edit a video but there’s a hack that I’ve used in the past:

  1. Load your video clip into Lightroom

  2. Scrub through the video and find a frame that captures majority of what you’re looking to edit (for me it was a frame that had me pouring the tea)

Screen Shot 2021-10-15 at 6.06.13 PM.png

4. Hit the ‘Capture Frame’ button at the bottom (this will create a screenshot of your video that you can edit in Lightroom)

Screen Shot 2021-10-15 at 6.06.27 PM.png

5. Edit your screenshot photo

Screen Shot 2021-10-15 at 6.06.57 PM.png

6. Sync your photo to the video file (note: not all your edits will sync only a few minor adjustments)

Screen Shot 2021-10-15 at 6.07.14 PM.png

7. Export to your desired location

Pulling Together in Photoshop

The final step is pulling your cinemagraph together in Photoshop:

  1. Pull your edited video clip into Photoshop

Screen Shot 2021-10-15 at 6.13.20 PM.png

2. Cut your clip down to make it more manageable to work with

3. Scrub through the video to find a short area of the clip that is consistent and cut it down (for me it was part of the clip where my tea spout wasn’t rising or lowering and my tea stream was consistent)

Screen Shot 2021-10-15 at 6.14.59 PM.png

4. Hit the gear icon and make sure that “Loop Playback” is on

Screen Shot 2021-10-15 at 6.15.16 PM.png

5. Open your layer tab and create another layer of the clip by dragging ‘Video Group 1’ over the ‘Add Layer’ button at the bottom (square with the plus sign in the middle)

6. Drag the second clip over so the beginning of the second clip begins at the end of the first clip

Screen Shot 2021-10-15 at 6.16.09 PM.png

7. Drag the beginning of the clip over to the left

8. Drag the end of the second clip over to the left so the both ends match

Screen Shot 2021-10-15 at 6.16.29 PM.png

9. Over by your clips hit the down arrow and hit “opacity”

Screen Shot 2021-10-15 at 6.16.43 PM.png
Screen Shot 2021-10-15 at 6.16.54 PM.png

10. Select another part of your clip and hit “opacity” again

Screen Shot 2021-10-15 at 6.17.07 PM.png

11. In your layers tab make sure the “opacity” is set to 0%

Screen Shot 2021-10-15 at 6.17.27 PM.png

12. Then move the second opacity marker to the end of the clip

Screen Shot 2021-10-15 at 6.18.28 PM.png

13. To eliminate any slight movement you or your subject is making create another layer on top of your video files by hitting ctrl + option + shift + e

Screen Shot 2021-10-15 at 6.19.12 PM.png

14. Select the layer you just created in the layer tab and create a mask (square icon at the bottom with a circle in the middle)

Screen Shot 2021-10-15 at 6.19.34 PM.png

15. Making sure your brush and color black is on and brush over your movement area (for this one it’s my tea stream)

  • To see what you are brushing hit the slash key under your delete key on your keyboard

Screen Shot 2021-10-15 at 6.19.55 PM.png

16. Rewatch a few times to make sure you’re happy with the cinemagraph

Screen Shot 2021-10-15 at 6.20.58 PM.png

Your Final Product

Voila, we just created a cinemagraph! I hope this inspires you to create a cinemagraph of your own!

cinemagraph-1 2.gif

Halloween Stop Motion | Autumn/Halloween Create with Me Series, Create with Olympus, Halloween Cupcakes

Welcome to WEEK TWO of the Autumn/Halloween Create with Me Series! Today we are doing a halloween inspired cupcake stop motion!

For this stop motion I went all out - I made chocolate cupcakes, crushed up oreos to imitate "dirt", bought gummy worms and made these RIP tombstones.

Stop motion doesn't have to be complex, long or difficult. Sometimes sweet, and simple is the best!

Happy Photographing!

Beautifully Wander | Robynne MacLeod

"Magic Milk" Photography Experiment | Abstract Photography | Create with Me

In todays photography experiment we are playing with “magic milk” or other times referred to as “marble milk”! It’s basically milk, food dye and dish soap but photographers edition.

While scrolling through TikTok one evening (when I should have been sleeping or trying to sleep) I came across a video by @juzmorgan and it featured creating patterns with milk and food dye. I was intrigued at the idea and searched up “milk and food dye” and ‘magic milk/marble milk’ popped up.

I thought what a fun photography experiment to try if you’re stuck at home, you’re not inspired to go outside, or you just want to try something new and fun!

Supplies

For this ‘magic milk/marble milk’ experiment you will need:

  • Container/plate/bowl

  • Milk

  • Food dye

  • Dish soap

  • Que tips

  • Tripod

  • Camera

From what I’ve heard the dish soap reacts to the fat in the milk so I purchased different kinds of milk - 1%, 2% and Heavy Cream (33%). I figured with the different fat content in the milk it might yield different results.

Magic Milk/Marble Milk Process

Step 1: Pour a thin layer of milk onto your container/plate/bowl.

Step 2: Add food dye

Step 3: Grab your que tip, dip it into some dish soap and dap it where you’ve placed your dye.

8.jpg
10.jpg
14.jpg

For this experiment I am using my Olympus EM1 Mark II with the M.Zuiko 12-40mm F2.8 PRO lens. I am also using my Manfrotto tripod and my Neewer Softboxes.

First Attempt - 1% Milk

My first attempt was with 1% milk. I laid my milk down on the plate and dropped a mixture of food dye - red, green and yellow. They swirled together and created this beautiful mosaic of color and pattern.

magic-milk-1.jpg

Second Attempt - 2% Milk

My second attempt was with 2% milk. I started with just the red food dye then added the yellow, then the green. I was able to create some really unique patterns.

magic-milk-7.jpg
magic-milk-15.jpg
magic-milk-4.jpg
magic-milk-18.jpg

Third Attempt - Heavy Cream (33%)

My last attempt was with my Heavy Cream (33%). The heavy cream was quite a bit thicker than the 1% or 2% milk and when I went to dip the soap in the food dye drops it created these snowflake looking patterns. I played around with the food dye snowflakes, then started swirling the mixture, and adding my additional dyes.

magic-milk-9.jpg
magic-milk-12.jpg
magic-milk-13.jpg

Mix of 2% Milk and Heavy Cream

I also thought I’d try doing a mix of 2% milk and heavy cream. The mixture again yielded some different results. I loved the bubbles and the patterns that formed in this one .

magic-milk-19.jpg

Final Thoughts

After cleaning up my mess here are my final thoughts from this Create with Me experiment.

  1. Definitely experiment - play with the mixture of food dye, swirling the dye, mixing the milk, letting it sit, etc.,

  2. Have paper towel handy - I ended up spilling a plate of milk so have lots of paper towel/cloth ready.

  3. Do this in your kitchen/have a bucket handy

  4. 2% Milk and Heavy Cream was my favourite


Happy Photographing!

Beautifully Wander | Robynne Ikesaka