Hello friends! Today I’m going to share with you how you can take your own maternity photos. There are numerous reasons why you decide to take your own maternity photos - perhaps money is tight, the date snuck up on you, you’re self conscious, or you just have your own creative itch to tackle the challenge.
For our pregnancy I could have opted to hire a maternity photographer, however, I was on the fence about taking maternity photos AT ALL because I was self conscious. I’ve always been slightly self conscious about my picture being taken, there’s parts of my body that I like and don’t and with pregnancy you gain weight. I gained about 20-25 pounds throughout the course of my pregnancy and towards the middle of the third trimester I started seeing stretch marks (despite applying cream every night to try and avoid it).
However, this is an important time in my life and I wanted to document this moment, despite how uncomfortable I was. So I took a set of maternity photos and I ended up loving the process and the photos themselves that I kept on taking them. To see a full gallery of the maternity photos I took, check out this gallery.
Determining The Style & Feel
Before you take your camera equipment out and start snapping away, I suggest first determining the style and feel of the photos that you want. Understanding this helps to inform other decisions down the road - the clothes you’re going to wear, your backdrop, use of color, indoor or outdoor, etc.,
To get an understanding of the style and feel that you want I suggest creating a mood board. You can do this on Pinterest or via another software like Milanote. The idea is to gather inspiration and ideas for your own maternity photoshoot. As you gather you’ll start to see some re-occurring patterns of what you like that you can emulate in your own photos.
I preferred clean and consistent with my maternity photos, with a natural edit. I also loved the idea of taking indoor maternity photos because I had the forethought in mind that I would re-create them after we have the baby.
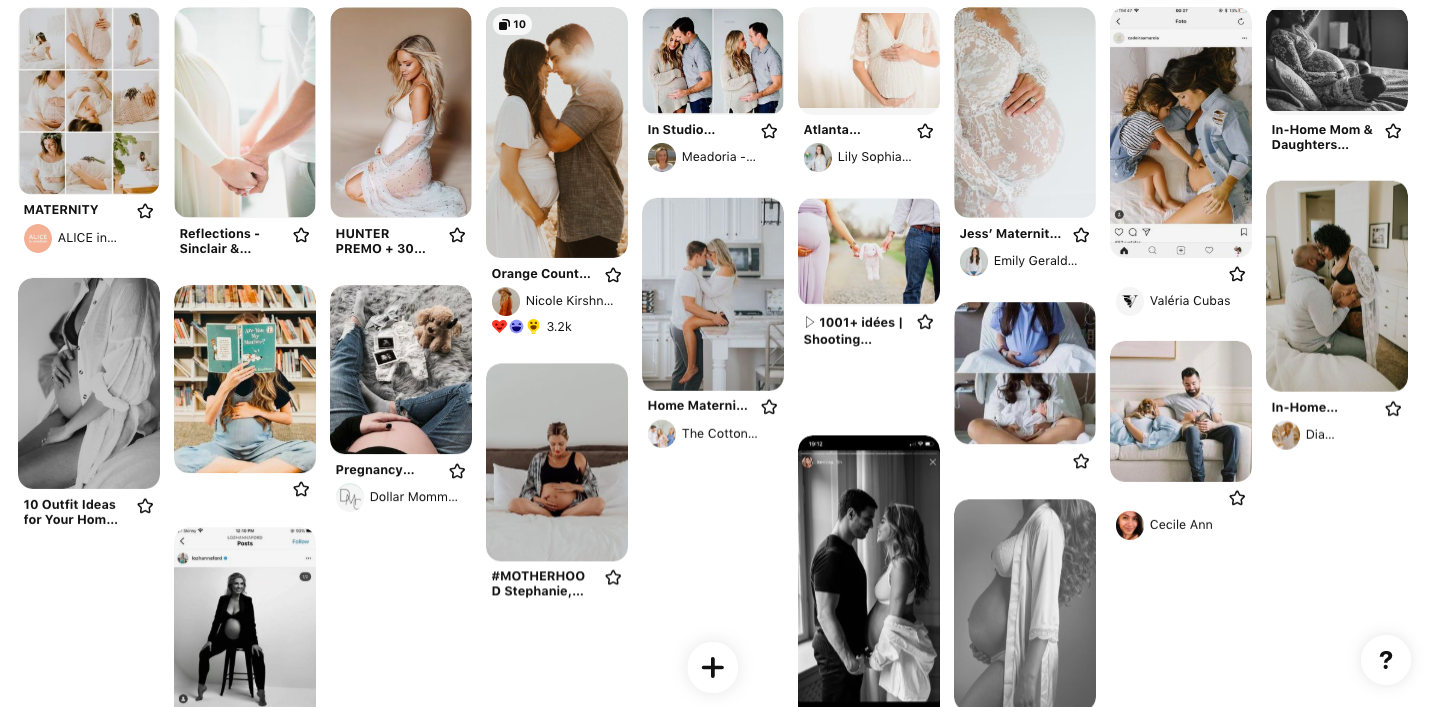
Snapshot of my maternity photoshoot Pinterest board.
Setting the Scene
After you have an understanding of what style you want you can start planning and setting the scene for your photoshoot.
Background/Backdrop
Since I was going for clean and consistent maternity photos I purposely chose backgrounds/backdrops that were simple and clean. I tracked down walls and areas of my home that I could create a clean backdrop with.
Light
Along with carefully choosing my backgrounds/backdrops to achieve that clean look I also had to think about lighting. Was I going to use natural light or create my own light?
I chose to use natural light for my maternity photos. For this reason, only certain walls in my home were suited for my maternity photos.
I also chose to take majority of them in the afternoon because the natural light was better.
You can of course choose to create your own light. I have a set of two Neewer softboxes that I use to light my YouTube videos. However, I hate setting them up and taking them down and there’s never a convenient wall socket to plug the lights in. So I find myself getting less frustrated using natural light than using artificial.
Choosing your Outfit(s)
After you’ve decided where you’re going to take your photos you’ll need to think about what you’re going to wear. I did multiple maternity photoshoots each with a different intent. In some I wanted a more intimate feel. In others I wanted something slightly more casual.
For the photos that I wanted to portray confidence, vulnerability but also intimacy I chose to wear similar color undergarments and robes with delicate details, in the others that I wanted a more casual feel I chose pieces that I would find myself lounging in.
This might take some experimenting with. One set of maternity photos I took I wore a t-shirt and sweatpants but I found the t-shirt was too casual. So the next time I did a more casual photoshoot I chose a monochrome look with a grey bodysuit that I preferred more.
I believe the biggest thing with choosing your outfit is choosing something you feel comfortable and confident in. If you’re not, it’s going to show in your photos.
Camera Equipment
For my maternity photos I used my OM System EM1 Mark II with the M.Zuiko 12-40mm F2.8 PRO lens. You can take your maternity photos with any camera using different techniques:
Connecting with Your Phone
My preferred way to take my maternity photos was using the camera connect app. This is because you can get into position, see yourself, fix your clothes, fix your hair, etc., without having to take a photo and constantly adjust afterwards.
I also like using the connect app because I can fix my camera settings and change how I’m shooting (single shots, timer shot, continuous shots) without having to get up from position either.
Using a Remote
If your camera doesn’t have the ability to connect with your phone you can use a remote that you connect with your camera or phone. This has its drawbacks because you have to get into position, take a photo and constantly adjust afterward.
Setting up a Timed or Interval Shot
A third option is to set up a timed or interval shot. Most cameras (even phone cameras) can do a timed shot. Some camera’s can do an interval shot, where it takes X many photos, every X many seconds. This option too has the same drawbacks as using the remote.
Taking the Maternity Photo
You’ve planned your photoshoot and gathered your camera equipment, it’s time to get shooting! My process for shooting indoors and outdoors is slightly different.
Indoor Photoshoots
Set up the Camera: The trickiest part is setting up the camera at the right height and angle. Usually my first attempt at the composition was off. I often times would setup the camera, connect it to my phone, get into position and then readjust (height of the tripod, distance from me, focal length, and angle) until I was happy with the composition.
Get into Position: Once I was happy with the composition and my phone was connected to the camera I would get into my base position.
Change the Type of Shot: By default my camera would shoot single shots when it connects to the app. For my indoor photoshoots I changed the type of shot from single to a timed shot. I found 6-8 seconds was a good time for me. It allowed me to click the shutter, fix my position and get my phone out of the frame before the picture was taken.
Review: After each photo I would review the shot to see what micro adjustments I needed to make. Perhaps I needed to look down more, turn my body slightly more, fix my robe, move my hand, change a setting on my camera.
Repeat: I repeated this process over and over again for each pose until I felt I got the right shot.
Outdoor Photoshoots
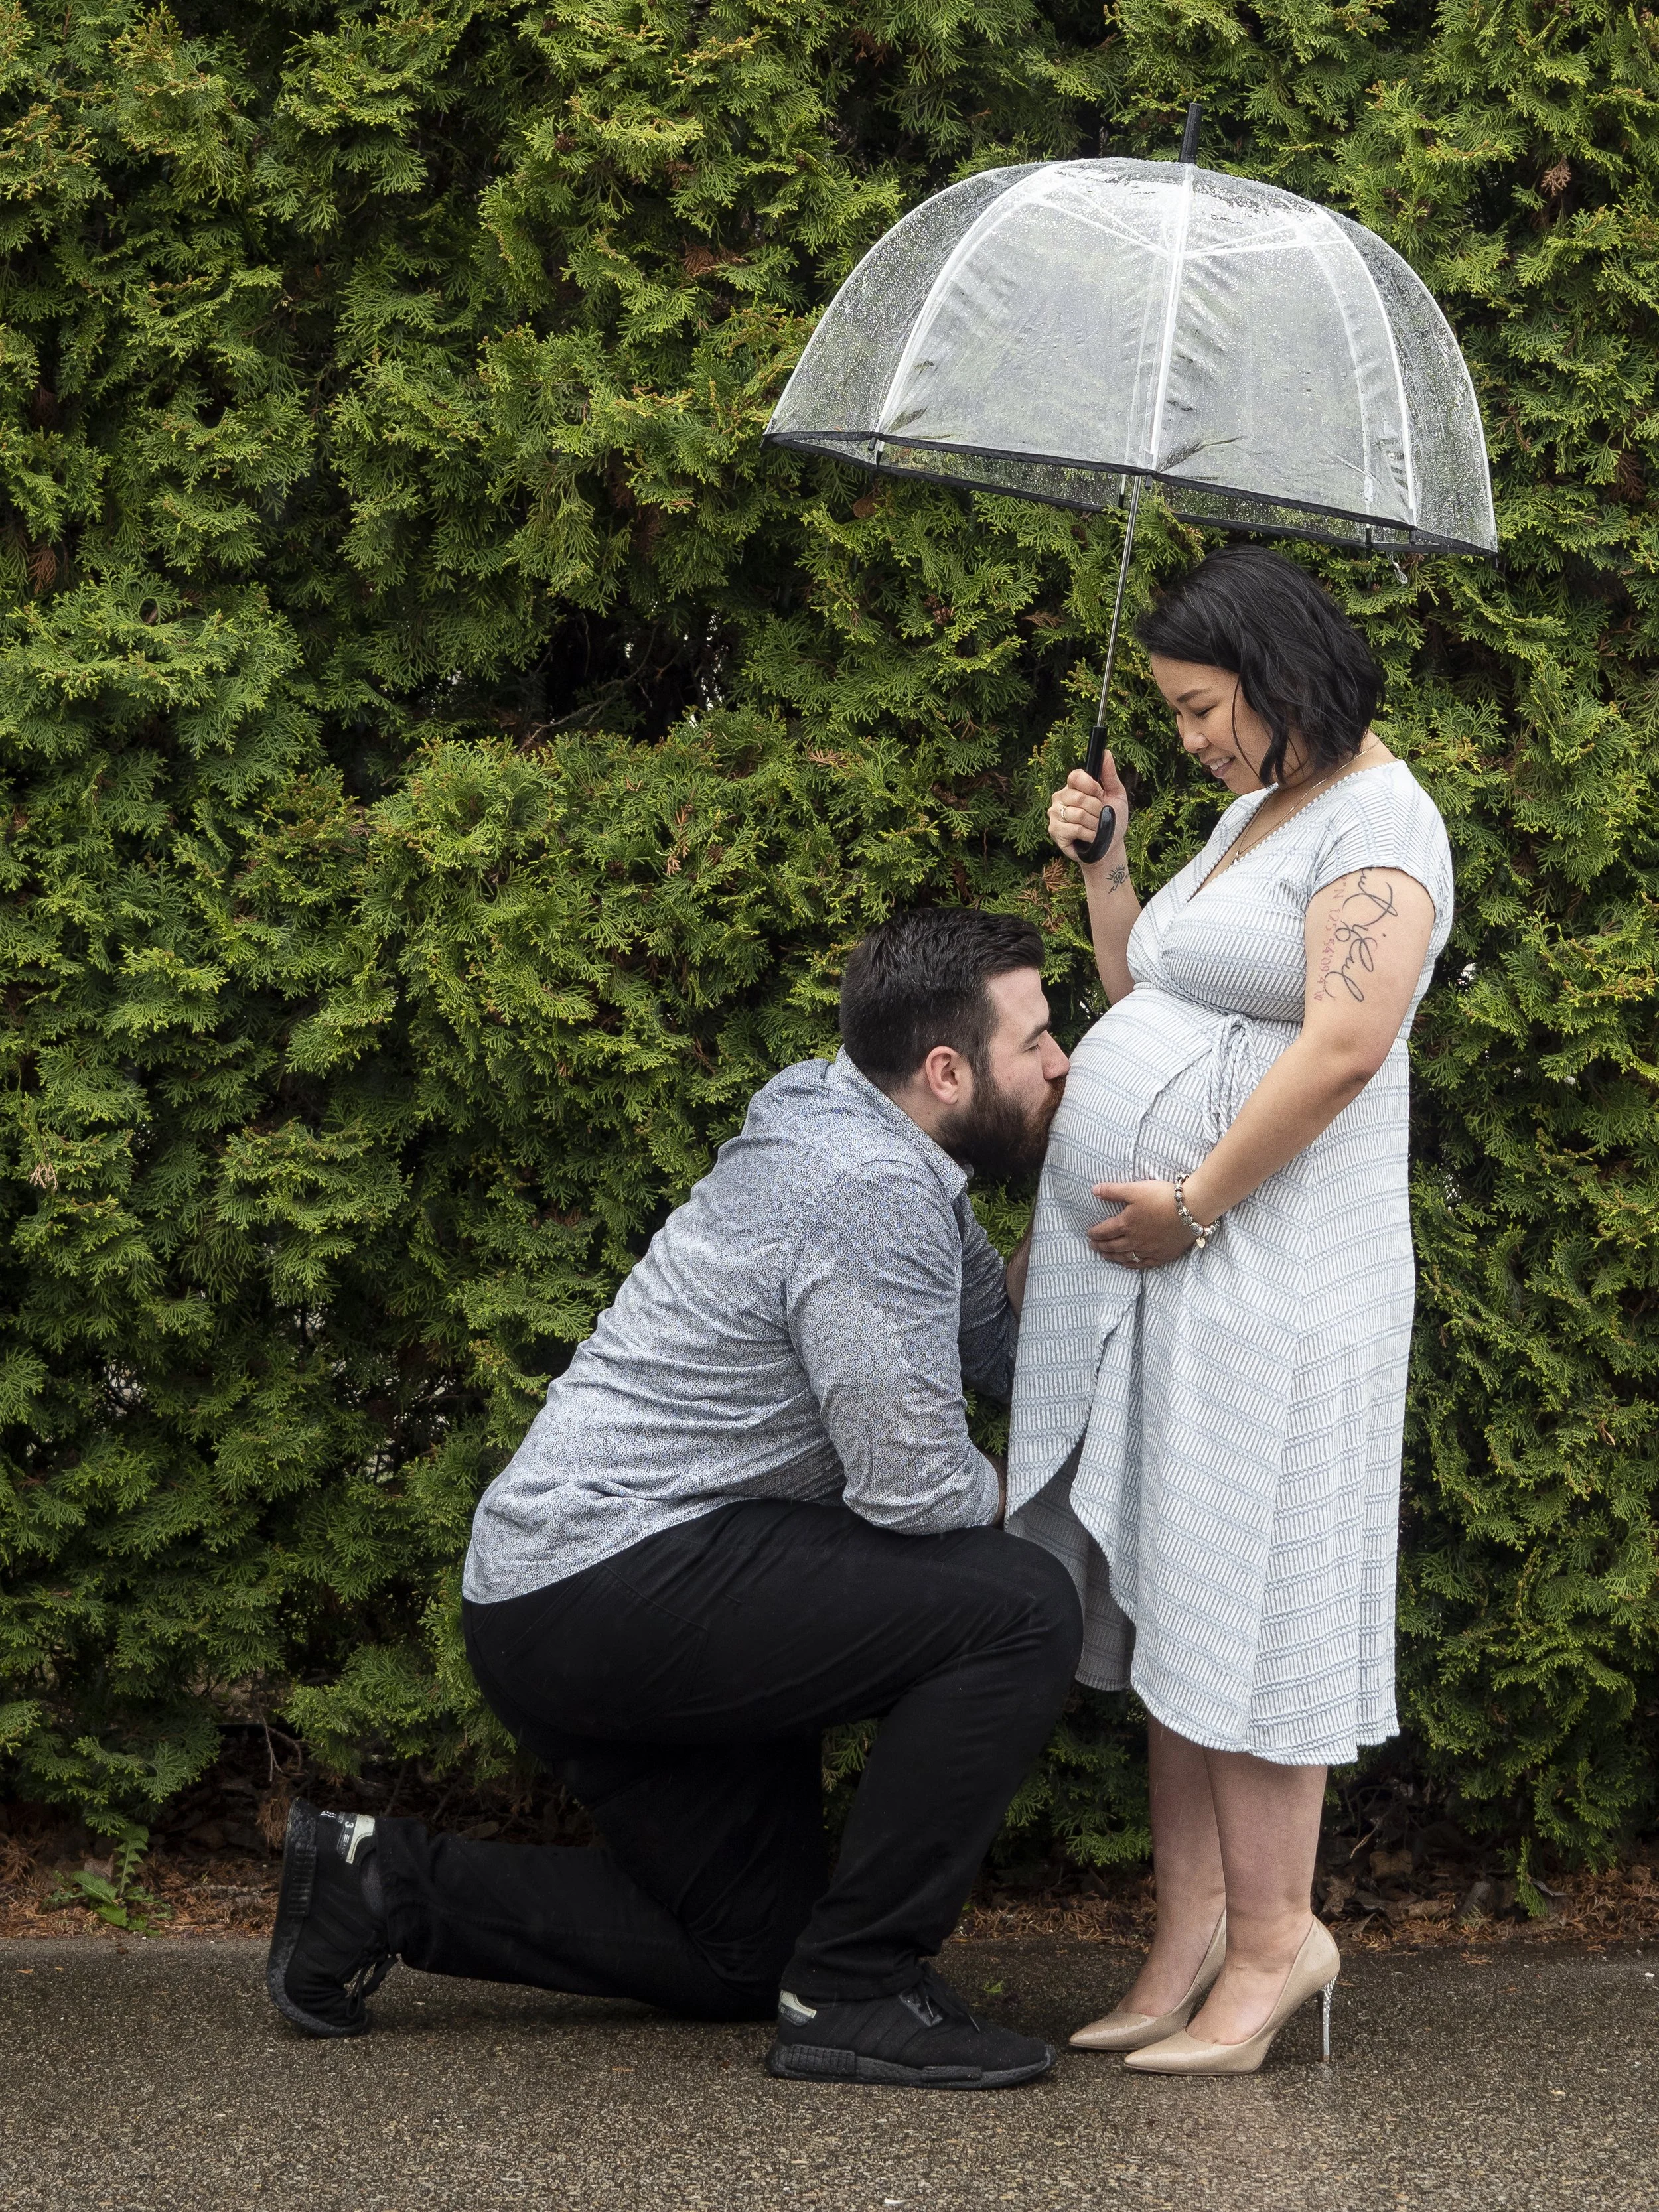
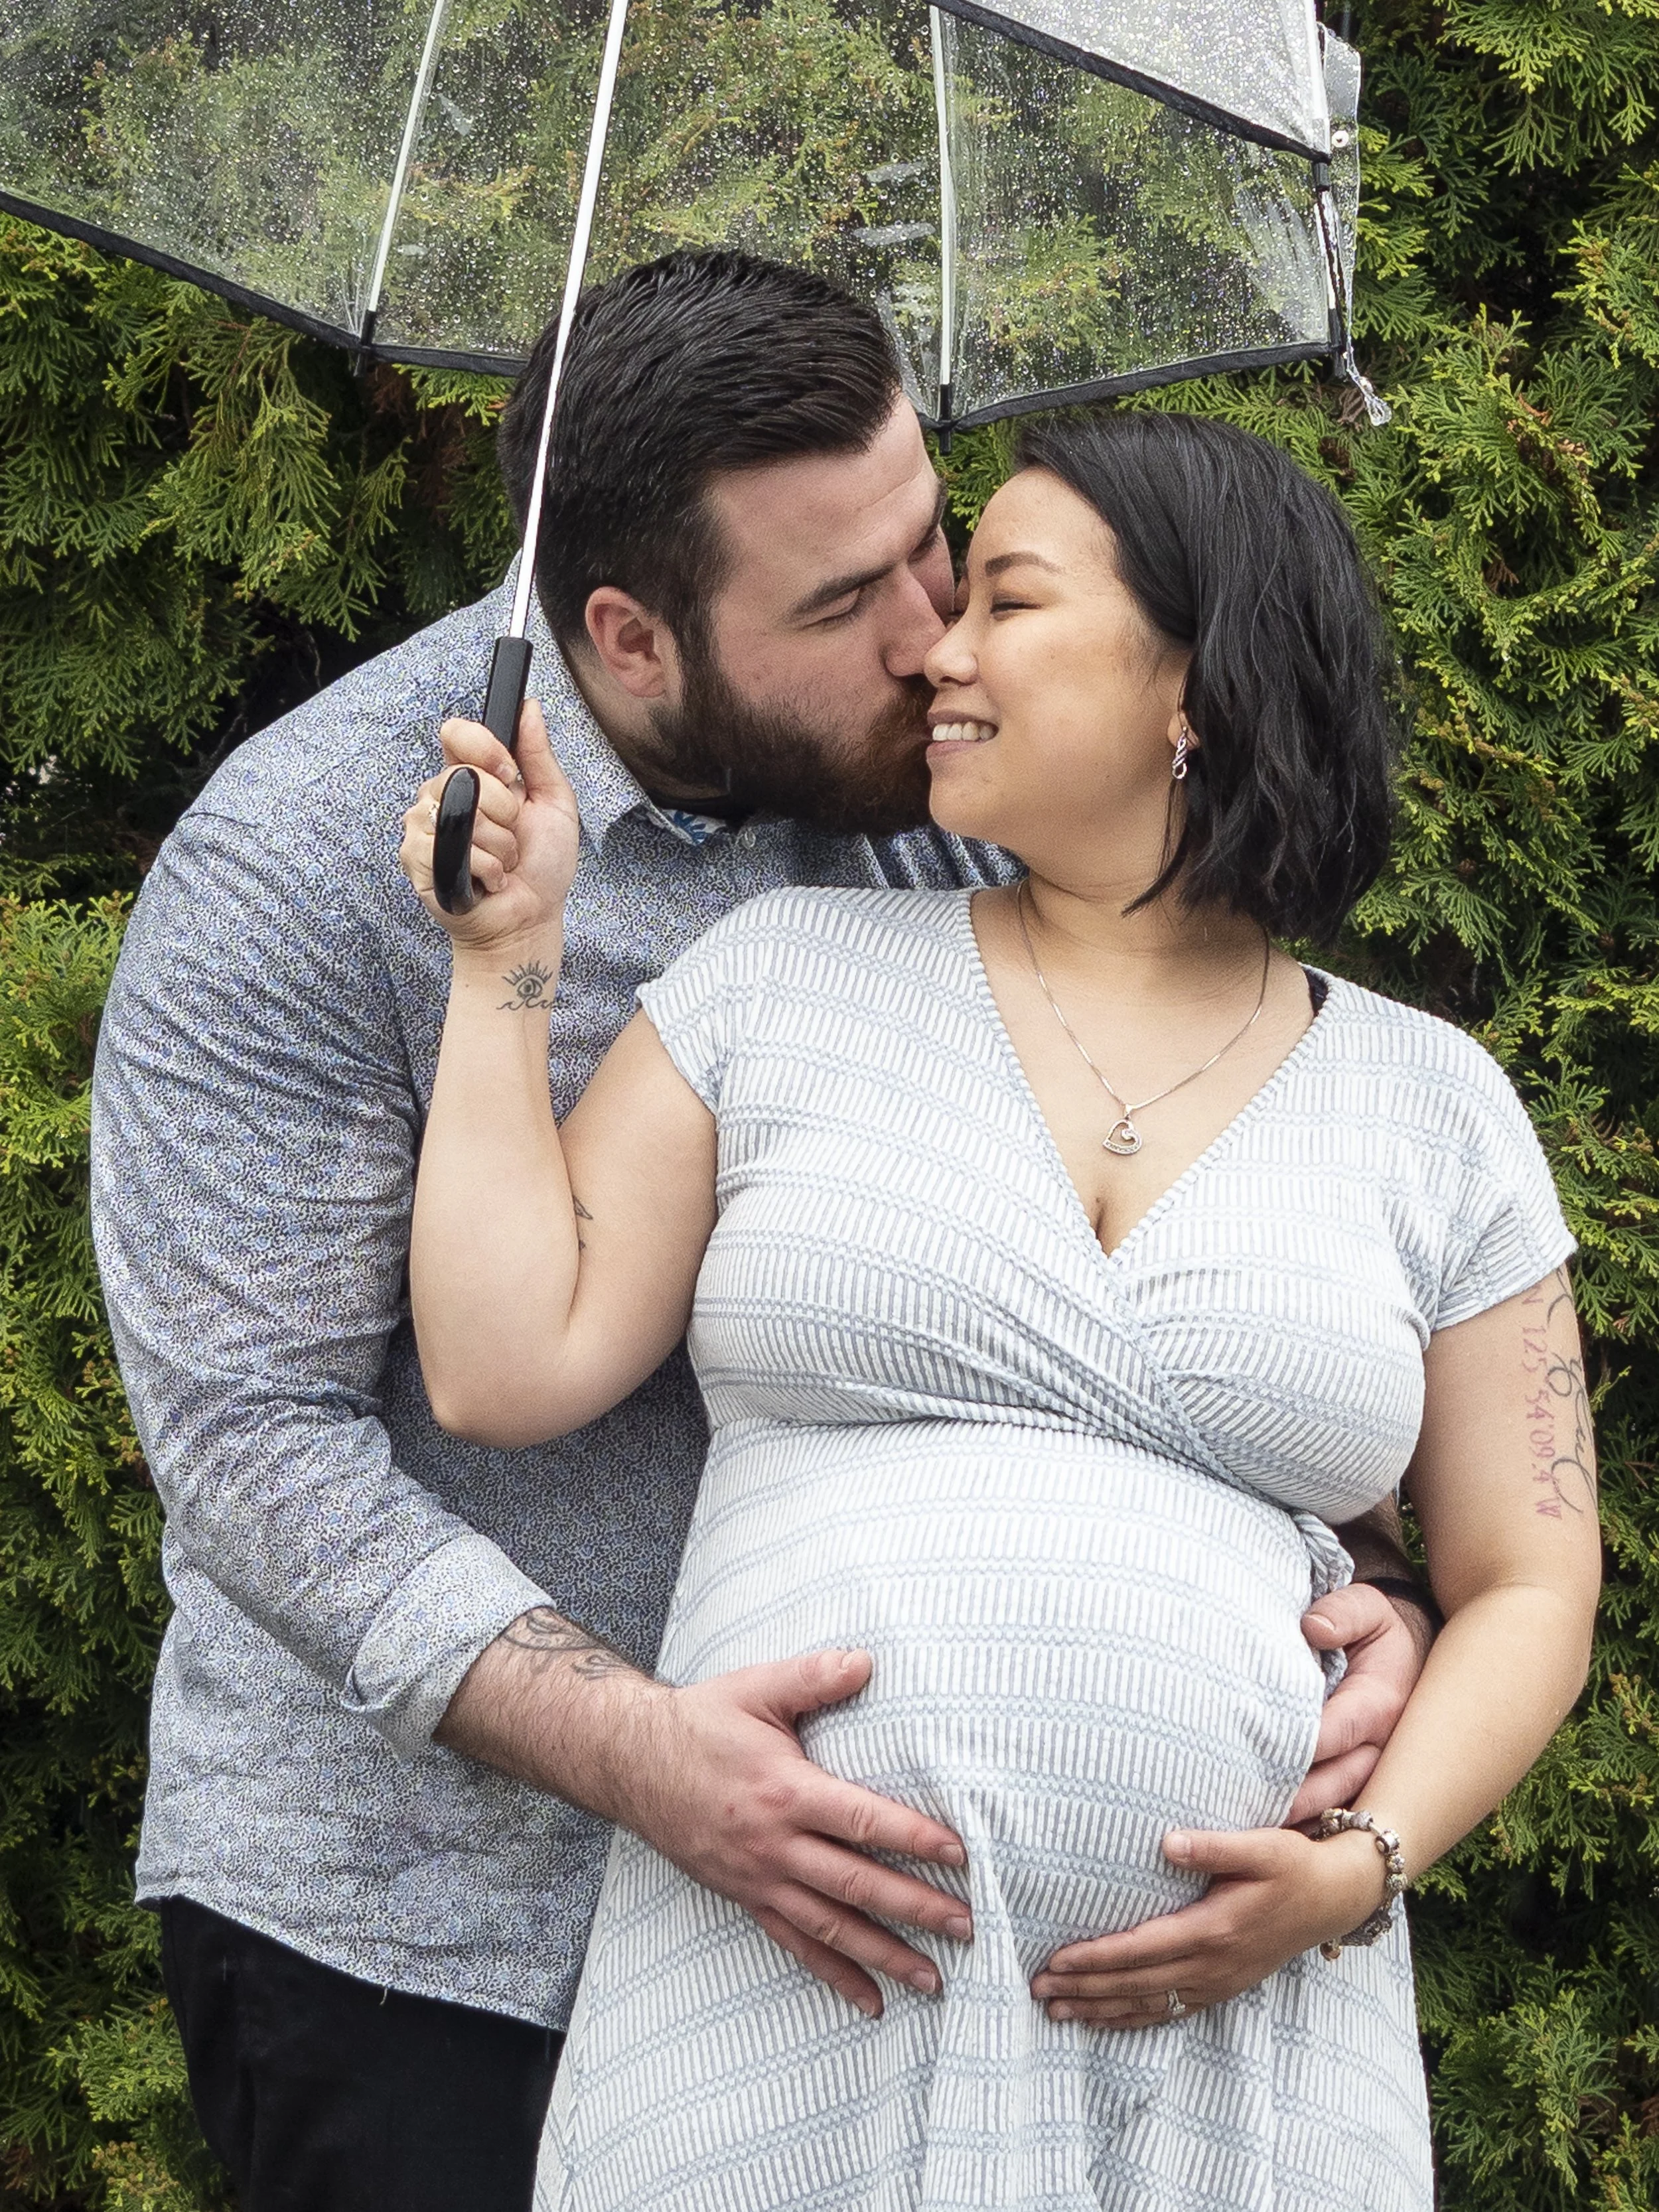
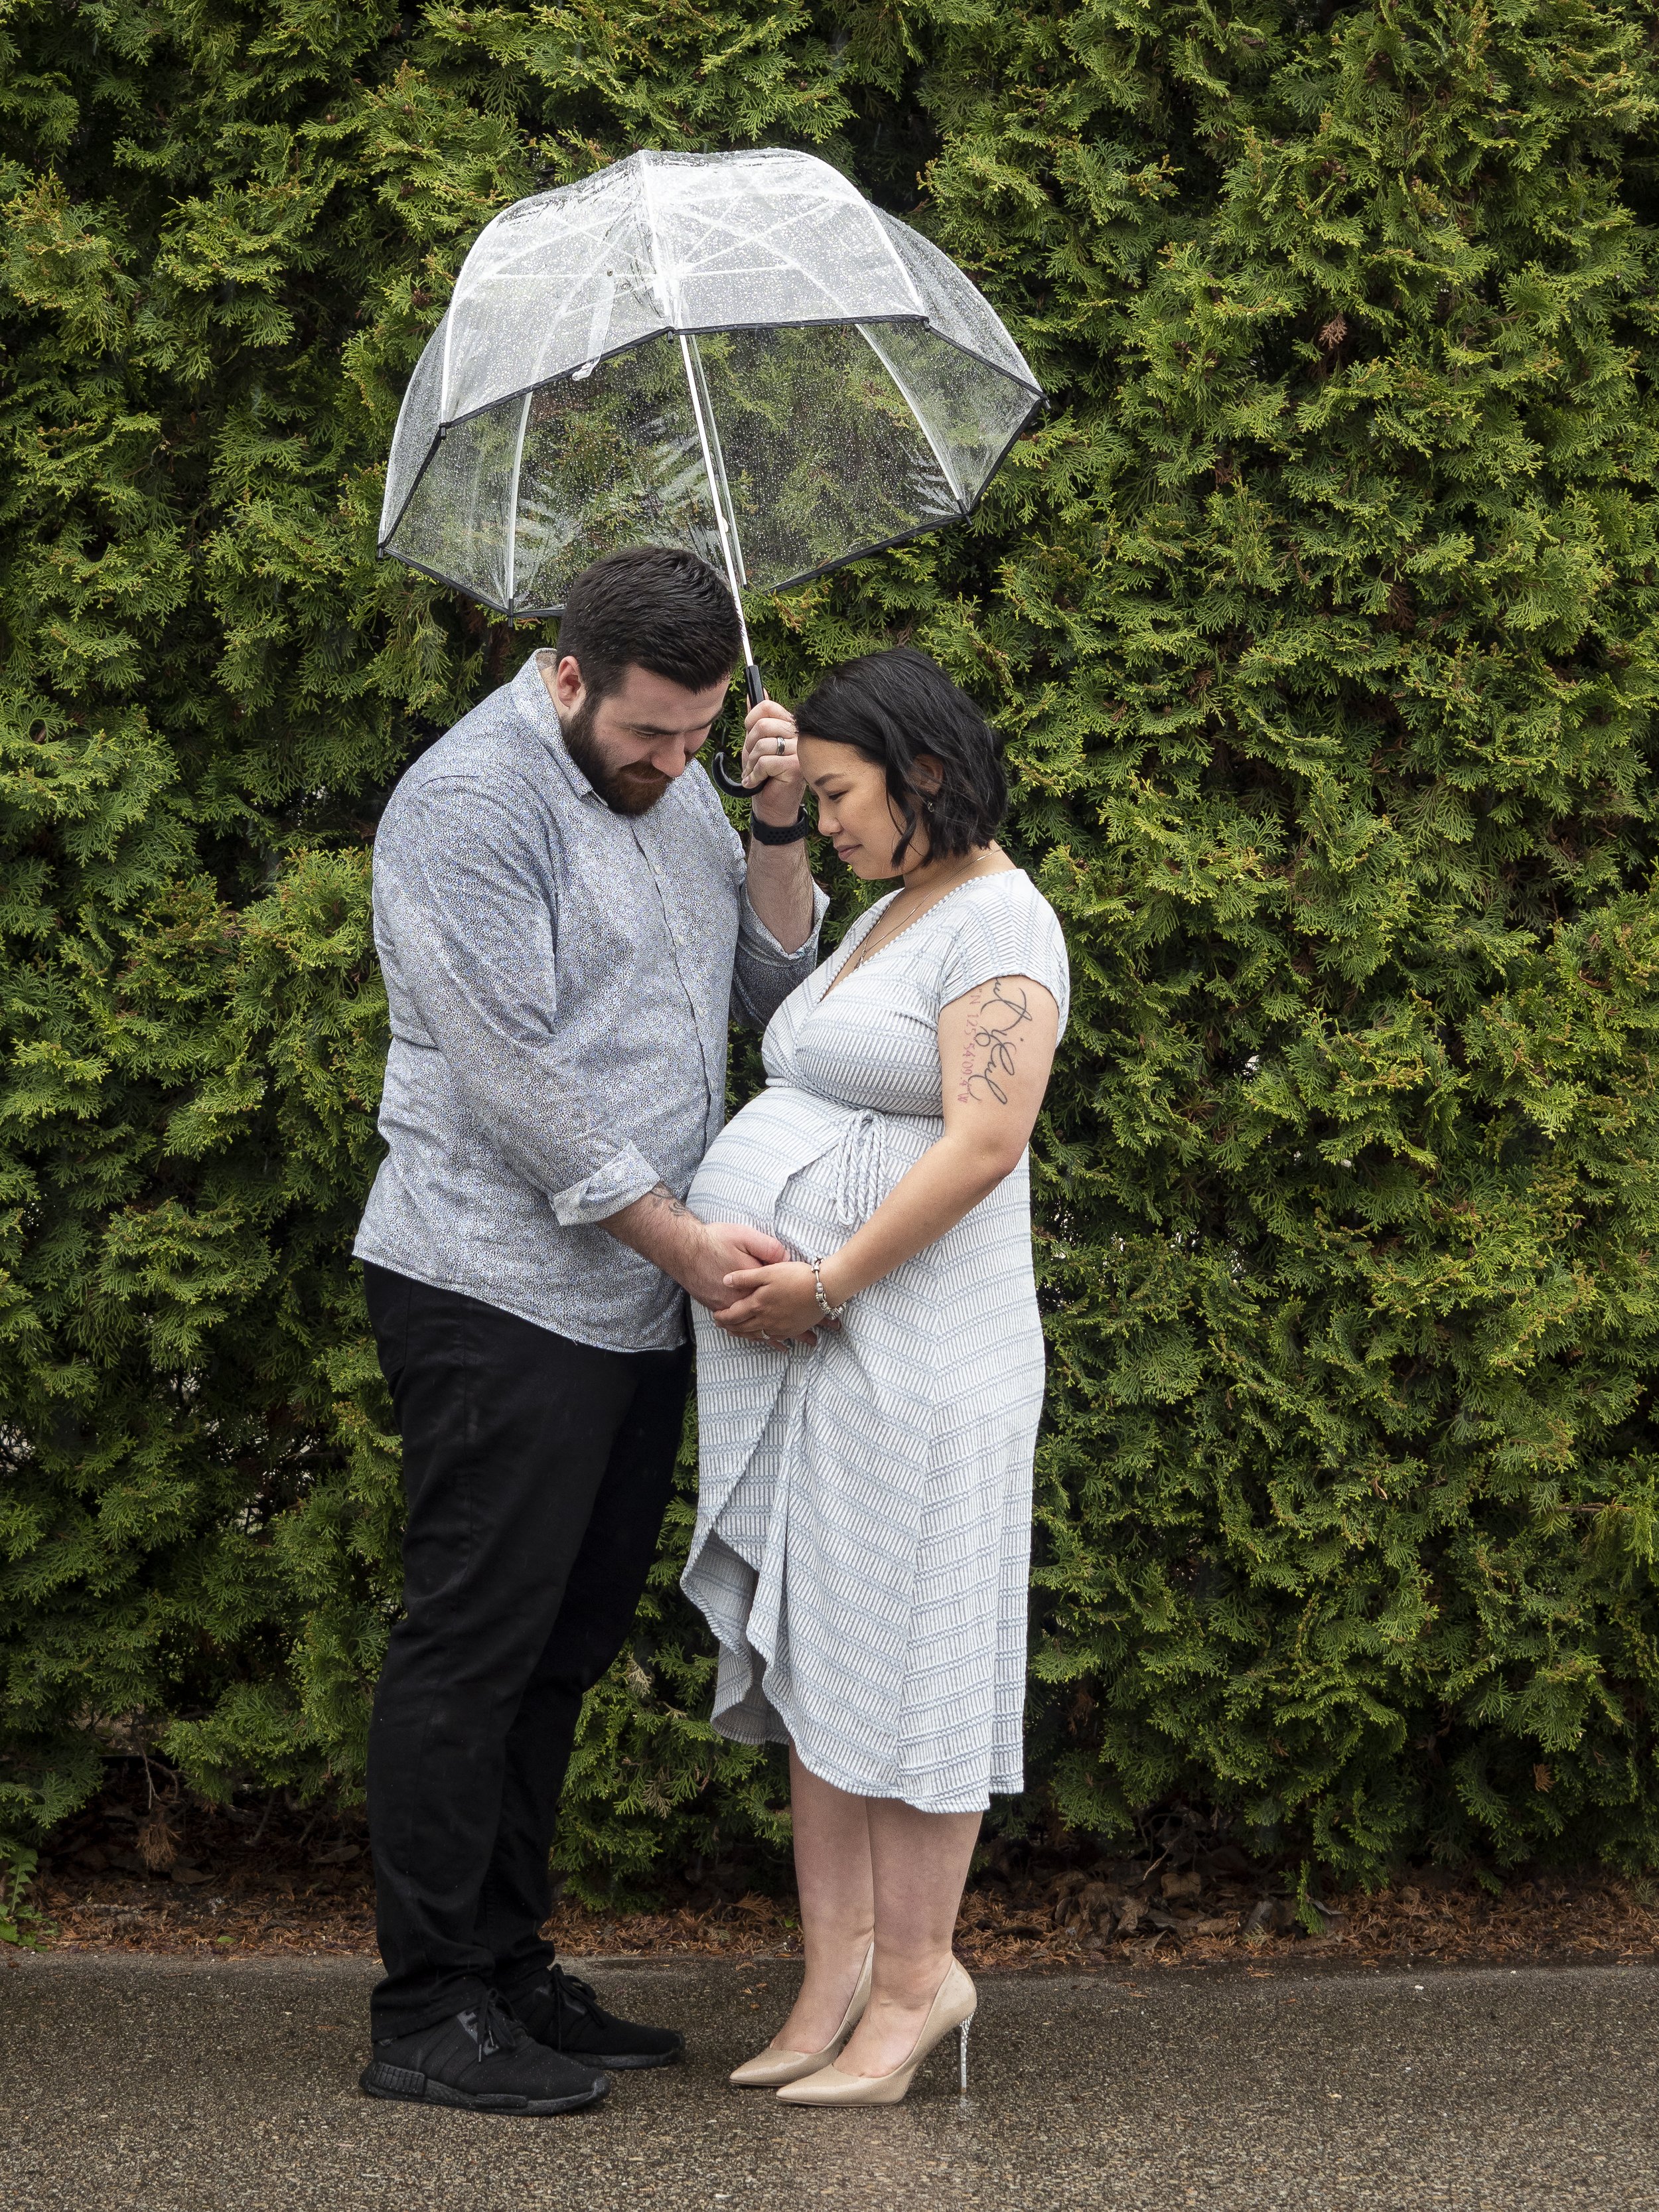
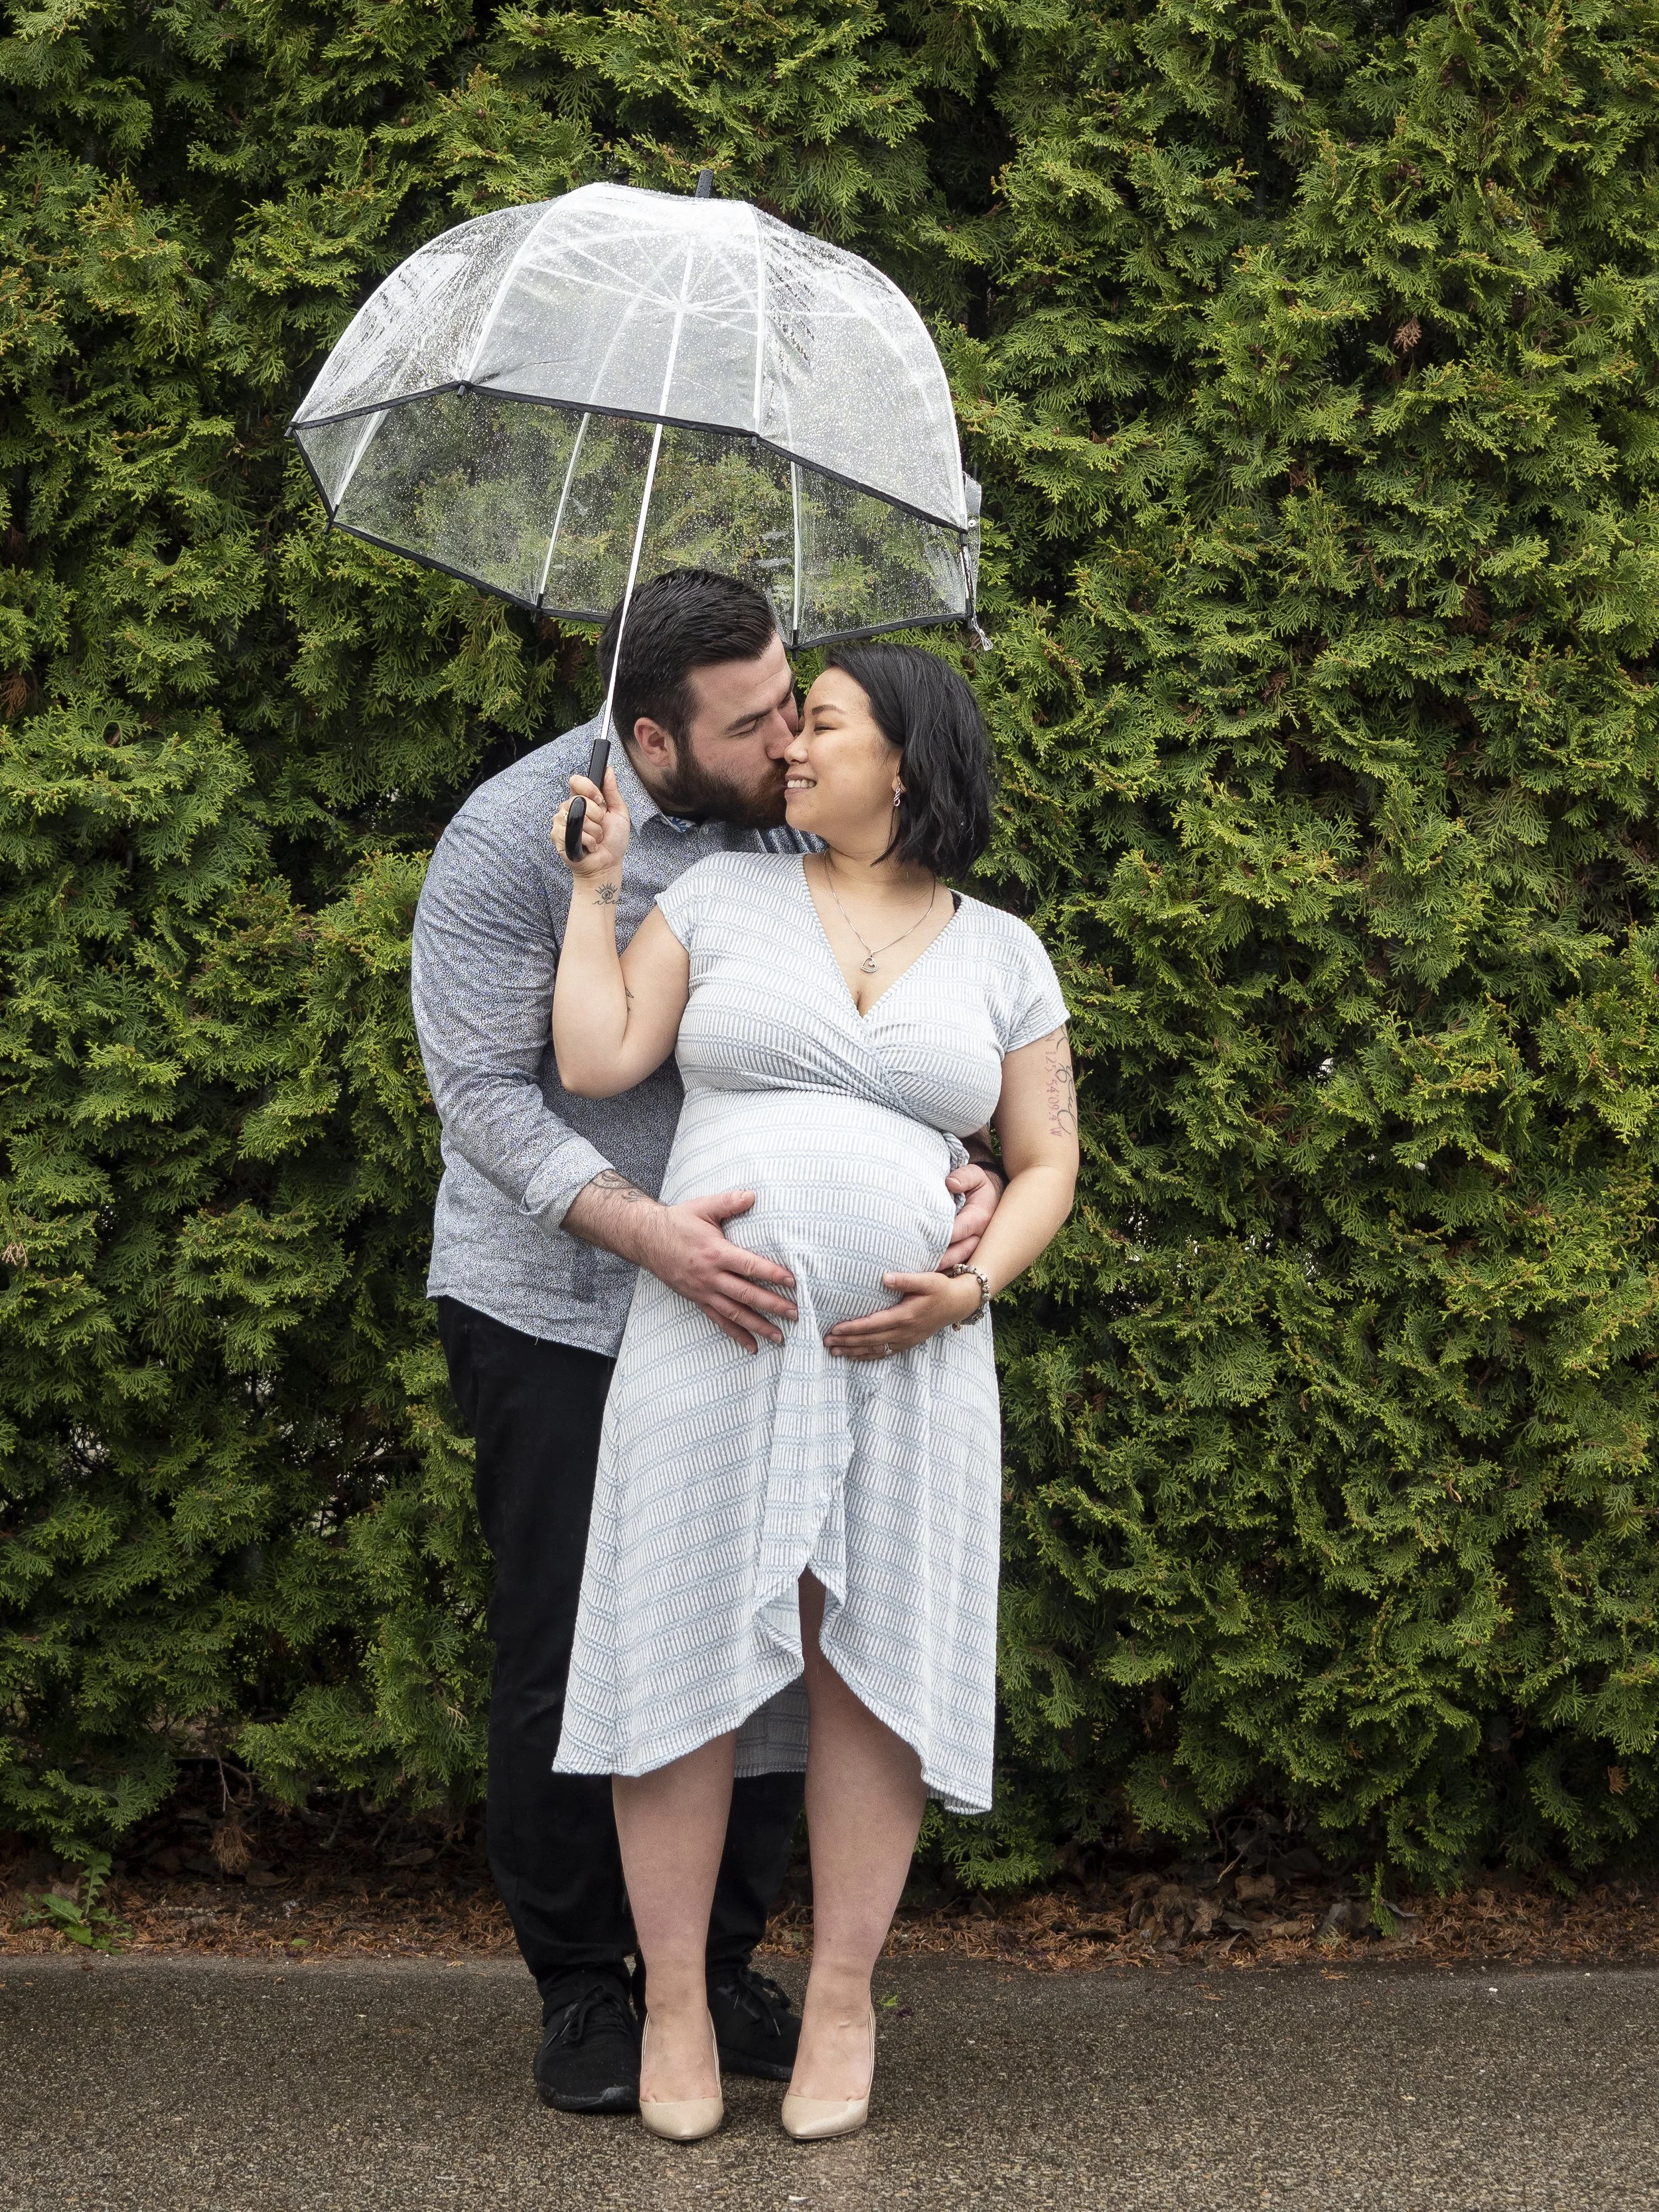
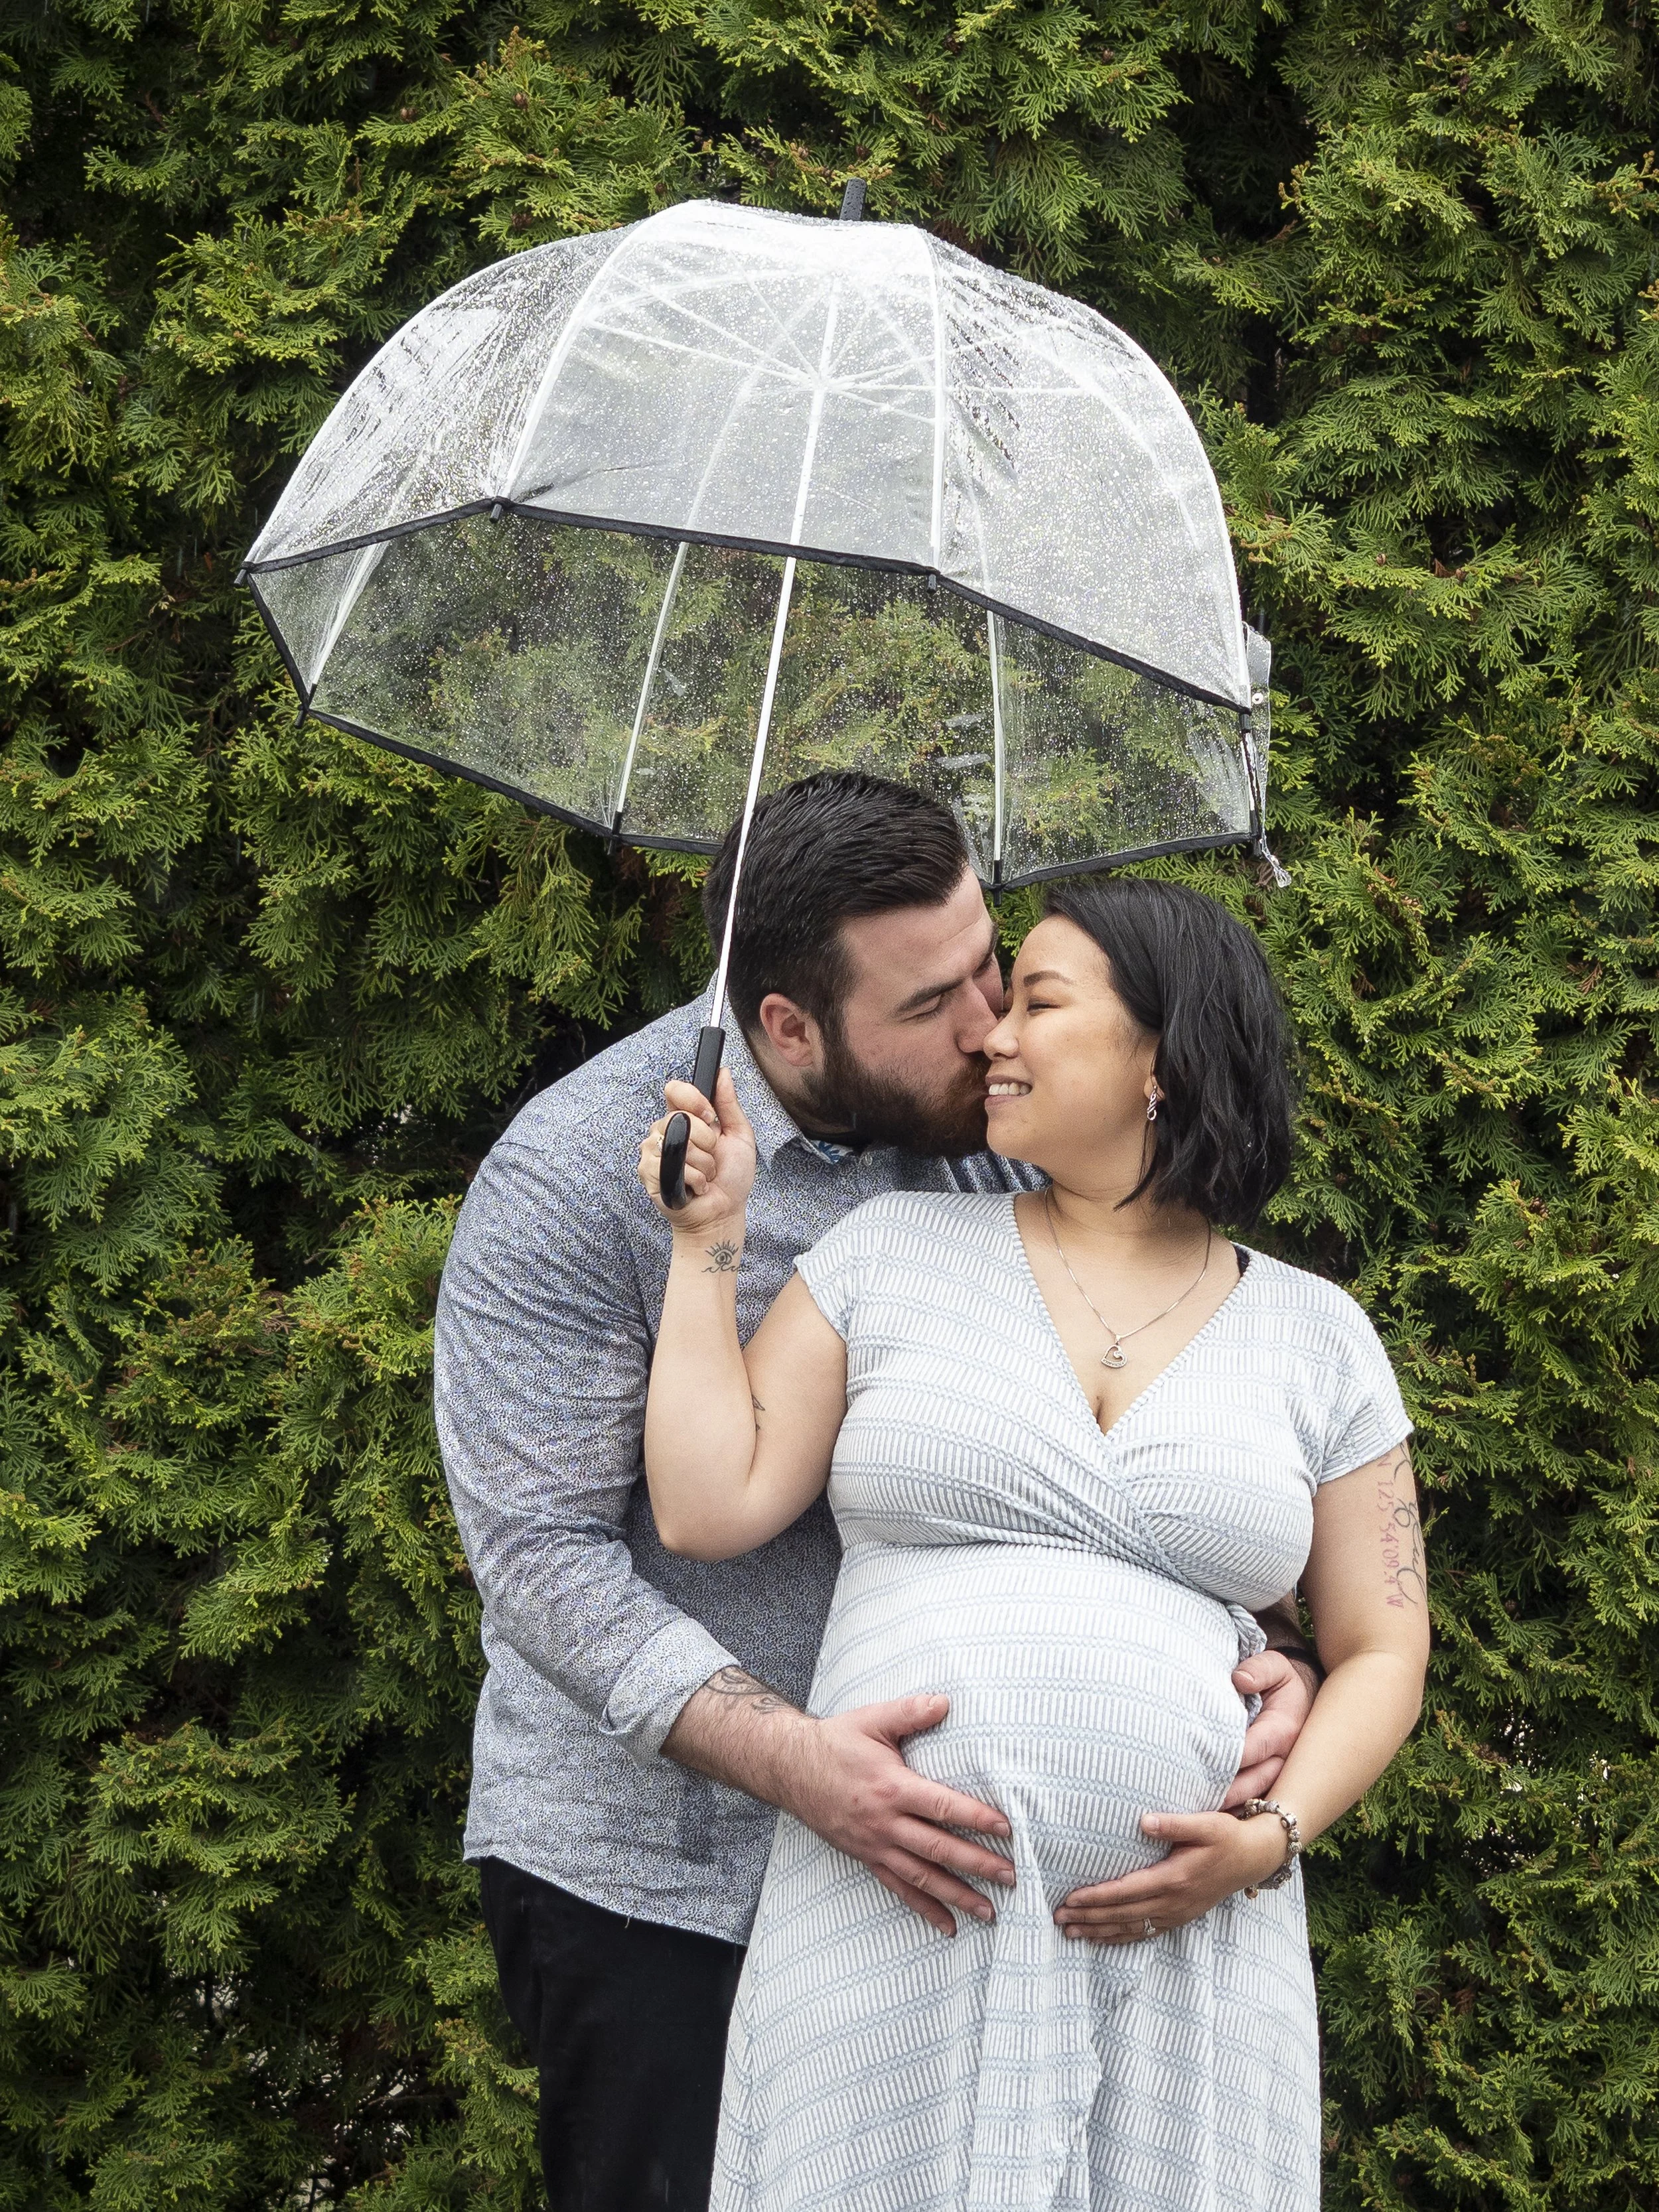
Setup the Camera: For my outdoor maternity photos they were with my husband which made setting up the camera slightly easier. I would get him into position so I could readjust my tripod and camera without having to go back and forth so many times. Once I was happy with my composition I would adjust my camera settings and choose my focus point.
Change the Type of Shot: With my outdoor maternity photos I couldn’t use the camera connect app because there was no where to put my phone when we were taking the photos so I changed my type of shot to shooting continuously. I set my camera up to take it’s first photo in 12 seconds after clicking the shutter, it would then take a total of 8 photos every 5 seconds. This method allowed me to click the shutter, get into position without having to sprint, and change our positioning slightly in-between photos being taken.
Review: After each set of photos I would review in camera to see what micro adjustments I needed to make. Because it was raining on the day of our outdoor maternity shoot it was often the placement of the umbrella so it wasn’t sticking out of my head at a weird angle.
Repeat: I repeated this process for every pose I wanted to get until I felt we got the right shot.
Posing
I’m not an expert on posing so I stuck with simple poses that I liked and thought I could emulate.
Once I had my base pose down. I experimented with my body angles, where I was looking, smile or not to smile, where to place my hands. A simple thing to. remember is placing the arm/hand closest to the camera at the bottom of your belly to elongate your arms.
After every photo I would make micro adjustments until I was satisfied.
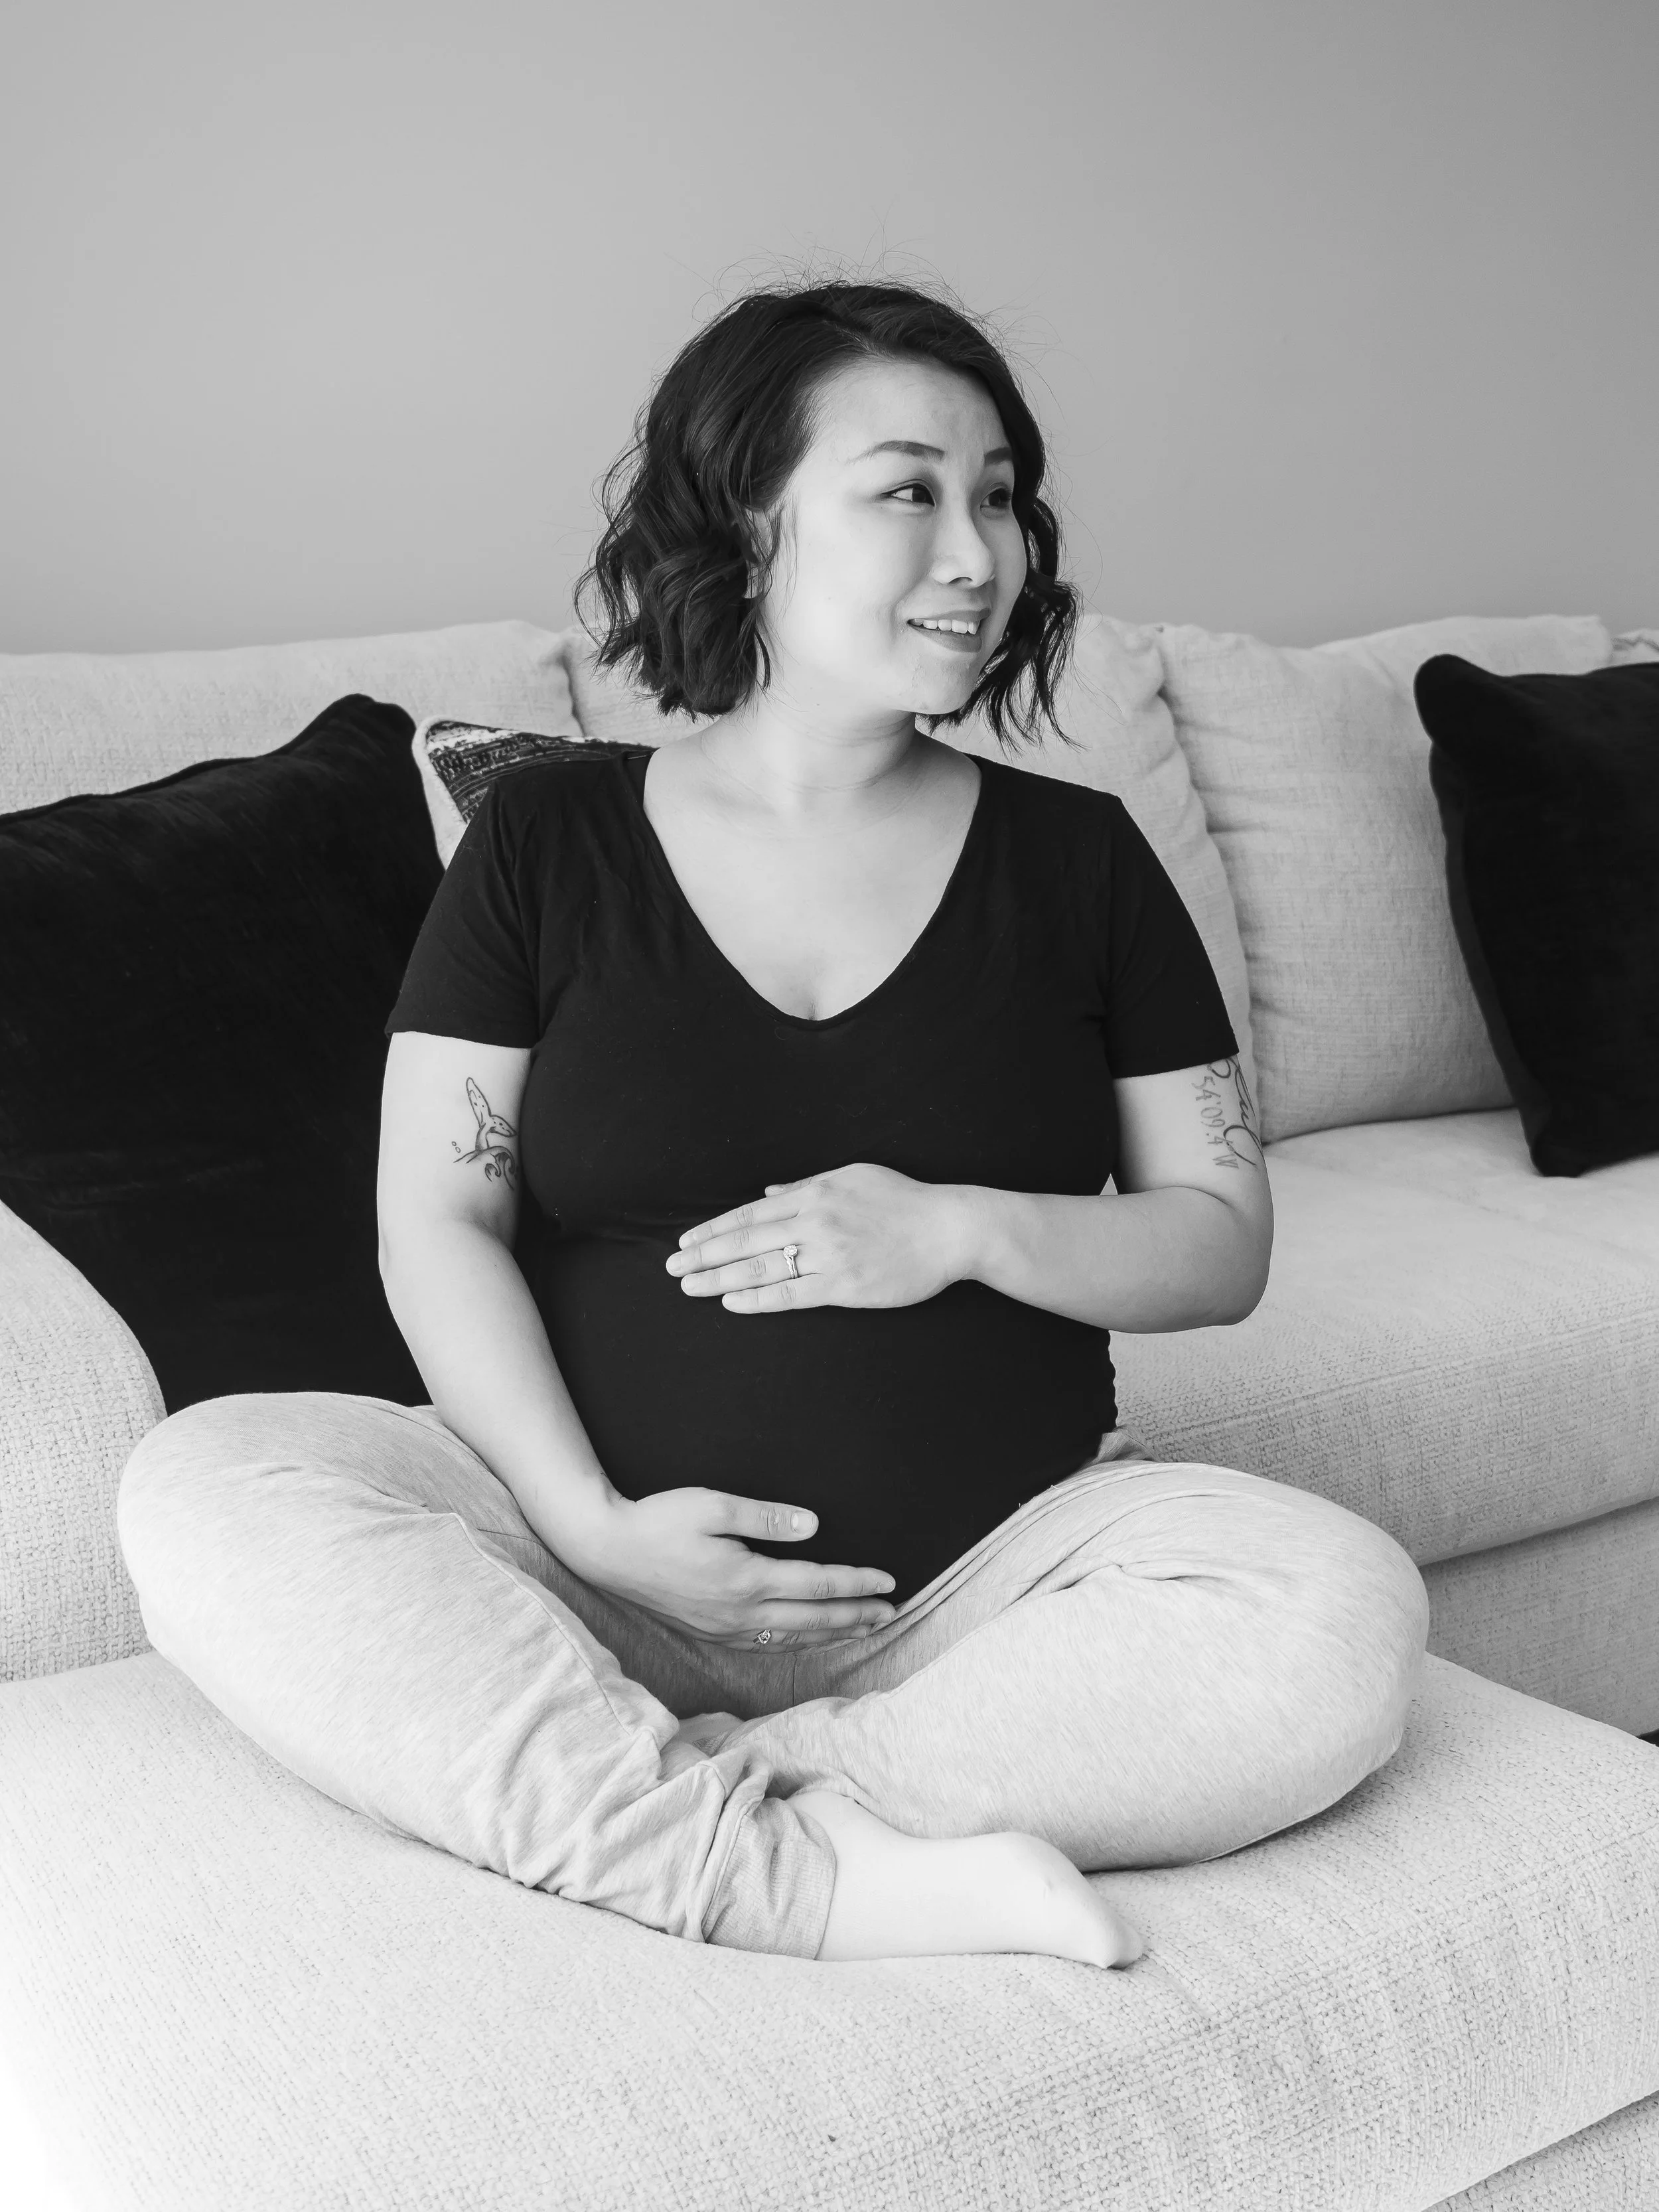
In this photoshoot I wore a black t-shirt and grey sweatpants. I found the look a little too casual and I found the throw pillows on the couch distracting.
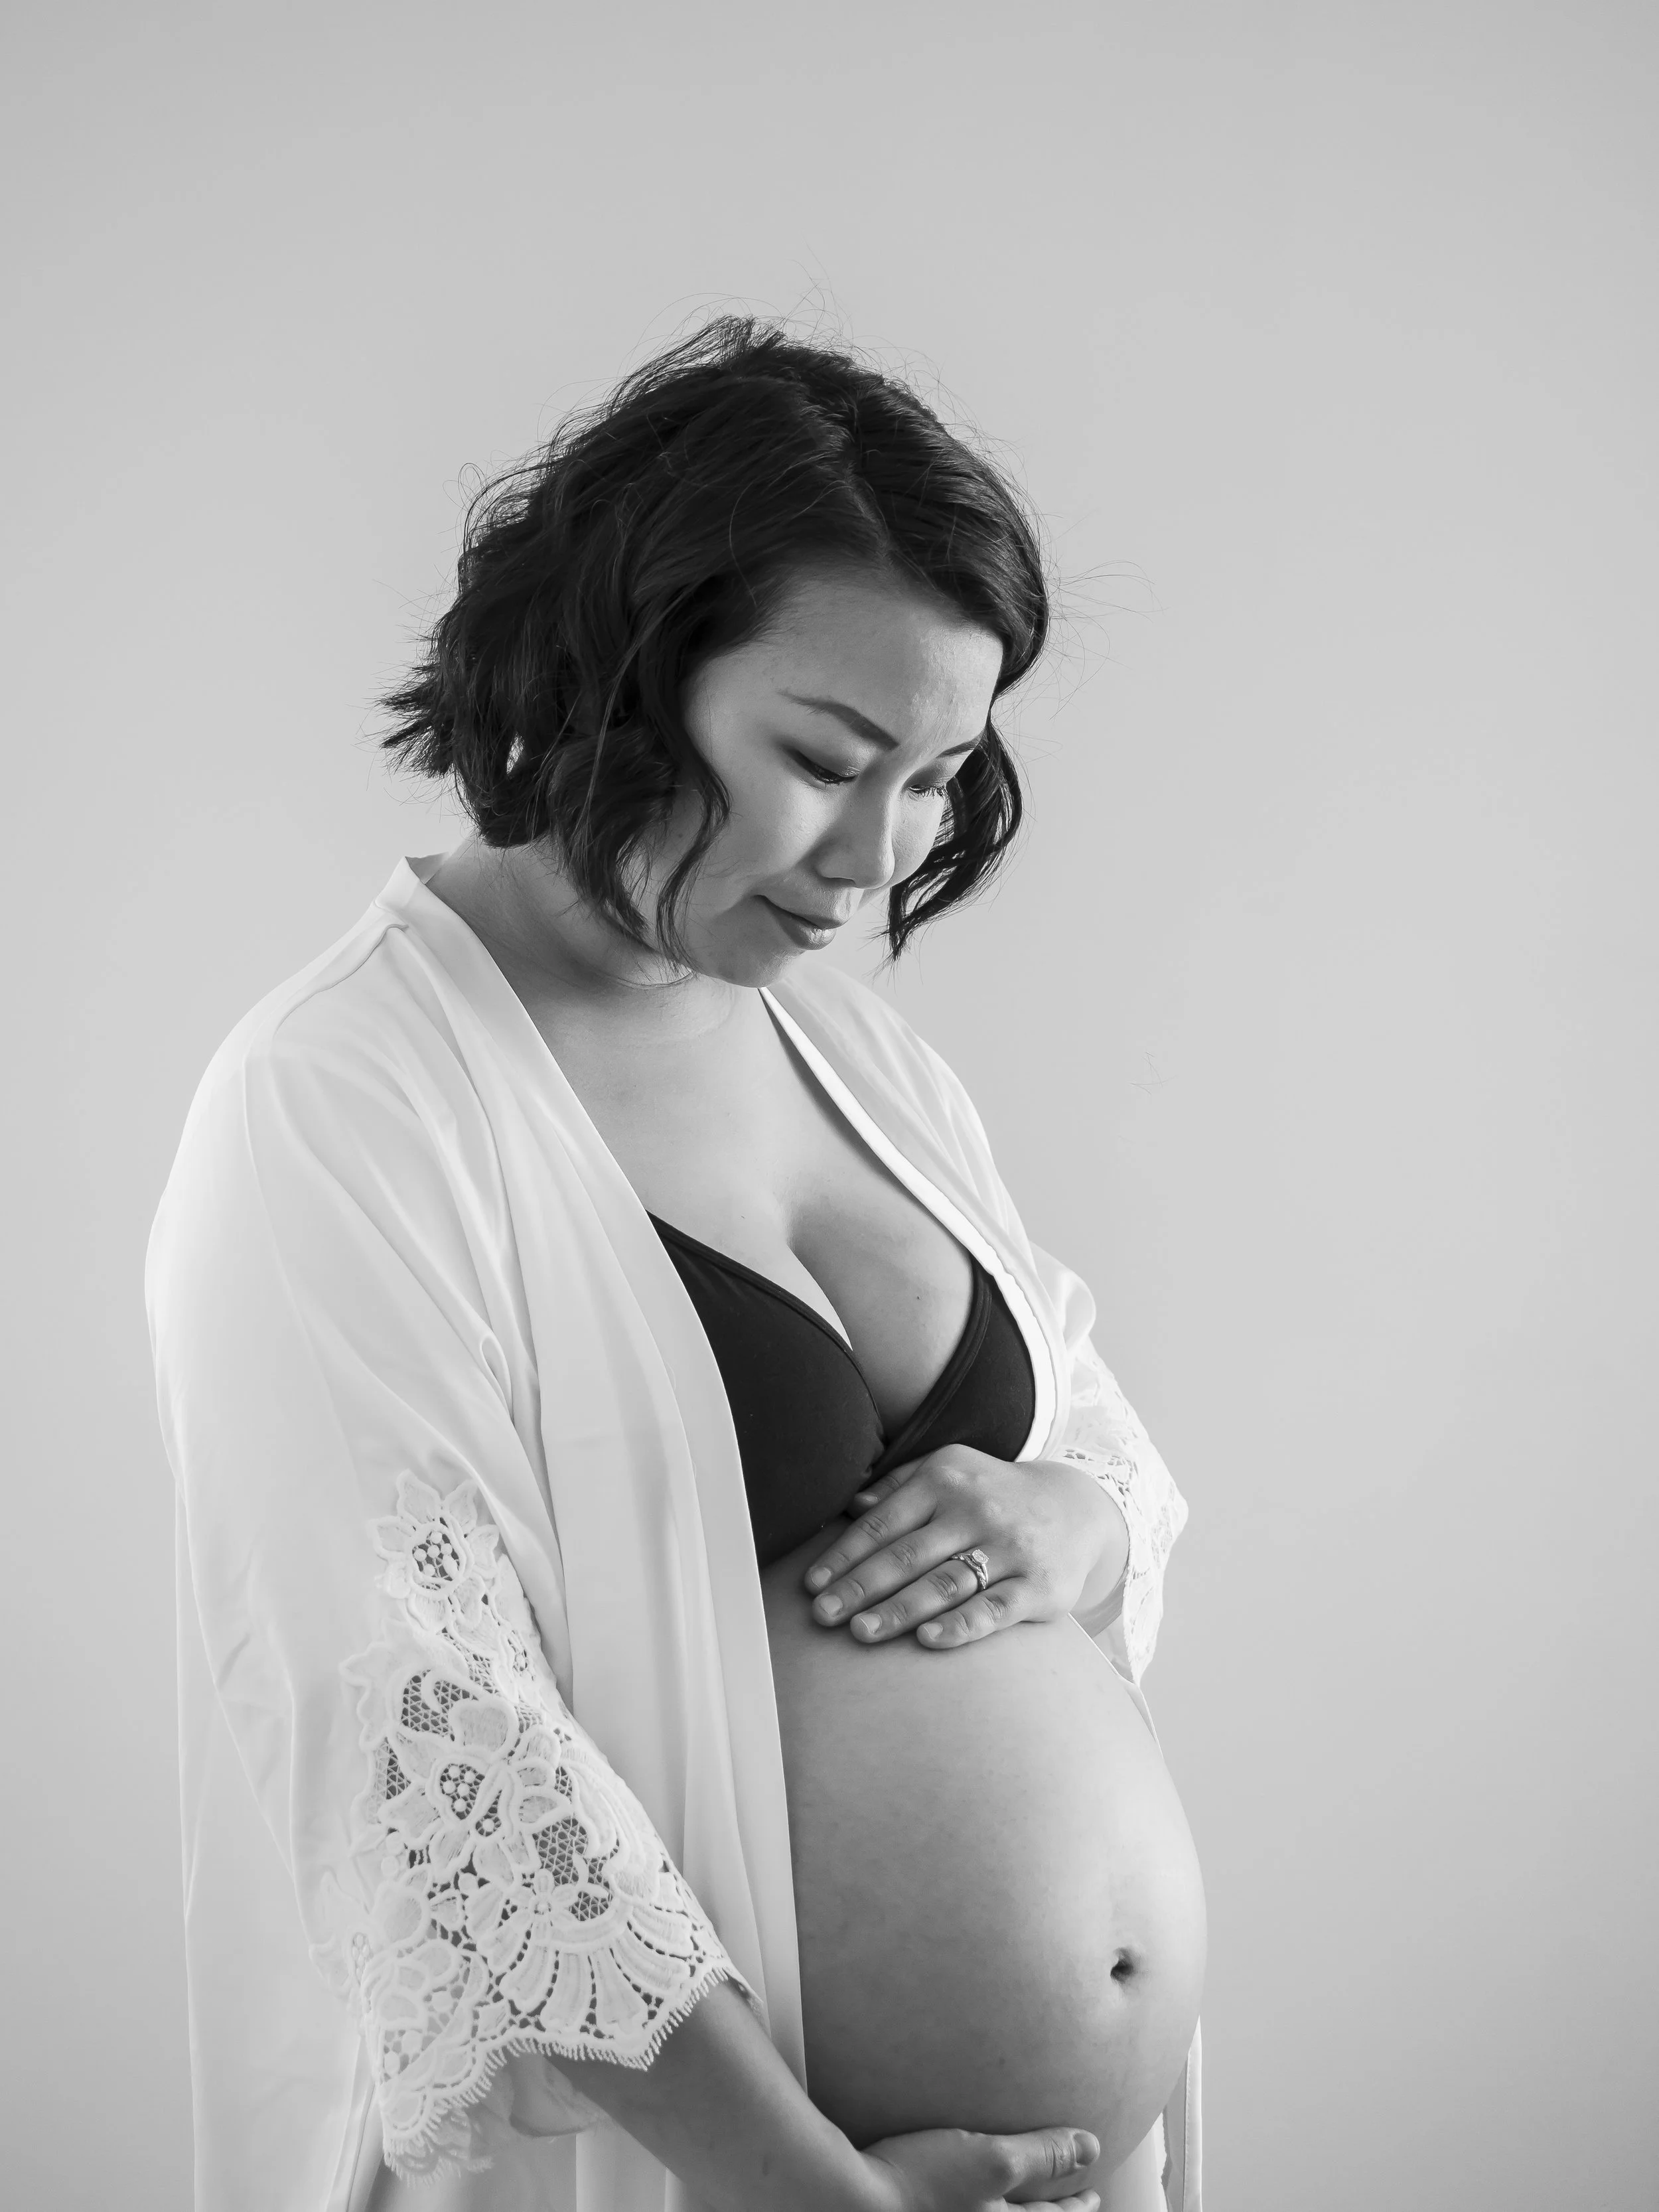
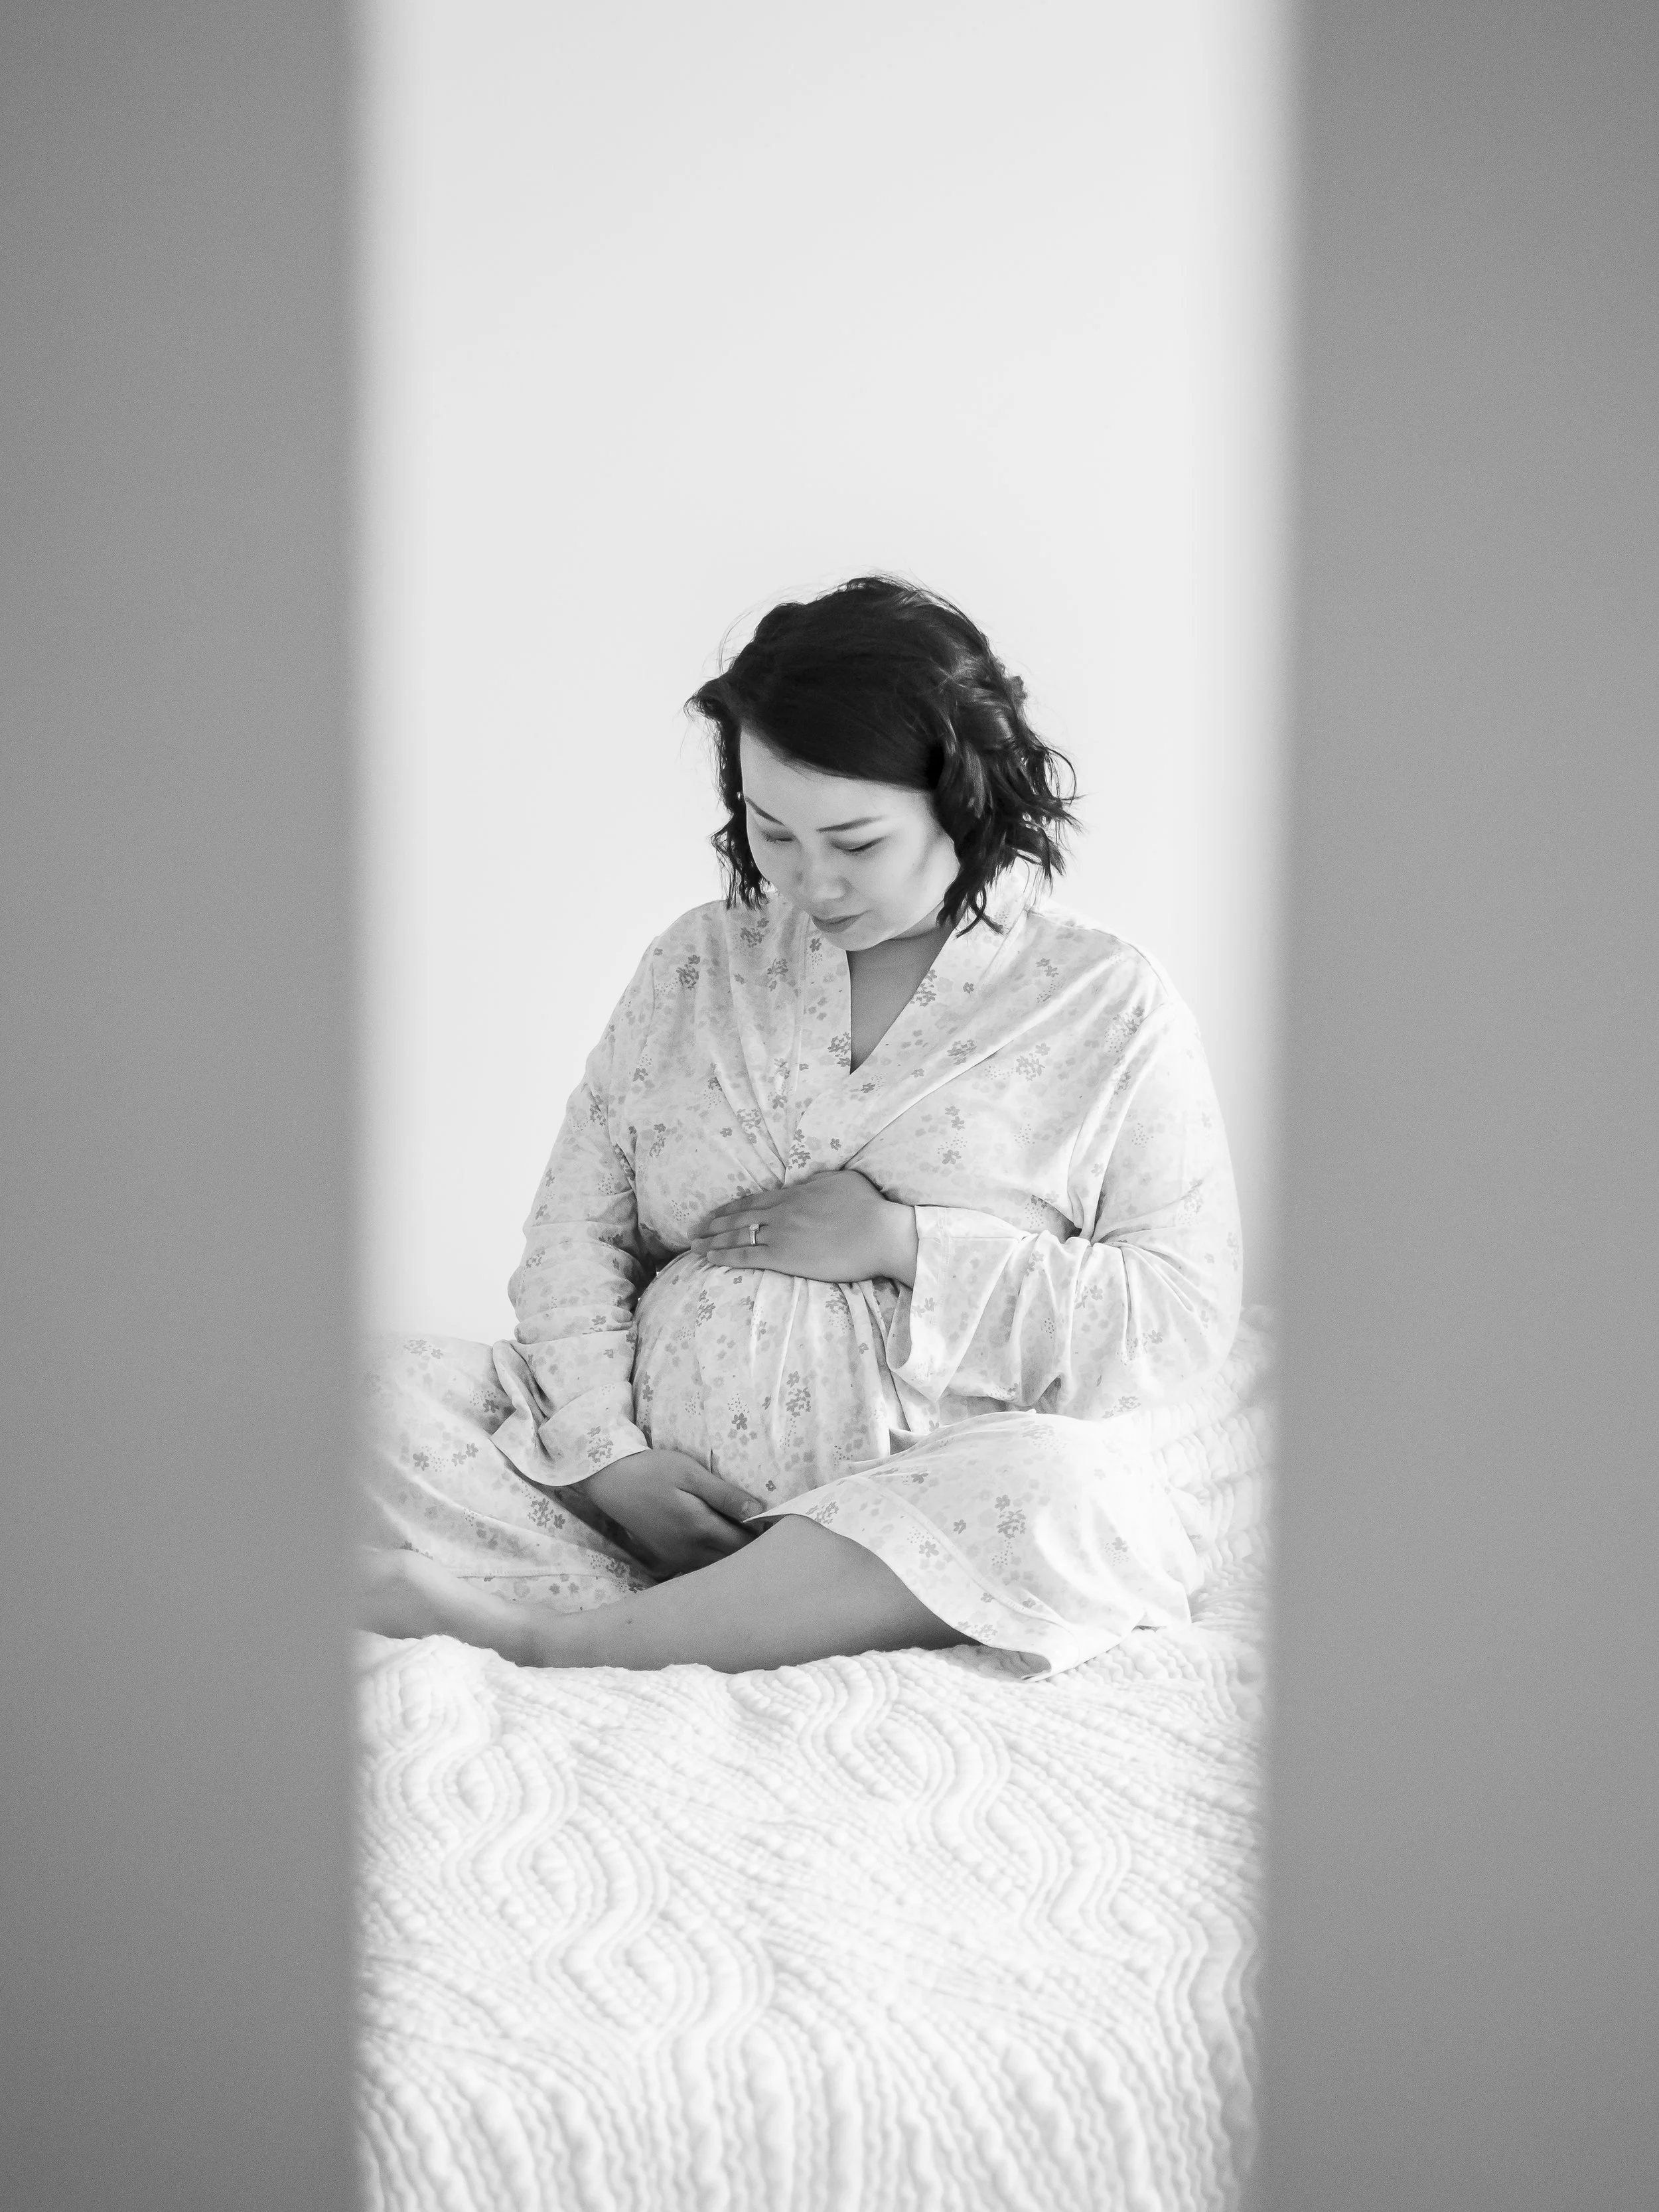
In this photoshoot I wore a white robe that had delicate lace detailing on the sleeve with black undergarments. For the background I used a blank wall that I had in my home. Originally there is a light switch in the frame that I remove during post-processing.
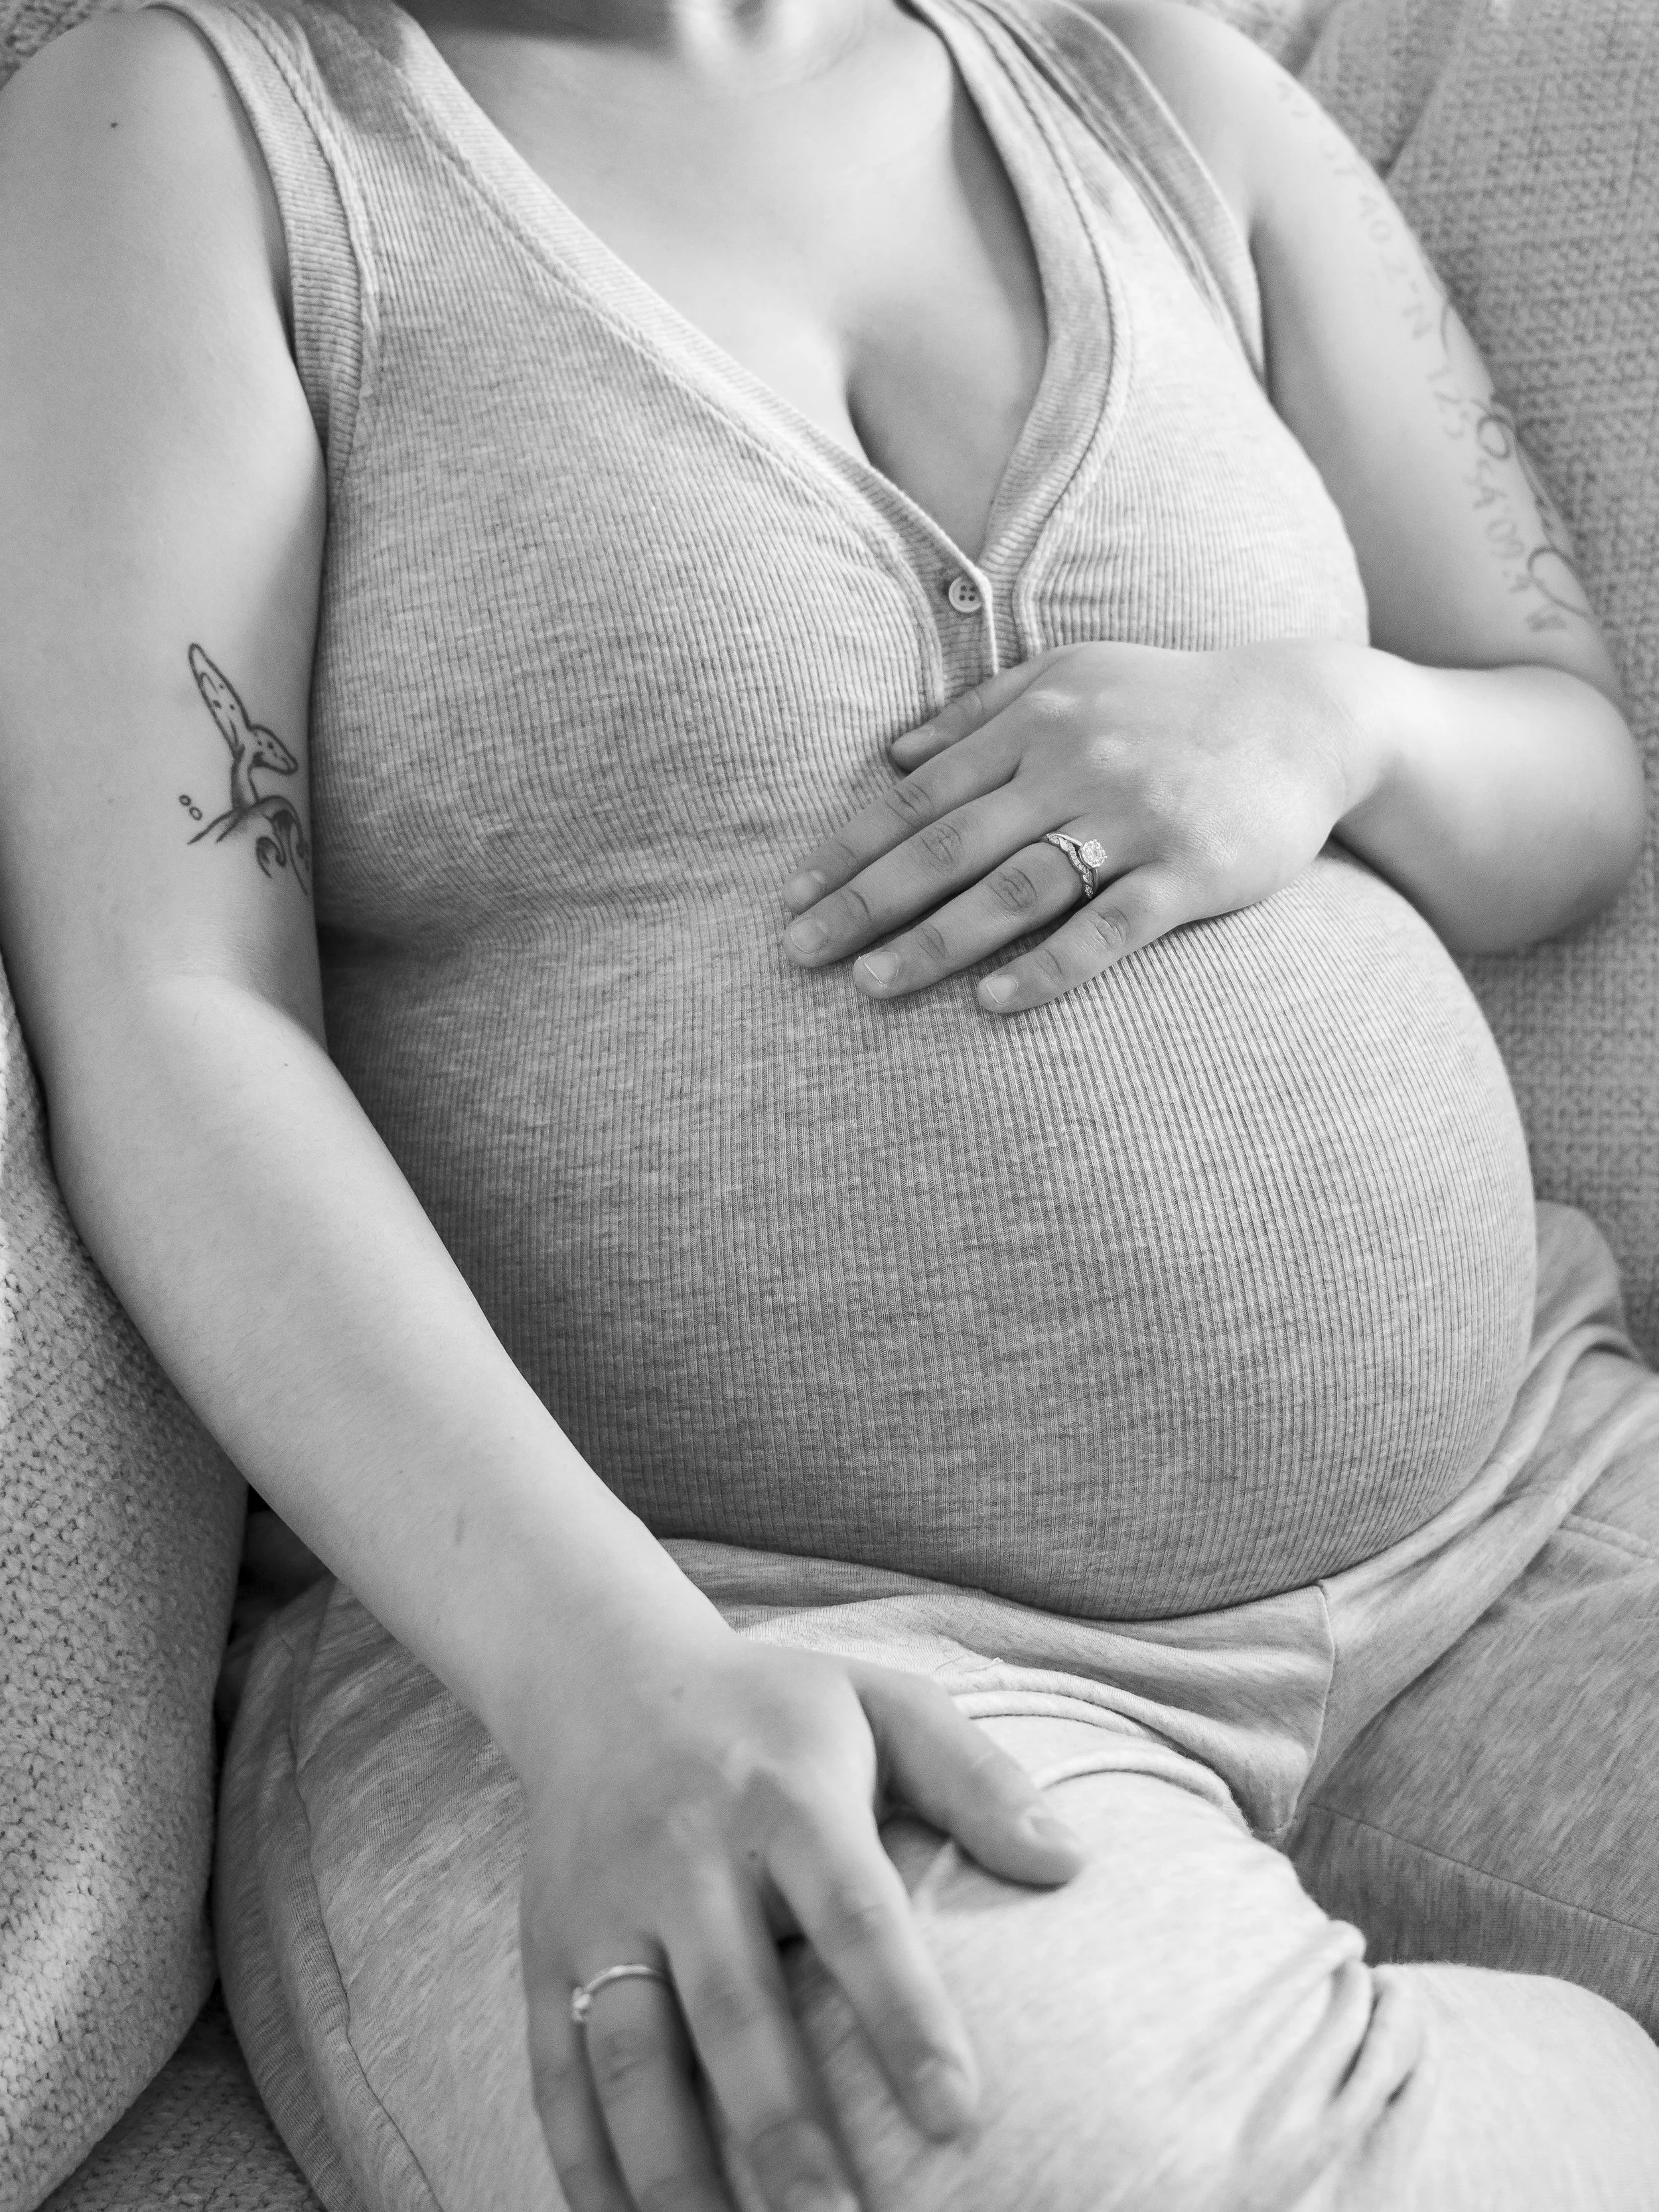
In this photoshoot I wore the same grey sweatpants as the first photo but a grey bodysuit. Still on the casual side but a little less.
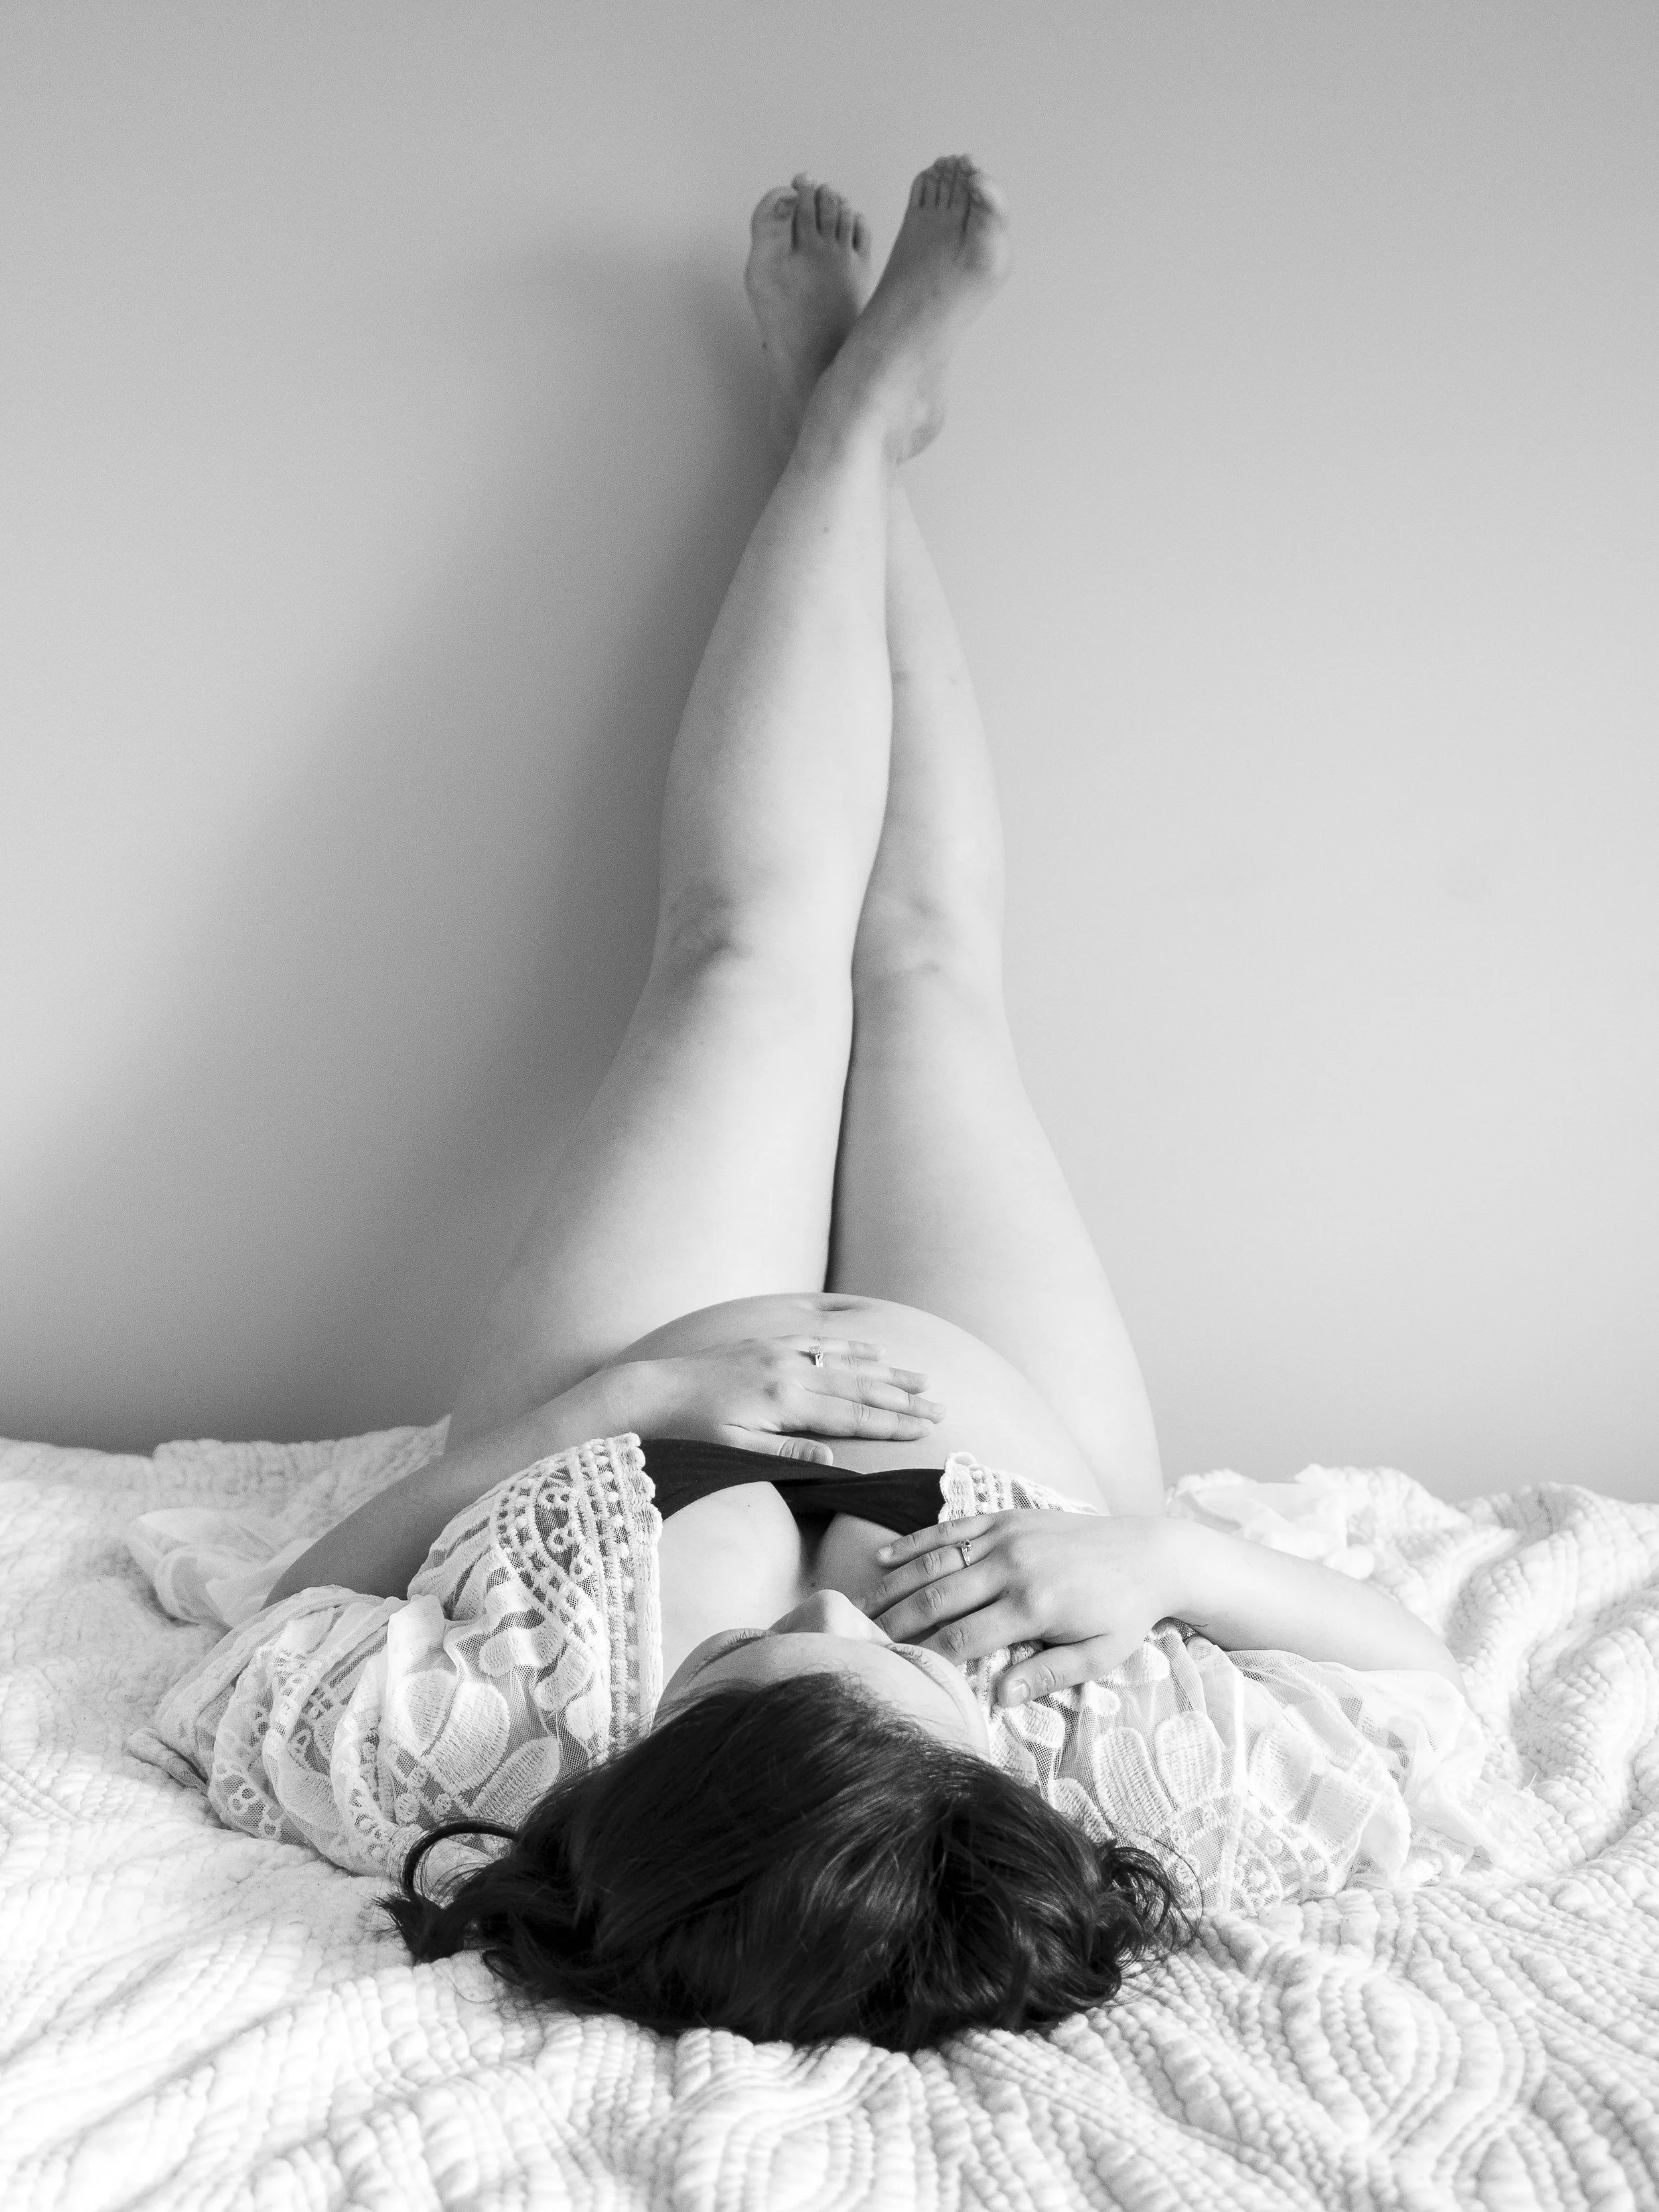
In this photoshoot I wore a cream cardigan that I had with similar delicate lace detailing and black undergarments. I removed all the pillows on our bed to create as clean of a look as possible.
Playing with Creativity
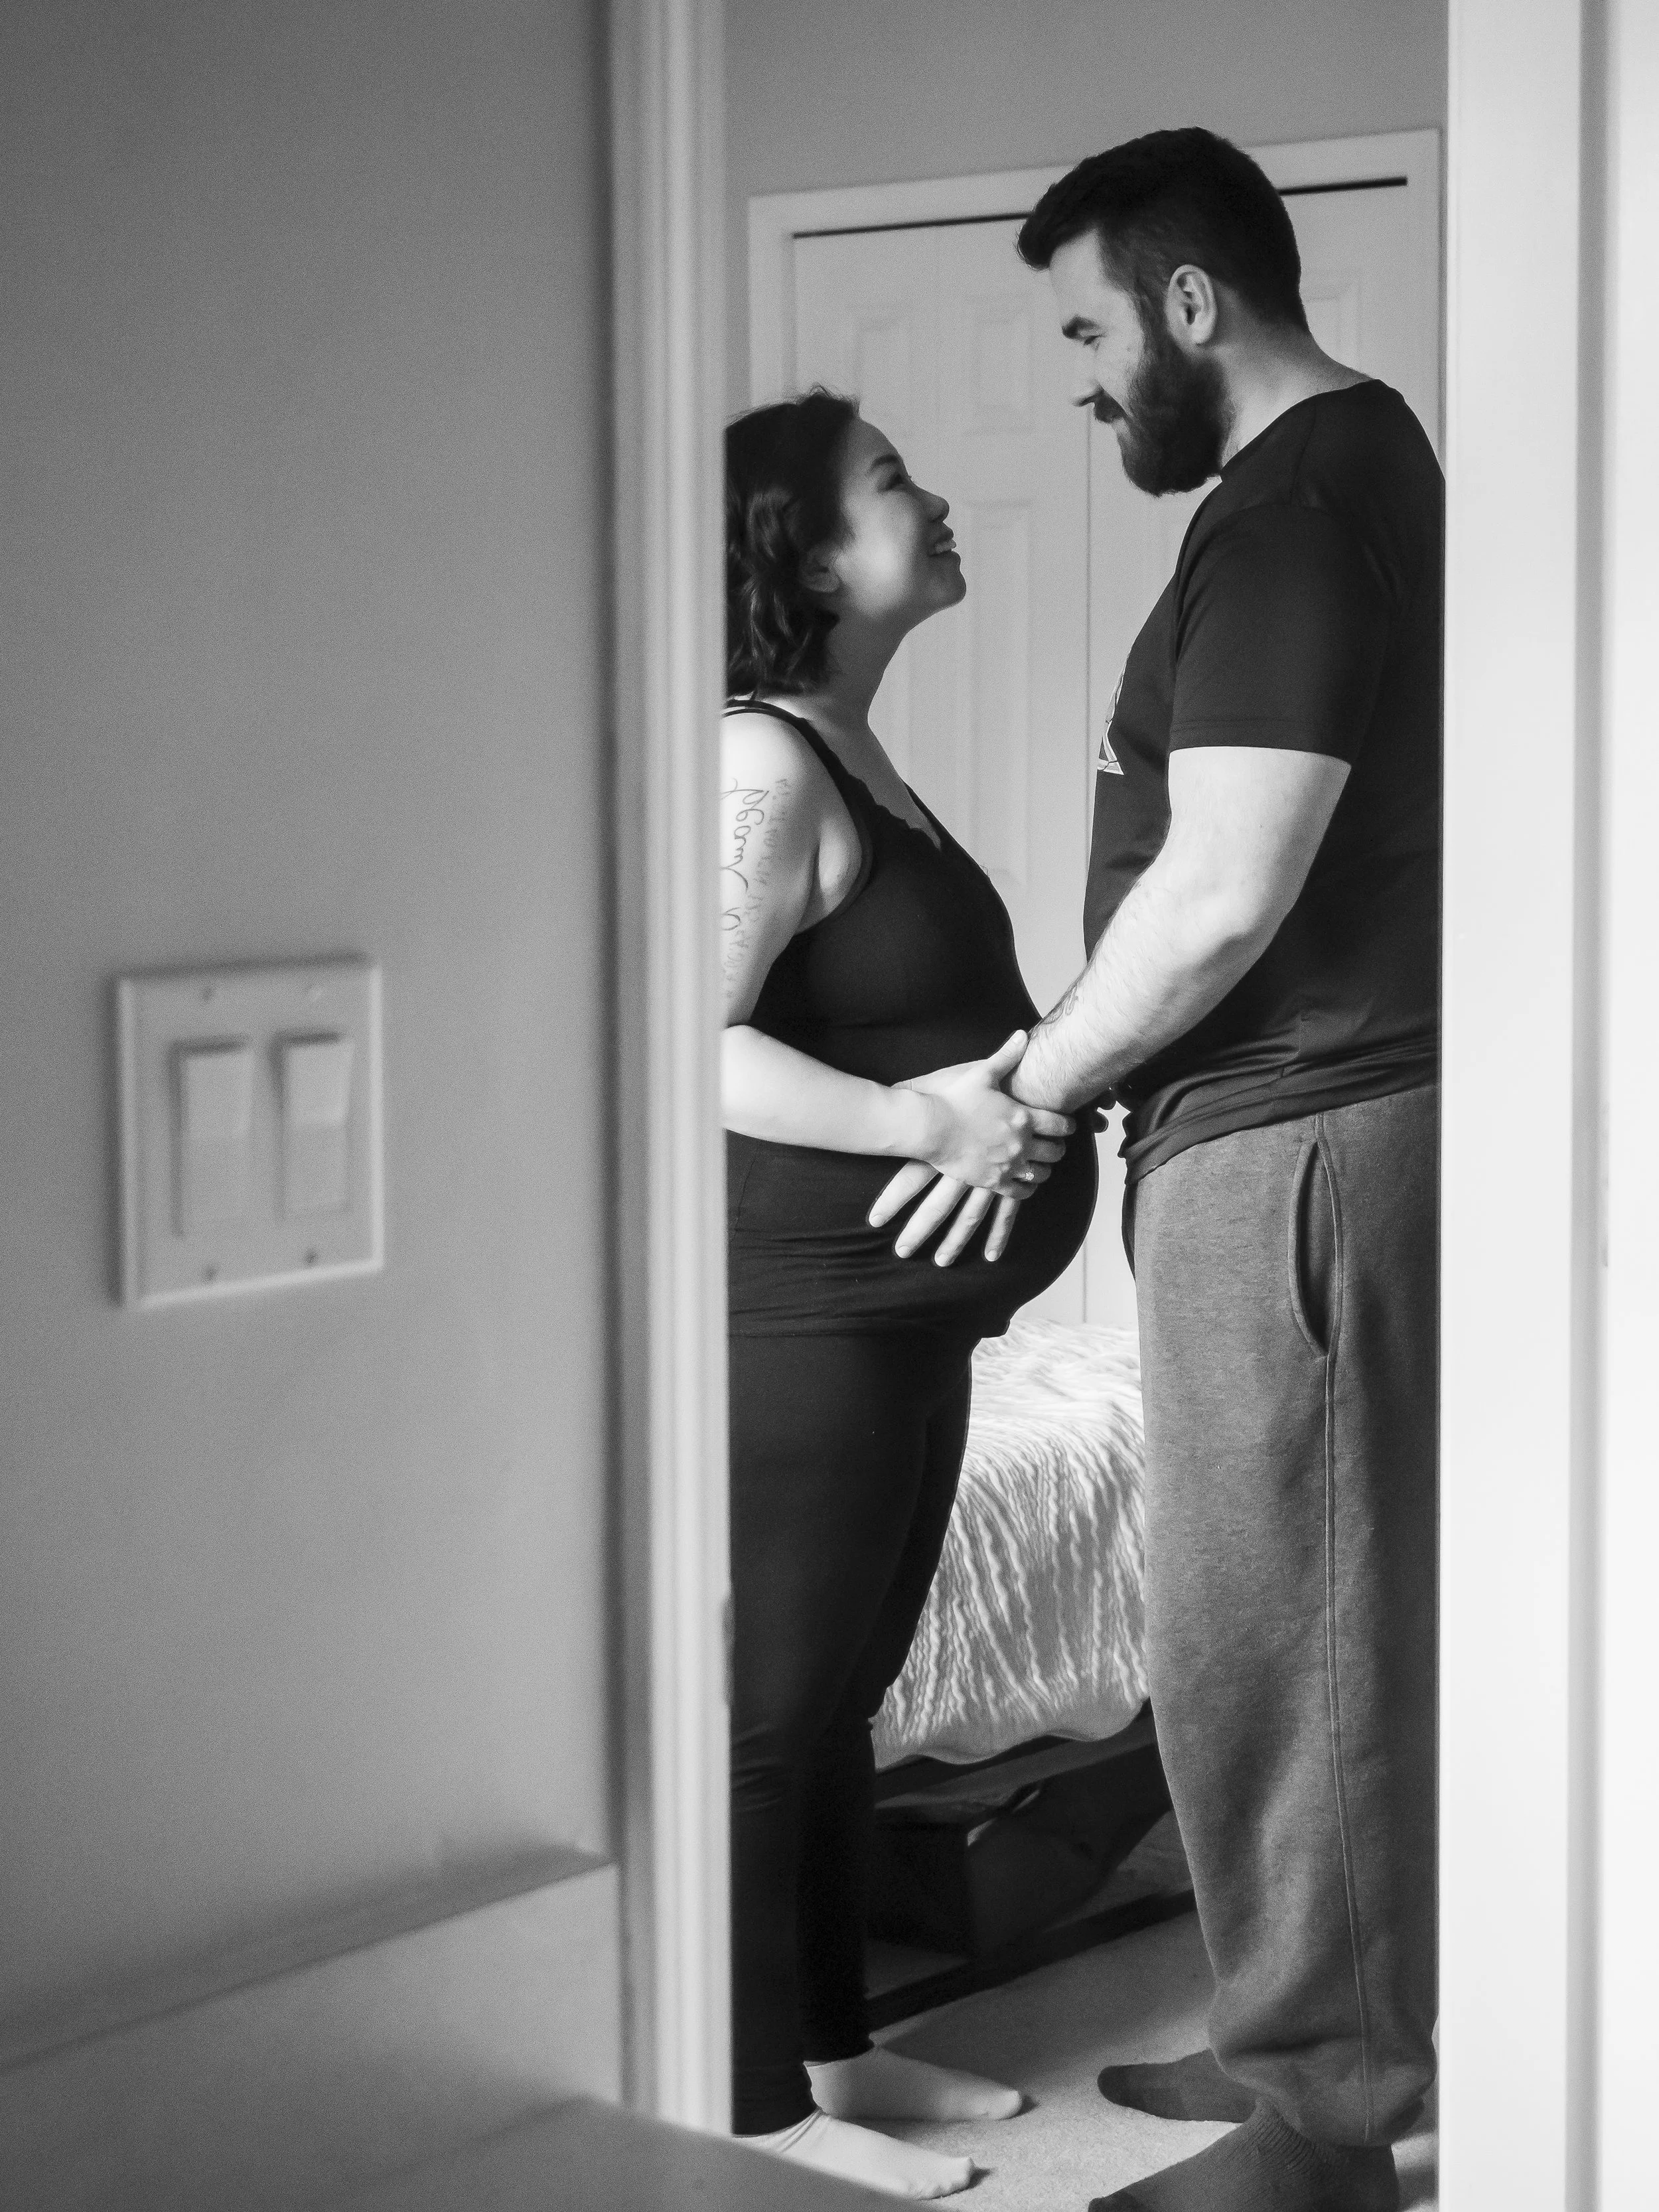
Don’t be afraid to play with your own creativity and different angles. One set of photos that I really loved was taken from outside the bedroom with the door partially cracked so you’re peaking into the room.
Another set that I did was taken using a similar technique but from the bathroom. I set the camera up so it captures our reflections from the bedroom.
Playing with angles and compositions like this changes the perspective and adds visual interest.
This photo was taken from outside our bedroom door. I set my camera up on the outside and partially closed the door.
This photo was taken from inside the bathroom using the mirror to reflect us in the bedroom.
Editing
The finishing touch with your maternity photos is editing the photos. There are free softwares like VSCO that you can download on your phone and edit your images, or you can use paid softwares like Adobe Lightroom Classic. For all my photography needs I edit using Lightroom.
As I mentioned when we were determining the style for our photoshoot, I prefer a natural editing style. There’s also light and airy to dark and moody. To achieve a natural editing style I make simple adjustments to exposure, contrast, highlights and shadows.

I also love black and white photography. I find with black and white, combined with the simpleness of the portrait it strips everything away just leaving you. So for every maternity photo I took I also edited it in black and white.
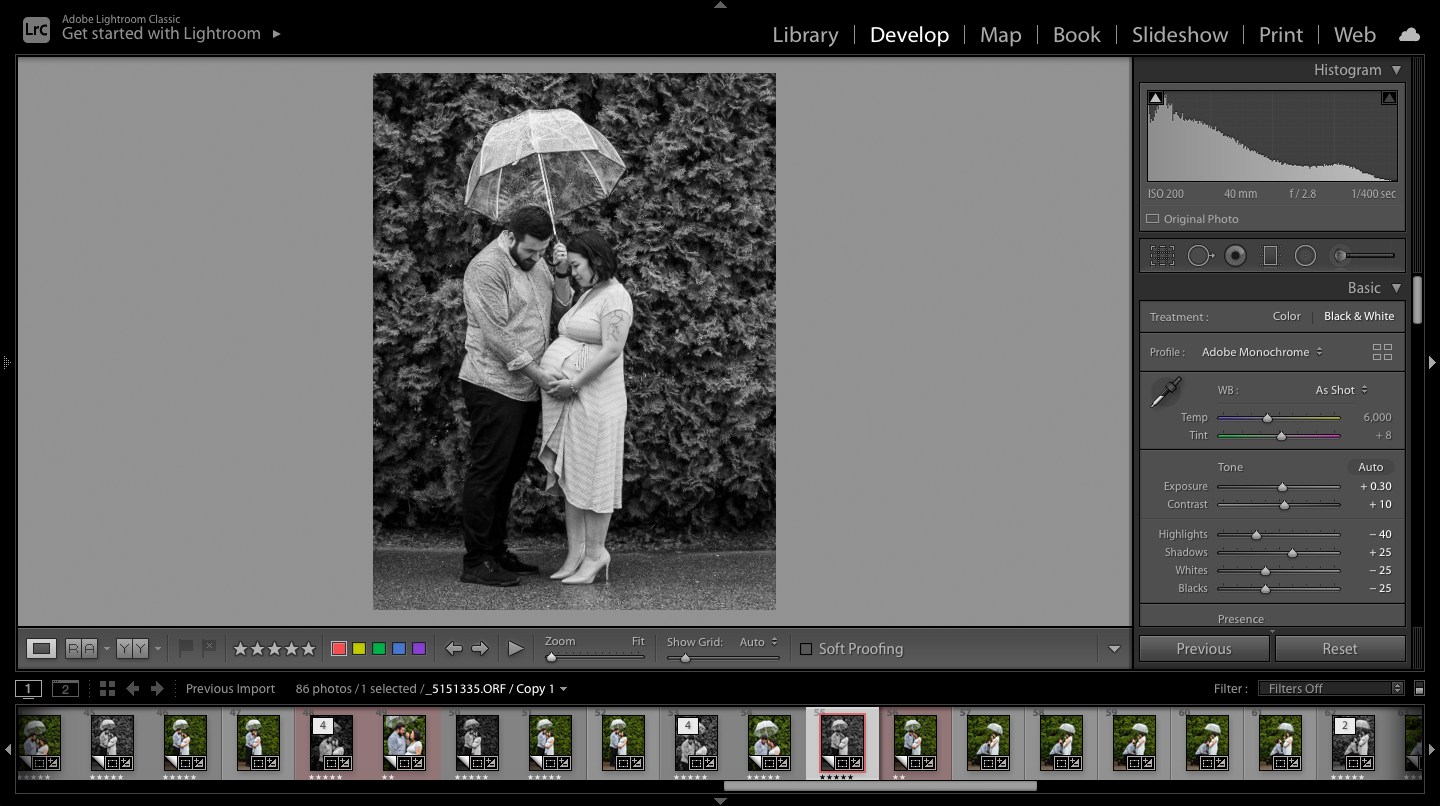
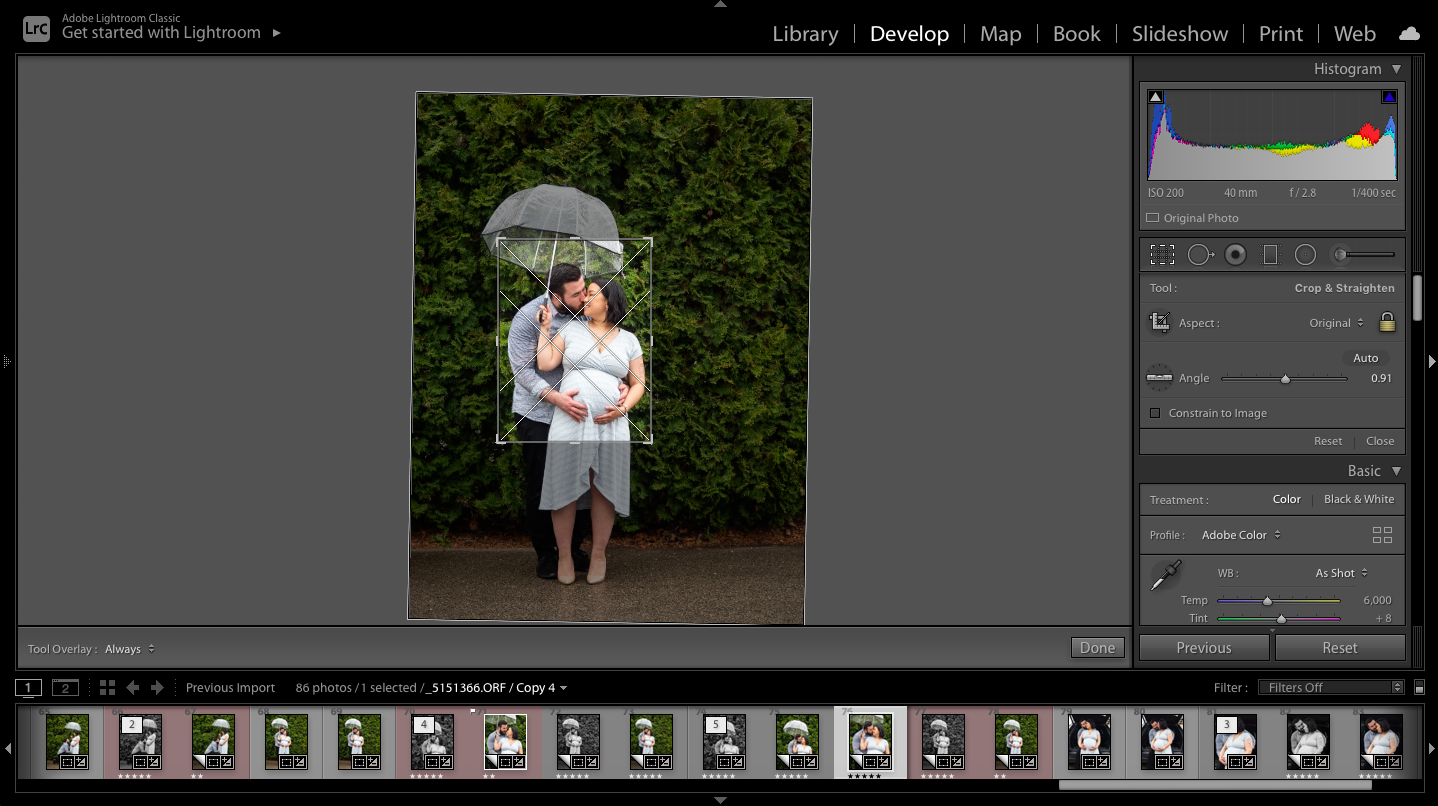
With self-portraits your camera is typically stationary so you’re getting the same crop every time, unless you move your camera in-between. To create some variety in my maternity portraits I played around with cropping in Lightroom. In the photos you see below they’re taken at the same height and angle but with the cropping in Lightroom I created some variety.
I loved taking my own maternity photos that I can look back on now. It not only changed the perspective on how I saw myself and my pregnancy but it was also a creative challenge that I needed.
If you’re looking to create your own maternity self-portraits I hope you found this article helpful!
I post weekly to my YouTube Channel so if you found this helpful please consider subscribing to the channel or buying me a coffee.
Beautifully Wander | Robynne MacLeod